These easy sugar-free gummy bears are made with cold water, fresh lemon juice, unflavored gelatin, powdered allulose, and your favorite natural flavoring. The mixture takes only a few minutes to warm, then the gummies firm up in the refrigerator in 30 to 60 minutes, making this a simple healthy and keto-friendly treat.
Each little gummy is pleasantly chewy, lightly tangy, and easy to customize with different flavors and colors. They are a wonderful homemade alternative to conventional candy because you control the sweetness, flavor, and ingredients from start to finish.
Jump to RecipeWhy You’ll Love This Recipe

There is something especially satisfying about making candy in your own kitchen, and these tiny gummy bears make the process approachable. The ingredient list is short, the method is straightforward, and the finished candies are ready after a brief chill in the refrigerator.
Fresh lemon juice gives the gummies a clean, bright flavor instead of a flat sweetness. Allulose provides a mellow base, while a small amount of liquid stevia can add extra sweetness without requiring a large quantity of powdered sweetener.
This recipe is also flexible enough for family snacking, lunchbox treats, and keto dessert plates. Make one batch in a single flavor or divide the liquid between several small bowls to create a colorful assortment.
If you are planning a full sugar-free dessert spread, these gummies are a fun bite-sized companion to our sugar-free chocolate cupcakes.
Ingredients You’ll Need
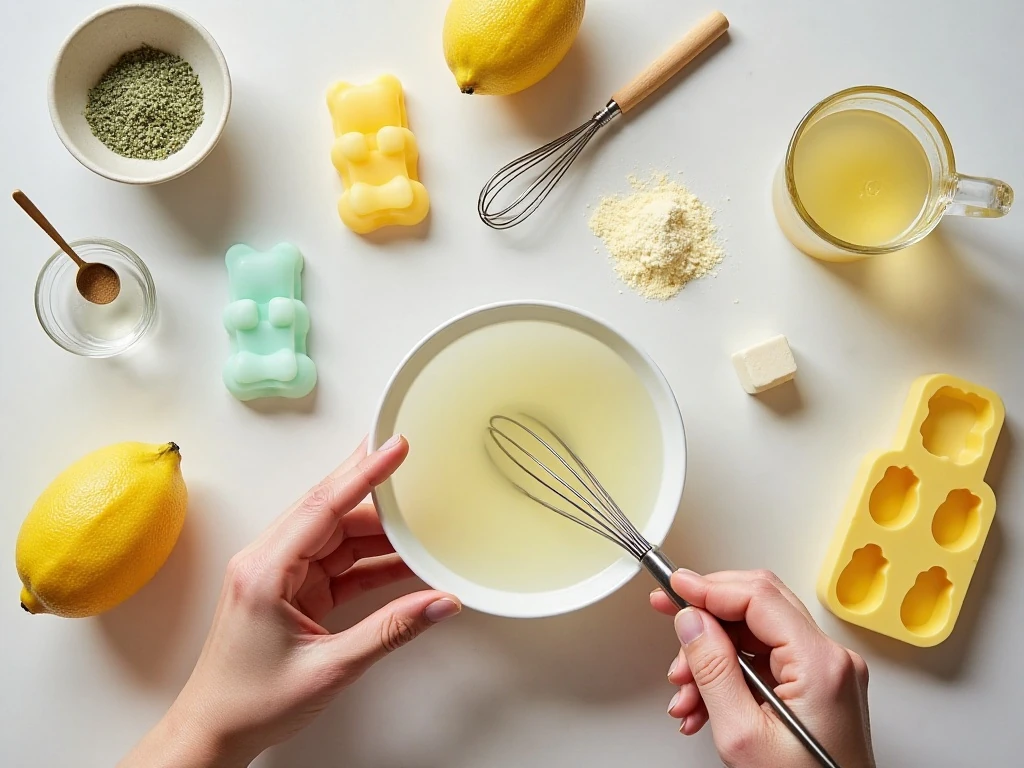
The liquid foundation is a combination of 1/2 cup cold water and 1/4 cup lemon juice, preferably fresh. The water keeps the mixture pourable, while the lemon juice supplies acidity and a refreshing citrus note.
Three tablespoons of unflavored powdered gelatin give the gummies their classic set. Since gelatin begins to absorb liquid as soon as it is added, sprinkling it over the cold liquid and allowing it to rest for 5 minutes is an important part of the method.
For sweetness, use 2 tablespoons of powdered allulose or another keto-friendly powdered sweetener, adjusting to taste. Optional liquid stevia, natural flavor extract or concentrated water flavoring, and a few drops of food coloring let you personalize every batch.
- For berry gummies: Try a natural strawberry, raspberry, or mixed-berry flavor.
- For citrus gummies: Use lemon, lime, orange, or grapefruit flavoring.
- For bright colors: Add only a few drops of food coloring so the candies remain translucent.
- For a firmer bite: Increase the gelatin to 3 1/2 to 4 tablespoons.
How to Make It Step-by-Step
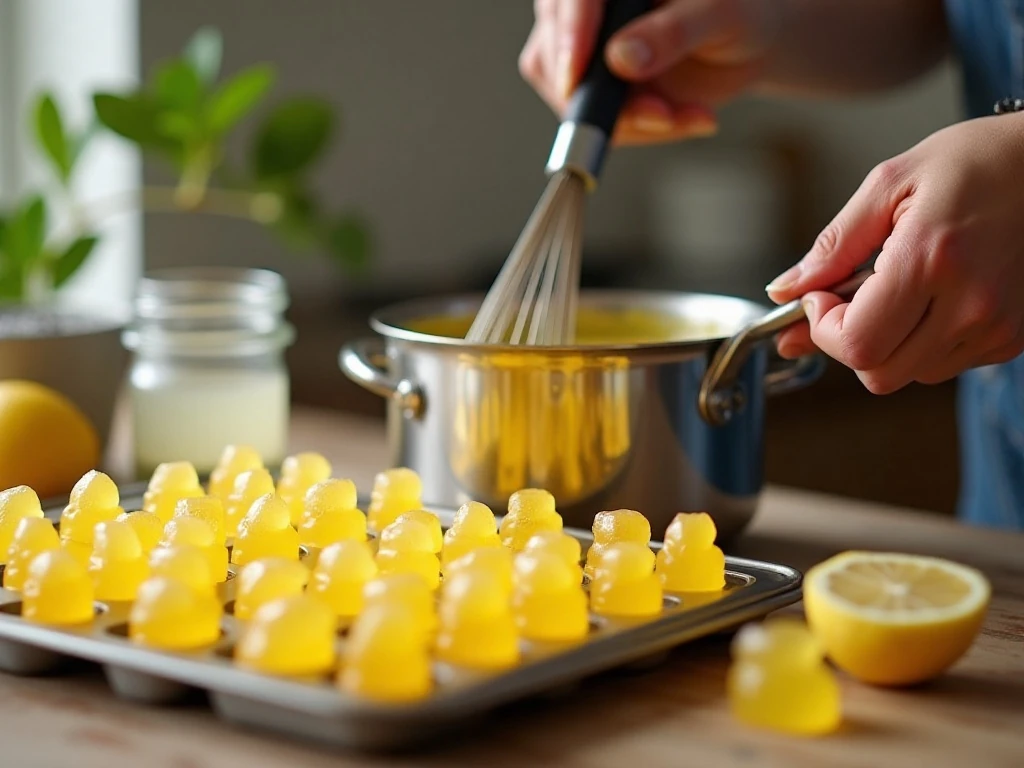
Step 1: Prepare the silicone gummy-bear molds by lightly greasing them if desired. Set every mold on a baking sheet or sturdy tray before adding the liquid, since the tray makes the flexible silicone much easier to move without spilling.
Step 2: Pour the cold water and lemon juice into a small saucepan. Sprinkle the gelatin evenly across the surface rather than dumping it into one spot, then let the mixture rest for about 5 minutes so the gelatin can bloom and hydrate properly.
Step 3: Place the saucepan over low to medium-low heat. Whisk gently and continuously until the gelatin has fully dissolved and the liquid looks smooth, but do not let it boil or reach a simmer.
Step 4: Remove the saucepan from the heat and add the powdered allulose or other keto-friendly sweetener. Stir in the optional stevia, natural flavor extract or concentrated water flavoring, and food coloring, then taste a small spoonful while the mixture is still liquid.
Step 5: Adjust the flavor before transferring the mixture to the molds. If it needs more sweetness, add a small amount of sweetener or stevia; if the flavor seems too mild, add flavoring gradually so the finished gummies do not become overpowering.
Step 6: Pour the liquid into a squeeze bottle, dropper, or measuring cup with a spout. Fill each cavity carefully, pausing occasionally to stir if the mixture begins to settle or thicken around the edges.
Step 7: Move the tray of filled molds to the refrigerator and chill for 30 to 60 minutes. The gummies are ready when they feel firm to the touch and release cleanly from the silicone.
Step 8: Gently pop the gummy bears out of the molds and place them in an airtight container. Keep them refrigerated so they maintain their best texture and freshness.
Pro Tips for Smooth, Chewy Gummies

Blooming the gelatin is the first texture secret. When the powder rests in the cold liquid before heating, it hydrates evenly, which helps prevent stubborn lumps and gives the gummies a smoother, more consistent bite.
Gentle heat is just as important. Gelatin does not need to boil in order to dissolve, and excessive heat can weaken its setting power or contribute to a cloudy, rubbery texture.
Silicone molds are the easiest option because the firm gummies can be released with a light push. Small bear molds produce approximately 100 to 150 candies, though the exact yield depends on the size and depth of each cavity.
For the best flavor, taste the liquid before filling. Lemon juice, flavor concentrates, and keto-friendly sweeteners can vary in intensity, so a quick taste test lets you correct the balance while changes are still easy.
For a mixed-flavor batch, divide the warm liquid among small heatproof cups after the gelatin has dissolved. Stir a different flavor and color into each portion, then work efficiently while the mixture remains pourable.
These gummies can also be served as a playful side for a casual low-carb snack board. For a savory contrast at another meal, see our spicy salmon poke with fresh, colorful toppings.
Texture, Sweetness, and Flavor Variations
The standard 3 tablespoons of gelatin create a pleasantly firm gummy that is easy to bite. If you prefer a more substantial, chewy candy, use 3 1/2 to 4 tablespoons; for a softer texture, use slightly less than the standard amount.
Allulose creates a rounded sweetness, but every sweetener has its own taste and level of intensity. Begin with the listed 2 tablespoons, add optional stevia sparingly, and remember that the chilled gummies may taste slightly less sweet than the warm liquid.
Lemon is a natural starting point, but you do not have to stop there. Try watermelon, cherry, grape, peach, tropical fruit, or mint flavoring, choosing a natural extract or concentrated water flavoring that suits your preferred ingredient list.
Color can match the flavor, or you can create playful combinations. A few drops are enough for most batches, and using less coloring keeps the gummy bears looking bright and jewel-like rather than opaque.
For a tropical-inspired snack table, pair the candy with our tropical pina colada bars. The contrast between creamy dessert bars and tangy gummy bears makes a colorful serving platter.
Storage and Serving Suggestions

Store the molded gummies in an airtight container in the refrigerator. Keeping them chilled helps preserve their firm, springy texture, and separating layers with parchment can prevent them from sticking together.
Serve the gummy bears straight from the refrigerator, or let a small portion sit at room temperature briefly before snacking. Avoid leaving the whole batch out for extended periods, especially in a warm kitchen.
Because the recipe makes approximately 100 to 150 small gummies, about 4 servings, it is easy to portion them into small containers. This makes the batch convenient for grab-and-go snacks without needing to handle the entire supply each time.
Use these homemade candies as a topping for a sugar-free dessert, a fun addition to a party bowl, or a colorful treat for movie night. They are also a cheerful finish after a comforting dinner such as our easy tortellini soup.
Common Questions About Sugar-Free Gummy Bears
Can I skip the lemon juice? Yes, some versions use additional water instead, although the lemon juice adds brightness and helps create the recipe’s signature tang. If you change the liquid base, taste carefully and adjust the flavoring.
Why are my gummies not firm? The gelatin may not have bloomed fully, the mixture may have been overheated, or the gummies may simply need more chilling time. Make sure the gelatin dissolves completely and keep the mixture below a simmer.
Can I use flavored gelatin mix? Some quick recipes use a small box of sugar-free flavored gelatin mix, but those mixes can contain artificial sweeteners, colors, and additional ingredients. The unflavored gelatin method gives you more control over sweetness, color, and flavor.
Can I make them less sweet? Absolutely. Start with less sweetener, taste the liquid before filling, and add only what you need. The lemon and flavoring should still come through clearly so the gummies taste fresh rather than merely sweet.
For a sweet-and-savory menu that includes a fruit-forward main course, you can also browse our pineapple chicken recipe. The gummy bears are best served as a separate snack or dessert rather than mixed into the meal.

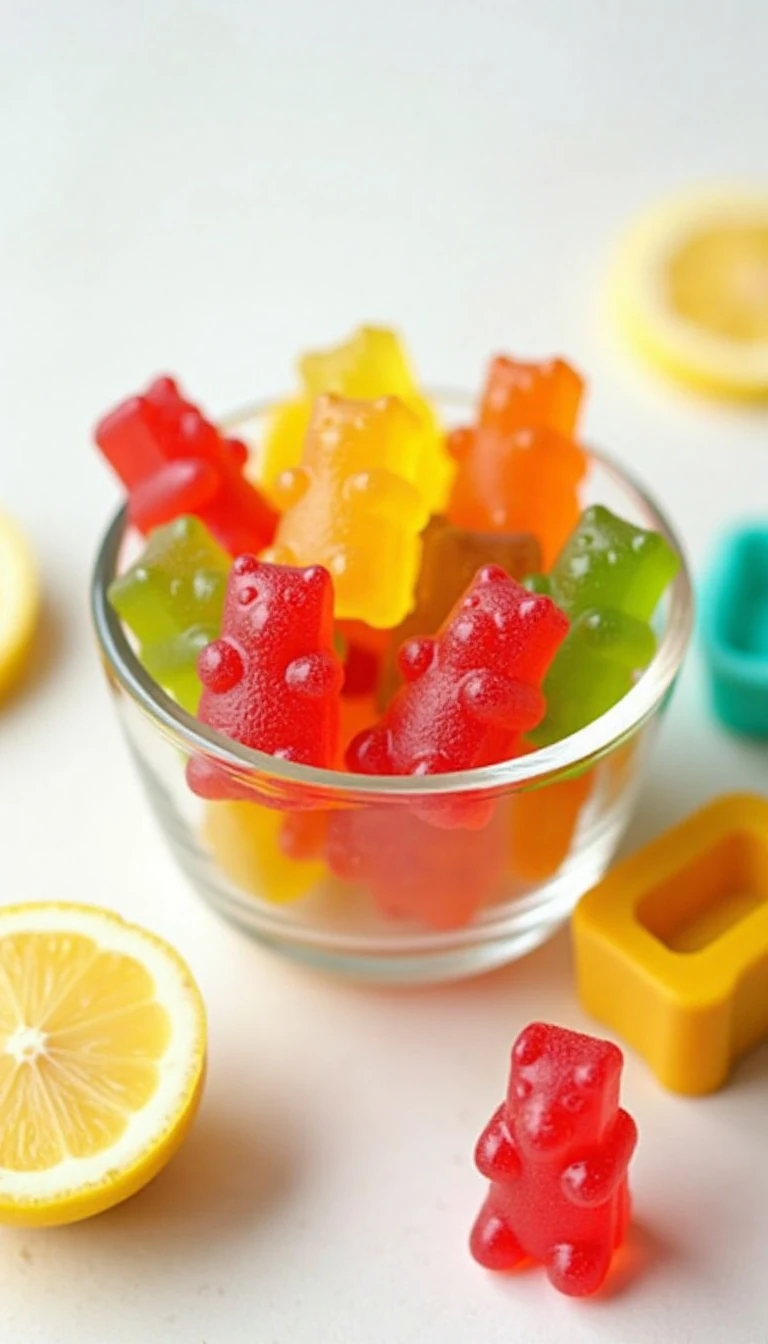
Easy Sugar-Free Gummy Bears Recipe
Ingredients
Method
- Lightly grease silicone gummy-bear molds if desired and place them on a baking sheet or tray for stability.
- Add the cold water and lemon juice to a small saucepan. Sprinkle the gelatin evenly over the liquid and let it stand for about 5 minutes so it can bloom.
- Warm the mixture over low to medium-low heat, whisking until the gelatin has completely dissolved. Do not boil the mixture.
- Remove the saucepan from the heat and stir in the powdered sweetener, optional stevia, flavoring, and food coloring. Taste the liquid and adjust the sweetness or flavor before filling the molds.
- Transfer the liquid to a squeeze bottle, dropper, or measuring cup with a spout. Carefully fill each gummy-bear cavity.
- Refrigerate the filled molds for 30 to 60 minutes, or until the gummies are firm. Remove them from the molds and store them in an airtight container in the refrigerator.
Notes
Final Thoughts
These easy sugar-free gummy bears prove that a homemade keto-friendly treat does not need a long ingredient list or complicated candy-making equipment. Bloom the gelatin, warm the mixture gently, season it to taste, and let the refrigerator do the final work.
The result is a batch of glossy, chewy candies with bright lemon flavor and endless options for color and natural flavoring. With approximately 100 to 150 small gummies per batch, they are perfect for sharing, portioning, or keeping ready for a quick sweet bite.
Remember the three details that matter most: let the gelatin bloom for about 5 minutes, never boil the mixture, and chill the filled molds for 30 to 60 minutes. Once you master those steps, you can make a new flavor combination whenever the craving for gummy candy arrives.