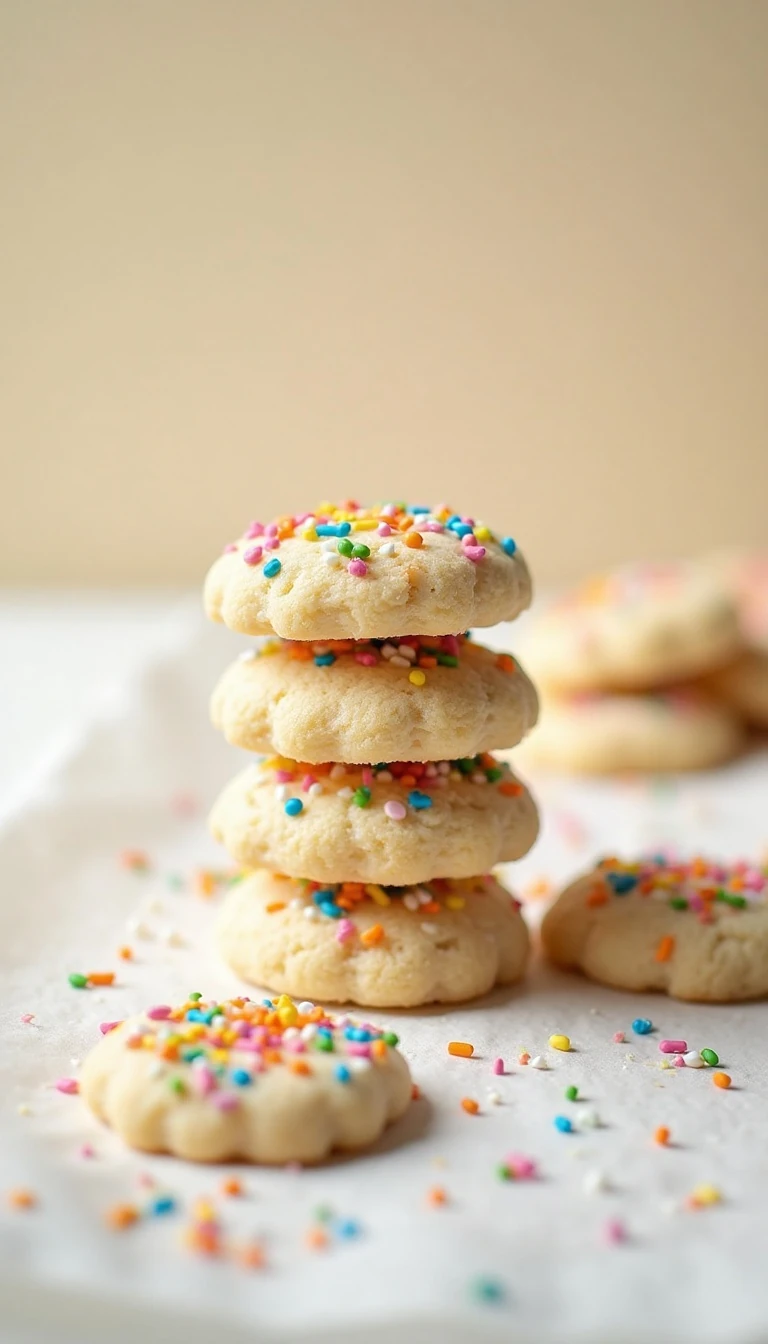
These easy sugar cookies with sprinkles are soft, buttery, and ready with just 15 minutes of hands-on preparation. The simple drop-cookie dough is mixed with rainbow sprinkles, chilled for about 30 minutes, scooped into balls, and baked at 350°F (175°C) for 10–12 minutes per tray, yielding about 24 cheerful cookies.
Each cookie has lightly crisp edges, a tender center, warm vanilla flavor, and colorful sprinkles in every bite. They are perfect for birthday parties, holiday cookie trays, bake sales, school celebrations, or any afternoon when you want a quick homemade treat without rolling and cutting dough.
Jump to RecipeWhy You’ll Love This Recipe
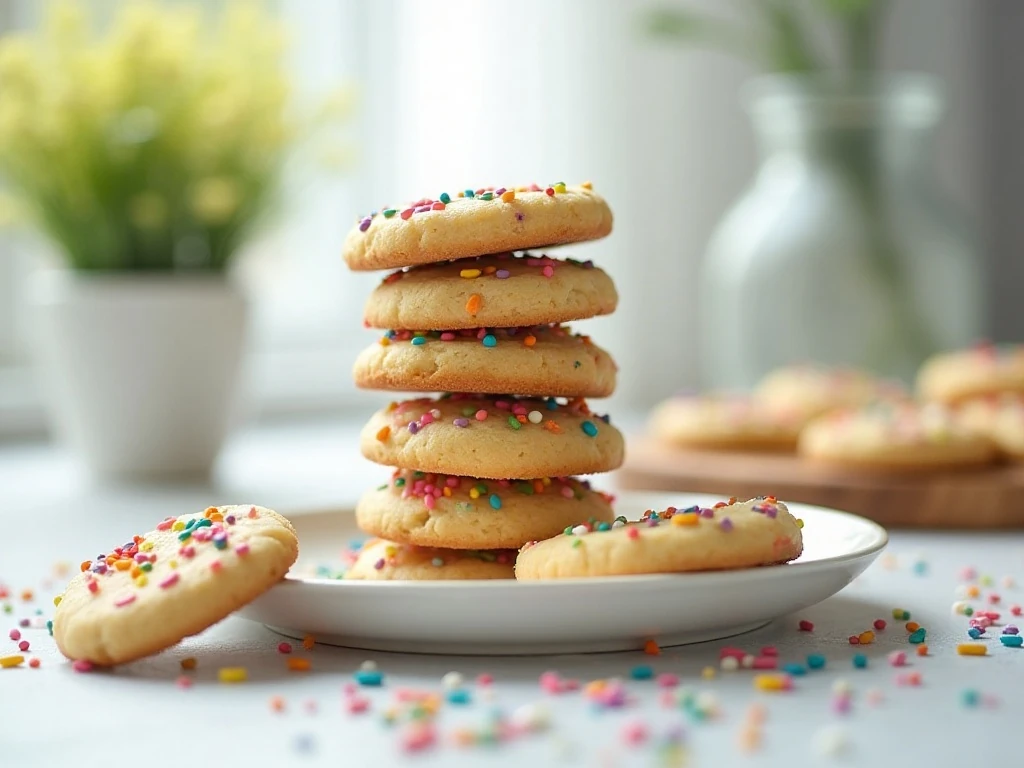
There is something especially inviting about a sugar cookie covered in colorful sprinkles. These cookies look festive before they even reach the oven, yet the recipe uses everyday pantry staples and does not require a mixer with special attachments, cookie cutters, frosting, or complicated decorating.
The texture is the main attraction. The edges become lightly set, while the centers stay soft and pleasantly chewy when the cookies are removed at the right moment.
They also offer plenty of flexibility for different occasions. Use classic rainbow jimmies for a birthday party, red and green sprinkles for Christmas, school-color sprinkles for a team celebration, or a pastel blend for a baby shower.
- One batch makes about 24 cookies.
- Prep takes approximately 15 minutes.
- Chilling time is about 30 minutes and is recommended.
- Baking takes 10–12 minutes per tray.
- No rolling, cutting, or icing is required.
For another colorful sweet to add to a dessert table, you can also try this cake batter fudge alongside the cookies. The two treats bring different textures while sharing the same cheerful party-ready feel.
Ingredients You’ll Need
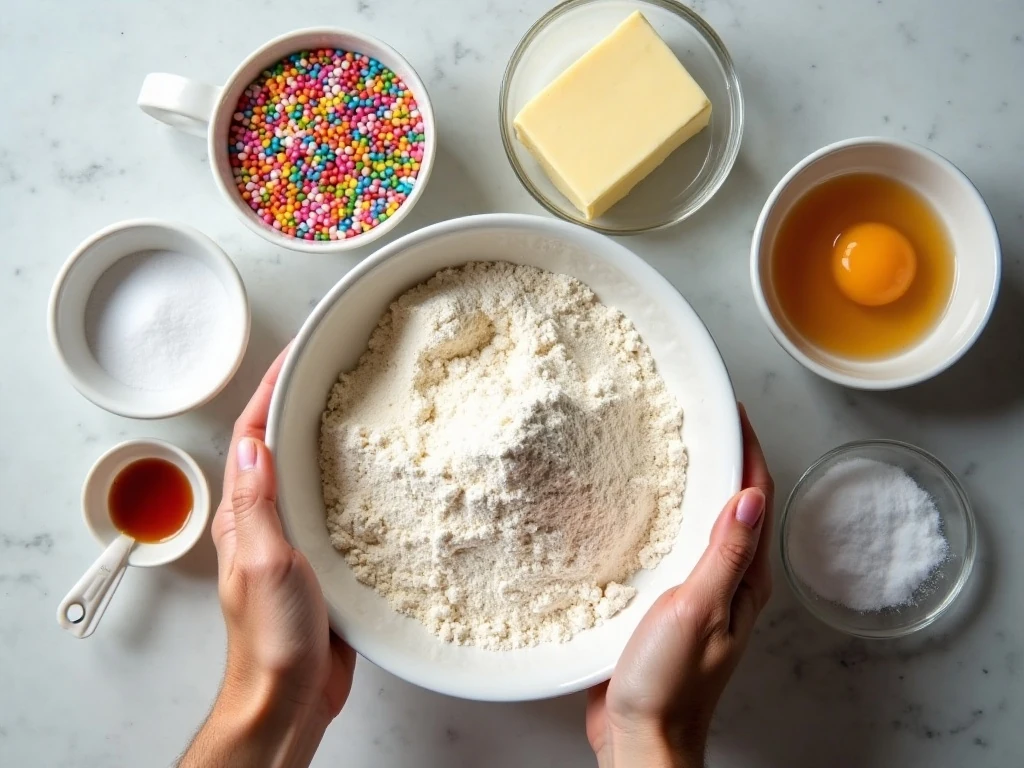
All-purpose flour provides the structure for these drop cookies. For the most consistent results, weigh out 300 grams; if you are measuring with cups, spoon the flour into the measuring cup and level the top rather than scooping directly from the container.
Softened unsalted butter creates the rich flavor and tender bite that make sugar cookies so appealing. The butter should yield slightly when pressed but still hold its shape, because melted butter can cause the cookies to spread too much.
Granulated sugar sweetens the dough and helps the cookies develop their delicate texture. A large egg binds the ingredients together, while vanilla extract rounds out the buttery flavor with a fragrant bakery-style note.
The combination of baking powder and baking soda gives the cookies a gentle lift without making them cakey. Fine salt balances the sweetness and keeps the flavor from tasting flat.
For the sprinkles, jimmies are the best choice for mixing into the dough. They generally hold their color and texture better than tiny nonpareils, which can dissolve or bleed more readily during mixing and baking.
- Measure the flour carefully for a soft, not dry, cookie.
- Use room-temperature egg when possible so it blends smoothly with the butter.
- Choose bright, sturdy jimmies for the dough.
- Keep 2–3 tablespoons of extra sprinkles available for topping.
When planning a larger dessert spread, these cookies pair nicely with sugar-free chocolate cupcakes for guests who want a chocolate option or a different type of sweet.
How to Make It Step-by-Step
Step 1: Heat the oven to 350°F (175°C) and line one or more baking sheets with parchment paper. Parchment prevents sticking and makes it easier to move the finished cookies from the pan without damaging their tender bottoms.
Step 2: Add the flour, baking powder, baking soda, and fine salt to a bowl, then whisk until evenly combined. This short step matters because it prevents pockets of baking soda or salt from ending up in individual cookies.
Step 3: Place the softened butter and sugar in a large mixing bowl and beat for about 2 minutes. Stop when the mixture looks light and creamy; properly creamed butter helps the cookies bake with a delicate, even texture.
Step 4: Beat in the egg and vanilla until fully combined. Scrape the sides and bottom of the bowl if needed so the wet mixture is uniform before the flour is added.
Step 5: Add the dry ingredients gradually, mixing just until no dry flour remains. Do not overmix, because excessive mixing can make the cookies less tender; once the dough comes together, fold in the sprinkles gently.
Step 6: Chill the dough for about 30 minutes. This gives the butter time to firm up and helps the cookies hold a thicker shape instead of spreading quickly in the oven.
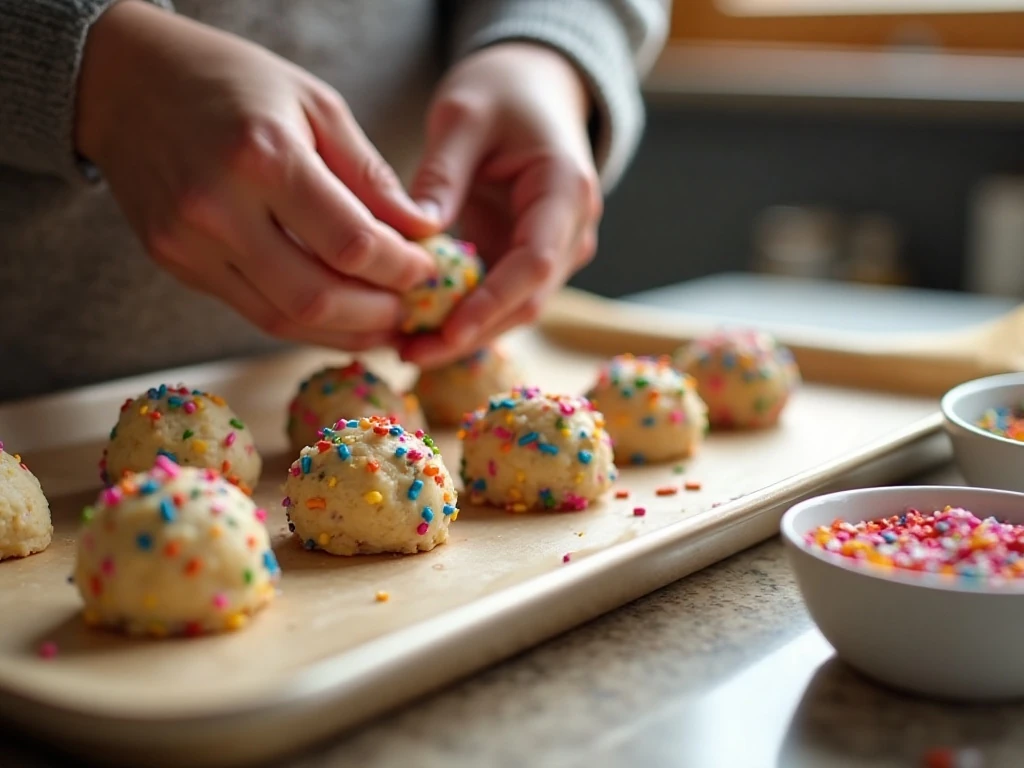
Step 7: Scoop approximately 1 1/2 tablespoons of dough for each cookie and roll the portions into smooth balls. Arrange them about 2 inches apart on the prepared baking sheets, and press extra sprinkles onto the tops if you want a more decorated finish.
Step 8: Bake for 10–12 minutes per tray. Remove the cookies when the edges look lightly set and the centers still appear slightly soft; they should be pale rather than brown.
Step 9: Leave the cookies on the baking sheet for 5 minutes after baking. Transfer them to a wire rack to cool completely, allowing the centers to finish setting without becoming hard.
Pro Tips for Soft, Pretty Cookies

The condition of the butter makes a noticeable difference. Leave it at room temperature until it is soft enough to beat, but avoid microwaving it until liquid; melted butter commonly causes excessive spreading.
Chilling is recommended even if the dough seems manageable. It is especially helpful on warm days or when your butter became very soft, and it produces thicker, more evenly shaped cookies.
Bake one test cookie before committing the whole batch to the oven. This gives you a chance to adjust the dough according to your baking sheet, oven, and kitchen temperature.
- If the test cookie spreads too much, chill the remaining dough longer.
- If spreading continues, mix 1–2 tablespoons of flour into the remaining dough.
- If the cookie stays very domed, flatten the dough balls slightly before baking.
- Keep dough portions similar in size so every cookie finishes at the same time.
- Use a cool baking sheet for each new batch whenever possible.
Watch the color closely during the final minutes. These cookies should come out pale with lightly set edges and soft centers, so a brown edge usually means they have baked longer than intended.
For a festive pastry table, you could serve these cookies with these Christmas tree pastries. Their flaky shape and the cookies’ soft texture make a lovely contrast.
Storage and Serving Ideas
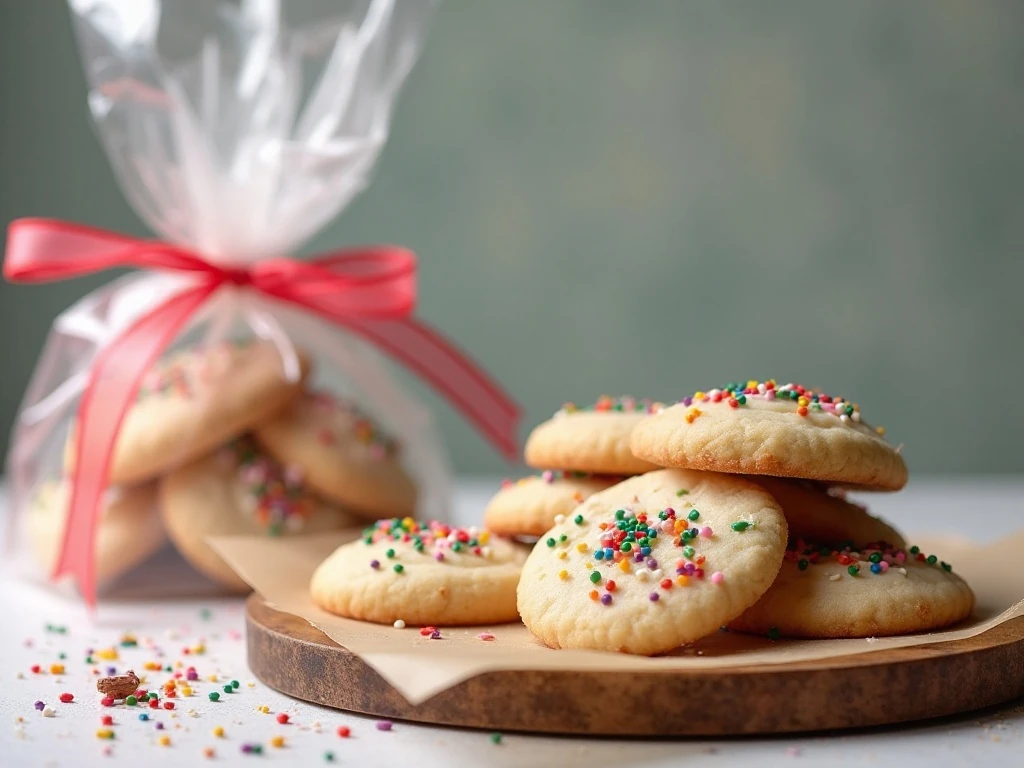
Let the cookies cool completely before storing them. Place them in an airtight container at room temperature, separating layers with parchment if you stack them.
For the best soft texture, enjoy them within several days. If you are preparing them for a party, bake them ahead, cool them fully, and keep the container tightly closed until serving.
These cookies are delicious with coffee, tea, hot chocolate, or a cold glass of milk. They also make a charming edible gift when tucked into a clear bag and tied with a colorful ribbon.
For a cookie platter with both sweet and savory choices, consider serving a small bowl of hot pepper jelly with crackers and cheese nearby. The sweet cookies can be enjoyed separately while the bright, spicy condiment gives the rest of the table a lively contrast.
Troubleshooting Common Problems
If the cookies are flat, the butter may have been too warm, the dough may have needed more chilling, or the baking sheet may have been warm from a previous batch. Chill the dough again and use a cool, parchment-lined sheet.
If the cookies are dry, check that the flour was not packed into the measuring cup and that the cookies were not left in the oven until brown. Weighing the flour and removing the cookies while the centers are still slightly soft are the two most useful corrections.
If the cookies remain very tall and domed, the dough may be especially cold or contain slightly too much flour. Flatten the dough balls gently before baking the next tray, and make sure flour is measured accurately.
If the sprinkles lose definition, use jimmies and fold them in gently at the very end. Pressing a few fresh sprinkles onto the tops before baking also helps the finished cookies look bright and colorful.
For a savory recipe to prepare while the cookies cool, these air fryer meatballs are a practical option for a party menu. Keep the sweet and savory dishes on separate serving platters for an easy buffet arrangement.
Easy Sugar Cookies with Sprinkles
Ingredients
Method
- Heat the oven to 350°F (175°C) and line baking sheets with parchment paper. This temperature gives the cookies enough heat to set their edges while keeping the centers soft.
- Whisk the flour, baking powder, baking soda, and fine salt together in a medium bowl. Mixing these ingredients first helps distribute the leaveners evenly through the dough.
- Beat the softened butter and granulated sugar for about 2 minutes, until light and creamy. Add the egg and vanilla extract, then beat until the mixture is smooth and fully combined.
- Add the dry ingredients gradually and mix only until no dry flour remains. Fold in the rainbow sprinkles gently so they stay intact and do not bleed excessively into the dough.
- Cover and chill the dough for about 30 minutes. Chilling limits spreading and makes the dough easier to portion, especially when the butter is very soft or the kitchen is warm.
- Scoop approximately 1 1/2 tablespoons of dough for each cookie and roll each portion into a ball. Place the balls about 2 inches apart on the prepared baking sheets, then press extra sprinkles onto the tops if desired.
- Bake for 10–12 minutes per tray, removing the cookies when the edges are set and the centers still look slightly soft. The cookies should remain pale, so do not wait for them to turn brown.
- Cool the cookies on the baking sheet for 5 minutes before transferring them to a wire rack. They will finish setting as they cool while retaining their soft, tender centers.
Notes
Final Thoughts
These easy sugar cookies with sprinkles are a reliable recipe for soft, colorful cookies with very little fuss. The key details are softened rather than melted butter, accurate flour measurement, a 30-minute chill, and removing the cookies while the centers still look slightly soft.
Once you know the basic method, you can change the sprinkle colors for nearly any celebration. Make a test cookie when needed, trust the pale appearance, and let the cookies cool on the pan before moving them to a rack.
Serve them as an after-school snack, package them as gifts, or add them to a holiday dessert table. Every batch brings buttery vanilla flavor, tender centers, and a bright sprinkle-filled finish that makes homemade baking feel wonderfully festive.