This Strawberry Poke Cake is an easy, crowd-pleasing dessert made with white cake mix, strawberry gelatin, fluffy whipped topping, and fresh strawberries. Bake the cake, poke holes through the warm crumb, pour in the gelatin, chill thoroughly, then finish it with whipped topping and berries for a bright dessert that takes about 2 1/2 to 3 hours from start to serving.
Every bite is soft, cool, creamy, and bursting with strawberry flavor. The gelatin creates colorful pockets throughout the cake while the berries add fresh texture, making this simple refrigerator cake perfect for birthdays, potlucks, barbecues, showers, and family dinners.
Jump to RecipeWhy You’ll Love This Recipe
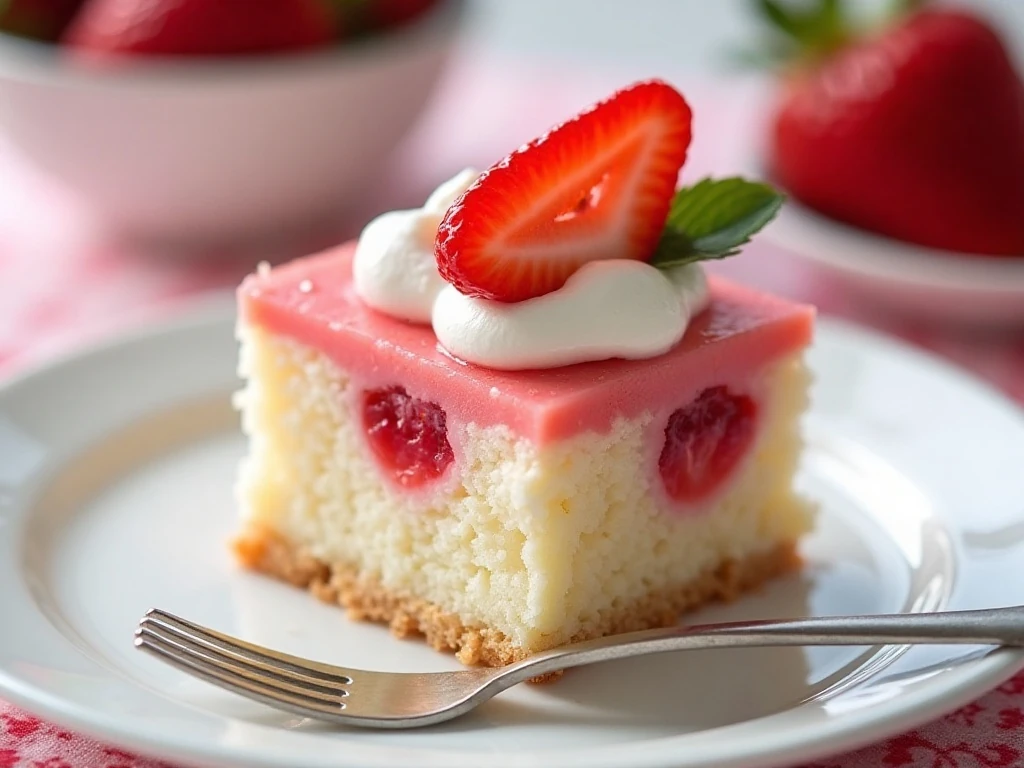
This cake delivers the flavor and color of a strawberry dessert without requiring homemade cake batter or complicated decorating. A boxed cake mix provides a dependable tender base, while strawberry gelatin sinks into the holes and creates juicy pink pockets throughout every slice.
The topping is light and creamy rather than heavy, and fresh strawberries bring a pleasant contrast to the sweet cake. Because the dessert is served cold, it is especially welcome on warm days when a rich, freshly baked dessert may feel too heavy.
- Easy preparation: The cake starts with convenient mix ingredients and needs only a few simple finishing steps.
- Make-ahead friendly: The cake needs chilling time, so it can be prepared before guests arrive.
- Beautiful presentation: White topping and ruby-red berries make each slice look festive.
- Family approved: The soft texture and familiar strawberry flavor appeal to children and adults alike.
If you enjoy desserts with fun hidden layers, you may also like this cookie-filled poke cake for a chocolate sandwich-cookie variation.
Ingredients You’ll Need
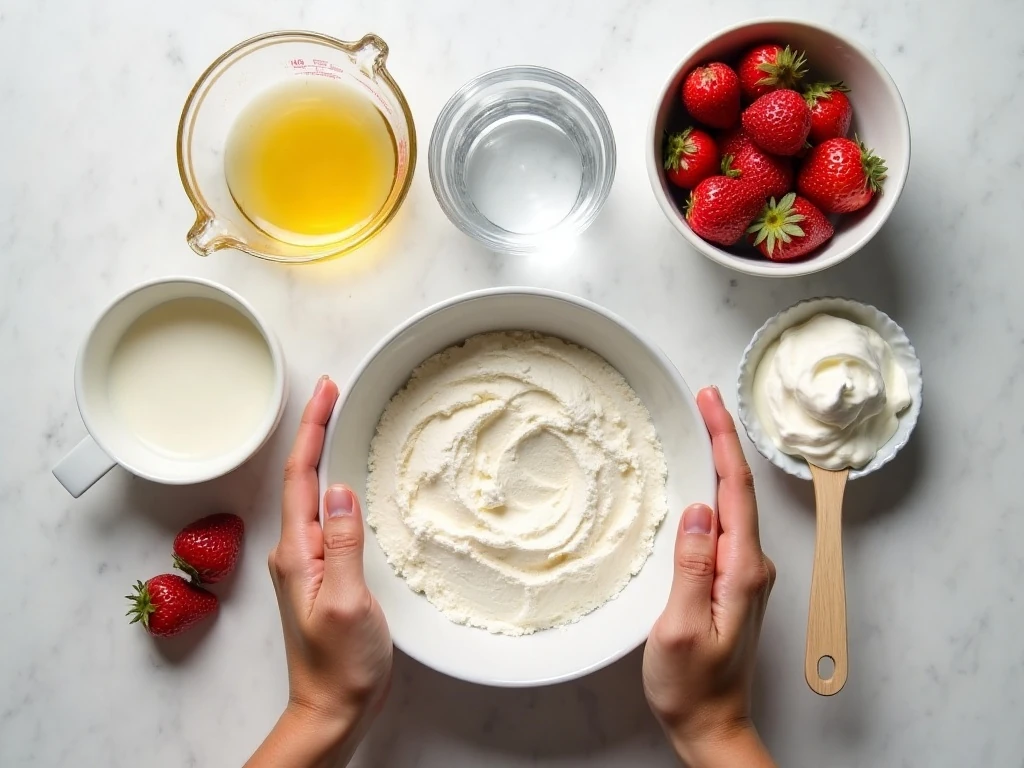
Start with one 15.25-ounce box of white cake mix. Follow the package directions using 3 large eggs, 1/3 cup vegetable oil, and 1 cup water; these ingredients create the base that will hold the strawberry filling.
You will also need one 3-ounce package of strawberry gelatin, 1 cup boiling water, and 1/2 cup cold water. The boiling water dissolves the gelatin crystals, while the cold water brings the mixture to a usable temperature before it is poured over the cake.
For the finish, use one thawed 8-ounce container of frozen whipped topping and one pint of fresh strawberries, which is approximately 2 cups once hulled and sliced. Choose berries that are fragrant, firm, and brightly colored for the most attractive garnish.
- Use a 9-by-13-inch baking pan for the correct cake thickness.
- Have a wooden spoon handle, large straw, or similarly wide tool ready for poking.
- Set aside refrigerator space for the cake to chill flat and undisturbed.
For another pretty layer cake idea, take a look at this festive holiday cake, which is also a lovely choice for a dessert table.
How to Make It Step-by-Step
Step 1: Heat the oven according to the cake-mix directions, usually to 350°F, and grease a 9-by-13-inch baking pan. Prepare the batter with the eggs, oil, and water listed above, following the instructions printed on the cake-mix box for mixing time and technique.
Step 2: Pour the batter into the greased pan and smooth the surface so the cake bakes evenly. Bake for 25 to 30 minutes, checking the center with a toothpick; it is ready when the toothpick comes out clean or with only a few moist crumbs.
Step 3: Cool the cake in the pan for 10 to 15 minutes. It should still be warm when you poke it, but waiting a short time keeps the crumb from being overly fragile and helps the holes retain their shape.
Step 4: Make holes approximately 1 inch apart using the handle of a wooden spoon, a large drinking straw, or another wide tool. Press straight down without scraping the bottom of the pan, creating a consistent pattern so the strawberry gelatin can spread through every serving.
Step 5: Add 1 cup boiling water to the strawberry gelatin and stir until no crystals remain. Stir in 1/2 cup cold water, then give the mixture a final stir so the temperature and texture are even.
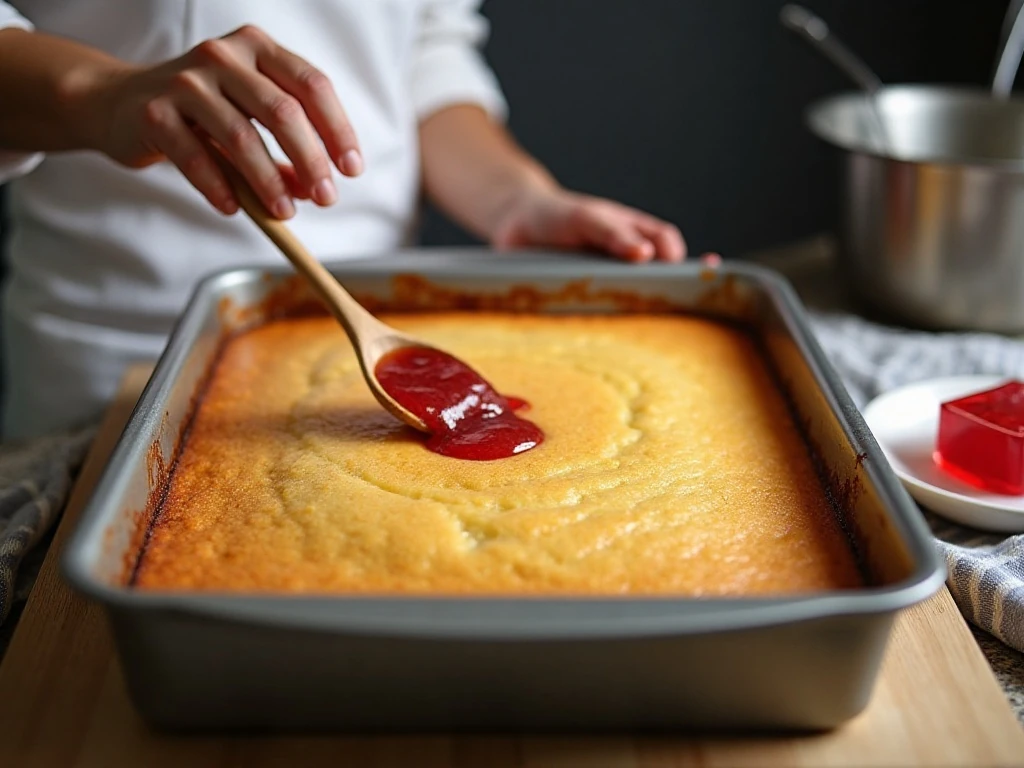
Step 6: Slowly pour the gelatin over the cake, distributing it from edge to edge. Aim the liquid over the holes and pour in stages if necessary, allowing each addition to absorb before adding more.
Step 7: Refrigerate the cake for at least 1 hour, and preferably until it is fully chilled and the gelatin has set. Do not rush this stage, since a properly cold cake supports the topping and produces neater slices.
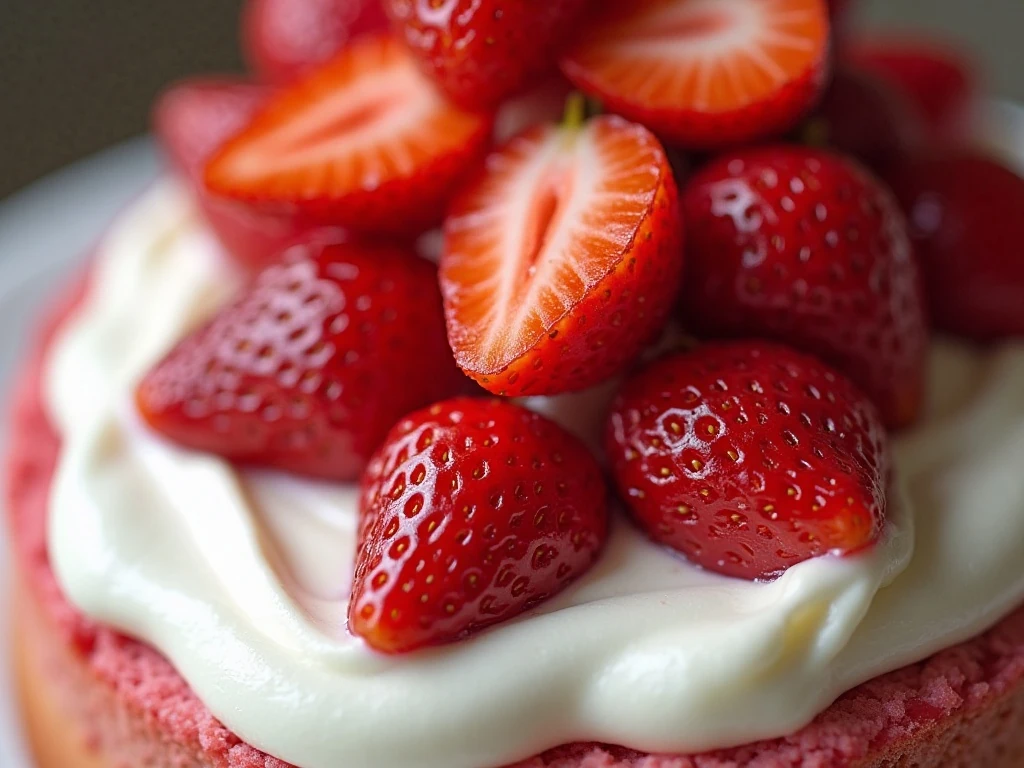
Step 8: Spread the thawed whipped topping across the entire surface in an even layer. Arrange the sliced strawberries on top just before serving, either in tidy rows or in a casual pattern for a homespun look.
Pro Tips for the Best Poke Cake
The timing of the holes matters. A cake that is immediately out of the oven can tear easily, while a completely cool cake may not absorb the gelatin as readily; 10 to 15 minutes of cooling is the useful middle ground.
Choose a wooden spoon handle or large straw instead of a thin skewer. Wider openings allow more strawberry gelatin to collect inside the cake, giving you a stronger strawberry flavor and a more noticeable color pattern in each slice.
Pour patiently. If the gelatin is added too quickly, it may run toward the edges or sit on the surface rather than filling the holes, so move around the pan and give the cake a moment to absorb the liquid.
Chill before topping. Cold cake keeps the whipped topping fluffy and stable, whereas topping a warm cake can cause it to soften or slide.
Add the berries close to serving time for the best color and texture. If you need a more intense strawberry flavor, spread a thin layer of strawberry preserves beneath the whipped topping after the cake has chilled.
For a slightly richer cake flavor, replace the white cake mix with a yellow cake mix. You can also use stabilized homemade whipped cream in place of the frozen whipped topping if you prefer to make the topping from scratch.
When you want a more traditional celebration dessert, compare this idea with our classic chocolate layer cake for a deeper cocoa flavor and a more structured finish.
Serving, Storage, and Make-Ahead Advice
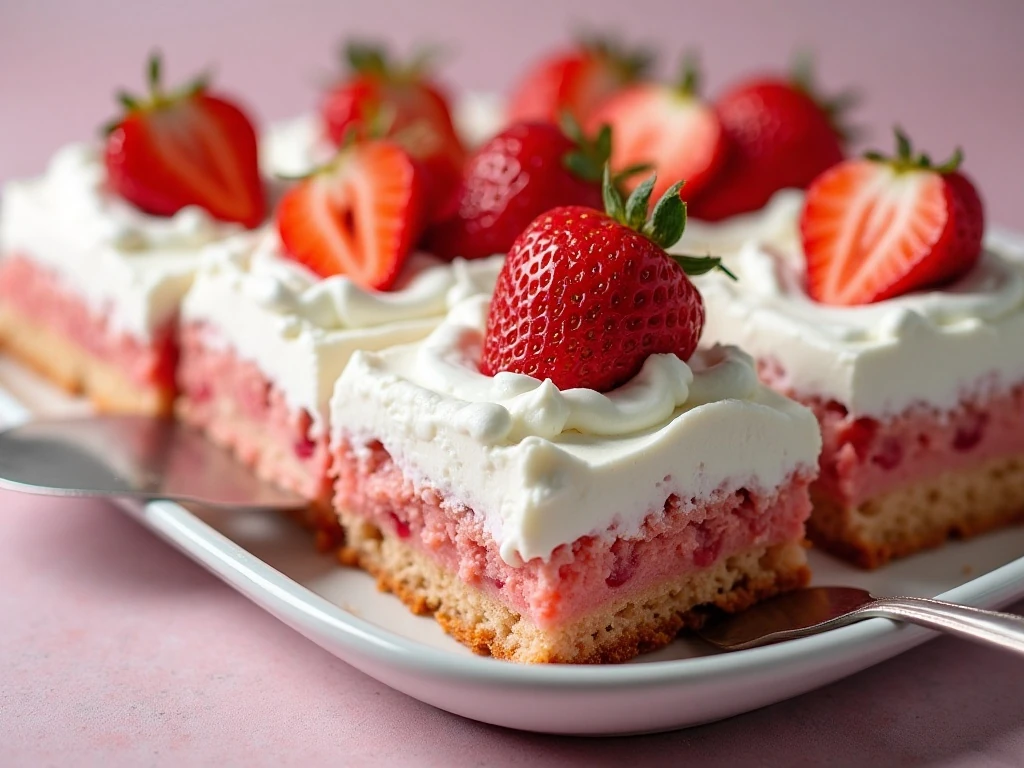
Use a sharp knife to cut the cake into squares, wiping the blade between cuts for clean edges. A thin spatula is helpful when lifting pieces from the pan because the gelatin-filled cake is soft and tender.
Keep the dessert covered and refrigerated until it is time to eat. The whipped topping and fresh strawberries are best when the cake stays cold, and the chilled texture makes the strawberry flavor taste crisp and refreshing.
The cake is ideal for preparing ahead because it needs at least an hour of chilling after the gelatin is added. For the freshest garnish, keep the sliced strawberries separate and arrange them over the topping shortly before serving.
Leftovers should remain refrigerated in the covered baking pan. The cake may gradually soften as it sits, but it will still make a delicious next-day treat.
If you are planning a dessert spread, this almond cream cake offers another tender, creamy option alongside the strawberry version.
Flavor Pairings and Easy Variations
The clean strawberry flavor pairs beautifully with vanilla ice cream, a few extra fresh berries, or a light dusting of powdered sugar. For a party, serve small chilled squares on a white platter so the pink gelatin and red fruit stand out.
A yellow cake base gives the dessert a slightly richer, buttery character while keeping the same preparation method. If you use homemade whipped cream, stabilize it so the topping holds its shape during refrigeration and serving.
For an especially fruity result, add a thin layer of strawberry preserves over the chilled cake before spreading on the whipped topping. Keep the layer thin so it complements rather than overwhelms the gelatin and fresh fruit.
For a lighter menu that still features strawberries, pair dessert with this strawberry pistachio quinoa dish at a brunch or summer gathering.
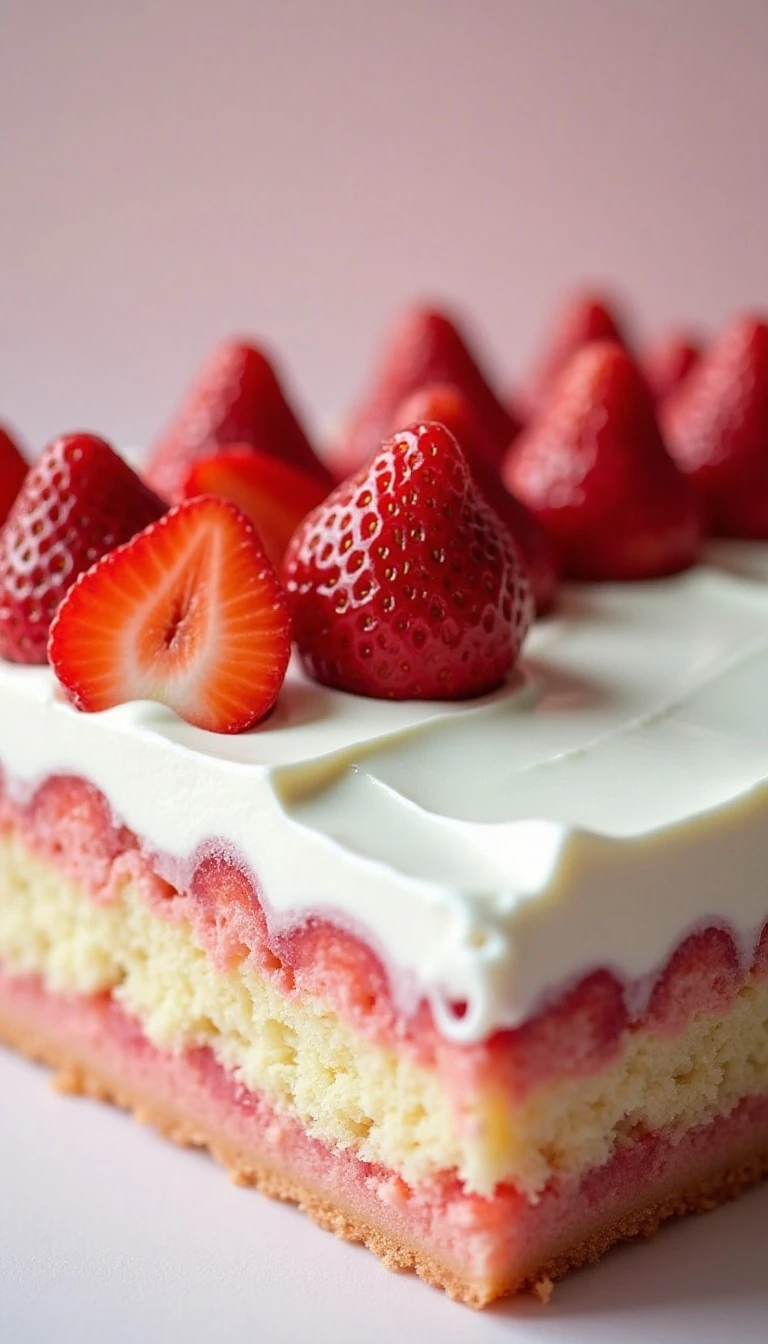
Strawberry Poke Cake
Ingredients
Method
- Heat the oven according to the cake-mix package directions, usually 350°F. Grease a 9-by-13-inch baking pan, prepare the white cake batter with 3 eggs, 1/3 cup vegetable oil, and 1 cup water as directed on the package, then pour the batter into the prepared pan.
- Bake the cake for 25 to 30 minutes, or until a toothpick inserted in the center comes out clean. Let it cool in the pan for about 10 to 15 minutes so it is warm but no longer piping hot.
- Use the handle of a wooden spoon, a skewer, or a large drinking straw to make evenly spaced holes about 1 inch apart across the cake. Choose a wider tool so the gelatin can travel into the crumb without tearing the cake.
- Place the strawberry gelatin in a bowl and stir in 1 cup boiling water until the crystals dissolve completely. Stir in 1/2 cup cold water to cool and dilute the mixture.
- Slowly pour the gelatin over the warm cake, moving across the surface so it reaches as many holes as possible. Pause briefly if needed to let the liquid absorb instead of pooling heavily in one area.
- Refrigerate the cake for at least 1 hour, or until it is completely chilled and the gelatin is set. The cold cake will be firmer and easier to cover without melting the whipped topping.
- Spread the thawed whipped topping evenly over the chilled cake. Arrange the hulled and sliced strawberries over the topping, then refrigerate until serving.
Notes
Final Thoughts
This Strawberry Poke Cake proves that an impressive dessert can come together with a short ingredient list and straightforward steps. The warm cake absorbs the strawberry gelatin, the refrigerator firms everything into a tender chilled treat, and the whipped topping with fresh berries gives every slice a beautiful finish.
Remember the essentials: use a wide tool for evenly spaced holes, pour the gelatin slowly, chill the cake thoroughly, and add the strawberries close to serving. Make it for a celebration, a weekend dinner, or a casual potluck, and expect the pan to disappear quickly.