These Easy Pumpkin Rice Krispie Treats are a no-bake fall dessert made with 3 tablespoons of butter, 10 ounces of mini marshmallows, 6 cups of crisp rice cereal, and orange gel food coloring. In about 35–50 minutes, you can shape the warm mixture into approximately 12 pumpkin treats, add candy stems, and let them firm at room temperature.
Each treat is soft, buttery, chewy, and pleasantly crisp, with the familiar marshmallow flavor that makes cereal treats so popular. The pumpkin shape and bright orange color make them perfect for Halloween parties, Thanksgiving dessert tables, classroom celebrations, bake sales, or an easy afternoon kitchen project with kids.
Jump to RecipeWhy You’ll Love This Recipe
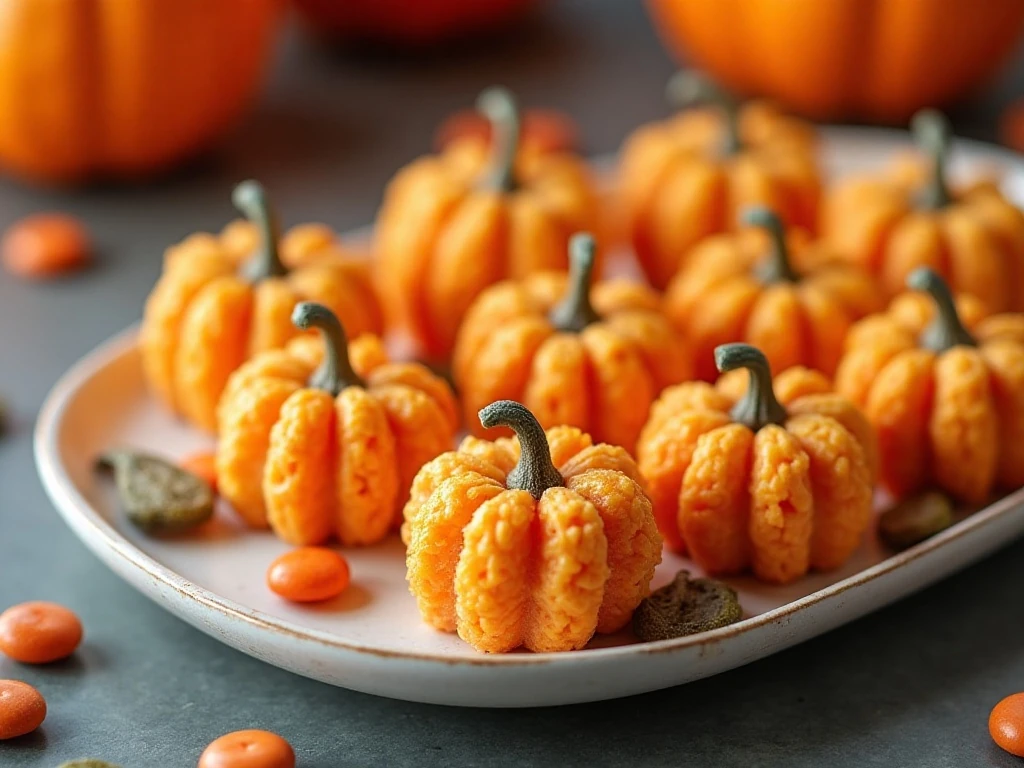
There is a lot to appreciate about a dessert that looks special but requires no oven, complicated equipment, or long ingredient list. These pumpkin treats use the familiar method for classic cereal bars, but a little orange coloring and simple hand shaping turn them into charming seasonal sweets.
The total active cooking time is only about 5 minutes. After that, you need roughly 15–20 minutes for preparation, about 5 minutes for the mixture to cool enough to handle, and 15–30 minutes for the shaped pumpkins to firm.
They are also wonderfully adaptable. Make the pumpkins small for party favors, slightly larger for individual desserts, or let children decorate them with green icing and candy leaves. For another cozy fall breakfast, you can also enjoy our pumpkin pancake recipe.
- No oven or mixer required
- About 12 festive treats from one batch
- Soft, chewy texture with crisp cereal throughout
- Easy decorations using candy or pretzel pieces
- Great for Halloween, Thanksgiving, and fall gatherings
Ingredients You’ll Need
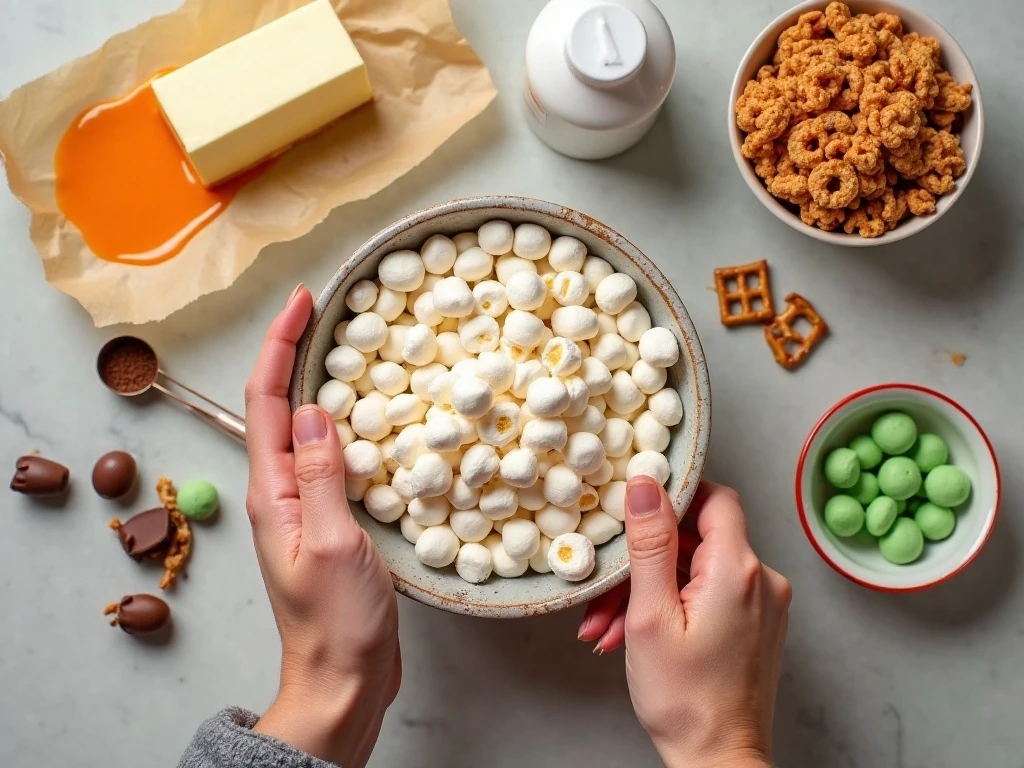
The recipe begins with 3 tablespoons of unsalted butter. Butter helps create a smooth marshmallow mixture and adds a gentle richness to the finished treats, so use fresh butter for the cleanest flavor.
You will also need one 10-ounce package of mini marshmallows, which is about 5 1/2 cups, and 6 cups of crisp rice cereal. Mini marshmallows melt quickly and evenly, while the cereal provides the light crunch and structure that makes these treats easy to shape.
For the pumpkin color, use approximately 8–12 drops of orange gel food coloring, or enough to reach a vivid pumpkin-orange shade. Gel coloring works well because it adds strong color without introducing much extra liquid.
For stems, prepare 12 small pieces of Tootsie Roll, chocolate candy, or pretzel sticks. Optional green candy melts, green icing, or green M&M candies can become leaves and vines.
Finally, have nonstick cooking spray or softened butter ready for the baking sheet, parchment or wax paper, your hands, and the work surface. A lightly greased setup makes the sticky mixture much easier to manage.
How to Make It Step-by-Step
Step 1: Prepare the shaping station before melting anything. Line a baking sheet with parchment paper or wax paper, then lightly coat the paper with nonstick spray or butter; grease your hands and a nearby work surface as well.
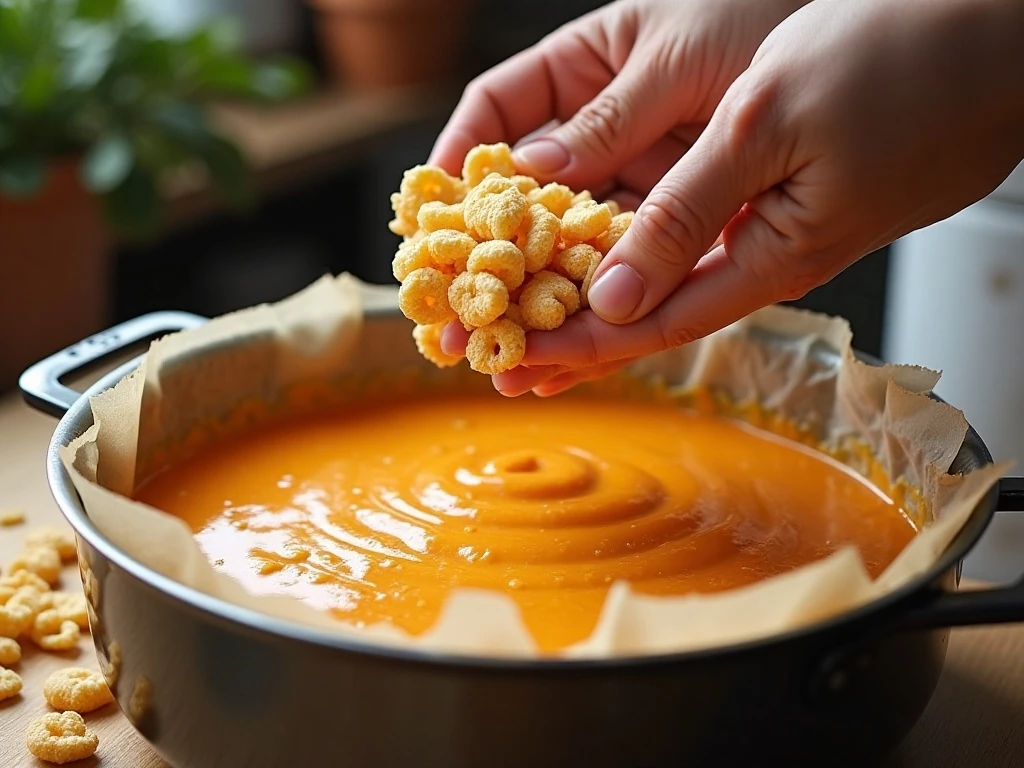
Step 2: Place the butter in a large saucepan over low heat and let it melt gently. Add the mini marshmallows and stir continuously until they become completely melted and smooth, keeping the heat low and never allowing the mixture to boil.
Step 3: Remove the saucepan from the heat as soon as the marshmallows are smooth. Stir in 8–12 drops of orange gel food coloring, adding enough to produce an even pumpkin-orange color without overworking the mixture.
Step 4: Add all 6 cups of crisp rice cereal to the saucepan. Fold gently from the bottom and sides until the cereal is evenly coated, using care so the pieces retain their shape and the mixture stays light.
Step 5: Let the orange cereal mixture cool for approximately 5 minutes. It should be comfortable enough to handle but still warm and pliable, since shaping becomes much harder once the marshmallow sets.
Step 6: Divide the mixture into about 12 portions. With lightly greased hands, gently press each portion into a compact ball, avoiding heavy packing so the finished pumpkins remain soft rather than dense.
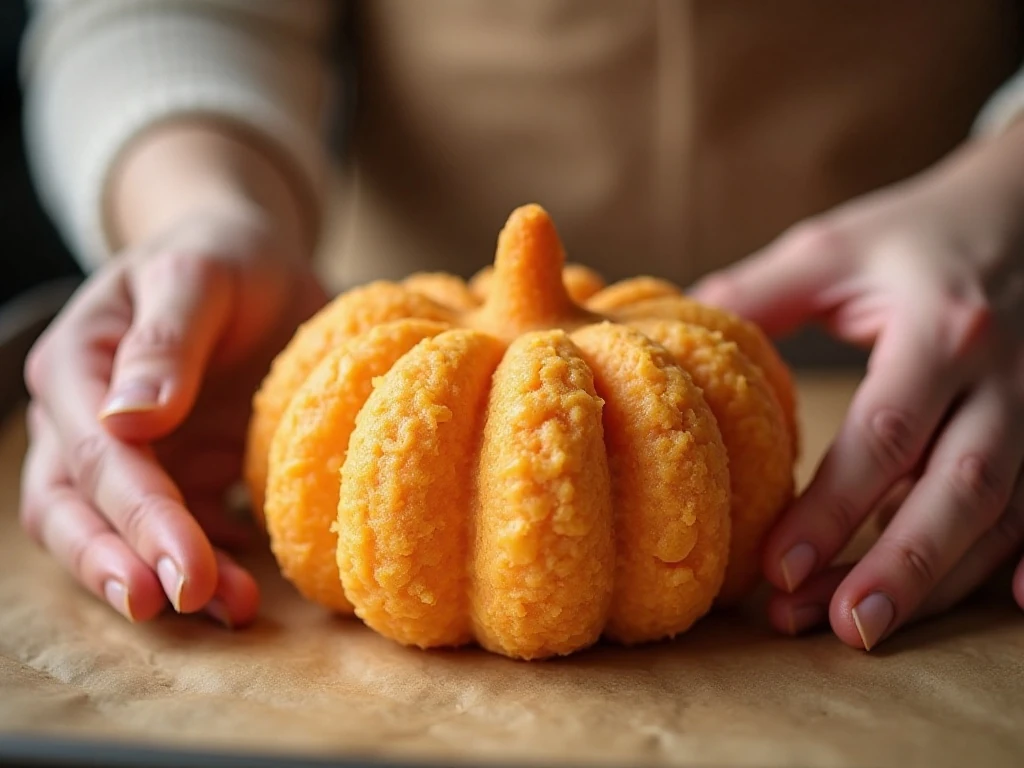
Step 7: Flatten the bottom of each ball just enough to help it stand. Press a small indentation into the top and sides with your fingers to create pumpkin ridges, keeping the shape rounded and natural.
Step 8: Insert one small Tootsie Roll, chocolate candy, or pretzel stick piece into the top of each pumpkin as a stem. Add green icing, green candy melts, or green M&M candies for leaves or curling vines if you want extra detail.
Step 9: Transfer each pumpkin to the lined baking sheet. Leave them at room temperature for 15–30 minutes, or until firm enough to pick up easily while still retaining their soft, chewy texture.
Pro Tips for Soft, Perfect Pumpkins
Fresh marshmallows make a noticeable difference. Older marshmallows may melt unevenly, while fresh ones create a smoother mixture that folds around the cereal with less effort.
Low heat is essential from the beginning. Overheating the butter and marshmallows can produce hard, chewy treats instead of soft ones, so remove the pan as soon as the marshmallows are fully melted.
Grease your hands before every few pumpkins, not only at the beginning. The marshmallow mixture is naturally sticky, and a thin coating of butter or spray helps you shape ridges without tearing the cereal mixture apart.
Use gentle pressure when forming the pumpkins. Packing the cereal tightly may help the ball hold its shape, but it also creates a heavier, harder bite. Light compression gives the treats a more tender texture.
Shape the pumpkins while the mixture is warm. If it becomes difficult to mold, warm it very briefly or work with smaller portions rather than trying to force a large, stiff piece into shape.
If you want a more detailed pumpkin appearance, use the side of your fingertip to press three or four shallow vertical grooves around each treat. Keep the grooves subtle so the pumpkins remain sturdy when decorated.
Decorating Ideas for Fall Parties
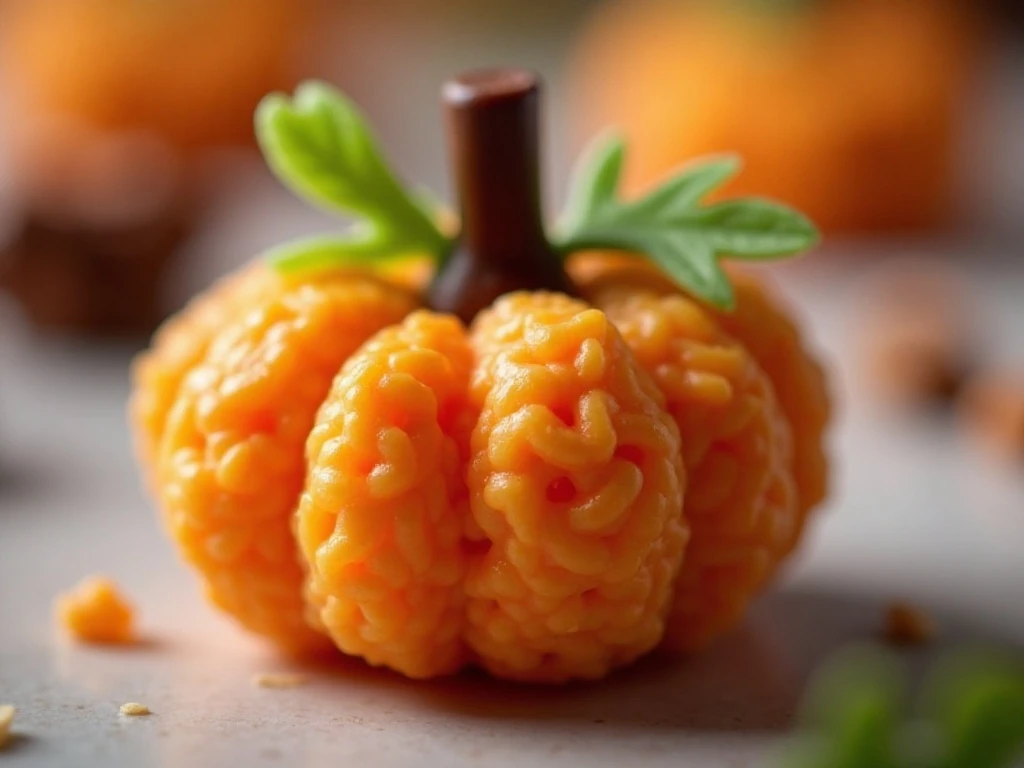
A simple candy stem is enough to make the shape recognizable, but a few extra details can make the treats look especially festive. Green icing can be piped into a small leaf or a curling vine, while green candy melts can be shaped into leaves after melting according to their package directions.
Pretzel stems add a salty contrast to the sweet marshmallow mixture and are easy to portion into small pieces. Chocolate candy stems provide a richer flavor and pair naturally with the orange color.
For a dessert table, arrange the pumpkins on a large platter with a few autumn-colored candies around the edges. If you are serving several fall dishes, pair these treats with a slice of our classic pumpkin roll for a varied dessert spread.
You may also drizzle the finished treats with melted white chocolate or orange candy melts. This decoration is optional, but thin lines across the ridges can create a pretty bakery-style finish after the treats have firmed.
Storage and Serving Suggestions
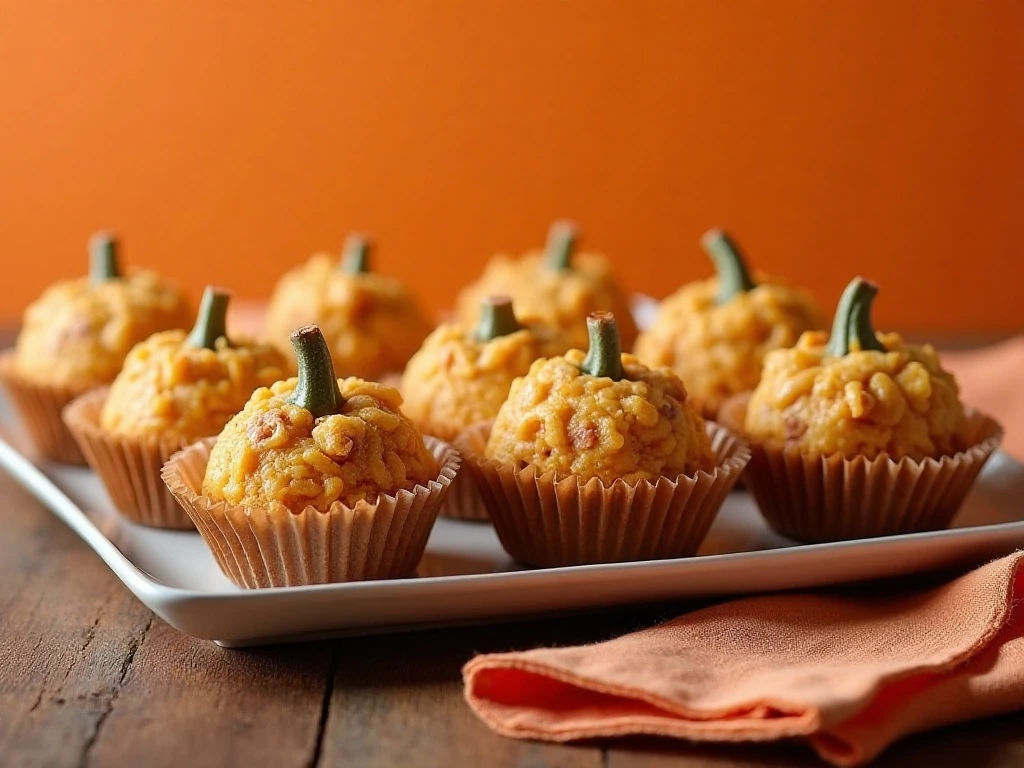
These treats are best served fresh, when the cereal is crisp and the marshmallow center is soft. Keep them covered at room temperature so they do not dry out or absorb moisture from the surrounding air.
For parties, make the pumpkins earlier the same day and allow the full 15–30 minutes of setting time before arranging them on a serving platter. Individual paper liners can make them easier for guests to pick up and can help protect decorative stems.
Do not refrigerate them unless necessary, because chilled cereal treats can become firmer and less pleasant to bite. If the mixture becomes difficult to shape before all the pumpkins are formed, warm it very briefly rather than adding extra butter or marshmallows.
After dessert, continue the seasonal menu with our easy minestrone soup or a bowl of stovetop turkey chili for a cozy fall meal. If you are building a candy-themed dessert tray, our KitKat fudge makes another colorful, no-oven option.
Common Questions
Can I make these without orange food coloring? Yes. They will still taste like classic cereal treats, but the orange coloring provides the strongest pumpkin appearance. You can also use a slightly deeper orange for a Halloween display.
Can children help shape them? Absolutely, provided the mixture has cooled enough to handle and an adult manages the hot saucepan. Children can gently roll portions, press shallow ridges, and add candy stems or green decorations.
Why are my treats hard? The most common causes are overheating the marshmallows or compressing the cereal too firmly. Keep the saucepan over low heat, remove it promptly once smooth, and shape each portion with a light touch.
Can I make fewer than 12? Yes. Divide the mixture into larger portions for bigger pumpkins, though the total yield will be lower. Shape each one while warm and allow the same 15–30 minutes for setting.
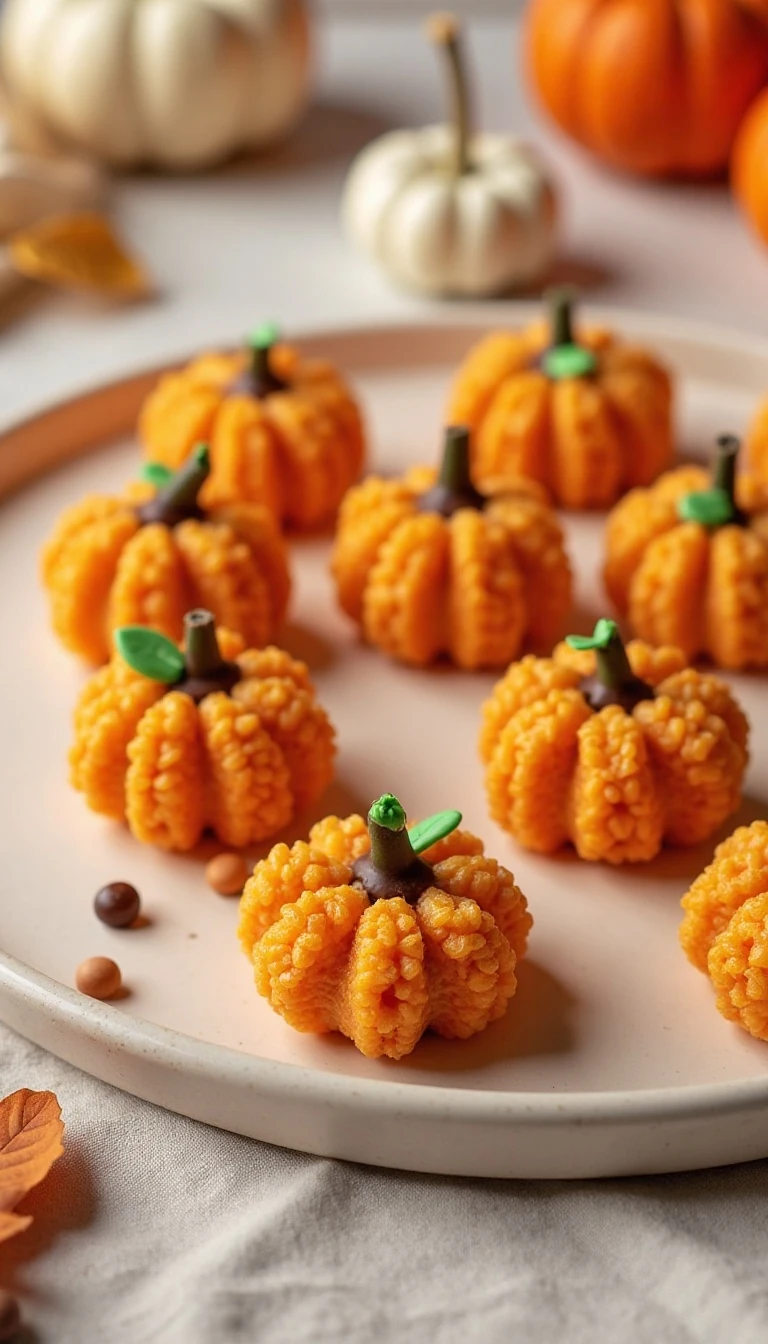
Easy Pumpkin Rice Krispie Treats for Fall
Ingredients
Method
- Line a baking sheet with parchment paper or wax paper, then lightly coat the paper and your hands with nonstick spray or softened butter.
- Melt the butter in a large saucepan over low heat. Add the mini marshmallows and stir continuously until the mixture is completely smooth, taking care not to let it boil.
- Remove the saucepan from the heat and stir in 8–12 drops of orange gel food coloring, adding enough to create a pumpkin-orange shade.
- Add the crisp rice cereal and fold gently until every piece is evenly coated with the orange marshmallow mixture.
- Let the mixture cool for approximately 5 minutes, until it is comfortable to handle but still pliable.
- Divide the mixture into about 12 portions. Grease your hands again, gently compress each portion into a compact ball, and avoid pressing too firmly.
- Flatten the bottom of each ball slightly, then press a small indentation into the top and sides to suggest pumpkin ridges.
- Insert a small candy or pretzel stem into the top of each pumpkin. Add green icing, green candy melts, or green M&M candies as leaves or vines if desired.
- Arrange the finished treats on the lined baking sheet and let them firm at room temperature for 15–30 minutes before serving.
Notes
Final Thoughts
These Easy Pumpkin Rice Krispie Treats bring maximum fall charm to a wonderfully simple dessert. The buttery marshmallow mixture, crisp rice cereal, orange color, and candy stems come together quickly, making this a reliable recipe when you need a festive treat without turning on the oven.
Keep the heat low, use fresh marshmallows, grease your hands, and shape the pumpkins gently while the mixture is still warm. Once the treats have set, they are ready to brighten a party platter, lunchbox, dessert table, or cozy autumn afternoon.
Make a batch with your favorite stems and decorations, then enjoy the soft, chewy results with family and friends. Every little pumpkin is easy to customize, fun to serve, and deliciously familiar.