These Easy Peanut Butter Rocky Road Bars are chewy, crunchy, chocolatey, and wonderfully simple to make. A peanut butter cookie mix creates the soft cookie base, while miniature marshmallows, melted semisweet chocolate, creamy peanut butter, and chopped peanuts form the classic rocky road topping.
Prepare these bars in a 13 x 9-inch pan with just 15 minutes of prep, bake the cookie base for 15–18 minutes, add the marshmallows for 2 more minutes, and allow about 1 hour for cooling and setting. The result is a generous batch of approximately 24–36 bars with a tender center, lightly browned edges, gooey marshmallow pockets, and a smooth sweet-salty finish.
Jump to RecipeWhy You’ll Love This Recipe
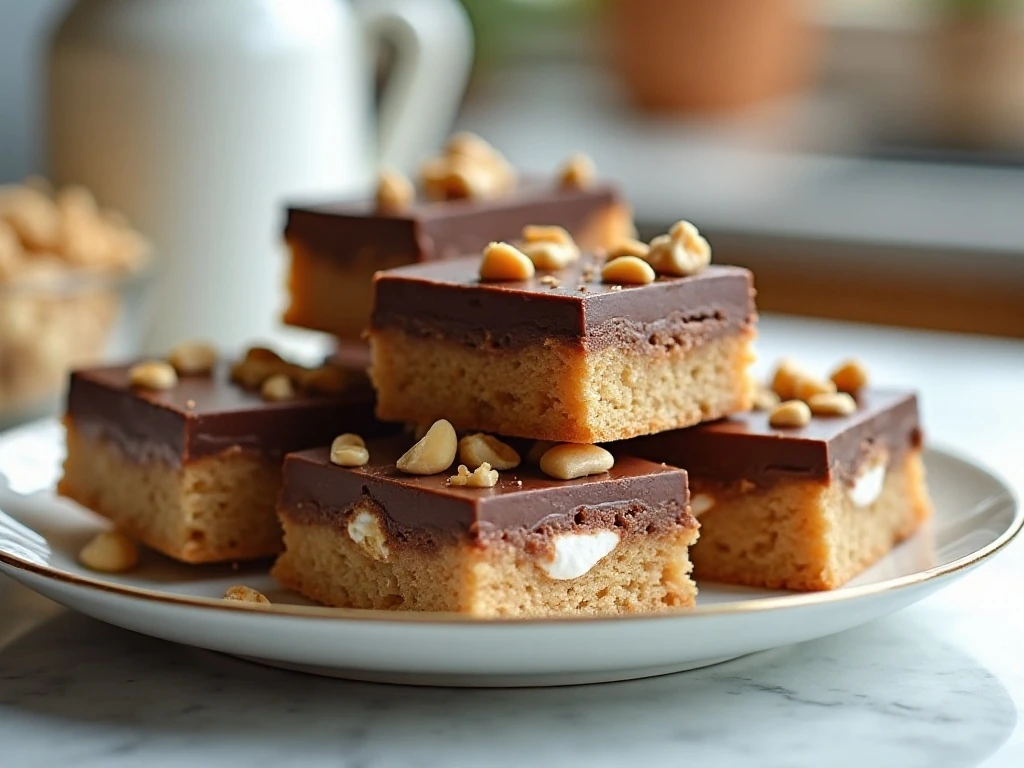
Rocky road bars are loved for their contrast, and this version brings several textures together in one easy dessert. The bottom is soft and chewy like a peanut butter cookie, the marshmallows become tender and lightly stretchy, and the chocolate topping sets into a rich layer with plenty of peanut crunch.
Because the recipe starts with a 17.5-ounce pouch of peanut butter cookie mix, there is no need to measure flour, baking soda, or several separate dry ingredients. It is a practical choice for bake sales, holiday cookie trays, school events, potlucks, or a last-minute dessert when a full layer cake feels like too much work.
The finished bars are also easy to customize without changing the basic method. If you enjoy peanut butter desserts in every form, you may also like these easy peanut butter cookies for a classic batch with crisp edges and tender centers.
Ingredients You’ll Need
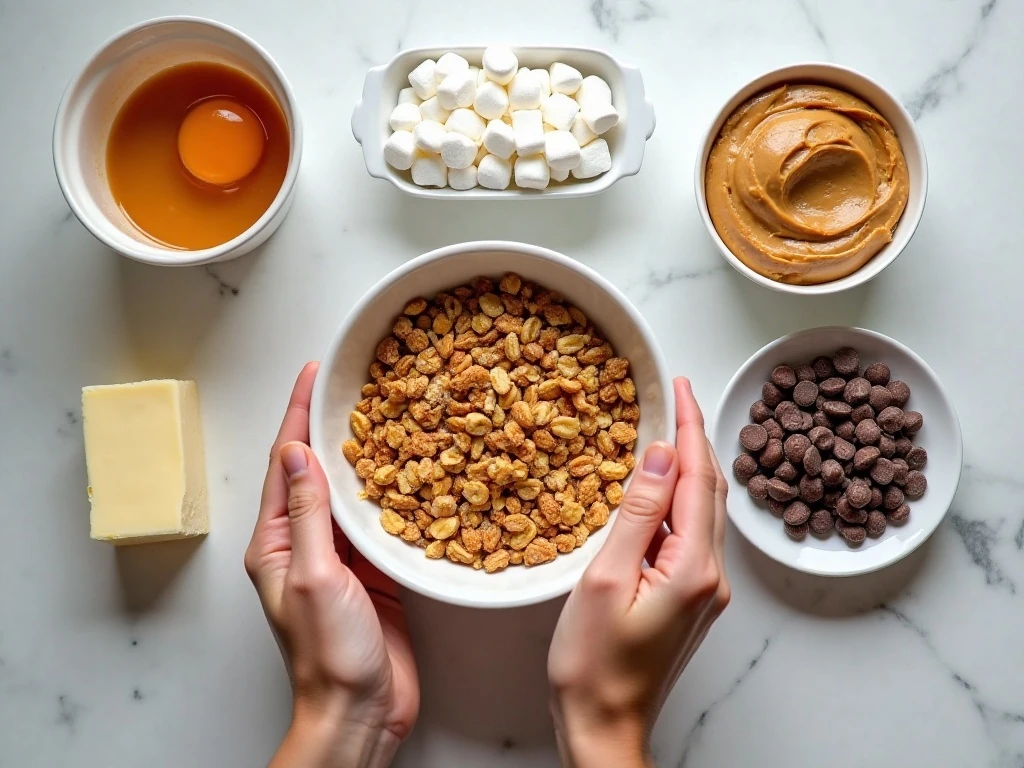
Gather the ingredients before starting because the marshmallow and topping stages move quickly. The exact quantities below are designed for a 13 x 9-inch pan and yield about 24–36 bars, depending on the size of each slice.
- Peanut butter cookie mix: One pouch, about 17.5 ounces, forms the base.
- Butter or margarine: One-half cup, softened, helps the mix become a spreadable dough.
- Large egg: One egg binds the cookie base and contributes to its tender texture.
- Miniature marshmallows: Three cups create the soft, classic rocky road layer.
- Semisweet chocolate chips: One cup provides a balanced chocolate flavor without making the bars overly sweet.
- Creamy peanut butter: One-half cup melts with the chocolate for a smooth, easy-to-spread topping.
- Chopped peanuts: One-half cup gives the bars their welcome crunch and a stronger peanut flavor.
Use softened butter rather than cold butter so it blends smoothly into the cookie mix. Creamy peanut butter is best for the topping because it melts evenly, while chopped peanuts can be fine or moderately chunky according to your preferred bite.
For another rich peanut butter treat to add to your dessert plans, see this peanut butter fudge recipe. It makes a nice companion for a holiday dessert platter alongside these rocky road bars.
How to Make It Step-by-Step
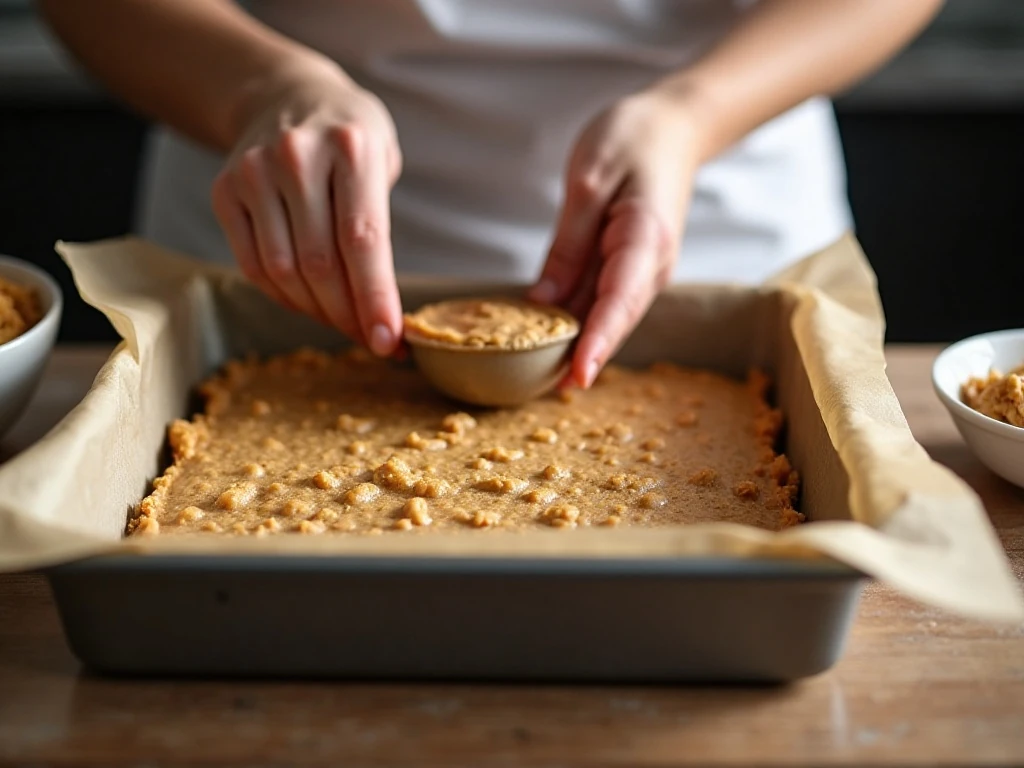
Step 1: Heat the oven to 350°F (175°C). Grease a 13 x 9-inch baking pan thoroughly, or line it with parchment paper, leaving enough overhang on two sides to lift the cooled bars out later.
Step 2: Place the peanut butter cookie mix, softened butter or margarine, and egg in a large bowl. Stir until the ingredients come together into a soft dough with no obvious dry pockets, but avoid mixing longer than needed.
Step 3: Transfer the dough to the prepared pan and press it evenly from corner to corner. Slightly damp fingertips or a piece of parchment placed over the dough can make this step easier and help create an even thickness.
Step 4: Bake the base for 15–18 minutes. It is ready when the center looks set and the edges are lightly browned; do not wait for the entire surface to become dark, because overbaking can make the cookie layer dry.
Step 5: Remove the pan from the oven and immediately scatter the three cups of miniature marshmallows over the hot cookie base. Return the pan to the oven for about 2 minutes, watching closely so the marshmallows soften but do not become deeply browned.
Step 6: While the marshmallows are softening, melt the semisweet chocolate chips and creamy peanut butter together. Use a microwave in 20–30-second intervals, stirring between intervals, or use a heatproof bowl over gently simmering water until the mixture is smooth.
Step 7: Spread the warm chocolate-peanut-butter mixture over the marshmallows as soon as the pan comes out of the oven. Work gently but confidently, using the back of a spoon or an offset spatula so the topping covers the surface without dragging up too many marshmallows.
Step 8: Sprinkle the chopped peanuts evenly over the warm topping. Press them very lightly if needed so they adhere, but do not push them deep into the chocolate layer.
Step 9: Let the bars cool completely for about 1 hour before cutting. Once cool, briefly chill them if you want firmer layers, then lift them from the pan using the parchment overhang and cut with a sharp knife lightly coated with cooking spray.
Pro Tips for Perfect Bars

The most important timing detail is to spread the chocolate topping while it is warm and fluid. If the marshmallows cool too much first, the topping may tug at them and create an uneven surface instead of a smooth chocolate layer.
Do not deeply brown the marshmallows during their short return to the oven. Two minutes is generally enough to soften them, and the warm chocolate mixture will settle over them beautifully.
Parchment is especially helpful because these bars are sticky while setting. Leave an overhang rather than trimming the paper flush with the pan, then use the paper handles to transfer the entire slab to a cutting board.
If the cookie dough seems difficult to spread, press it in small portions across the pan rather than trying to move one thick lump from the center. An even base ensures that each bar receives a good balance of cookie, marshmallow, chocolate, and peanuts.
For a sweet-salty finish, use salted roasted peanuts. Milk chocolate chips create a sweeter, softer topping, while semisweet chocolate keeps the overall flavor more balanced and lets the peanut butter stand out.
Cooling, Cutting, and Storage
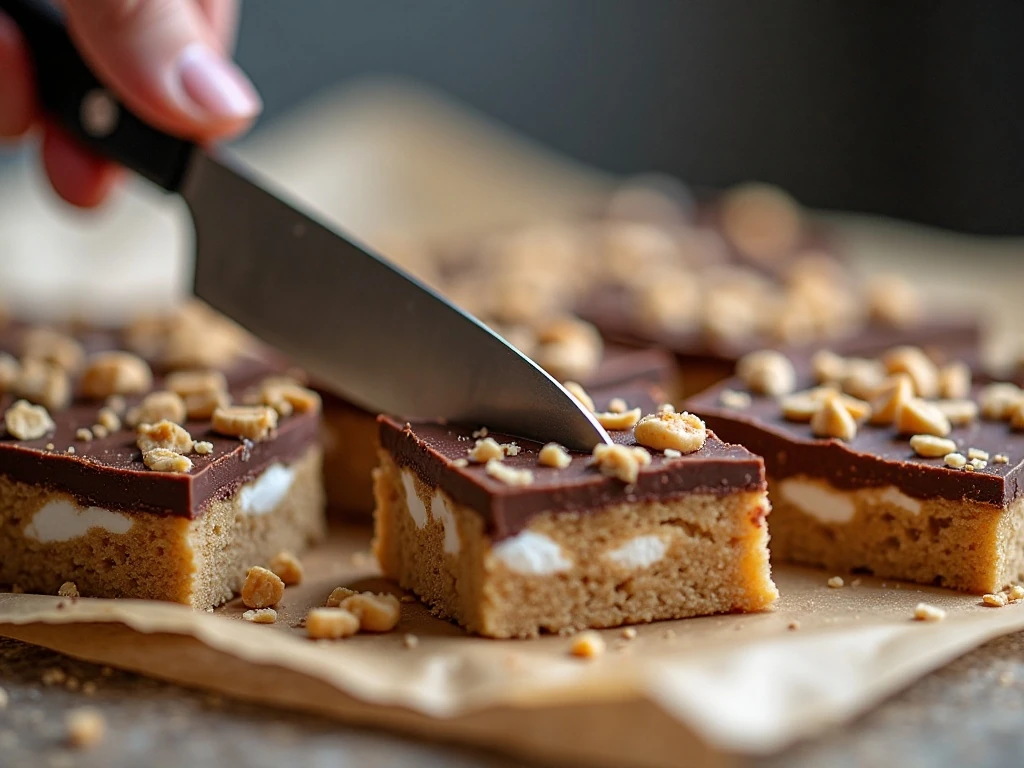
Allow the bars to cool completely at room temperature for approximately 1 hour before slicing. Cutting too soon can cause the chocolate layer to smear and the marshmallows to pull away from the cookie base.
For tidy edges, chill the fully cooled pan briefly, then use a sharp knife lightly coated with cooking spray. Wipe the blade between cuts when you want especially neat squares for gifting or serving.
Store the finished bars covered once they have completely set. Keep them in a cool place so the chocolate topping remains firm, and separate layers with parchment if stacking them in a container.
These bars are best cut according to the occasion. Make 24 larger pieces for a generous dessert, or cut 36 smaller squares for a cookie tray with more variety.
If you are building a bright dessert assortment, pair these rich bars with our easy lime bars. Their citrus flavor offers a refreshing contrast to the chocolate and peanut butter layers.
Serving Ideas and Variations
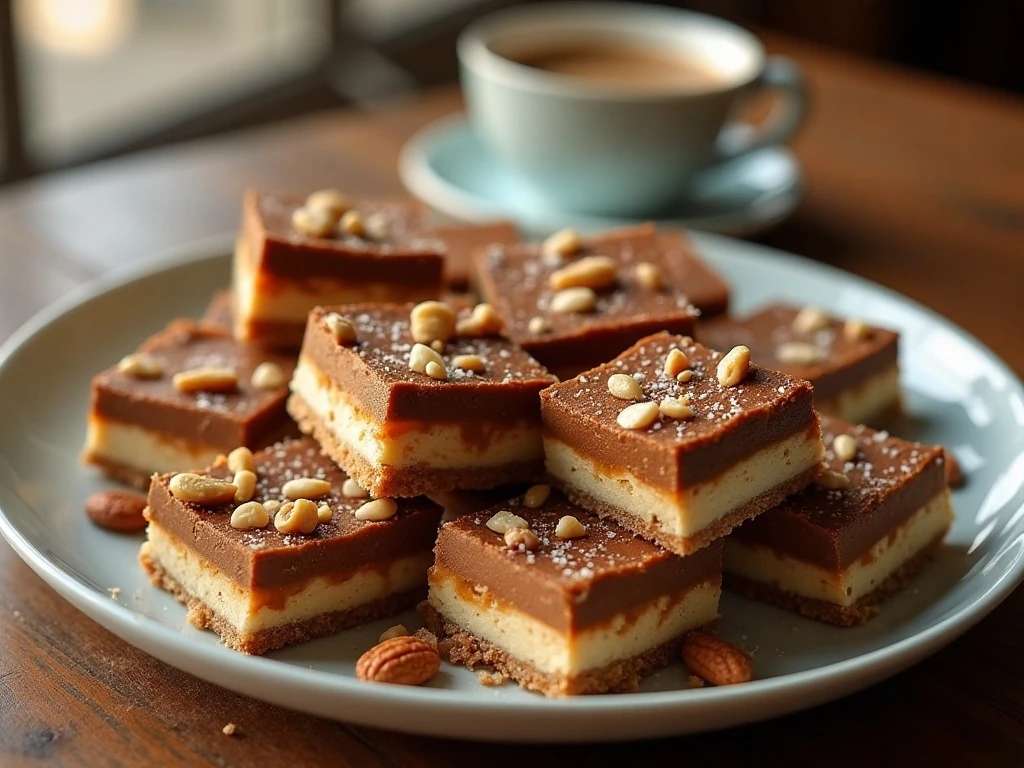
Serve the bars at room temperature when you want the marshmallow layer to feel soft and tender. A short chill gives the chocolate a firmer bite, making the bars particularly easy to pack for lunches, picnics, and dessert tables.
For a simple presentation, arrange the squares on a white platter and let the chopped peanuts show through the glossy topping. A few extra peanuts scattered around the plate provide texture without adding another ingredient to the recipe.
Milk chocolate chips are an easy variation when you prefer a sweeter topping. Salted roasted peanuts are another excellent option, especially if you like the contrast between the sugary marshmallows and savory peanut flavor.
You can also make the cookie base with homemade peanut-butter cookie dough instead of packaged mix. Keep the same 13 x 9-inch pan size and bake until the base is just set, using the appearance of the edges and center rather than baking beyond the recommended texture.
For a larger dessert spread, balance the bars with something fruit-forward such as stovetop caramel apples. When serving a full meal before dessert, our Worcestershire butter roast beef is a hearty main-course idea that pairs well with a relaxed family gathering.
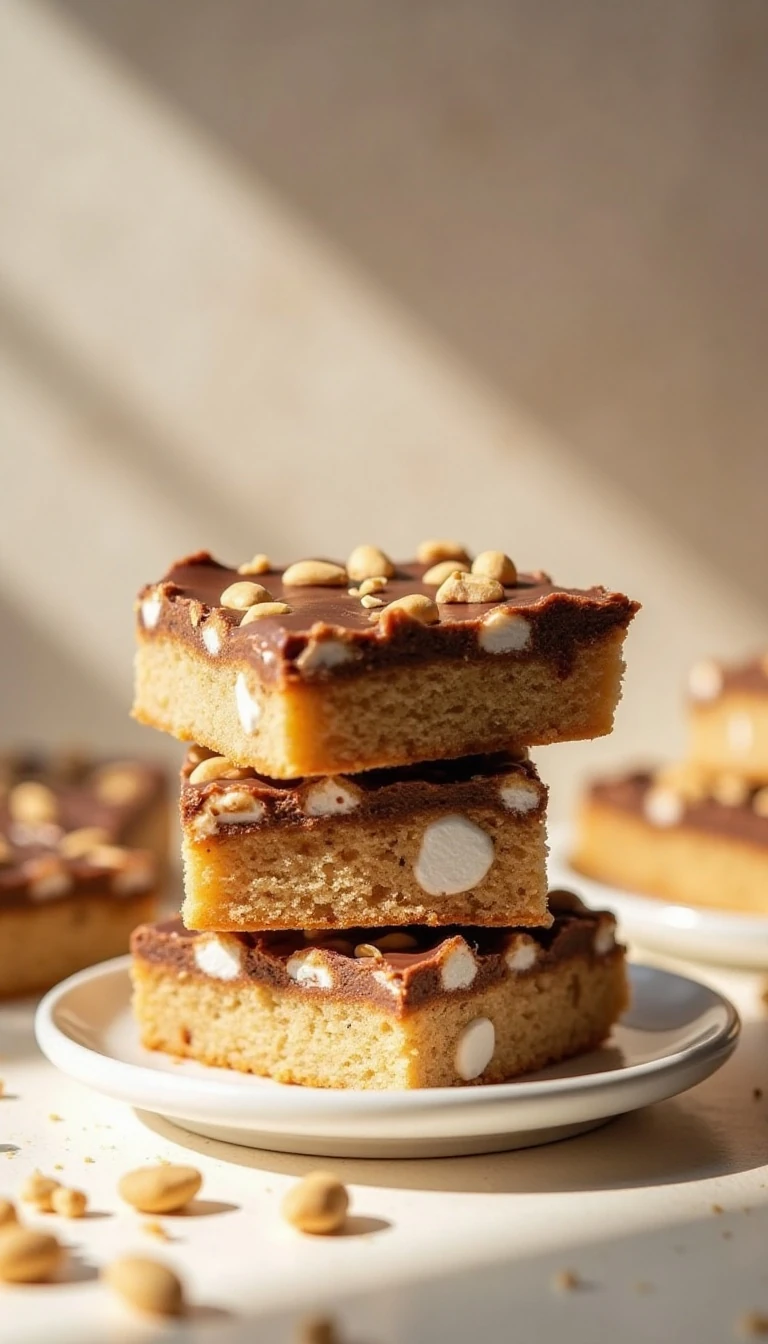
Easy Peanut Butter Rocky Road Bars
Ingredients
Method
- Heat the oven to 350°F (175°C). Grease a 13 x 9-inch baking pan, or line it with parchment paper and leave an overhang on two sides.
- Stir the peanut butter cookie mix, softened butter or margarine, and egg together until a soft dough forms. Press the dough evenly into the prepared pan.
- Bake the cookie base for 15–18 minutes, until the center is set and the edges are lightly browned. Remove it from the oven before the base becomes dry or deeply browned.
- Immediately scatter the miniature marshmallows over the hot cookie base. Return the pan to the oven for about 2 minutes, just until the marshmallows begin to soften without becoming deeply browned.
- Melt the chocolate chips and creamy peanut butter together in a microwave using 20–30-second intervals, stirring between each interval, or melt them in a bowl over gently simmering water. Stir until completely smooth.
- Spread the warm chocolate-peanut-butter mixture over the softened marshmallows. Sprinkle the chopped peanuts over the top while the coating is still fluid.
- Cool the bars completely for about 1 hour before cutting. For especially clean slices, chill the cooled bars briefly and use a sharp knife lightly coated with cooking spray.
Notes
Final Thoughts
These Easy Peanut Butter Rocky Road Bars deliver bakery-style appeal with a very manageable ingredient list and method. The soft peanut butter cookie base supports a layer of tender marshmallows, silky chocolate-peanut butter topping, and crisp chopped peanuts in every bite.
Remember the three details that make the biggest difference: avoid overbaking the base, soften the marshmallows for only about 2 minutes, and spread the chocolate topping while it is still warm. Give the finished pan a full hour to cool and set, and you will have clean, chewy bars ready for sharing.
Whether you cut them into generous squares or petite party pieces, this recipe belongs in the dependable dessert section of your recipe collection. Make a batch for a celebration, wrap a few for a thoughtful treat, or keep them ready for the next time a chocolate and peanut butter craving arrives.