This peanut butter and jelly bars recipe makes about 24 rich, tender cookie bars in a 9 x 13-inch pan. A buttery peanut butter dough surrounds raspberry jam, while chopped salted peanuts add a crisp finish. Prep takes about 20 minutes, baking takes 45 minutes, and the bars need at least 30 minutes to cool before slicing.
Every bite delivers the familiar comfort of a peanut butter and jelly sandwich in dessert form, with creamy peanut butter, bright raspberry jam, a golden cookie crumb, and a gentle salty crunch. These bars are easy enough for a casual afternoon bake and special enough for bake sales, holiday trays, lunchbox treats, and family gatherings.
Jump to RecipeWhy You’ll Love This Recipe
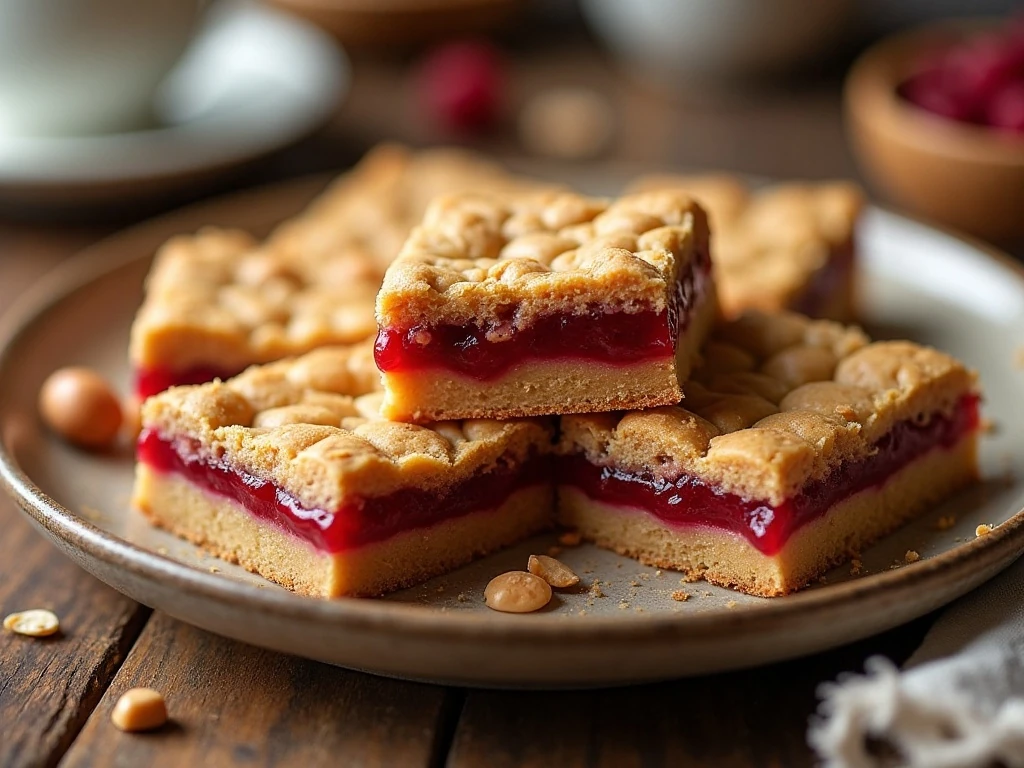
These peanut butter and jelly bars bring together two flavors that have always belonged together. The cookie dough is rich and tender rather than dry, the raspberry jam adds a vivid fruity layer, and the salted peanuts provide a satisfying contrast to the sweetness.
The method is also wonderfully forgiving. The bottom dough does not need to be perfectly sculpted, and the remaining dough is simply dotted over the jam, creating a rustic, crumbly top that looks inviting straight from the oven.
This recipe makes about 24 bars, so it is a practical choice when you need a generous dessert. Cut them into smaller squares for a party platter, or make larger bars for an after-school treat.
If your household enjoys peanut butter desserts, you may also like these chocolatey peanut butter bars, which offer a different texture and an extra-rich topping.
Ingredients You’ll Need
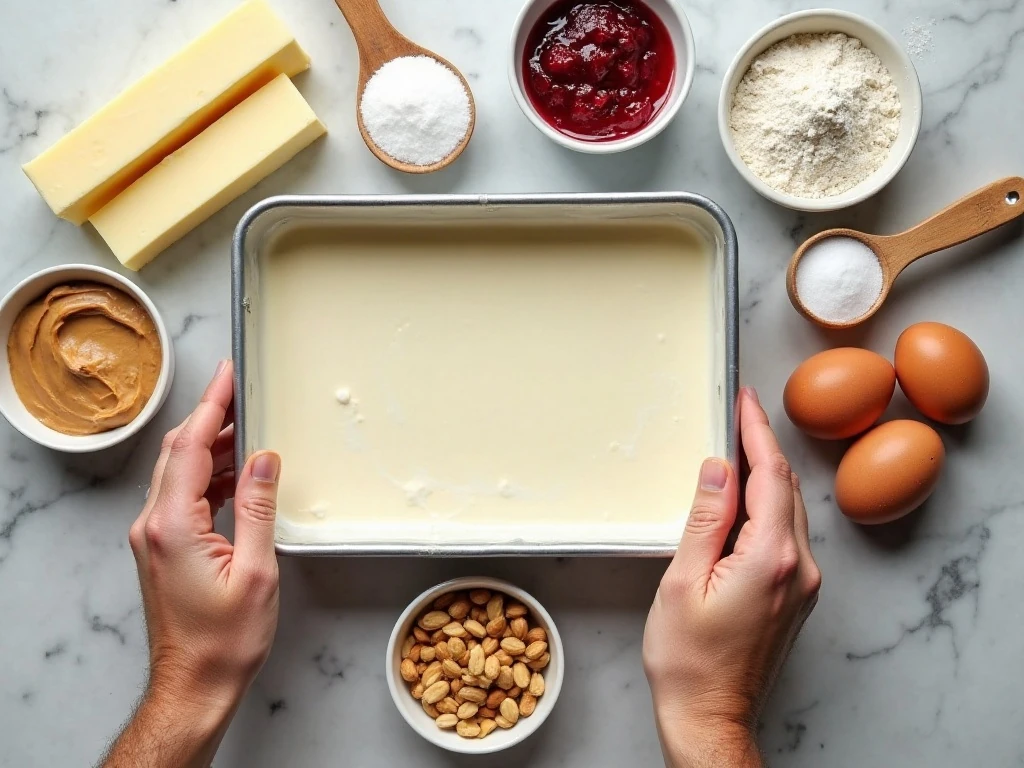
The ingredient list is straightforward, but each item has an important job. Softened unsalted butter creates the rich foundation, while granulated sugar sweetens the dough and helps it bake into a golden cookie layer.
- Butter and sugar: Use butter softened to room temperature so it creams smoothly with the sugar.
- Eggs and vanilla: Two extra-large room-temperature eggs add structure and richness, while vanilla rounds out the peanut butter flavor.
- Peanut butter: Smooth peanut butter gives the bars their signature taste and a cohesive cookie dough.
- Flour, baking powder, and salt: These form the dry foundation. Kosher salt is especially helpful because it balances the sweetness.
- Raspberry jam: Its bright color and tart fruit flavor cut through the richness of the peanut butter.
- Salted peanuts: Coarsely chopped peanuts add a crisp, savory finish to the soft bars.
For another nutty dessert with a buttery base, keep our pecan pie bar recipe in mind for your next baking day.
How to Make It Step-by-Step
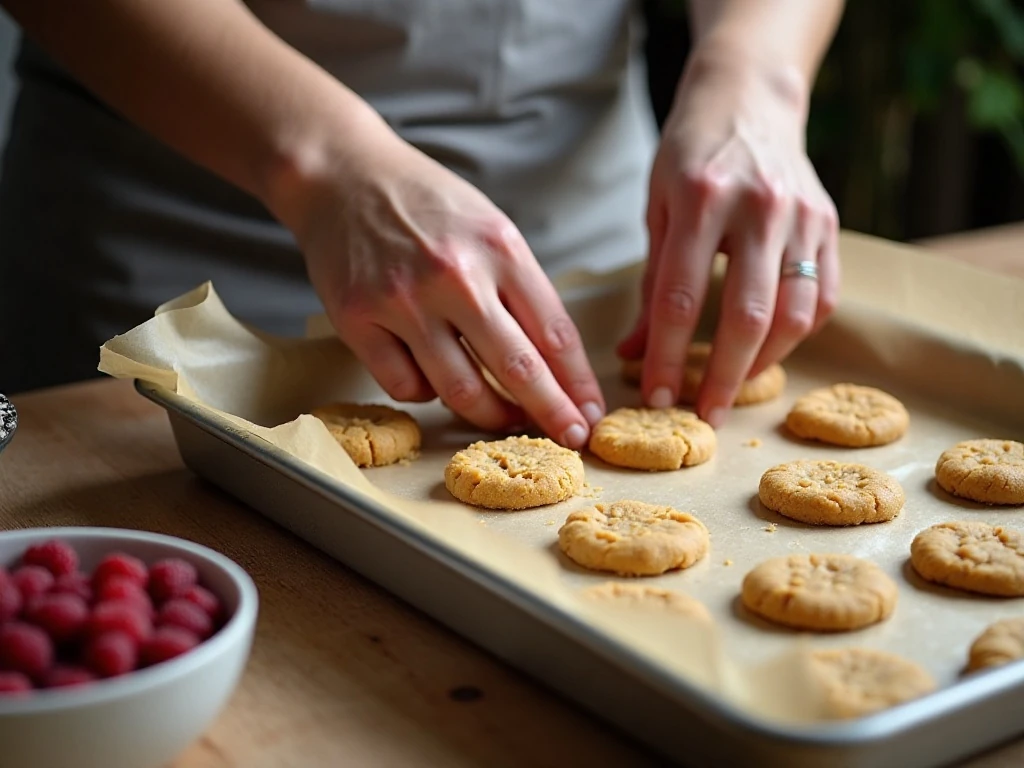
Step 1: Heat the oven to 350°F and prepare the pan. Grease a 9 x 13-inch baking pan, or line it with parchment paper and leave an overhang on two sides. The parchment will make it much easier to lift the cooled slab out for neat cutting.
Step 2: Cream the softened butter and granulated sugar in a large bowl until light and fluffy. This usually takes a few minutes of mixing, and the finished mixture should look smooth rather than dense.
Step 3: Add the vanilla and eggs. Beat in the vanilla first, then add the eggs one at a time, mixing after each one. Room-temperature eggs blend into the butter mixture more readily and help create an even dough.
Step 4: Mix in the peanut butter. Stir until the mixture is uniform and no streaks of butter or peanut butter remain. Smooth peanut butter works best for the texture specified in this recipe.
Step 5: Combine the dry ingredients separately. Whisk together the flour, baking powder, and kosher salt in another bowl, then gradually add this mixture to the peanut butter mixture. Stop mixing as soon as the dough comes together so the bars stay tender.
Step 6: Build the bottom layer. Spread about two-thirds of the dough evenly across the prepared pan. Use a spatula or lightly floured fingertips to press it into the corners and create an even foundation.
Step 7: Add the raspberry jam. Spread 1 1/2 cups of jam over the dough, leaving a small margin around the edges. Keeping the jam slightly away from the sides helps prevent it from bubbling over the pan during baking.
Step 8: Add the top dough. Break the remaining dough into small pieces and scatter them over the jam. Do not worry about covering every bit; visible patches of raspberry jam give the bars their appealing homemade look.
Step 9: Finish with peanuts. Sprinkle 2/3 cup of coarsely chopped salted peanuts over the dough pieces. Press them very lightly if needed, but avoid compacting the topping.
Step 10: Bake for about 45 minutes. The top should be golden brown, the edges should look set, and the center should be set while still somewhat soft. Cool the pan thoroughly for at least 30 minutes before lifting and slicing.
Pro Tips for Tender, Clean-Cut Bars
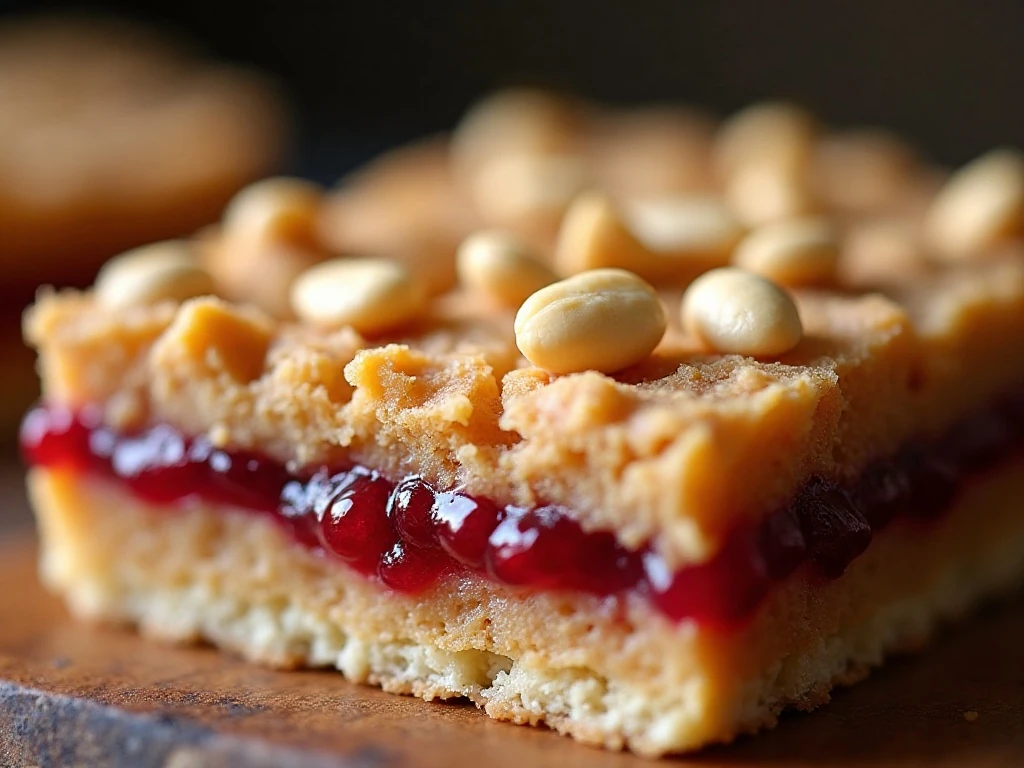
Begin with butter and eggs at room temperature. Cold ingredients can leave the mixture uneven, while room-temperature ingredients combine into a smoother dough with less effort.
Measure the flour carefully and avoid packing it tightly into measuring cups. Too much flour can make the cookie layers heavy, so spoon the flour into cups and level it if you are measuring by volume.
Do not try to spread the jam all the way to the edges. A narrow border gives the jam room to move as it heats and keeps the finished bars easier to handle.
The most important baking clue is the center. These bars should not look wet or loose, but they should retain a little softness when they come out of the oven. They firm as they cool, so baking until completely hard can produce a dry result.
For a neat presentation, cool the bars in the pan before lifting them out with the parchment. Use a sharp knife and wipe the blade between cuts for defined layers.
For a chocolate-and-peanut butter variation to serve alongside these, try our peanut butter cup brownie recipe.
Serving Suggestions
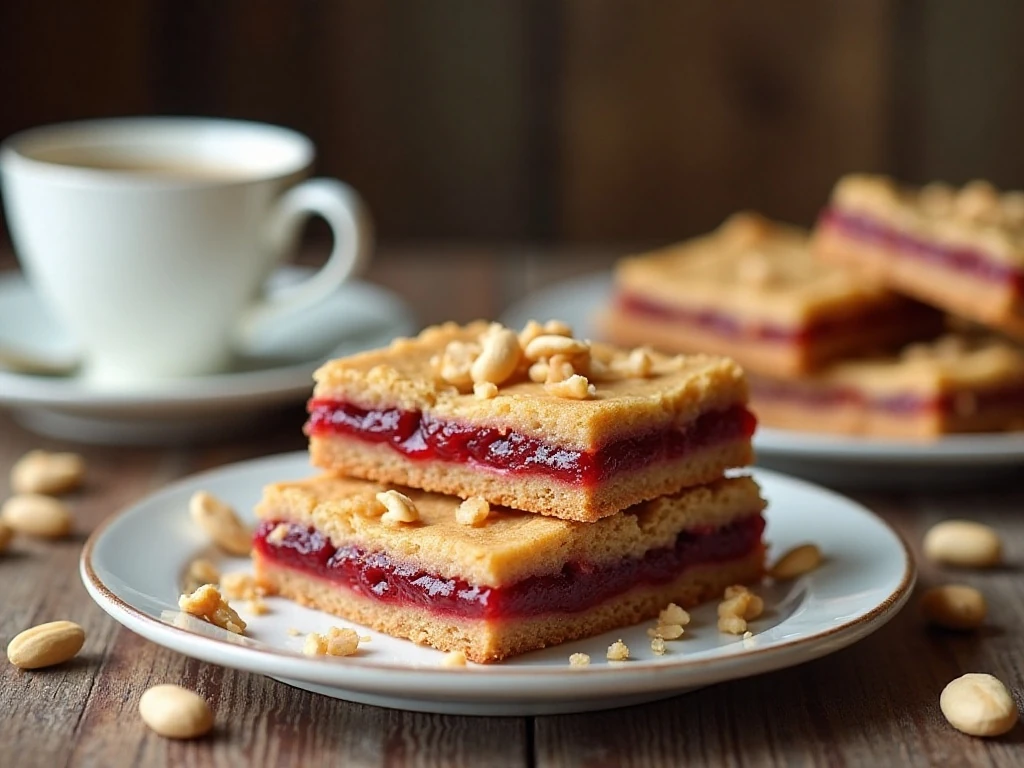
Serve these bars at room temperature when the peanut butter flavor is fullest and the jam has a soft, chewy consistency. They are delicious with coffee, tea, cold milk, or a scoop of vanilla ice cream.
For a dessert tray, arrange the bars with the jam side visible and add a light dusting of powdered sugar only if desired. The chopped peanuts already provide a lovely finish, so extra decoration is not necessary.
They also fit beautifully into seasonal baking spreads. If you are planning a festive menu, pair them with a slice of festive Christmas Love Cake for a colorful assortment of homemade sweets.
Storage and Make-Ahead Advice
Let the bars cool fully before storing them so trapped warmth does not create excess moisture. Keep them in an airtight container at room temperature for several days, placing parchment between layers if stacking.
For longer storage, wrap the cooled bars well and freeze them in an airtight freezer-safe container. Thaw them at room temperature before serving, then slice or arrange them once they are fully softened.
If you want to prepare ahead for a gathering, bake the bars the day before. Their texture remains rich and tender after resting, and the layers are often easier to cut once they have had time to settle.
For a fruit-forward companion dessert, our strawberry caramel crumble bars make a bright addition to the same dessert table.
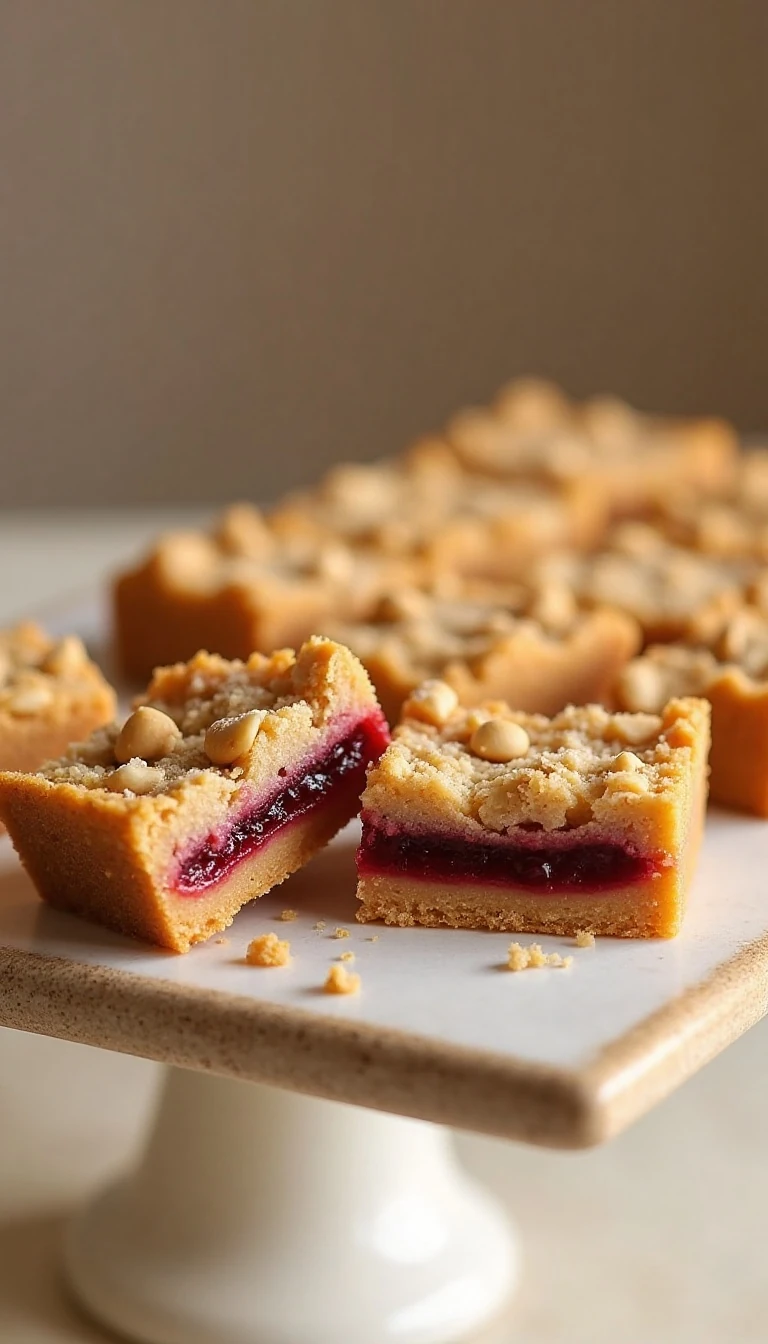
Peanut Butter and Jelly Bars
Ingredients
Method
- Heat the oven to 350°F. Grease a 9 x 13-inch baking pan or line it with parchment paper, leaving enough overhang to lift out the cooled bars.
- Cream the softened butter and granulated sugar in a large bowl until the mixture is light and fluffy.
- Beat in the vanilla extract, then add the eggs one at a time, mixing after each addition.
- Mix in the smooth peanut butter until evenly incorporated.
- In a separate bowl, whisk together the flour, baking powder, and kosher salt. Gradually add the dry ingredients to the peanut butter mixture, mixing just until combined.
- Spread about two-thirds of the dough evenly in the prepared pan.
- Spread the raspberry jam over the dough, leaving a small margin around the edges.
- Drop small pieces of the remaining dough over the jam. It is fine if some jam remains visible.
- Sprinkle the chopped salted peanuts over the top.
- Bake for about 45 minutes, until the top is golden brown and the center is set. Cool thoroughly in the pan for at least 30 minutes before slicing into bars.
Notes
Final Thoughts
This peanut butter and jelly bars recipe is the kind of bake that disappears quickly because it feels both familiar and special. The rich cookie base, tangy raspberry jam, and salted peanut topping create a satisfying combination in every square.
Keep the ingredients at room temperature, mix the dough only until combined, and watch the center closely during the 45-minute bake. Once the pan has cooled for at least 30 minutes, you will have about 24 golden, tender bars ready to share.
Whether you pack them into lunchboxes, serve them at a party, or enjoy one with an afternoon drink, these bars deliver classic comfort with very little fuss. Make a pan whenever you want a dependable homemade dessert that everyone can recognize and love.