This easy no-churn strawberry vanilla ice cream recipe makes about 1 1/2 quarts, or 8 servings, with only a handful of ingredients and no ice-cream machine. Fresh strawberries are macerated with sugar, combined with sweetened condensed milk, vanilla, and salt, then folded into whipped heavy cream before freezing for at least 6 hours.
The finished ice cream is creamy, sweet, and fragrant with real strawberry flavor. It has a soft vanilla finish, colorful berry swirls, and a scoopable texture after sitting at room temperature for 5–10 minutes, making it an ideal homemade dessert for warm days, celebrations, or an easy make-ahead treat.
Jump to RecipeWhy You’ll Love This Recipe
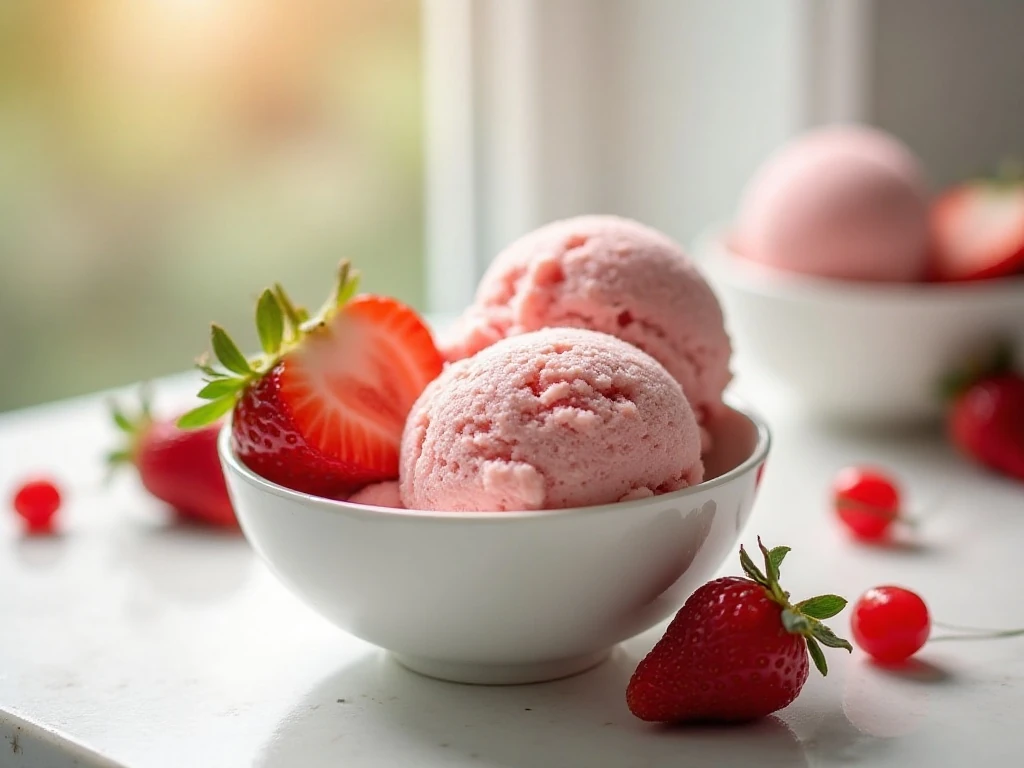
This strawberry vanilla ice cream delivers the pleasure of homemade ice cream without a custard, stovetop cooking, or special machine. Sweetened condensed milk supplies sweetness and body, while whipped heavy cream creates the airy structure that makes the mixture freeze into a rich, scoopable dessert.
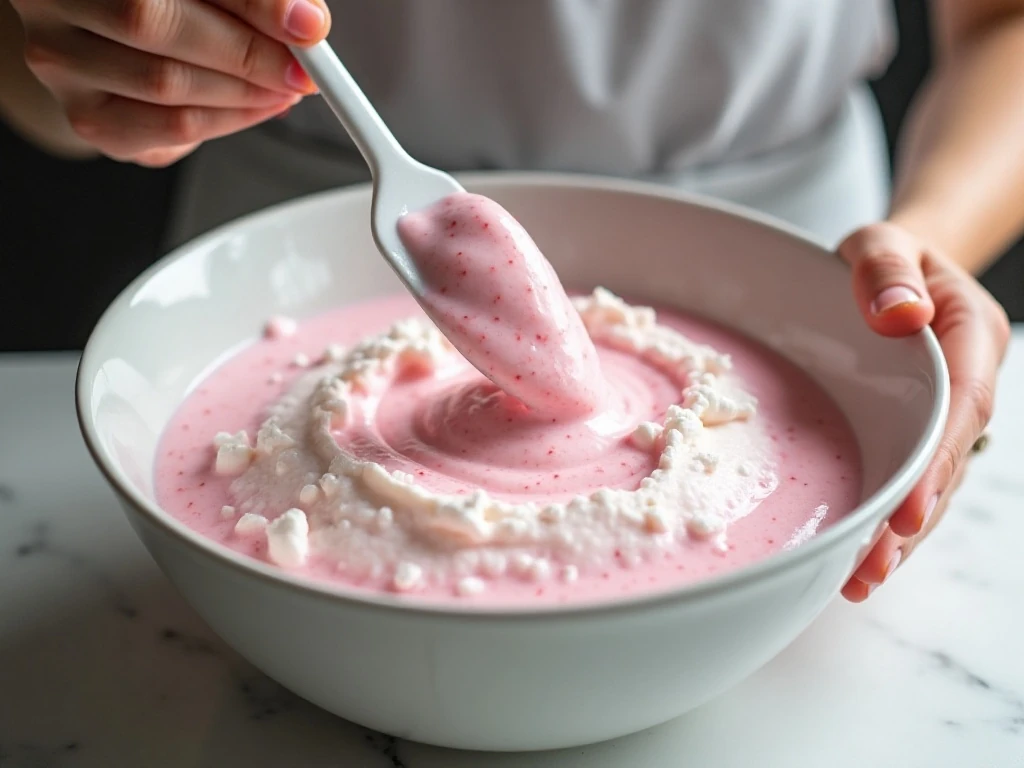
The method is especially friendly for beginner cooks because every stage has a clear visual cue. The strawberries should become juicy, the cream should reach firm peaks, and the final mixture should look thick, fluffy, and evenly pink before it goes into the freezer.
Fresh berries provide a bright summer flavor that tastes much better than a purely artificial strawberry dessert. Small pieces of fruit add pleasant texture, while pureeing most of the berries creates a smooth ribbon of strawberry flavor throughout every scoop.
This recipe yields about 1 1/2 quarts, or 8 servings, so it is generous enough for a family dessert or a casual gathering. If you are planning a full meal, you can also browse these other easy fruit dessert ideas for another chilled treat.
Ingredients You’ll Need
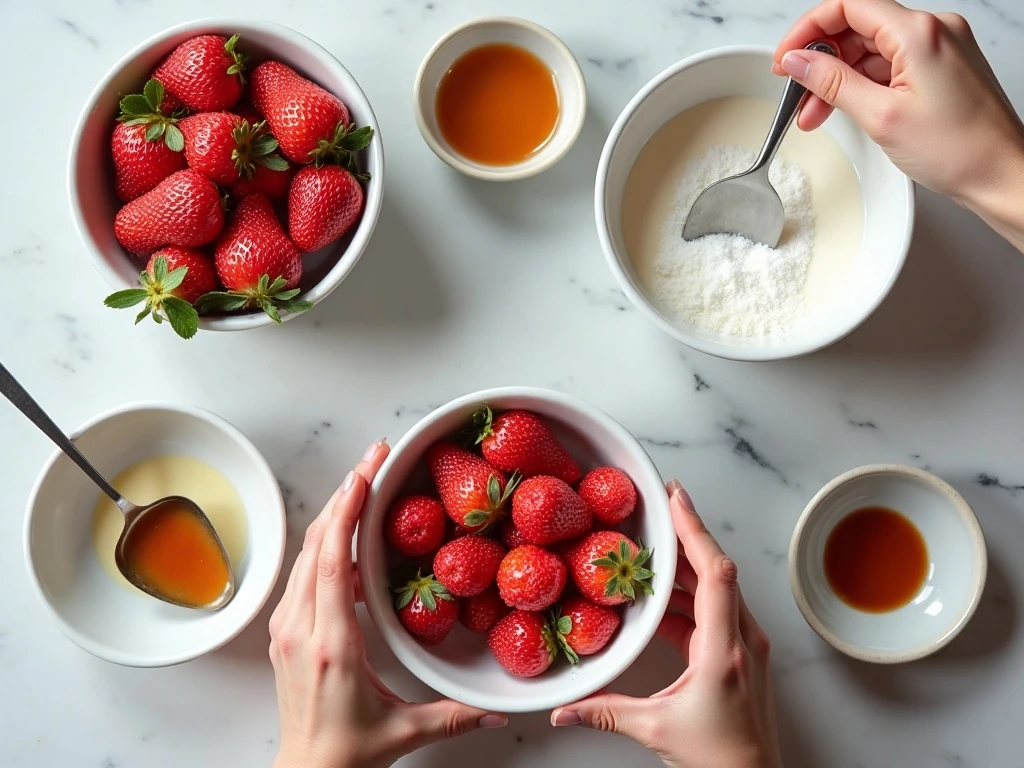
The ingredient list is short, but each item has an important job. Measure the sugar in two portions: one portion macerates the strawberries, and the other sweetens and stabilizes the whipped cream.
- Fresh strawberries: Use 1 pound of strawberries, hulled and chopped. Choose berries that are fragrant and ripe, since their flavor remains central after freezing.
- Granulated sugar: Divide 1/2 cup into two 1/4-cup portions. Sugar draws juice from the berries and adds sweetness to the cream base.
- Heavy whipping cream: Use 2 cups cold heavy whipping cream. Cold cream whips more readily and holds its volume better.
- Sweetened condensed milk: One 14-ounce can provides sweetness, richness, and body without a cooked custard.
- Pure vanilla extract: Two teaspoons round out the berry flavor with a warm, fragrant note.
- Fine salt: A 1/4 teaspoon balances the sweetness and helps the vanilla and strawberry flavors taste more pronounced.
For equipment, gather a large chilled mixing bowl, chilled beaters or a mixer, a separate bowl, a flexible spatula, and a shallow freezer-safe container. A metal loaf pan or shallow baking dish is helpful because it freezes the mixture more quickly and evenly.
If you enjoy making fruit-forward desserts, keep this quick strawberry sauce in mind as a topping idea for pancakes, cheesecake, or a separate bowl of ice cream.
How to Make It Step-by-Step
Step 1: Hull the strawberries and chop them into small pieces so they soften quickly. Place them in a bowl with 1/4 cup of the sugar, stir gently, and let them stand for 15–30 minutes until the fruit looks glossy and juicy.
Step 2: Mash the macerated berries with a fork or potato masher, or briefly puree them in a blender or food processor. Puree most or all of the fruit for a smoother result, or reserve some chopped berries if you want little bites of strawberry in the finished ice cream.
Step 3: Place the cold heavy whipping cream in a large chilled bowl and add the remaining 1/4 cup sugar. Whip until firm peaks form, checking often near the end because cream can quickly go from perfectly whipped to overwhipped.
Step 4: In a separate bowl, combine the sweetened condensed milk, vanilla extract, fine salt, and strawberry mixture. Stir until the ingredients are evenly blended, and inspect the bottom of the bowl for any unincorporated condensed milk.
Step 5: Add about one-third of the condensed-milk mixture to the whipped cream. Fold gently with a spatula, then repeat in one or two more additions, turning the mixture from the bottom of the bowl until no large streaks remain.
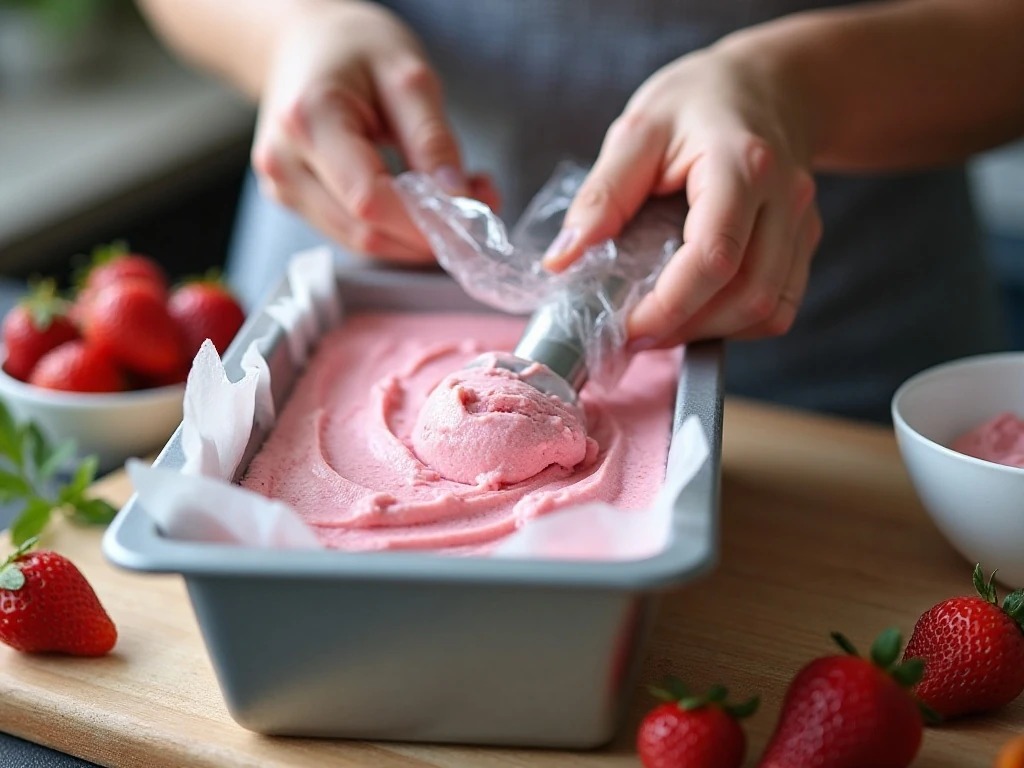
Step 6: Spoon the mixture into a shallow, freezer-safe container and smooth the top. Press plastic wrap or parchment directly against the surface before covering, which helps protect the ice cream from excess air and ice crystals.
Step 7: Freeze the container for at least 6 hours, although overnight is best for a firm, fully set texture. When ready to serve, let it stand at room temperature for 5–10 minutes, then scoop with a sturdy spoon or ice-cream scoop.
Pro Tips for Creamy Results
Temperature matters from the beginning. Chill the mixing bowl and beaters before whipping the cream, and keep the cream refrigerated until the moment you begin mixing.
Do not overwhip the cream. Firm peaks should stand upright when the beaters are lifted, but the cream should still look smooth and glossy rather than lumpy or grainy.
Strawberries naturally contain a lot of water, and excess liquid can freeze into icy pockets. If your berries release an unusually large amount of juice, drain some of it before adding the fruit to the condensed milk, or lightly cook the juice down and cool it completely before proceeding.
Folding gently is just as important as whipping correctly. Work in two or three additions and use broad, slow turns with a spatula rather than stirring quickly, because preserving the cream’s volume gives the finished ice cream a lighter texture.
A shallow metal loaf pan or baking dish is preferable to a very deep container. More surface area allows the ice cream to freeze faster and more evenly, which can help reduce the formation of large ice crystals.
For a family-style meal, this dessert can follow a comforting main course such as chicken wild rice soup without cream. The cool berry finish offers a lovely contrast to a savory dinner.
Texture, Variations, and Serving Ideas
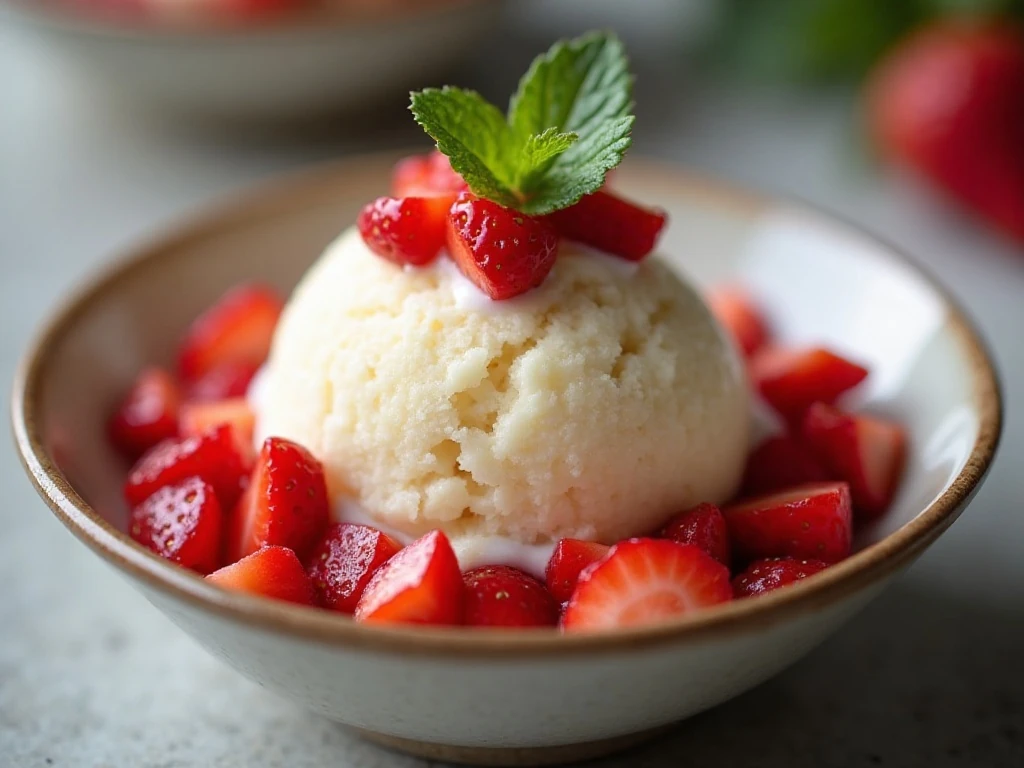
For a smooth strawberry vanilla ice cream, puree nearly all the macerated fruit before combining it with the condensed milk. For a more rustic texture, mash the berries and reserve a small portion of chopped fruit to fold in with the final addition.
You can create a stronger visual swirl by reserving a spoonful of the strawberry mixture and gently dragging it across the top after the ice cream has been transferred to its container. Avoid excessive swirling, since too much mixing can reduce the airy texture.
Serve each scoop in a chilled bowl, crisp cone, or small dessert glass. Fresh strawberry slices, a few diced berries, or a small mint leaf make simple garnishes that echo the flavor and bring color to the plate.
The ice cream is also delicious beside a warm fruit crumble, chocolate brownie, or simple sugar cookie. Keep the accompaniments modest so the fresh strawberry and vanilla flavors remain the focus.
For another breakfast or brunch idea that uses a different kind of creamy, comforting texture, see this easy cheesy omelet recipe. It is not part of the dessert method, but it makes a helpful companion for a relaxed weekend menu.
Freezing, Storage, and Scooping
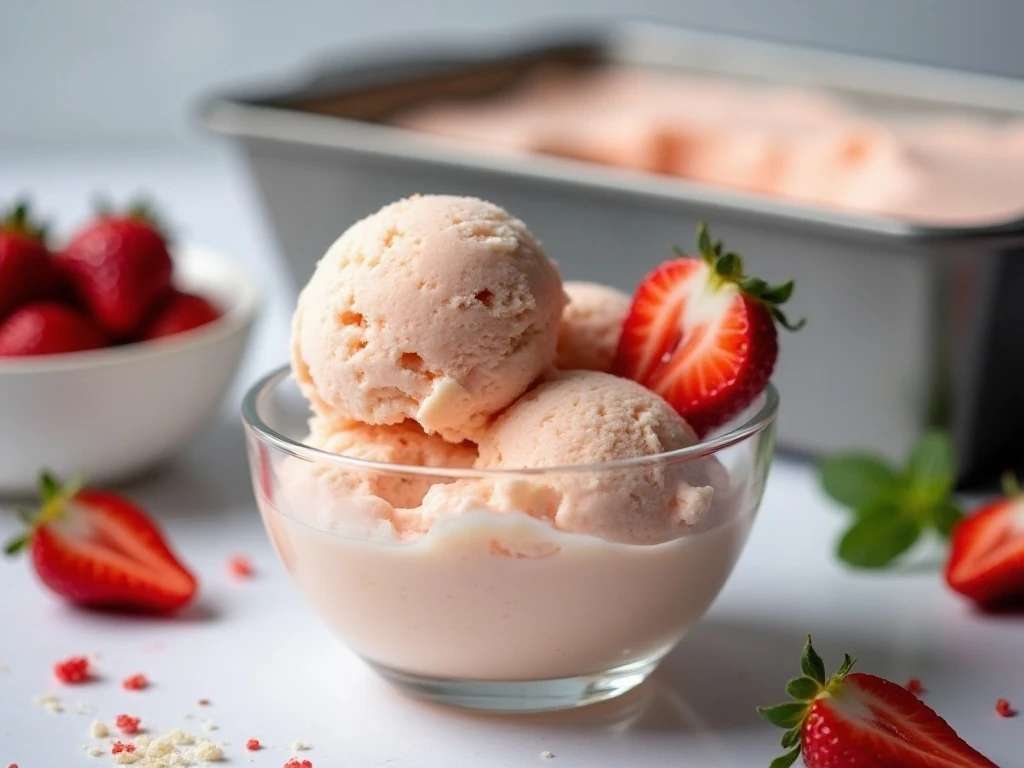
Freeze the completed ice cream for at least 6 hours, with overnight freezing recommended. Keep the container tightly covered after the plastic wrap or parchment has been pressed directly against the surface.
Before serving, allow the container to sit at room temperature for 5–10 minutes. This short rest softens the outer layer enough for clean scoops without allowing the ice cream to melt significantly.
If the ice cream feels especially firm after a long freeze, give it a little more time rather than trying to force the scoop. A warm scoop or sturdy spoon can also help portion it neatly.
Always return unused ice cream to the freezer promptly. Keeping the surface covered and limiting repeated melting and refreezing will help preserve its creamy texture and fresh strawberry flavor.
Because this is a no-churn formula, there is no cooking or cooling custard stage, and the active preparation remains about 20–30 minutes. Plan for 15–30 minutes of strawberry maceration and at least 6 hours of freezing, making the total elapsed time about 6 1/2–8 hours.
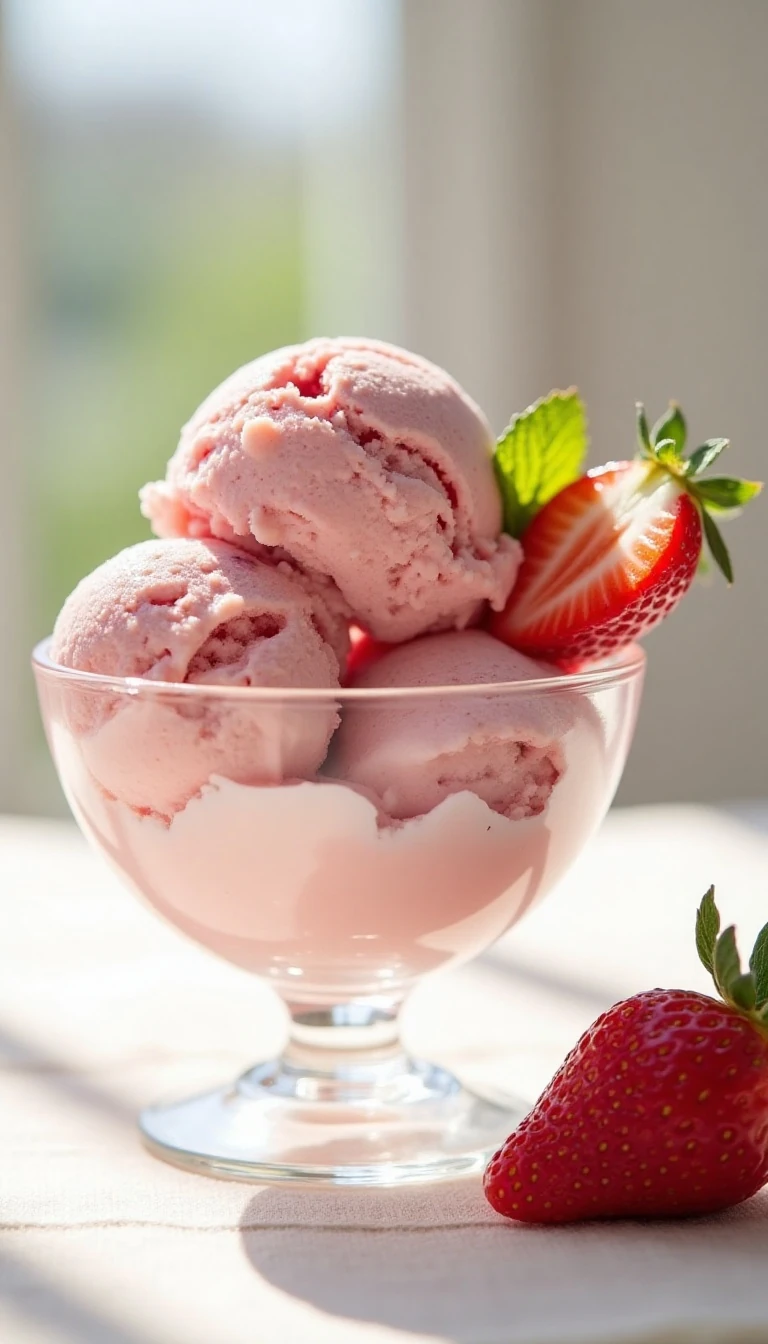
Easy No-Churn Strawberry Vanilla Ice Cream
Ingredients
Method
- Hull and chop the strawberries, then combine them with 1/4 cup of the granulated sugar. Let the berries stand for 15–30 minutes, stirring once or twice, until they release plenty of juice.
- Mash the macerated strawberries or briefly puree them. For a smoother ice cream, puree most or all of the fruit; for more texture, reserve some chopped berries and stir them into the mixture later.
- In a large chilled bowl, whip the cold heavy cream with the remaining 1/4 cup sugar until firm peaks form. Stop mixing as soon as the cream holds its shape so it does not become grainy or overwhipped.
- In a separate bowl, stir together the sweetened condensed milk, vanilla extract, fine salt, and strawberry mixture until evenly combined. If the strawberries are extremely watery, drain some excess juice before mixing.
- Gently fold the condensed-milk mixture into the whipped cream in two or three additions. Use a wide spatula and fold just until combined so the whipped cream keeps as much volume as possible.
- Transfer the ice cream mixture to a shallow, freezer-safe container, preferably a metal loaf pan or baking dish. Press plastic wrap or parchment directly against the surface, cover the container, and freeze for at least 6 hours; overnight is best.
- Let the frozen ice cream stand at room temperature for 5–10 minutes before scooping. Serve in chilled bowls or cones, with fresh strawberry slices if desired.
Notes
Final Thoughts
This easy no-churn strawberry vanilla ice cream is a dependable way to turn ripe berries into a creamy homemade dessert. The combination of macerated strawberries, sweetened condensed milk, vanilla, and whipped cream creates a rich texture with no churning or cooking required.
For the best result, keep the cream cold, stop whipping at firm peaks, fold carefully, and give the ice cream plenty of time to freeze. After a brief 5–10-minute rest at room temperature, each scoop will be ready to serve with a fresh strawberry flavor and soft vanilla finish.
Make it the night before a gathering, serve it with simple summer desserts, or keep a covered container ready for an unexpected sweet craving. Once you try this method, homemade strawberry ice cream becomes an easy freezer project rather than a complicated special occasion recipe.
2 thoughts on “Easy No-Churn Strawberry Vanilla Ice Cream Recipe”