To make homemade butter in a stand mixer, pour 2 cups (480 ml) of cold heavy cream into a whisk-fitted mixer bowl and whip it until it passes through whipped cream and suddenly separates into yellow butter clumps and thin white buttermilk. Drain the buttermilk, wash the butter several times with ice-cold water, press out the remaining liquid, add optional salt, and refrigerate the finished butter.
The whole process takes about 20 to 30 minutes, including 5 minutes of preparation, 8 to 15 minutes of churning, and 5 to 10 minutes of washing and shaping. From 2 cups of cream, expect about 1 cup (225 to 250 g) of fresh butter plus roughly 1 cup of buttermilk, although the exact yield depends on the cream’s fat content and how thoroughly you drain it.
Jump to RecipeWhy You’ll Love This Recipe

Making butter at home is one of those kitchen projects that feels almost magical, yet the method is wonderfully simple. One ingredient becomes two useful ingredients: creamy butter for spreading and baking, plus fresh buttermilk for pancakes, biscuits, waffles, and cakes.
Homemade butter often has a pale yellow color and a fresh, rich flavor that can taste more pronounced than standard commercial butter. You also control the salt, so you can leave it unsalted for baking or add a small amount for toast, vegetables, and dinner rolls.
- Simple ingredients: You need cold heavy cream, optional salt, and ice water.
- Useful byproduct: The drained buttermilk is excellent in many baked recipes.
- Fast preparation: The active process usually takes only 20 to 30 minutes.
- Flexible finish: Shape the butter into a block, roll, or small portions for storage.
Ingredients You’ll Need
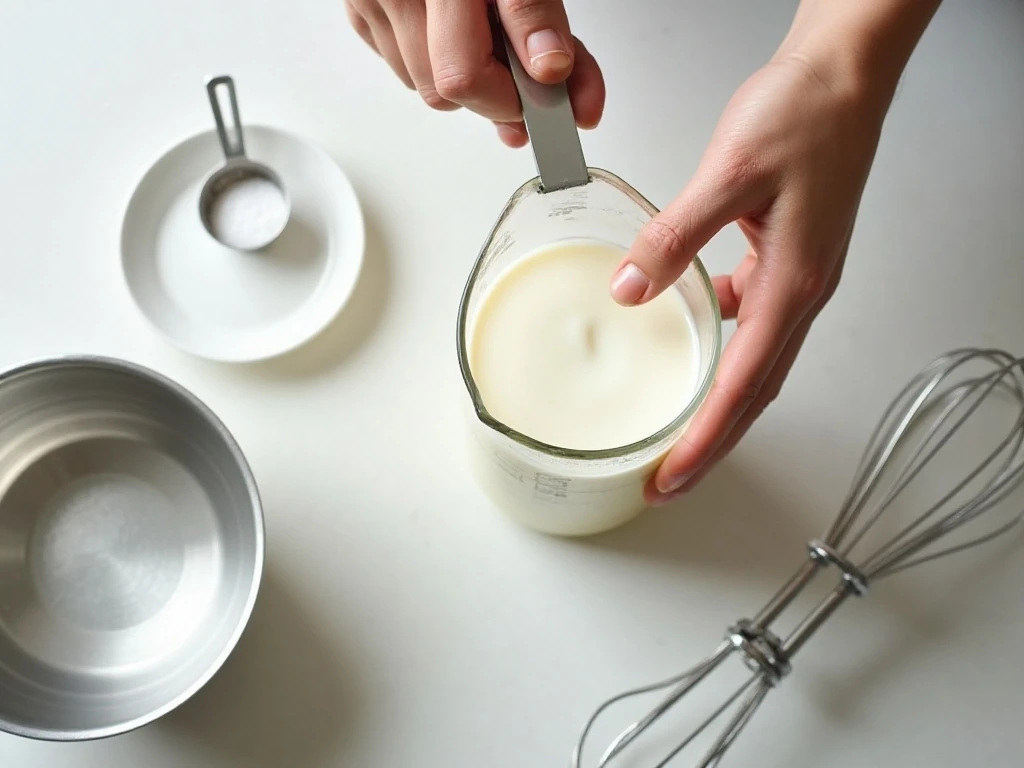
Choose 2 cups (480 ml) of cold heavy cream or heavy whipping cream, preferably with at least 35% milk fat. A higher-fat cream generally gives a good butter yield, but the exact amount can vary slightly from brand to brand.
Fine salt is optional. Use 1/4 teaspoon for lightly salted butter, or omit it entirely when you want a neutral butter for pastry, cookies, sauces, or other baking.
You will also need very cold water or ice water for washing. The cream should stay cold during churning, while the ice water helps firm the butter and wash away leftover buttermilk.
How to Make It Step-by-Step
Step 1: Pour the cold cream into the bowl of your stand mixer fitted with the whisk attachment. Do not fill the bowl more than about halfway, since the cream expands as it whips and may splash once the butter separates.
Step 2: Start the mixer on low speed, then gradually increase it to medium-high. This gentle beginning keeps the cream from spraying, while the faster speed gives you enough agitation to move through the whipped-cream stage.
Step 3: Watch the texture as it changes from liquid cream to soft whipped cream, then to stiff, grainy cream. Keep mixing even if it seems as though you have simply made over-whipped cream; after several additional minutes, yellow butter clumps will suddenly form and thin white buttermilk will collect around them.
Step 4: Turn off the mixer before removing the bowl or changing attachments. Carefully pour the buttermilk into a clean container, reserving it for pancakes, biscuits, muffins, or other baking projects.
Step 5: Return the butter to the mixer bowl or transfer it to a separate bowl. Add ice-cold water, then gently press and knead the butter with a spatula or clean hands so the remaining buttermilk is released without warming the butter too much.
Step 6: Drain the cloudy water and add fresh cold water. Repeat the gentle pressing and draining until the water is nearly clear, because thorough washing removes residual buttermilk that can create a sour flavor and shorten storage life.
Step 7: Press the butter firmly against the side of the bowl or through a clean spatula to remove as much remaining liquid as possible. Mix in 1/4 teaspoon fine salt if desired, tasting carefully and adding no more than you prefer.
Step 8: Shape the butter into a block or roll, then cover it well and refrigerate. The finished butter is best used within about 1 week, or it may be frozen for longer storage.
What the Churning Process Looks Like
The visual changes are the best guide, so do not rely only on the clock. At first, the cream looks smooth and fluid, then it becomes fluffy whipped cream with soft or firm peaks.
After that, the mixture may look stiff, lumpy, and grainy. Keep mixing through this stage, because the separation into butter and buttermilk can happen quickly after several minutes of apparent inactivity.
When the butter forms, it will usually be pale yellow and gathered into small clumps. The liquid surrounding it will be thin and white, with a buttermilk aroma rather than the thick, airy appearance of whipped cream.
Pro Tips for Smooth, Fresh Butter

Keep the cream cold from the moment you remove it from the refrigerator. Cold cream churns well, and cold butter is easier to wash, press, and shape into a firm finished piece.
Use a splash guard or loosely cover the mixer bowl once the cream begins to separate. The buttermilk can splatter forcefully as the whisk continues to move through the butter clumps.
Do not stop at the first draining. Repeated washing with fresh ice water is essential, and the water should become nearly clear before you finish pressing the butter.
- If the mixture remains whipped cream, continue mixing for several more minutes.
- If the butter feels soft, pause briefly and chill it before continuing to wash.
- Use clean hands or a flexible spatula when pressing out liquid.
- Reserve the buttermilk promptly and refrigerate it if you are not using it right away.
Storage and Serving Ideas
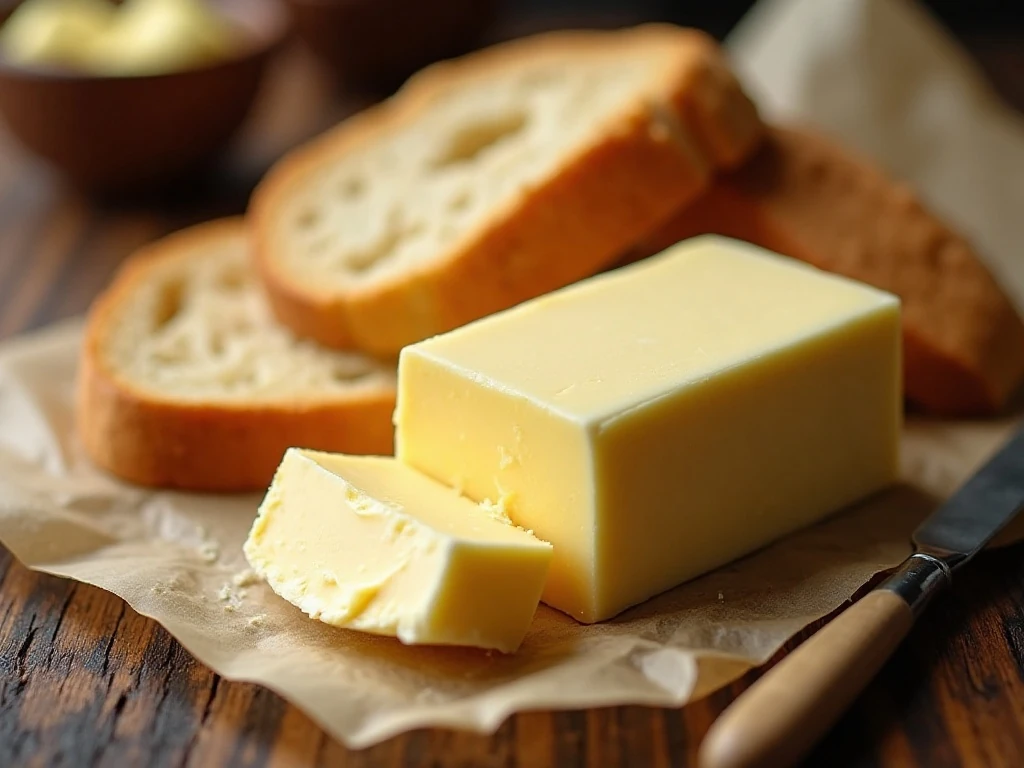
Wrap the washed and pressed butter tightly in parchment, wax paper, or an airtight container. Refrigerate it and use it within about 1 week for the best flavor and texture.
For longer storage, freeze the butter in a well-sealed package. Dividing it into small portions makes it easy to remove only what you need for toast, sautéing, baking, or finishing vegetables.
Serve homemade butter softened on warm bread, cornbread, pancakes, baked potatoes, or steamed vegetables. Unsalted butter is especially useful in recipes where you want precise control over the overall salt level, while lightly salted butter is delicious spread straight from the refrigerator.
Troubleshooting Homemade Butter
If the cream seems stuck at the whipped-cream stage, keep the mixer running and watch closely. The change from grainy cream to separated butter may take several additional minutes, depending on the cream and its temperature.
If the final butter tastes sour sooner than expected, it probably retained too much buttermilk. Wash it again with fresh ice water, press it firmly, and store it in a clean, covered container.
If the butter is difficult to handle, chill it briefly before shaping. Cold butter is firmer and easier to press without leaving a large amount of liquid behind.

Homemade Butter in a Stand Mixer
Ingredients
Method
- Pour the cold cream into a stand mixer bowl fitted with the whisk attachment. Keep the bowl no more than about halfway full because the cream expands and may splash.
- Start mixing on low speed, then increase to medium-high. Continue past the whipped-cream stage until the mixture turns grainy, separates into yellow butter clumps, and releases thin white buttermilk.
- Turn off the mixer and carefully drain the buttermilk into a container. Reserve it for pancakes, biscuits, or other baking.
- Add ice-cold water to the butter and gently press or knead it with a spatula or clean hands. Drain the cloudy water and repeat with fresh cold water until nearly clear.
- Press the butter firmly to remove as much liquid as possible, then mix in the salt if making salted butter. Shape, cover, and refrigerate.
Notes
Final Thoughts
Homemade butter in a stand mixer is an easy, satisfying kitchen project that turns cold heavy cream into a fresh spread and a useful batch of buttermilk. The key points are to keep the cream cold, continue mixing past the whipped-cream stage, wash the butter repeatedly, and press out as much liquid as possible.
Once you try the basic version, you can keep it unsalted for baking or add the optional 1/4 teaspoon of fine salt for serving. Shape the butter, refrigerate it for up to about 1 week, or freeze it for longer storage, and enjoy the rich flavor of butter made in your own kitchen.