This easy Strawberry Cherry Dump Cake recipe combines one can of cherry pie filling, one can of strawberry pie filling, dry white or yellow cake mix, and one cup of butter in a 9 x 13-inch baking dish. Layer the ingredients without stirring, then bake at 350°F for 45–50 minutes until the fruit is bubbling and the top is golden brown.
With only 5–10 minutes of preparation, this dessert is one of the simplest ways to serve a warm fruit cobbler-style treat. The cherries bring a pleasantly tangy bite, the strawberries add soft sweetness, and the buttery cake topping bakes into crisp golden patches over tender syrupy fruit.
Jump to RecipeWhy You’ll Love This Recipe
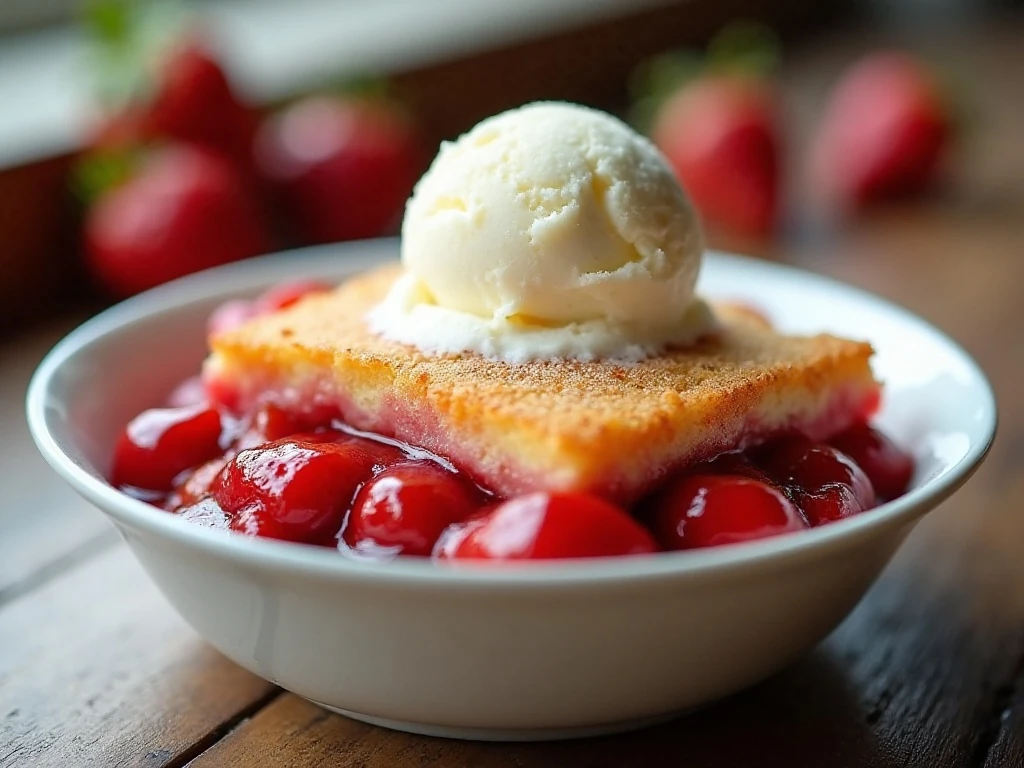
This Strawberry Cherry Dump Cake is designed for busy bakers who want a homemade-tasting dessert without mixing batter, chopping fruit, or preparing a complicated filling. The ingredients go directly into the baking dish, which keeps preparation fast and cleanup pleasantly simple.
The finished dessert has the cozy character of a fruit cobbler and the buttery top of a soft cake. Cherry and strawberry pie fillings create a richly colored base, while the dry cake mix absorbs the fruit syrup and butter as it bakes.
It is also a dependable choice when you need dessert for a gathering. A 9 x 13-inch dish makes about 12 servings, so everyone can enjoy a generous scoop with ice cream or whipped cream.
- Fast preparation: The ingredients can be layered in about 5–10 minutes.
- Simple ingredient list: You need only four main ingredients.
- Excellent contrast: Soft, saucy fruit meets a golden, buttery topping.
- Party friendly: The recipe is easy to portion and serve warm.
If you enjoy comforting oven-baked dishes for a crowd, you may also like this easy turkey casserole for a savory meal idea before dessert.
Ingredients You’ll Need
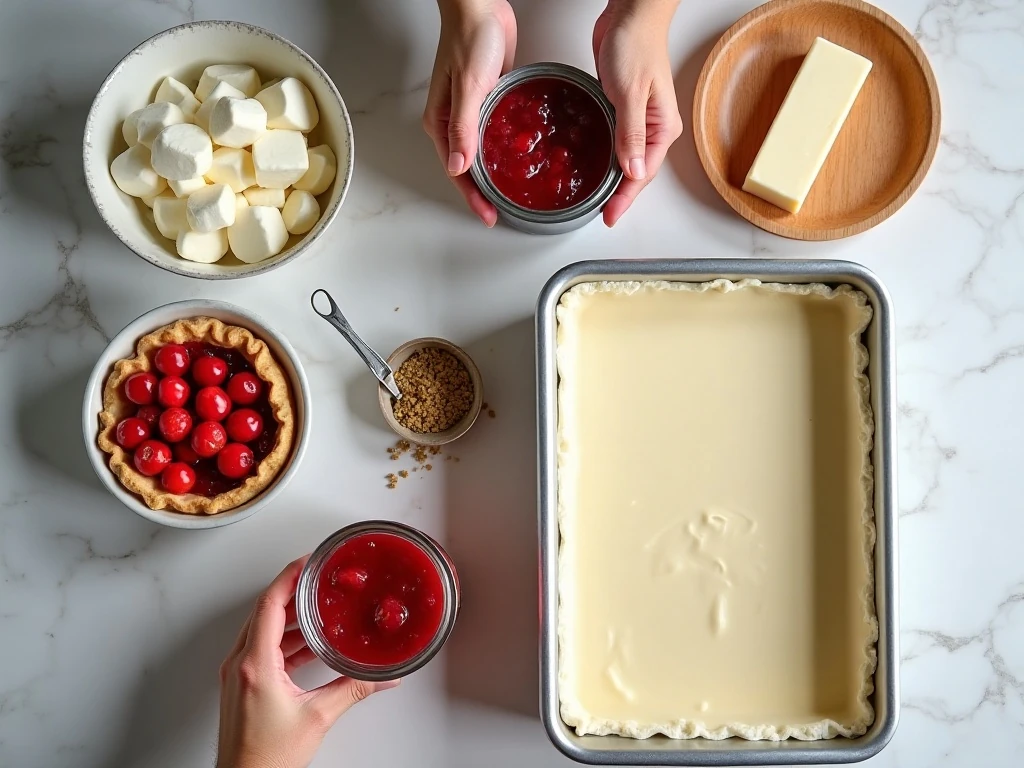
Use one 21-ounce can of cherry pie filling and one 21-ounce can of strawberry pie filling. Choose cans that are ready to use as packaged, and do not drain away the fruit syrup because it provides essential moisture during baking.
You will also need one box of white or yellow cake mix, about 15.25 ounces. The mix should remain dry; do not add eggs, oil, water, or any other ingredients suggested by the cake mix package directions.
Finish with one cup of butter, equal to two sticks. You can melt the butter and pour it over the cake mix, or use cold butter sliced extremely thinly and arranged across the top for broad coverage.
- 1 can, 21 ounces, cherry pie filling
- 1 can, 21 ounces, strawberry pie filling
- 1 box, about 15.25 ounces, white or yellow cake mix
- 1 cup butter, melted or very thinly sliced
A lightly greased 9 x 13-inch baking dish is the best size for this recipe. It gives the fruit and topping enough room to cook evenly while creating about 12 practical servings.
How to Make It Step-by-Step
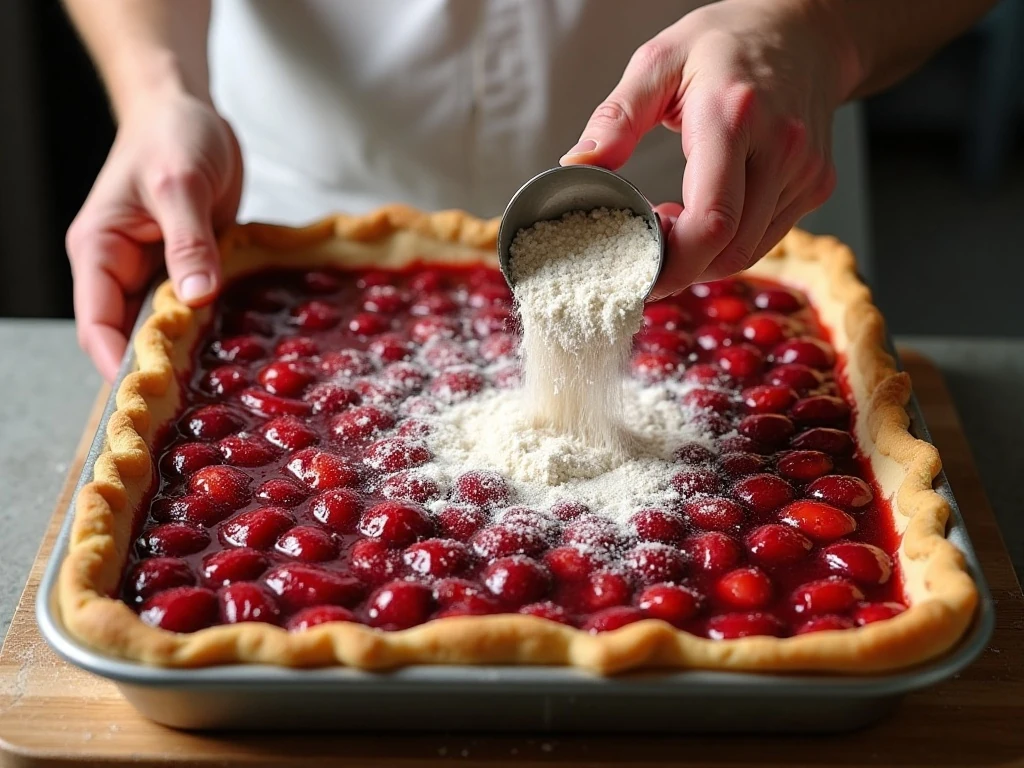
Step 1: Heat your oven to 350°F (175°C), then lightly grease a 9 x 13-inch baking dish. Greasing the dish helps with serving and makes it easier to scoop out the saucy fruit once the cake has rested.
Step 2: Open the cherry pie filling and spread it evenly across the bottom of the dish. Try to distribute the cherries and their syrup from corner to corner so the base cooks consistently.
Step 3: Spoon the strawberry pie filling over the cherry layer and gently spread it into an even second layer. Do not stir the fillings together, since keeping them layered gives the dessert a colorful appearance and prevents unnecessary mixing.
Step 4: Sprinkle the dry cake mix evenly over the entire surface of the fruit. Resist the temptation to prepare the mix according to the box directions; the fruit syrup and butter provide the moisture this dump cake needs.
Step 5: Pour the melted butter slowly across the cake mix, aiming for the dry areas as well as the edges. If using cold butter, slice it very thinly and arrange the pieces across the surface so as much cake mix as possible is covered.
Step 6: Place the dish in the 350°F oven and bake for 45–50 minutes. The dessert is ready when the fruit is visibly bubbling around the edges and through the topping, and the cake mix has developed a golden-brown surface.
Step 7: Remove the dish from the oven and let it rest for approximately 10–15 minutes. This short pause allows the hot fruit syrup to settle slightly, making the portions easier to serve while keeping the dessert warm.
Step 8: Spoon the cake into bowls and serve it warm. Add vanilla ice cream or whipped cream just before serving so the cool, creamy topping contrasts with the bubbling fruit and crisp buttery crust.
Pro Tips for a Golden Topping
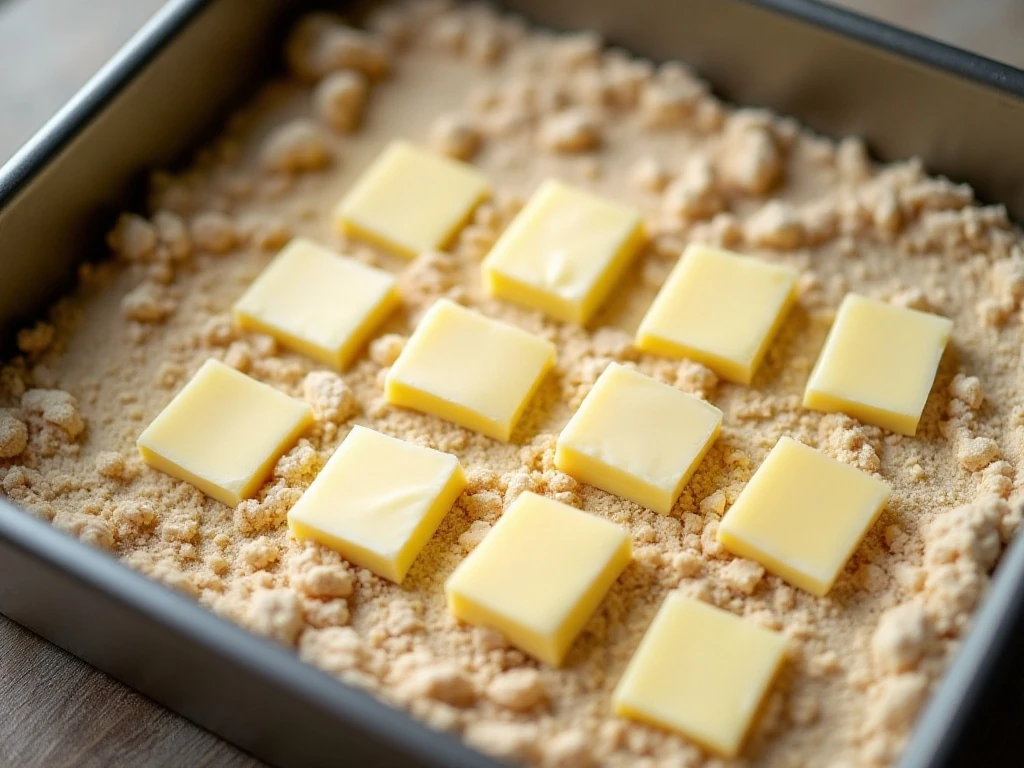
The most important detail is butter coverage. Any cake mix left completely uncovered may remain powdery after baking, so use a slow, steady pour for melted butter or arrange very thin slices in a close pattern across the top.
When using melted butter, it can help to pour in small ribbons rather than emptying it in one spot. Work toward the corners and edges, where dry mix often hides.
Thinly sliced cold butter is a popular option because the pieces can be positioned exactly where they are needed. Slice the butter as thin as possible and avoid leaving large uncovered patches between pieces.
Keep the fruit fillings in their original syrup. Draining them removes the moisture that helps the dry cake mix cook into a tender topping, and it can leave the finished dessert too dry.
Do not stir the layers after assembling the dish. The recipe works through the gradual interaction of the fruit syrup, dry mix, and butter as the cake bakes.
For another easy family-friendly casserole idea, take a look at this cheesy tater tot casserole. It is a hearty option when you are planning a relaxed weekend menu.
Serving Suggestions
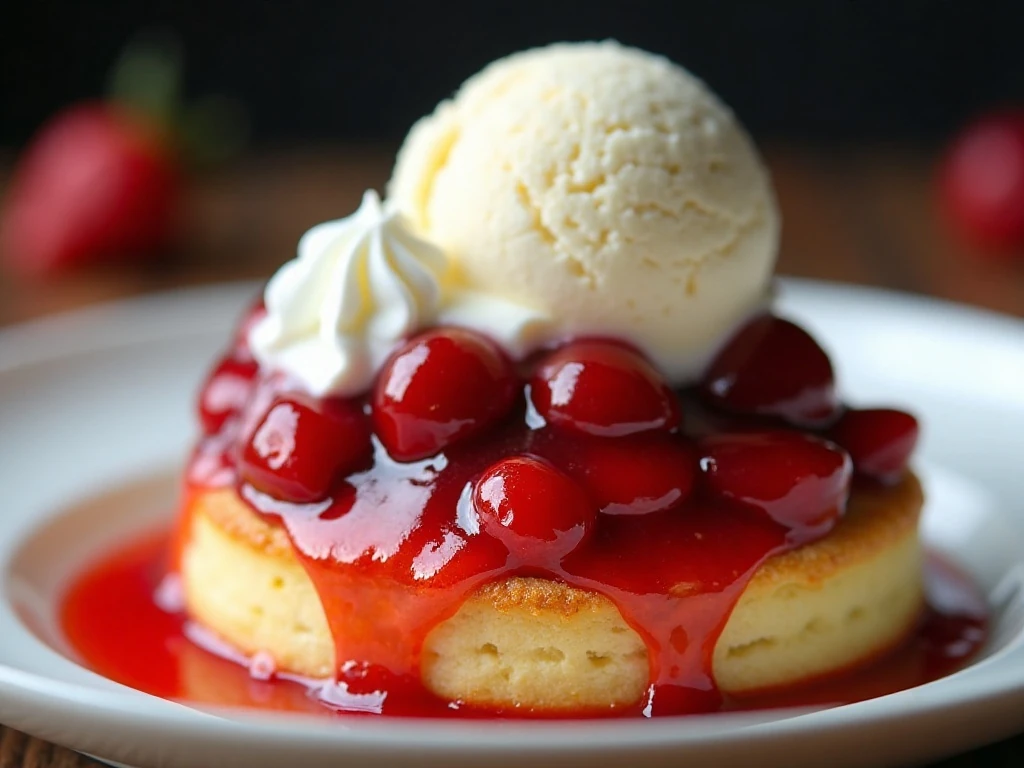
Serve this dump cake warm, when the fruit is still glossy and the topping has its best contrast of crisp edges and soft, buttery sections. A large spoonful of vanilla ice cream is the classic pairing because it slowly melts into the cherry-strawberry sauce.
Whipped cream is another easy choice, especially if you prefer a lighter topping. Add it after the cake has rested so it stays fluffy instead of disappearing immediately into the hot fruit.
For a pretty presentation, spoon each portion so that both cherry and strawberry filling are visible. The bright red fruit looks especially inviting in white bowls or shallow glass dessert dishes.
This recipe is also useful for casual potlucks, holiday buffets, and family dinners. Since it makes about 12 servings, you can cut smaller portions for a dessert table or offer generous scoops for a relaxed gathering.
If you are looking for another sweet project, our no-bake vanilla cake pops make a fun handheld treat for parties and celebrations.
Storage and Reheating
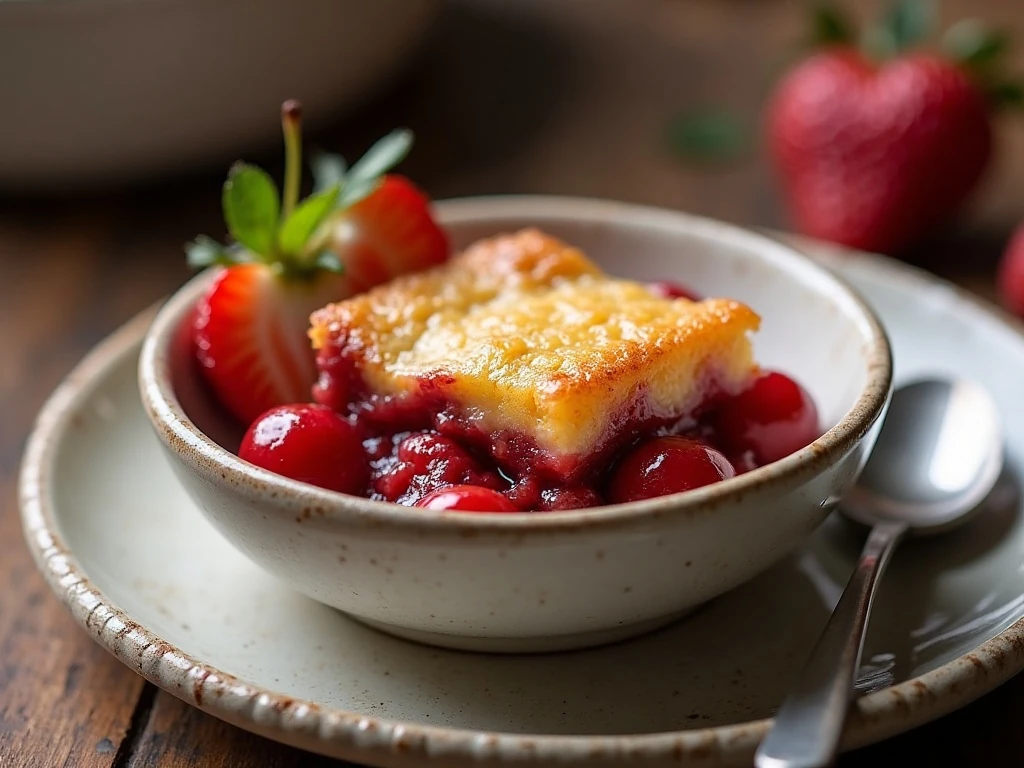
Allow leftover cake to cool, then cover the baking dish and refrigerate it. The fruit filling will thicken as it chills, while the topping may soften slightly.
To reheat a portion, warm it gently until the fruit is hot and spoon it into a bowl. Add ice cream or whipped cream after reheating rather than before.
You can also enjoy leftovers cold if you like a firmer, jammy texture. Keep the dessert refrigerated and use a clean serving utensil each time you scoop it.
For the best topping texture, serve the cake on the day it is baked. Even so, the leftovers remain a practical and delicious option for the next day.
When planning a full comfort-food menu, you can pair dessert with these easy slow cooker meatballs as a simple appetizer or party dish.
Common Questions
Can I use white or yellow cake mix? Yes. Either works with the cherry and strawberry fillings, so choose the flavor you already have or prefer.
Should I mix the cake batter first? No. Sprinkle the dry cake mix directly over the fruit. Preparing it with the box directions would change the proportions and texture of this recipe.
Why should the pie filling remain undrained? The syrup in the canned filling supplies the moisture that helps cook the dry cake mix. Draining the cans can result in dry or powdery areas.
Can I stir the fruit together? It is best not to stir. Separate layers cook well and create a pleasing cherry-and-strawberry appearance in each serving.
What if the top has a few pale spots? A few lighter areas can happen, but broad powdery patches mean the butter did not cover enough cake mix. Next time, pour more carefully or use very thin butter slices for improved coverage.
For a savory first course to balance this sweet dessert, consider serving an easy chicken tortilla soup before bringing the warm cake to the table.
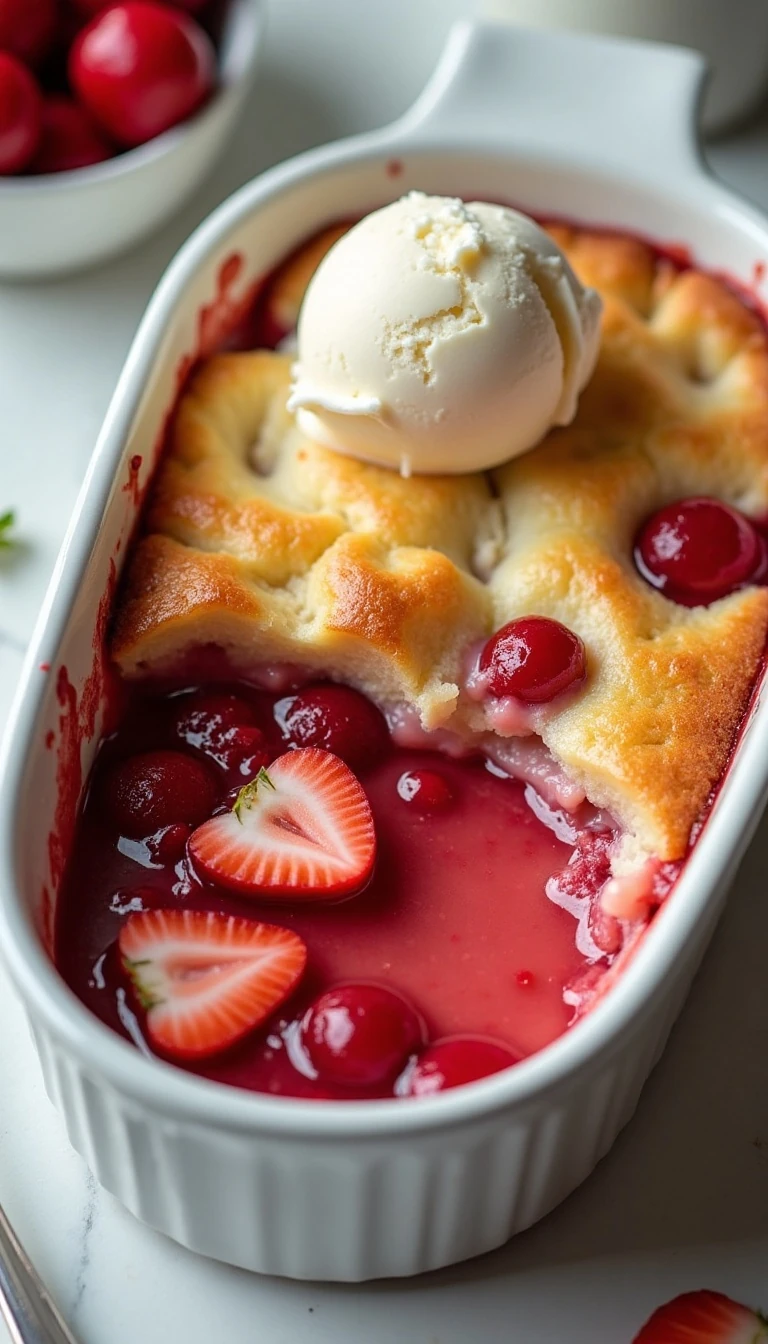
Easy Strawberry Cherry Dump Cake
Ingredients
Method
- Heat the oven to 350°F (175°C) and lightly grease a 9 x 13-inch baking dish.
- Spread the cherry pie filling evenly over the bottom of the prepared dish.
- Spoon or spread the strawberry pie filling over the cherries, keeping the two layers separate rather than stirring them together.
- Sprinkle the dry cake mix evenly over the fruit. Do not prepare the cake mix with the additional ingredients listed on the box.
- Pour the melted butter over as much of the cake mix as possible, or arrange thin slices of cold butter across the entire surface.
- Bake for 45–50 minutes, until the fruit is bubbling and the top is golden brown.
- Let the cake rest for approximately 10–15 minutes before serving warm with vanilla ice cream or whipped cream.
Notes
Final Thoughts
This Easy Strawberry Cherry Dump Cake proves that an impressive dessert does not require a long ingredient list or complicated technique. With two cans of fruit filling, dry cake mix, and butter layered in a single dish, you can create a bubbling, golden dessert in about an hour from start to finish.
Remember the three details that matter most: do not drain the pie fillings, do not prepare the cake mix, and cover as much of the dry mix as possible with butter. Those simple choices help produce a tender topping rather than powdery spots.
Let the cake rest for 10–15 minutes, then serve it warm with vanilla ice cream or whipped cream. The combination of tart cherries, sweet strawberries, buttery cake, and cool cream is comforting, colorful, and ready for sharing.
Save this recipe for busy holidays, relaxed family dinners, or any evening when you want a homemade dessert without a long kitchen project. It is easy enough for a beginner and satisfying enough to become a regular favorite.