To make an easy DIY fall wreath that wows, start with a 14- to 18-inch grapevine or foam wreath form, arrange faux leaves and fall accents before attaching them, then secure the design with floral wire or hot glue. Finish with a wired ribbon bow, fill any gaps with smaller foliage, and inspect the wreath from every angle before hanging it.
This project takes about 20 to 40 minutes and creates a full, welcoming display with layered autumn color, rustic texture, and a polished handmade look. The combination of russet leaves, pumpkins, berries, pinecones, and a reshaped ribbon bow gives your front door the warm visual appeal of fall without any cooking, special craft experience, or complicated measurements.
Jump to RecipeWhy You’ll Love This Recipe
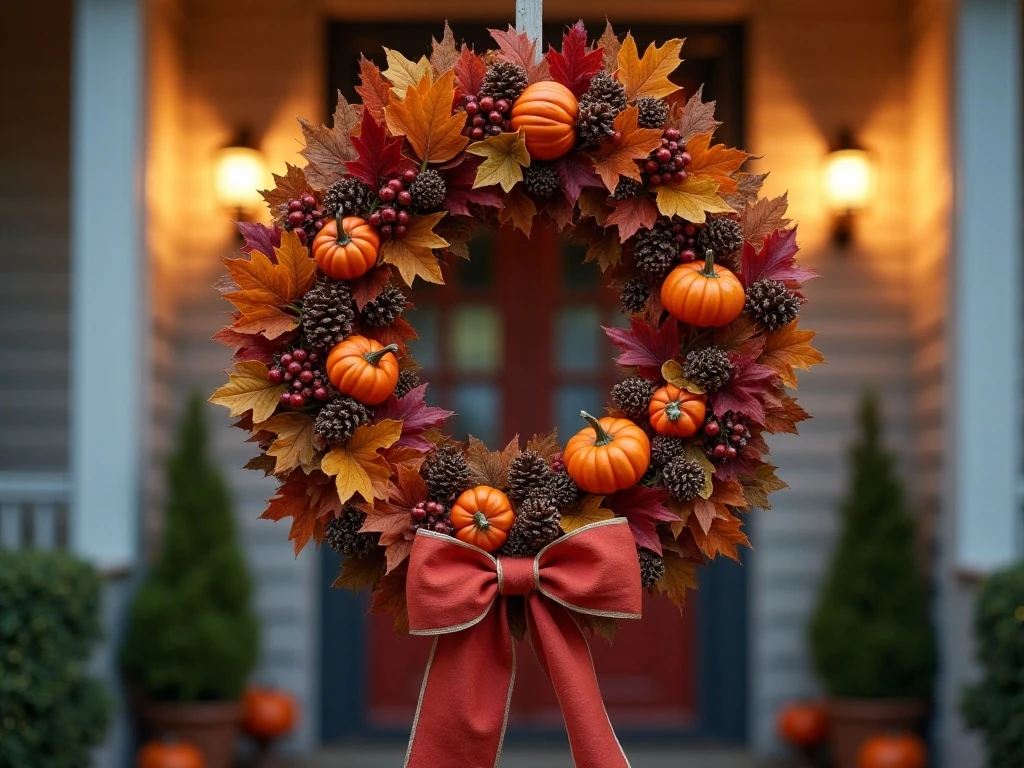
This easy fall wreath is a satisfying afternoon project because it looks custom-made without requiring advanced floral design skills. The wreath form provides a dependable base, while faux foliage and seasonal accents supply color, height, and texture with very little preparation.
You can also tailor the finished piece to your home. Choose classic orange and burgundy for a traditional autumn style, cream and sage for a softer farmhouse appearance, or copper, rust, and deep brown for a rich woodland effect.
The design is forgiving, too. If one area feels sparse, add a few filler leaves; if the bow looks flat, reshape its wired loops. For another simple seasonal idea to enjoy while crafting, browse these easy breakfast parfaits for a relaxed fall morning treat.
Materials You’ll Need
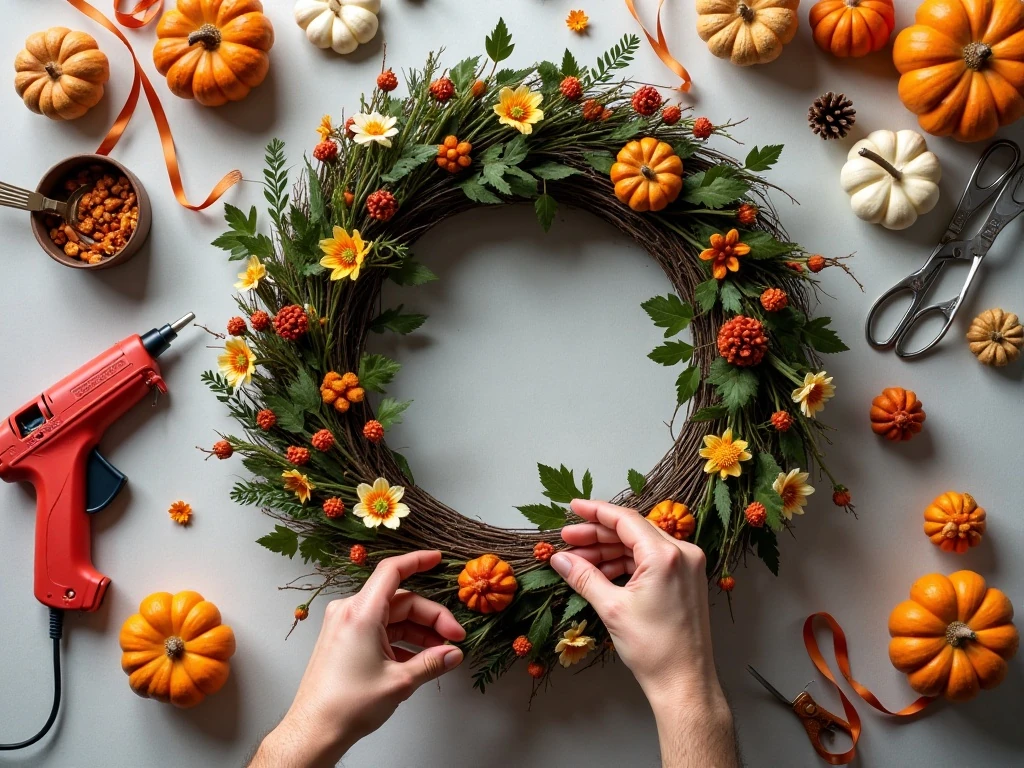
Gather all of your supplies before you begin so the arranging stage stays creative rather than interrupted. A 14- to 18-inch wreath form is a useful size for most standard doors and gives you enough surface area for layered embellishments.
- One grapevine or foam wreath form, approximately 14 to 18 inches.
- One to two bunches of faux fall leaves, foliage, or eucalyptus.
- Three to five faux fall flowers, pumpkins, pinecones, berries, or acorns.
- Two to three yards of 1 1/2- to 2 1/2-inch-wide wired fall ribbon.
- One package of floral wire or green paddle wire.
- One package of floral picks, if your decorations need extra support.
- One hot-glue gun and six to twelve hot-glue sticks.
- Wire cutters and scissors.
- One small wooden or metal seasonal sign, if desired.
Keep the palette limited to three or four main colors. Too many unrelated shades can make a wreath appear busy, while repeated tones help even inexpensive faux materials look intentionally coordinated.
If you are planning a full autumn gathering, you can pair your door display with easy make-ahead snacks such as these simple Instant Pot appetizers. The wreath sets the mood before guests even step inside.
How to Make It Step-by-Step

Step 1: Clear a table and lay out the wreath form, all foliage, decorations, ribbon, wire, glue, and tools. Arrange every component on or beside the wreath before attaching anything, then photograph the layout so you have a reference if pieces need to be removed during assembly.
Step 2: Begin with the largest greenery or leaf sprays because they establish the shape and fullness of the wreath. Distribute them evenly around the form, or angle them toward one side for a more modern asymmetrical design.
Step 3: Secure the foliage stems to a grapevine wreath with floral wire or hot glue. If you are using a foam form, insert stems carefully and reinforce them with floral picks, wire, or glue so they stay firmly in place.
Step 4: Add the largest statement pieces next, such as faux flowers, miniature pumpkins, pinecones, or a seasonal sign. Place these accents in small groups rather than at perfectly equal distances; grouped details give the arrangement a more natural rhythm.
Step 5: Tuck berries, acorns, short leaf stems, and other filler pieces into visible gaps. Step back often as you work, since a wreath can look balanced from directly above but sparse or crowded when viewed at eye level.
Step 6: Make a full bow or several loops with the wired ribbon, leaving enough length for attractive tails. Attach the bow at the top or lower side of the wreath, then bend and fluff the wired loops until they frame the foliage without hiding the main accents.
Step 7: Trim loose stems, stray wire ends, and uneven ribbon tails. Conceal visible glue or wire beneath leaves and check the wreath from the front, sides, and bottom before placing it on the door.
Design Tips for a Fuller Fall Wreath
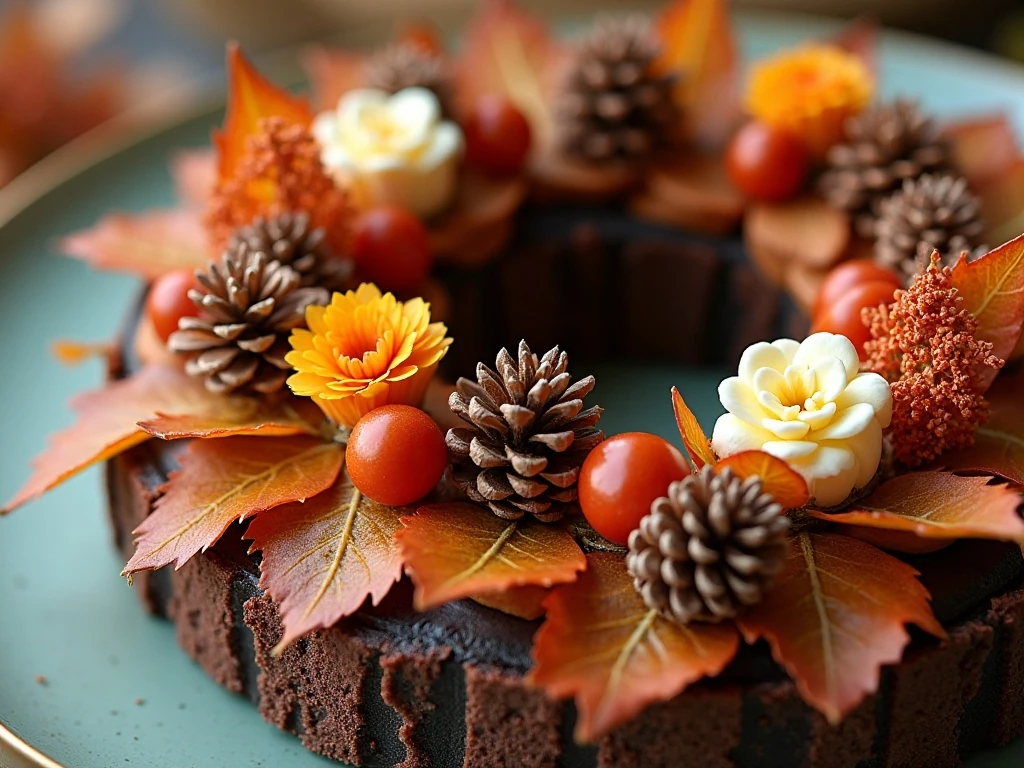
Think in layers rather than flat rows. The largest foliage should sit closest to the wreath form, medium accents should create the middle layer, and small berries or leaves should fill the front-facing spaces.
Use the rule of three when choosing statement decorations. Three pumpkins, three flowers, or three pinecone groupings often create balance without making the wreath feel overly symmetrical.
For a polished look, repeat at least one color in several locations. For example, orange pumpkins can echo orange berries, while cream flowers can connect with a cream ribbon stripe or a neutral seasonal sign.
Wired ribbon is especially helpful because it holds a fuller bow and can be reshaped after the wreath is hung. Pinch the center of each loop firmly, and angle the ribbon tails in different directions for movement.
Photographing the arrangement before gluing is one of the most useful tricks in the project. It lets you test several layouts and makes it much easier to return each item to its planned position.
Outdoor Hanging and Care
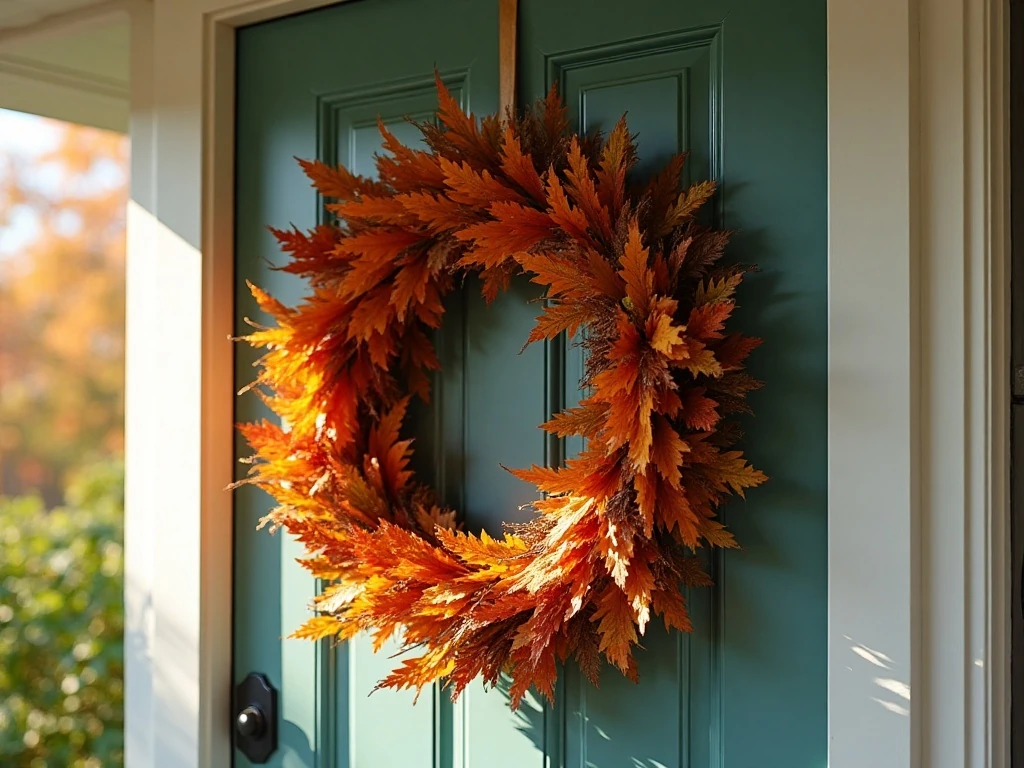
For an outdoor wreath, choose weather-resistant faux leaves, flowers, ribbon, and embellishments whenever possible. Lightweight pieces should be secured with floral wire rather than relying only on hot glue, especially if the wreath will face wind, moisture, or strong sunlight.
Hang the wreath from a sturdy hook or door hanger that can support its weight. If the door receives direct sun, rotate the wreath occasionally so fading happens more evenly across the materials.
Store the wreath in a cool, dry place after the season. A large box or breathable storage bag can protect the foliage from dust, while tissue paper can help preserve the shape of the ribbon bow.
Keep the design fresh from year to year by changing only a few details. A new ribbon, small sign, or handful of berries can give the same base a different personality without requiring a complete rebuild.
For another practical way to preserve seasonal produce while you organize your autumn home, see this guide to freezing peppers for storage. It is a useful companion project for a busy fall weekend.
Finishing Touches and Styling Ideas
Before hanging, hold the wreath at eye level and look for awkward holes, exposed stems, or decorations that point directly into one another. Small adjustments at this stage make the final display look intentional.
A wooden or metal seasonal sign can become the focal point, but it should not cover all of the foliage. Place it slightly off-center or near the bow, then balance its visual weight with a cluster of leaves or flowers on the opposite side.
If your front door is dark, use cream, gold, rust, and orange accents for contrast. On a light door, burgundy, forest green, copper, and brown details will stand out beautifully.
You can also use the wreath indoors above a mantel, on a pantry door, or as a centerpiece around a flameless candle. Never place faux foliage, ribbon, or hot-glued decorations near an open flame.
After crafting, serve a cozy autumn side dish such as baked beans with bacon and brown sugar for an easy seasonal meal. For a later holiday project, keep these simple decorated cookies in mind when you are ready to switch from fall to winter planning.
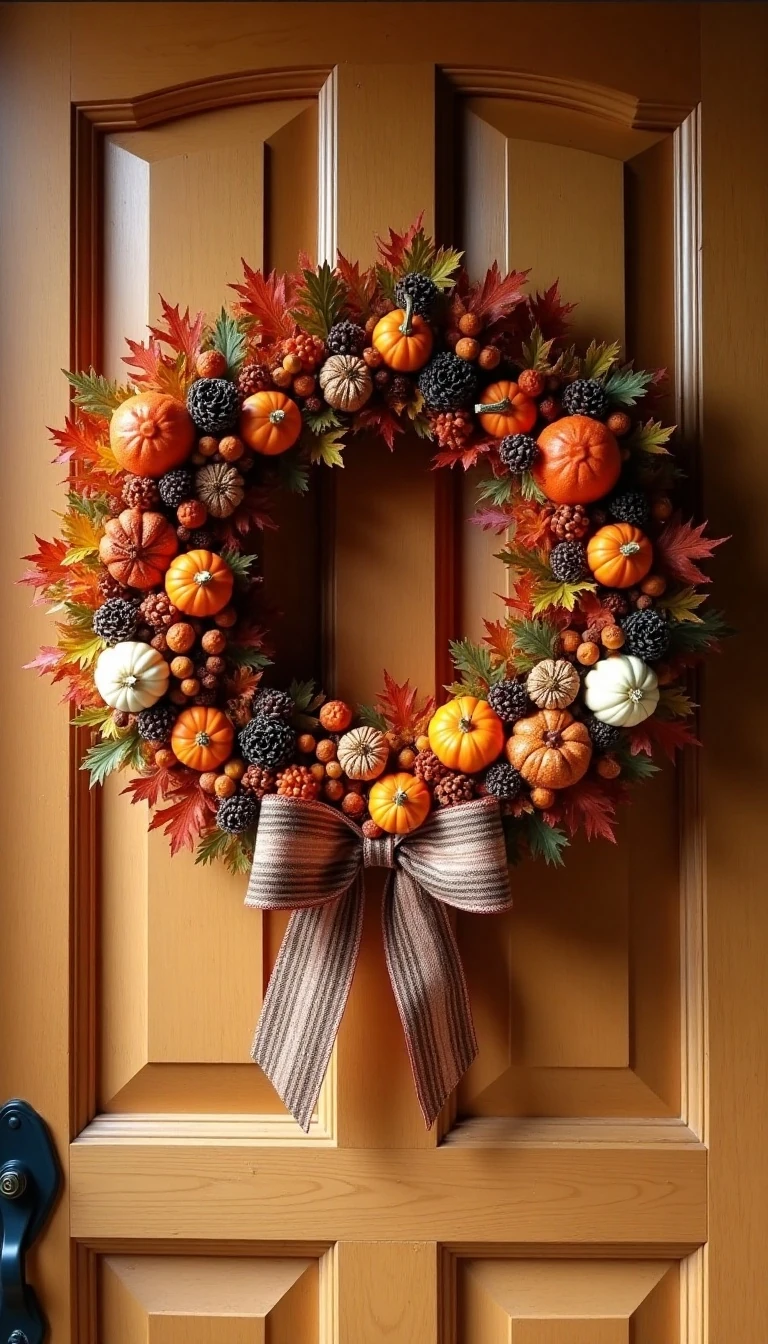
Easy DIY Fall Wreath That Wows
Ingredients
Method
- Lay the wreath form, foliage, flowers, pumpkins, pinecones, berries, ribbon, and optional sign on a table. Arrange the complete design before attaching anything, and take a quick photograph so you can recreate the layout after removing pieces for wiring or gluing.
- Place the largest leaf sprays or greenery around the wreath first, distributing them evenly. Secure each stem to a grapevine form with floral wire or hot glue, or tuck stems into a foam form and reinforce them as needed.
- Add flowers, pumpkins, pinecones, berries, acorns, and other statement accents in small groupings. Avoid spacing every item at identical intervals because clustered details create a more natural and interesting fall design.
- Fill visible openings with smaller leaves, filler pieces, or short foliage stems. Conceal exposed wire, glue, and stem ends as you work so the wreath looks finished from the front and sides.
- Shape a bow or loop from the 2- to 3-yard length of wired ribbon and attach it at the top or lower side of the wreath. Twist the wire firmly around the wreath form, then fluff and reshape the loops until they look full.
- Trim loose stems and ribbon tails with scissors or wire cutters, then inspect the wreath from several angles. Reinforce any lightweight or loose embellishments before hanging the finished wreath.
Notes
Final Thoughts
Making an easy DIY fall wreath that wows is mostly about thoughtful arranging, sturdy attachment, and a few well-chosen seasonal details. Start with the largest foliage, build in small clusters, fill the gaps, and let a wired ribbon bow provide the finishing flourish.
Because the materials are flexible and the design can be rearranged at any stage, this project is ideal for beginners and experienced crafters alike. Take a photo before securing the pieces, inspect your wreath from every angle, and you will have a warm, welcoming decoration ready in about 20 to 40 minutes.
Most importantly, make the wreath suit your home rather than copying a strict formula. Whether your style is rustic, colorful, minimal, or traditional, a handmade fall wreath brings instant seasonal character to your entryway.