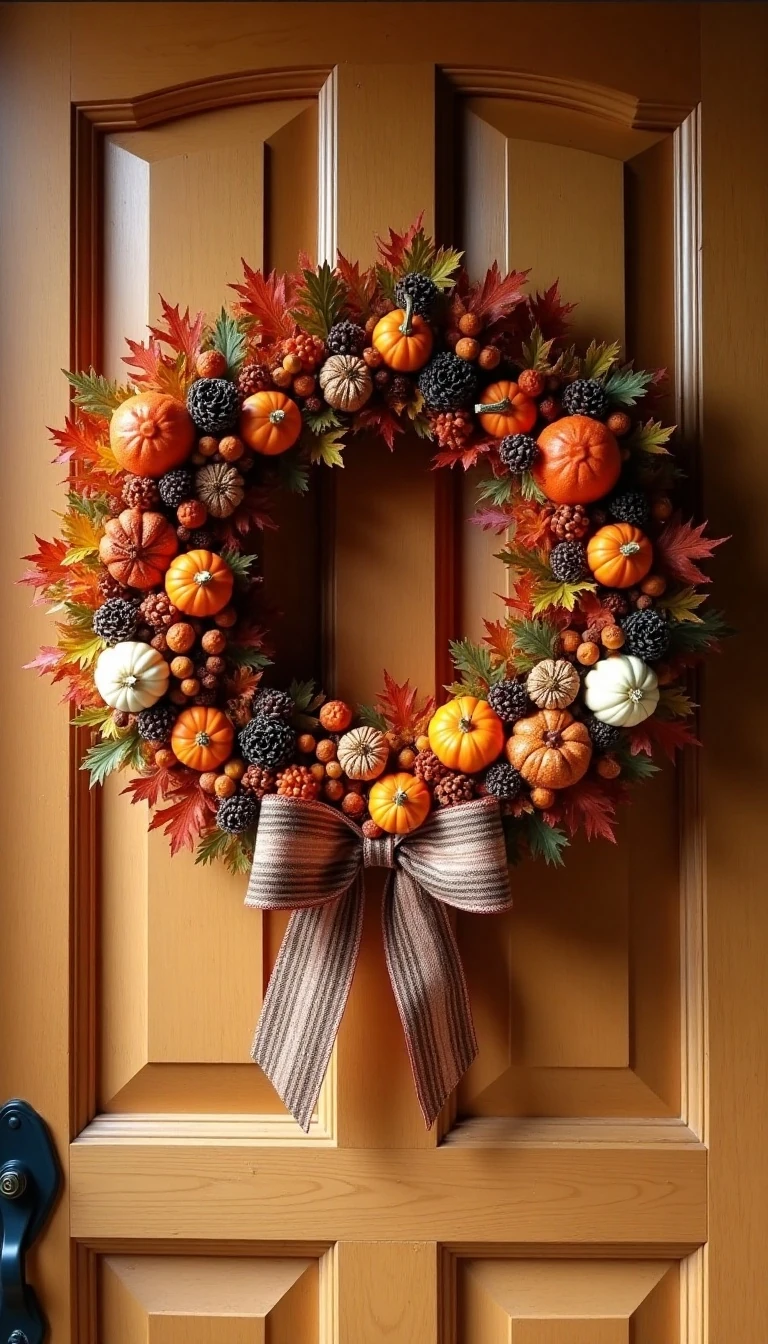
Ingredients
Method
Step-by-Step
- Lay the wreath form, foliage, flowers, pumpkins, pinecones, berries, ribbon, and optional sign on a table. Arrange the complete design before attaching anything, and take a quick photograph so you can recreate the layout after removing pieces for wiring or gluing.
- Place the largest leaf sprays or greenery around the wreath first, distributing them evenly. Secure each stem to a grapevine form with floral wire or hot glue, or tuck stems into a foam form and reinforce them as needed.
- Add flowers, pumpkins, pinecones, berries, acorns, and other statement accents in small groupings. Avoid spacing every item at identical intervals because clustered details create a more natural and interesting fall design.
- Fill visible openings with smaller leaves, filler pieces, or short foliage stems. Conceal exposed wire, glue, and stem ends as you work so the wreath looks finished from the front and sides.
- Shape a bow or loop from the 2- to 3-yard length of wired ribbon and attach it at the top or lower side of the wreath. Twist the wire firmly around the wreath form, then fluff and reshape the loops until they look full.
- Trim loose stems and ribbon tails with scissors or wire cutters, then inspect the wreath from several angles. Reinforce any lightweight or loose embellishments before hanging the finished wreath.
Notes
Use wired ribbon because it holds a fuller bow and can be reshaped after hanging. For outdoor use, select weather-resistant faux materials and secure lightweight pieces with floral wire rather than relying only on hot glue.