This healthy apple crisp recipe is an easy, guilt-free dessert made with fresh apples, old-fashioned oats, whole-grain or almond flour, maple syrup, and a modest amount of butter or coconut oil. It serves 6, takes about 15 minutes to prepare, bakes for 35–45 minutes, and is ready in about 1 hour.
Every spoonful brings together soft cinnamon-maple apples and a golden, crumbly topping with wholesome oats and optional crunchy nuts. The crisp tastes comforting and indulgent while relying on fruit and naturally sweet maple syrup instead of a heavy, overly sugary filling.
Jump to RecipeWhy You’ll Love This Recipe
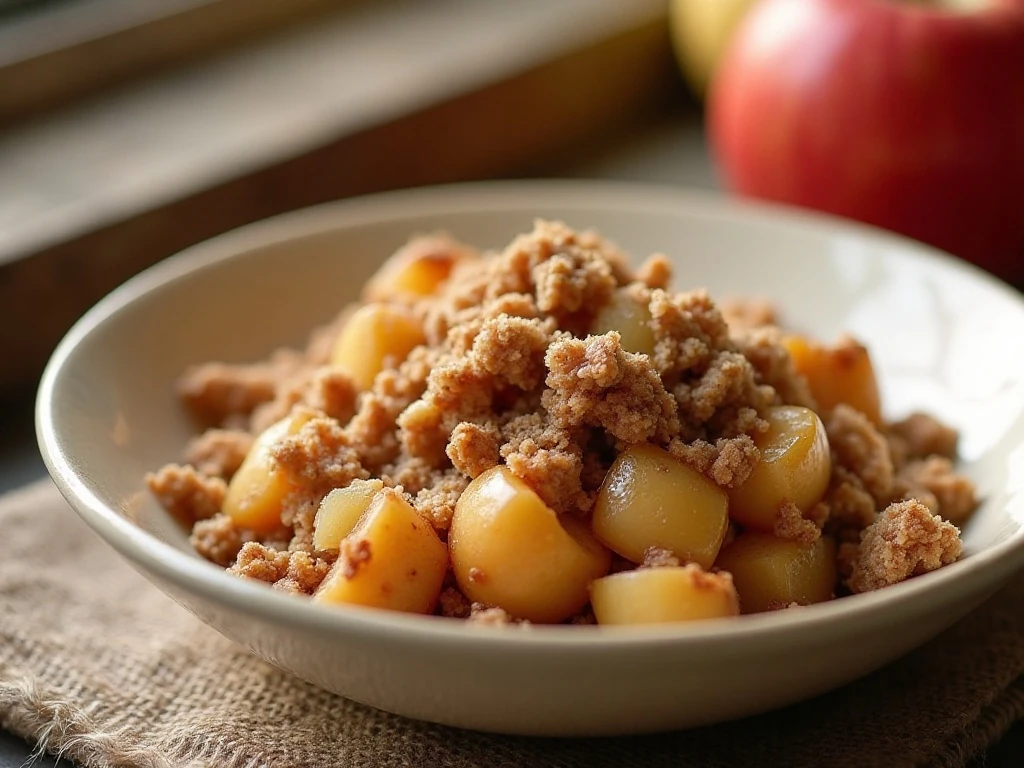
This apple crisp delivers the cozy flavor of a classic baked dessert with a shorter, simpler ingredient list. Fresh apples provide the main sweetness, while maple syrup adds a warm caramel-like note without requiring a thick layer of refined sugar.
The topping has plenty of texture from rolled oats and optional walnuts or pecans. Whole-wheat flour gives it a hearty, rustic bite, while almond flour makes the topping tender and naturally gluten-free when paired with certified gluten-free oats.
It is also wonderfully flexible. You can leave the apple peels on for extra color and a little more texture, choose butter for a rich finish, or use coconut oil for a dairy-free dessert.
For a full comfort-food menu, serve this crisp after a bowl of healthy chili. The savory main dish and warm fruit dessert make an especially satisfying cool-weather dinner.
Ingredients You’ll Need
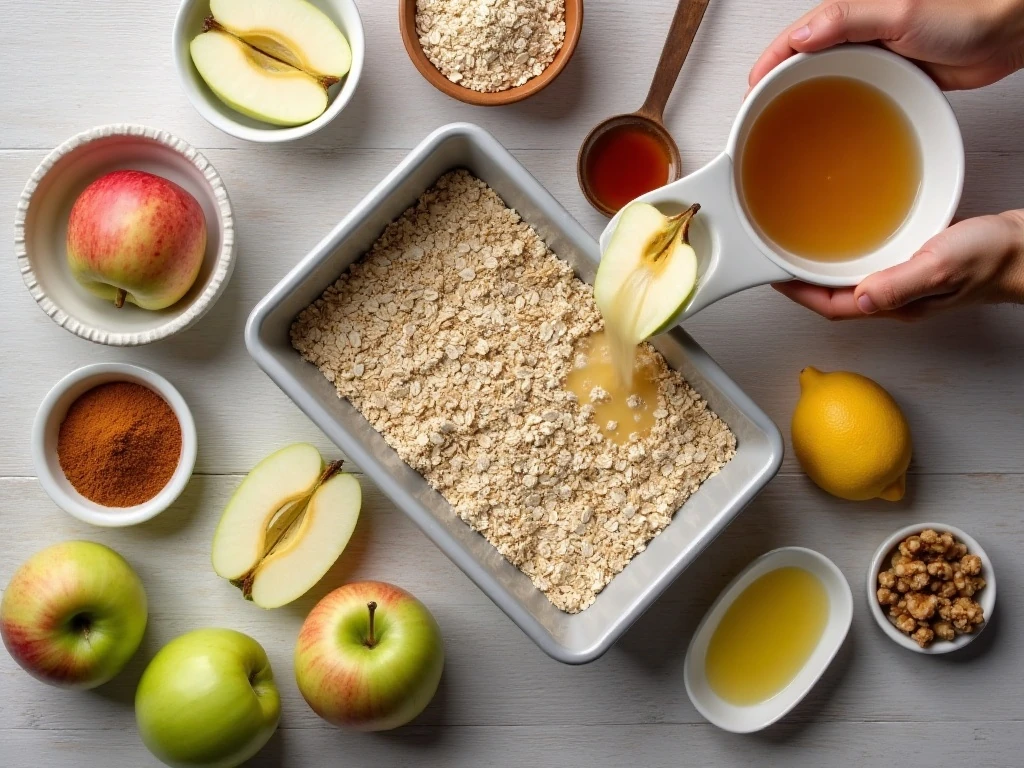
Choose about 2 1/2–3 pounds of apples, which is usually 6 medium apples. A mix of varieties gives the filling more character than using only one type.
- Tart apples: Granny Smith apples stay firm and provide a bright, pleasantly sharp flavor.
- Sweet apples: Honeycrisp or Gala apples contribute natural sweetness and fragrant apple flavor.
- Fresh lemon juice: This keeps the apples tasting lively and balances their sweetness.
- Maple syrup: Two tablespoons flavor the fruit, while one-third cup sweetens the topping.
- Spices: Cinnamon is essential, and a small amount of nutmeg is optional for extra warmth.
- Thickener: Cornstarch or arrowroot helps the bubbling apple juices become spoonable rather than watery.
- Topping basics: Old-fashioned oats, whole-wheat or almond flour, melted unsalted butter or coconut oil, cinnamon, and fine salt create the crisp texture.
- Optional nuts: Walnuts or pecans add a pleasant crunch and a toasted, savory contrast.
Do not slice the apples excessively thin. Pieces around 1/4 inch soften thoroughly during baking while still holding enough shape to keep the filling from becoming completely mushy.
If you enjoy apple desserts with a playful, sticky finish, you may also like these stovetop caramel apples for another seasonal treat.
How to Make It Step-by-Step
Step 1: Heat the oven to 350°F (175°C), then lightly grease an 8-inch square baking dish or another similarly sized dish. Greasing the dish makes serving easier and prevents the syrupy fruit juices from clinging too firmly to the corners.
Step 2: Peel the apples if you prefer a softer, smoother filling, or leave the peels on for added color and texture. Slice them roughly 1/4 inch thick, then toss them in a large bowl with the lemon juice, 2 tablespoons maple syrup, cinnamon, optional nutmeg, and optional cornstarch or arrowroot.
Step 3: Mix the apples until every slice is lightly coated. The lemon juice helps brighten the flavor, while the maple syrup and spices begin seasoning the fruit before it goes into the oven.
Step 4: Transfer the seasoned apples to the prepared baking dish and spread them evenly. Arrange the slices in a level layer so the topping rests consistently across the fruit and bakes at an even rate.
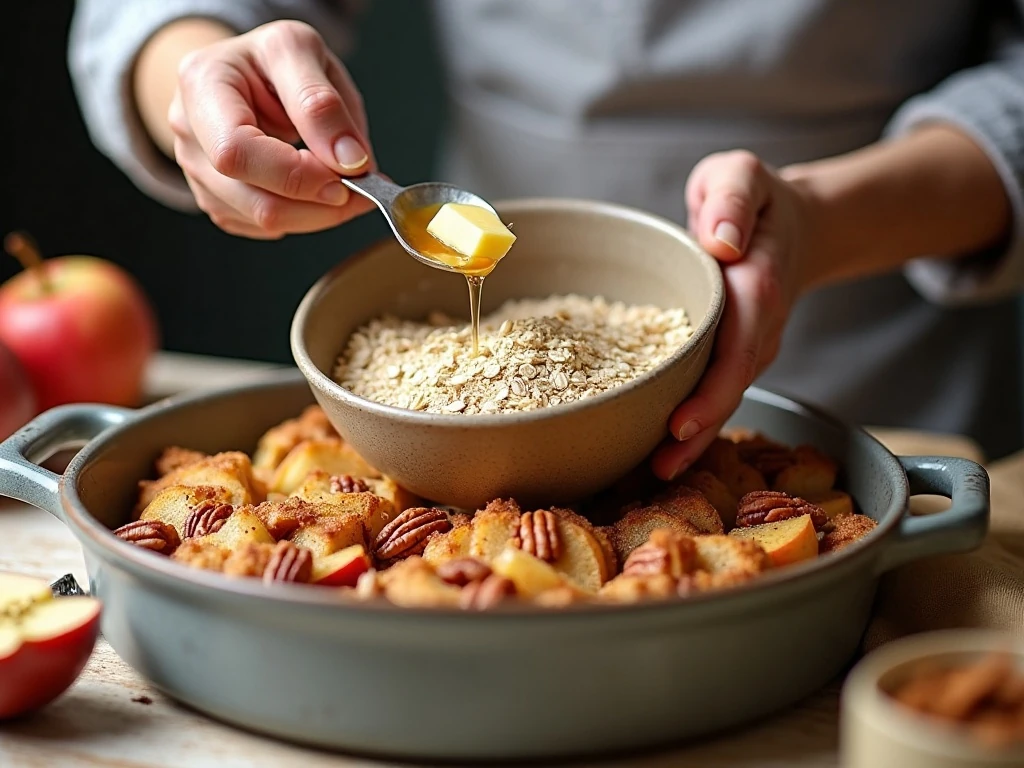
Step 5: In a separate bowl, combine the rolled oats, whole-wheat or almond flour, optional chopped walnuts or pecans, cinnamon, and fine salt. Add the 1/3 cup maple syrup and melted butter or coconut oil, stirring until the mixture forms moist, crumbly clusters.
Step 6: Scatter the topping over the apples, gently breaking apart any extra-large clumps as you go. Cover the fruit from edge to edge, but do not press the mixture down, since loose clusters bake into a lighter, crisper topping.
Step 7: Bake for 35–45 minutes, watching for two important signs: the topping should be golden, and the apple juices should be visibly bubbling around the edges. If the topping becomes dark before the fruit bubbles, loosely cover the dish with foil near the end of baking.
Step 8: Remove the crisp from the oven and let it rest for 10–15 minutes before serving. This short cooling period allows the thickened juices to settle, making each portion easier to spoon and less runny.
Pro Tips for the Best Apple Crisp
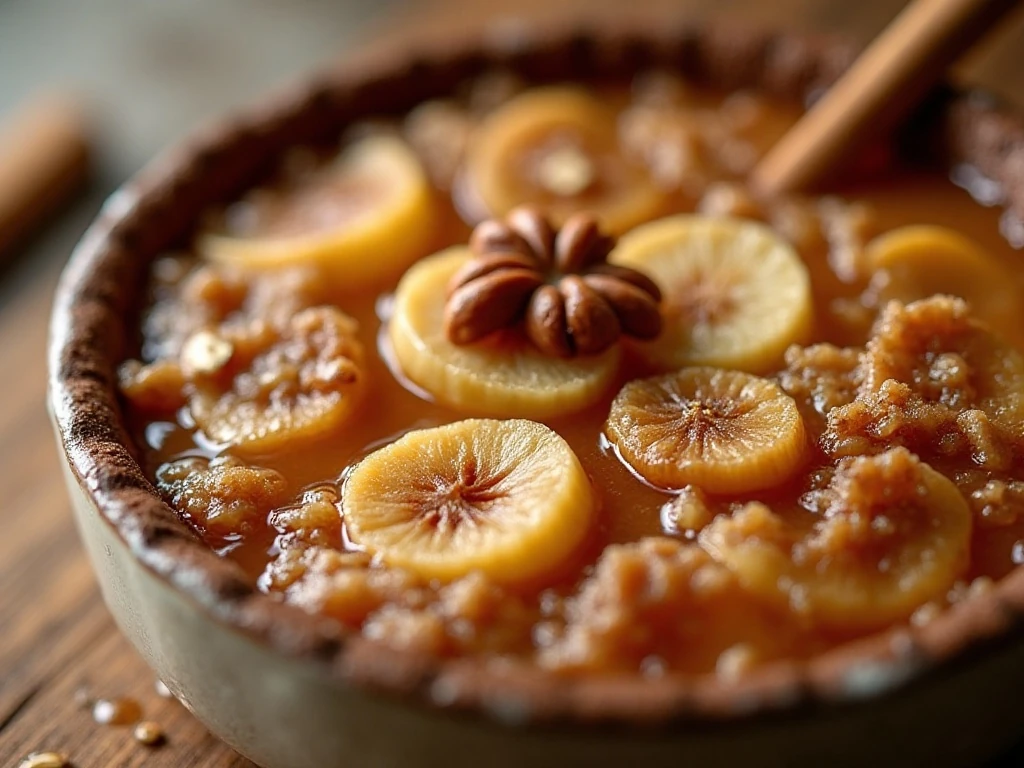
The most important flavor decision is the apple combination. Tart, firm apples provide structure, while sweeter apples add fragrance and natural sweetness, so combining Granny Smith with Honeycrisp or Gala creates a balanced filling.
Look for bubbling rather than relying only on the color of the topping. A browned surface can appear finished while the apples underneath are still firm, but bubbling around the edges indicates that the fruit is tender and the filling has thickened.
For a more textured topping, keep some oat mixture in small clusters rather than rubbing it into a fine crumb. Those clusters become crisp and pleasantly nubby as the maple syrup and fat toast in the oven.
Butter gives the richest classic dessert flavor. Coconut oil works well when you want a dairy-free crisp, though it can add a subtle coconut note depending on the oil you choose.
For a gluten-free dessert, use certified gluten-free old-fashioned oats and almond flour. If you use regular brown sugar or coconut sugar instead of maple syrup, the crisp will no longer be entirely free of refined sugar when regular brown sugar is used.
If you are planning a harvest-style meal, pair this dessert with savory apple sage stuffing muffins. Their herbs and crisp edges echo the autumn flavors in this dessert without making the meal feel overly sweet.
Serving Suggestions
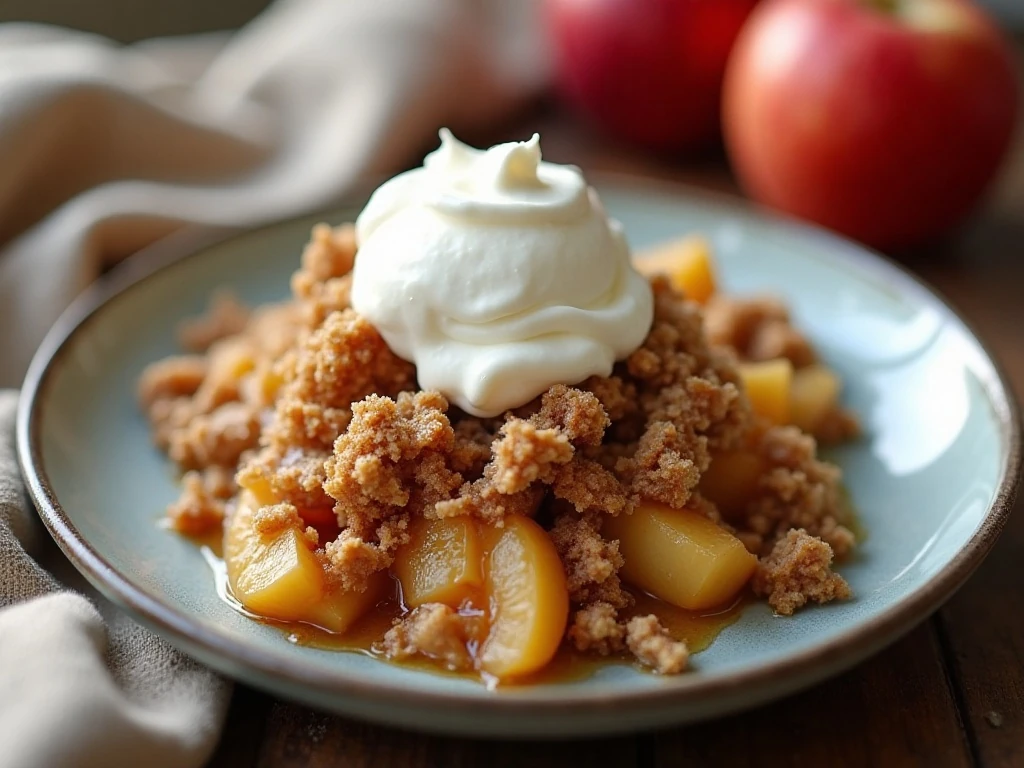
Serve the apple crisp warm after its 10–15 minute rest, when the filling is still cozy but thick enough to hold its shape. A spoonful of plain yogurt, lightly sweetened Greek yogurt, or vanilla ice cream can add cool creaminess beside the warm apples.
For a simple presentation, spoon portions into shallow bowls so the golden topping remains visible. Add a small sprinkle of chopped toasted walnuts or pecans if you included nuts in the topping, but the crisp is flavorful enough to serve as-is.
This dessert is especially inviting for brunch, a weeknight family dinner, or a casual fall gathering. If you are building a larger seasonal spread, balance it with a bright citrus dessert such as these easy lime bars.
Storage and Reheating
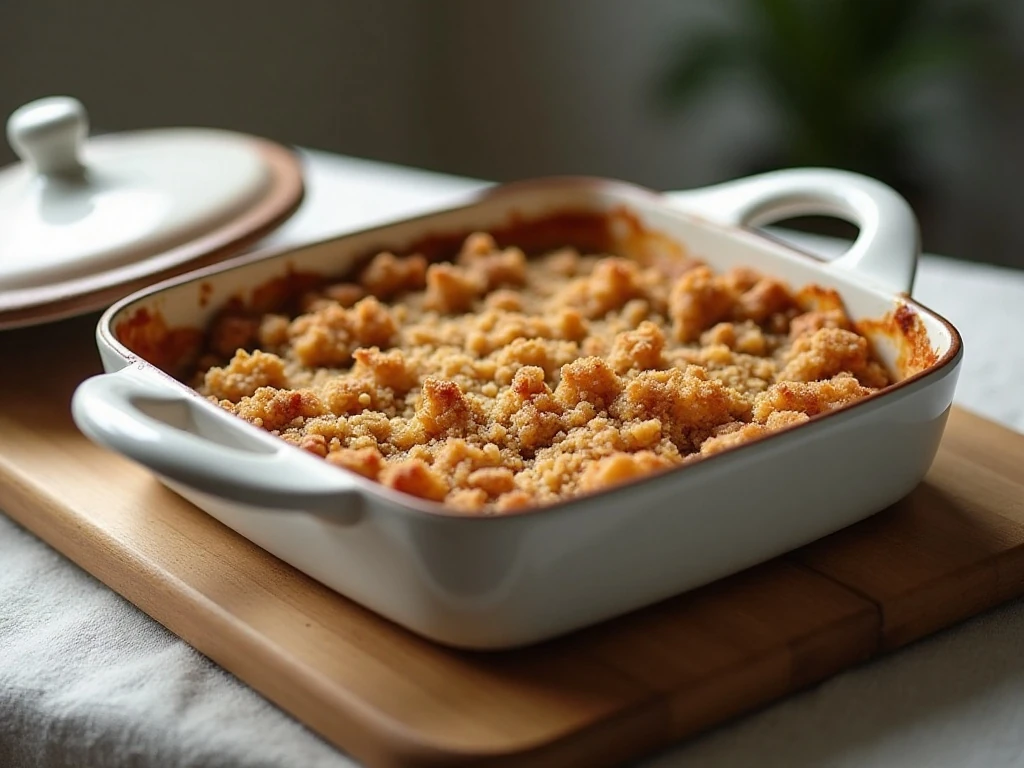
Let leftover crisp cool, then cover the baking dish and refrigerate it. Store it for up to several days, keeping in mind that the topping will soften slightly as it absorbs moisture from the apples.
Reheat individual portions in the microwave until warm, or return the baking dish to a 350°F oven until heated through. Oven reheating helps the topping regain more of its crisp texture, especially if the dish is uncovered.
The crisp can also be enjoyed cold or at room temperature, although warming it brings back the fragrant cinnamon, maple, and baked-apple aroma. Add your preferred cool topping just before serving rather than before storage.
For another comforting homemade side to keep in your recipe collection, see this easy bread stuffing recipe.
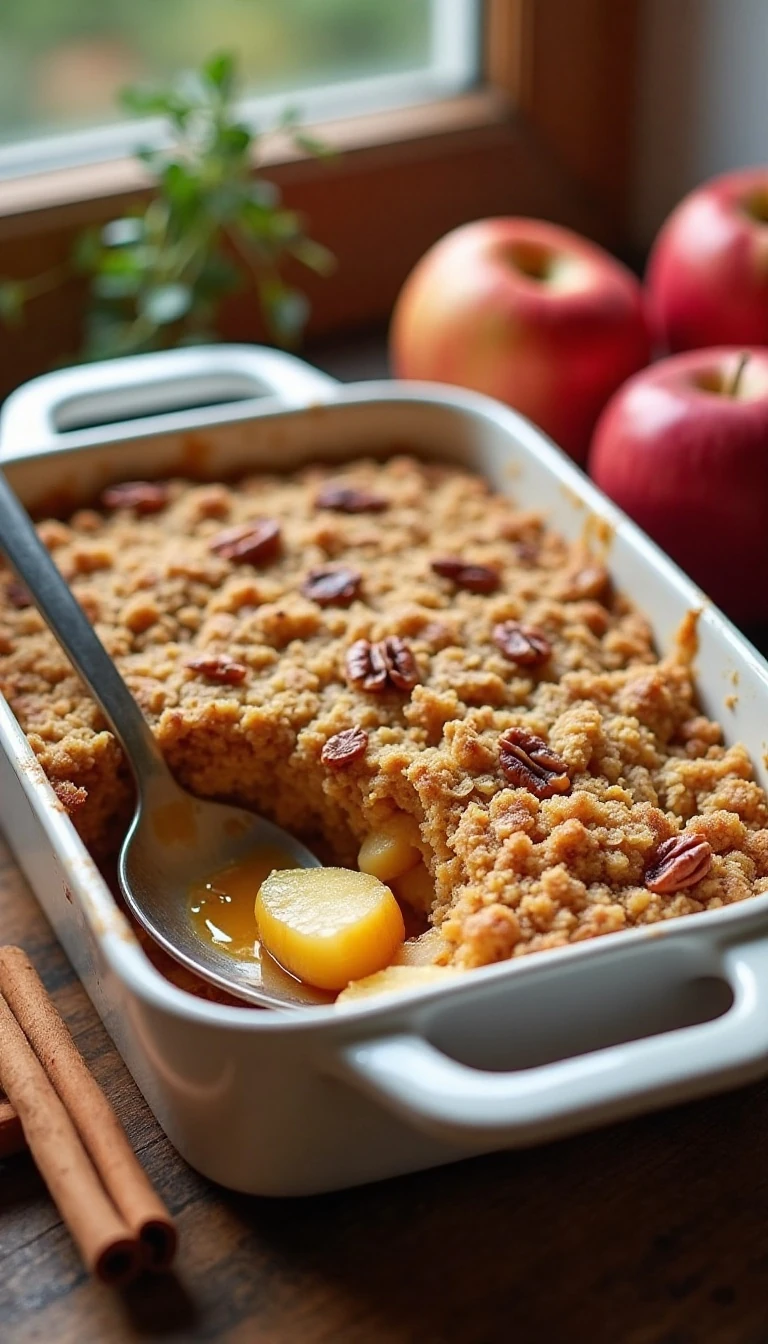
Healthy Apple Crisp Recipe (Easy & Guilt-Free)
Ingredients
Method
- Heat the oven to 350°F (175°C) and lightly grease an 8-inch square or similarly sized baking dish.
- Toss the sliced apples with lemon juice, maple syrup, cinnamon, nutmeg if using, and cornstarch or arrowroot if using.
- Transfer the apple mixture to the prepared baking dish and spread it into an even layer.
- Combine the oats, flour, optional chopped nuts, cinnamon, and salt in a bowl. Stir in the maple syrup and melted butter or coconut oil until moist, crumbly clusters form.
- Sprinkle the topping evenly over the apples, covering the fruit from edge to edge.
- Bake for 35–45 minutes, until the topping is golden and the apple juices are visibly bubbling around the edges. Cover loosely with foil near the end if the topping browns too quickly.
- Rest the crisp for 10–15 minutes before serving so the hot juices can thicken.
Notes
Final Thoughts
This healthy apple crisp is proof that a dessert can feel generous and comforting without being complicated or overloaded with sugar. Fresh apples, maple syrup, oats, warm spices, and a modest amount of butter or coconut oil create a balanced bake with tender fruit and a wonderfully crisp top.
Use two apple varieties, keep the slices around 1/4 inch thick, and wait for bubbling juices before taking the dish from the oven. That combination of smart preparation and a brief resting period gives you a filling that is tender, fragrant, and thick enough to serve beautifully.
Make it for a relaxed family dessert, a fall potluck, or any evening when you want the kitchen to smell like cinnamon and baked apples. With only 15 minutes of prep and 35–45 minutes in the oven, this guilt-free apple crisp is an easy recipe worth returning to all season long.