Crusty no-knead artisan bread is one of the easiest ways to bake a bakery-style loaf at home. Mix 3 cups of flour, salt, instant yeast, and 1 1/2 cups of water, let the sticky dough rise for 12–18 hours, then bake it in a preheated covered Dutch oven at 450°F for a crisp crust and airy interior.
This rustic bread has a deeply browned, crackly exterior and a tender, pleasantly chewy crumb filled with irregular bubbles. The recipe needs only 5–10 minutes of active preparation, making it perfect for planning ahead when you want fresh bread with dinner, soup, sandwiches, or a generous swipe of butter.
Jump to RecipeWhy You’ll Love This Recipe
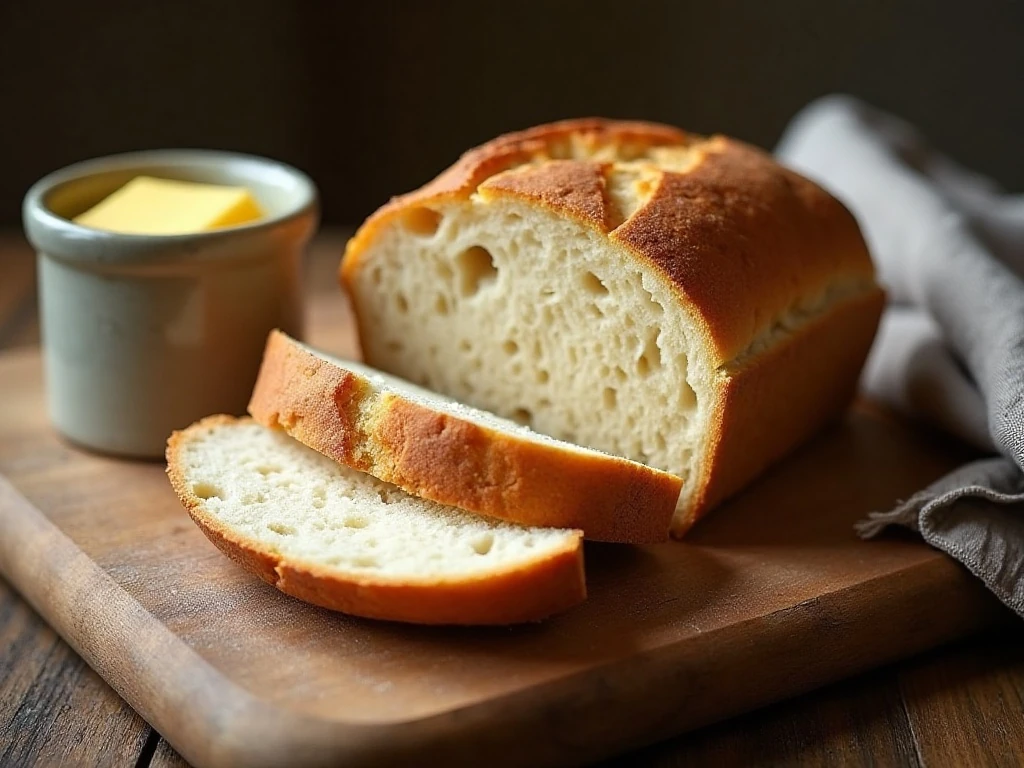
This no-knead bread delivers the kind of crust usually associated with a professional bakery, but the method is wonderfully forgiving. There is no stand mixer, vigorous kneading, or complicated dough technique; a bowl, spoon, parchment, and Dutch oven do most of the work.
The long first rise gives the small amount of yeast plenty of time to develop flavor and structure. As the dough rests, it becomes bubbly and puffy, creating the open, rustic crumb that makes each slice so inviting.
It is also a practical recipe for busy schedules. Mix the dough before bed, shape it the next day, and bake it in time for dinner, or prepare it in the morning for a warm loaf later in the evening.
For a dessert pairing after a bread-centered meal, you can keep things simple with this creamy lemon cheesecake, whose bright citrus flavor makes a lovely contrast to a savory loaf.
Ingredients You’ll Need
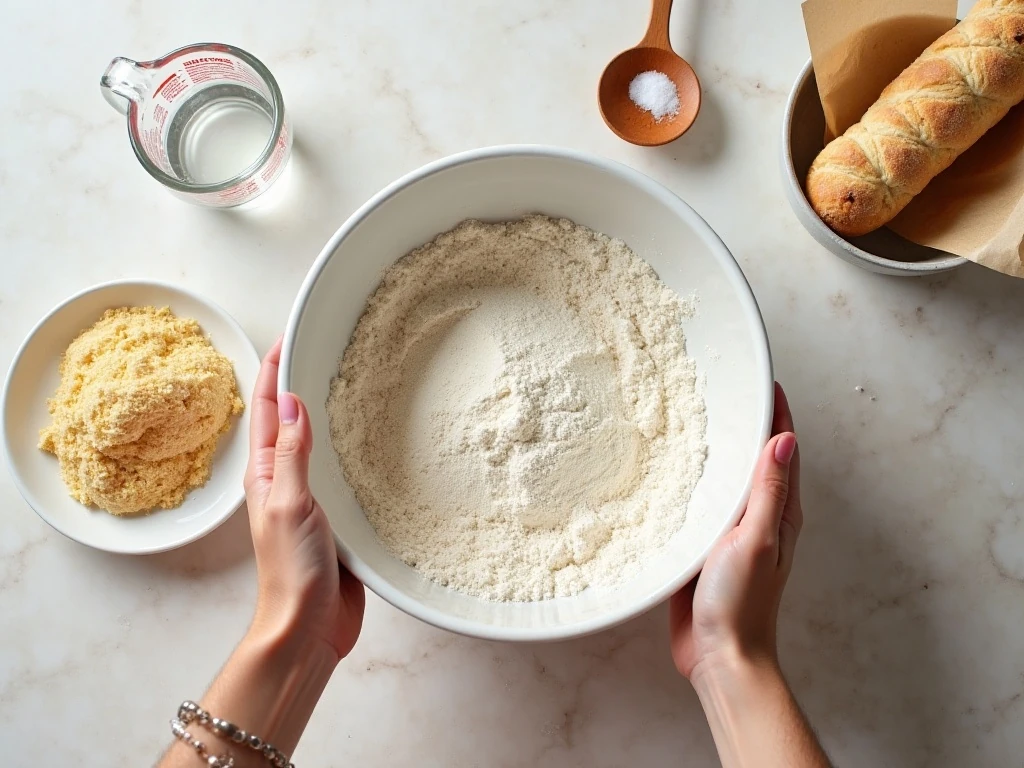
Only four basic ingredients go into this loaf, so the quality and measurement of each one matter. A kitchen scale is especially useful for the flour and water, but volume measurements work when you spoon the flour into a cup and level it gently.
- 3 cups (360 g) all-purpose or bread flour: Either flour works well. Bread flour may give the loaf a slightly chewier bite, while all-purpose flour produces a tender, crisp loaf.
- 1 3/4 teaspoons fine salt (about 10 g): Salt balances the flavor and supports the dough’s structure.
- 1/2 teaspoon instant yeast (about 1.5-2 g): This small amount is enough because the dough rises for many hours.
- 1 1/2 cups (355-360 g) water: Use room-temperature or slightly warm water, never hot water.
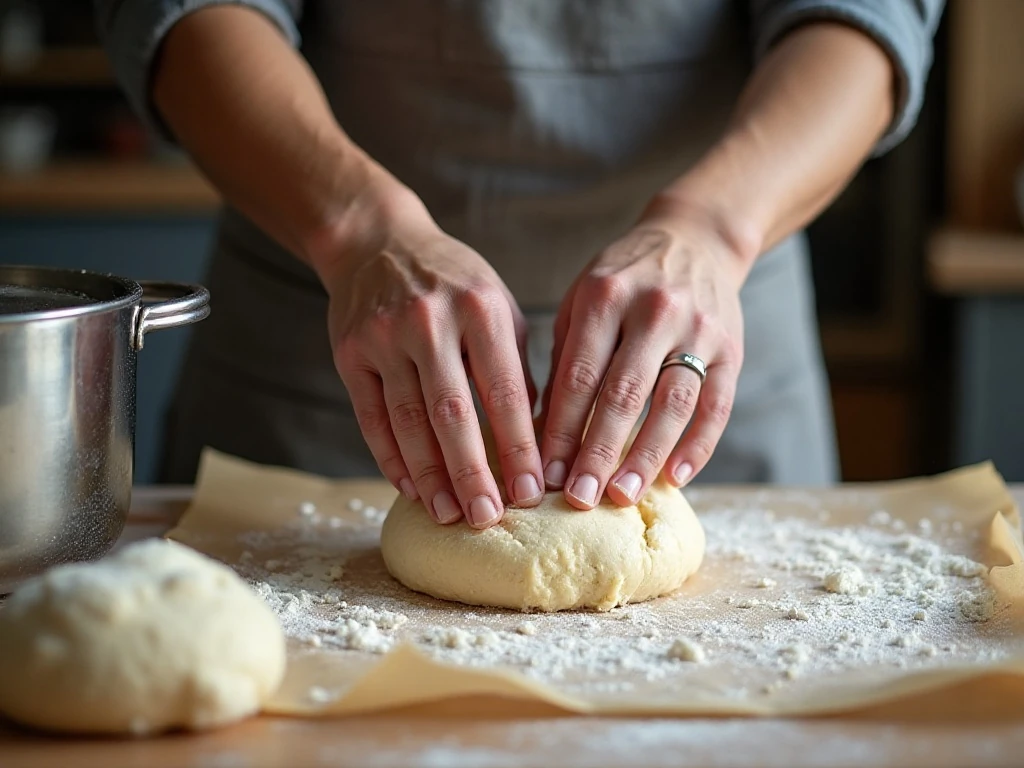
Keep the dough noticeably wet and sticky. If you add large amounts of flour to make it easy to handle, the baked bread can lose its open texture and become heavy.
How to Make It Step-by-Step
Step 1: Whisk the flour, salt, and instant yeast in a large bowl until the dry ingredients are evenly distributed. Mixing the yeast and salt through the flour first helps prevent concentrated pockets of either ingredient.
Step 2: Pour in the water and stir with a sturdy spoon or spatula until all the flour is moistened. The mixture should look rough, sticky, and shaggy rather than smooth, and there is no need to knead it.
Step 3: Cover the bowl tightly with plastic wrap or a lid and leave it at room temperature for 12-18 hours. In a cool kitchen, the rise may take up to 24 hours; the dough is ready when it has doubled, looks puffy, and is covered with bubbles.
Step 4: Generously flour your work surface and turn out the dough. Fold the outer edges toward the center several times, then shape the dough into a loose round, using only enough flour to keep it from sticking.
Step 5: Set the dough seam-side down on parchment paper or a generously floured towel. Cover it and let it rest for 30-60 minutes while the dough relaxes and gains a little more volume.
Step 6: About 30 minutes before the dough is ready to bake, place a 4-6 quart covered Dutch oven inside the oven. Preheat the oven and pot together to 450°F (230°C), allowing the heavy cookware to become thoroughly hot.
Step 7: Carefully remove the hot Dutch oven and transfer the dough into it using the parchment as a sling, if desired. Score the top with a sharp knife or bread lame, then cover the pot immediately to hold in the steam.
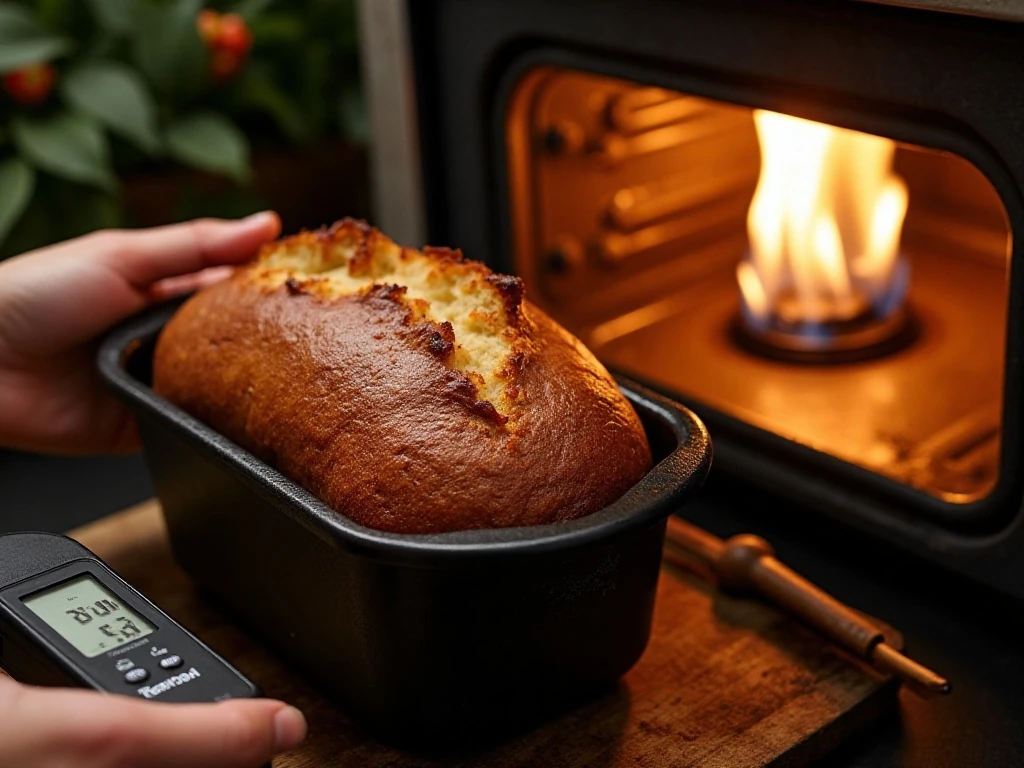
Step 8: Bake the loaf covered at 450°F for 30 minutes. Remove the lid and continue baking for 10-15 minutes, until the crust is deeply golden brown and crisp.
Step 9: Transfer the bread to a wire rack and let it cool for at least 30 minutes before slicing. The crumb continues to set as it cools, so cutting too early can make the center seem gummy even when the loaf is properly baked.
Pro Tips for a Crisp, Airy Loaf
Measure by weight whenever possible. Flour can become compacted in a measuring cup, adding more than the recipe needs. Too much flour is one of the most common reasons a no-knead loaf turns out dense instead of light and open.
Trust the dough’s appearance. Before the rise, it should be loose and sticky. After the long fermentation, it should look inflated and bubbly, with a soft surface that may wobble slightly when the bowl is moved.
Preheat the Dutch oven fully. A properly heated pot gives the dough an immediate burst of heat. Keeping the lid on for the first 30 minutes traps steam, helping create the thin, blistered, crackly crust associated with artisan bread.
Handle the dough gently. Folding is enough to organize the dough before baking. Avoid pressing out all the bubbles or kneading in a large quantity of extra flour.
Check doneness by color and temperature. The loaf should be deeply golden and sound hollow when tapped. If using an instant-read thermometer, aim for an internal temperature of about 205-210°F (96-99°C).
For another sweet finish after homemade bread, browse this easy chocolate pie or try a spoonful of the chocolate-hazelnut pie for a rich contrast.
Serving Ideas
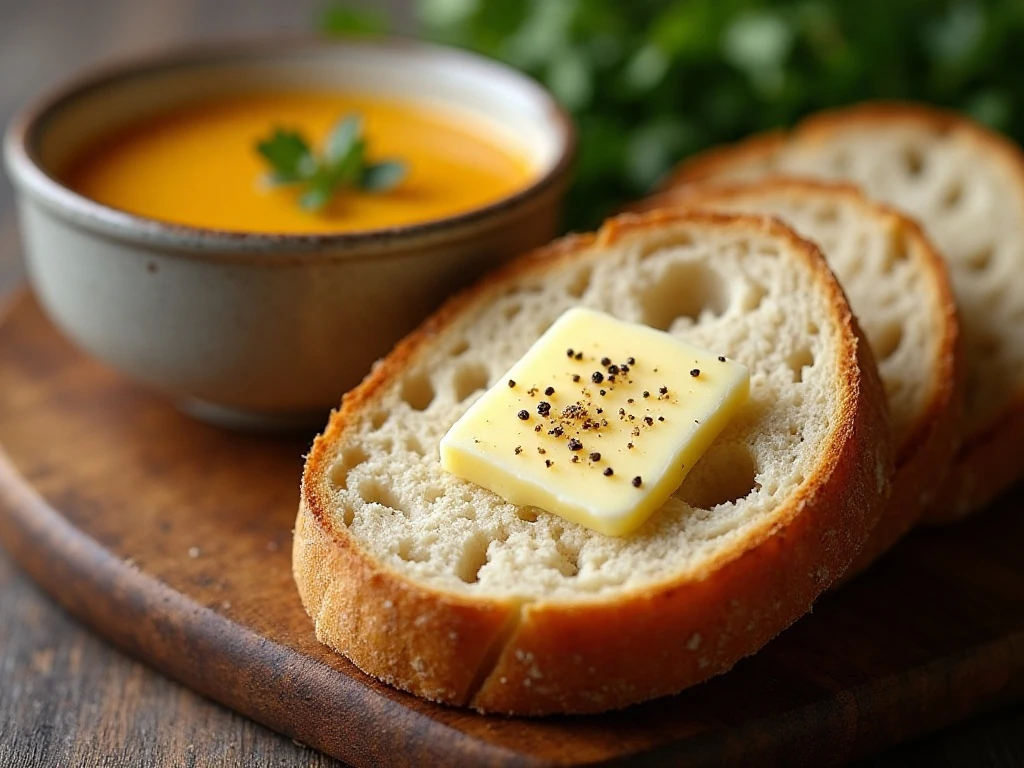
Serve thick slices while the crust is crisp and the crumb is just warm. Salted butter is all you need, but olive oil, flaky salt, and cracked black pepper turn a simple slice into an excellent appetizer.
- Pair it with tomato soup, creamy vegetable soup, or a hearty bean stew.
- Toast slices for avocado toast, bruschetta, or a breakfast egg sandwich.
- Use day-old pieces for croutons, breadcrumbs, or a savory bread pudding.
- Set out a basket of slices beside roasted chicken, pasta, or a generous salad.
Leftover bread also makes a wonderful dessert. When the loaf is a day or two old, use it in this comforting custard bread pudding, where the slightly firm crumb absorbs the custard beautifully.
Storage and Make-Ahead Advice
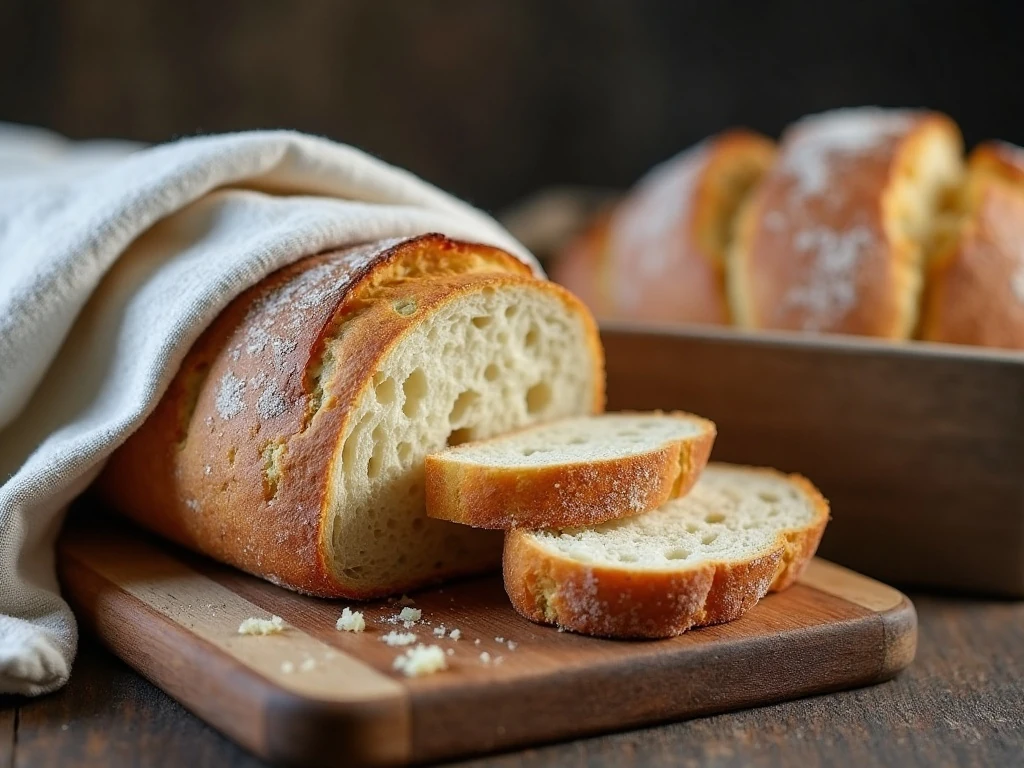
Once completely cool, store the loaf at room temperature in a paper bag, bread box, or loosely wrapped kitchen towel. Avoid sealing it in plastic while the crust is still crisp because trapped moisture can soften the exterior.
For longer storage, slice the cooled bread and freeze it in an airtight freezer bag. Toast slices directly from frozen, or thaw them at room temperature before warming them briefly in a 350°F oven.
The dough itself is designed for advance preparation. Its first rise may continue for up to 24 hours in a cool kitchen, but watch the dough rather than relying only on the clock; it should be doubled, puffy, and bubbly before shaping.
For a warm-weather dessert pairing, serve slices with fruit preserves or alongside this peach ice cream. The cold, creamy fruit flavor is especially delicious with toasted pieces of the bread.
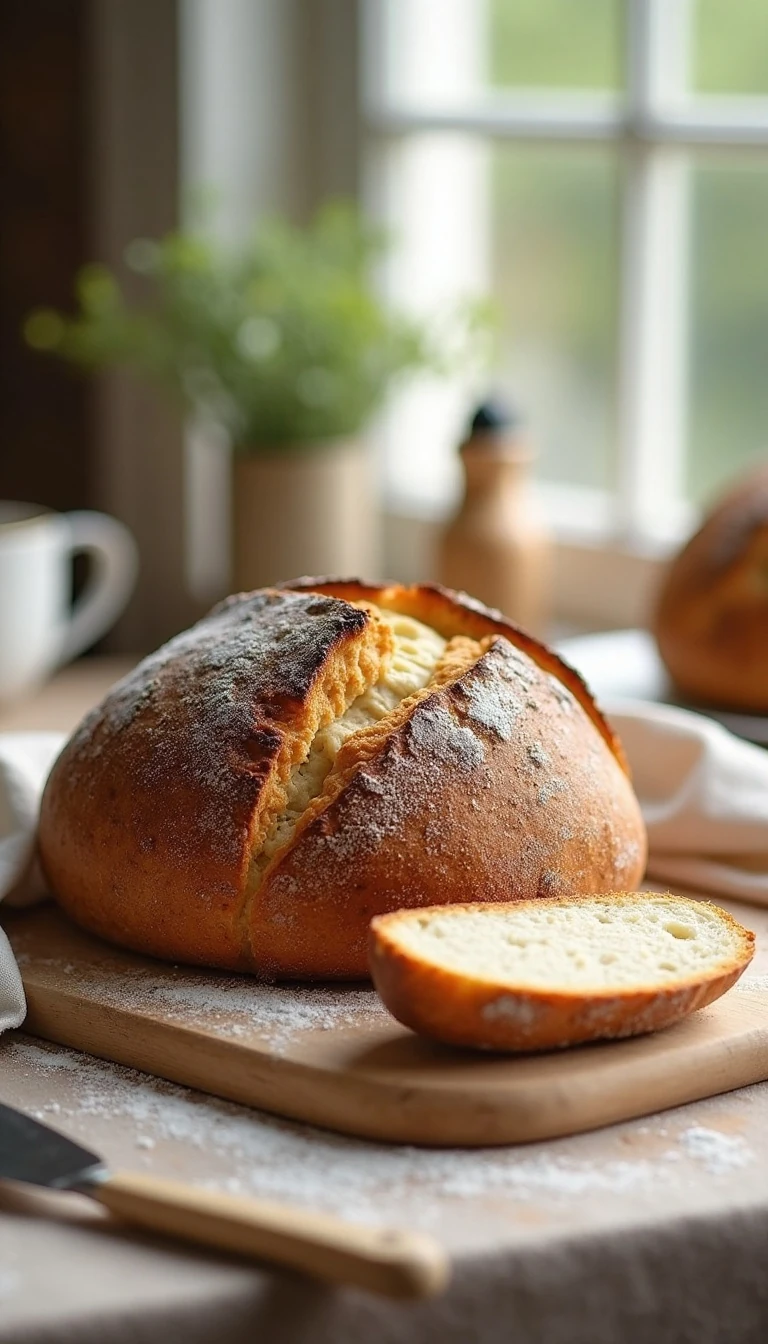
Crusty No-Knead Artisan Bread Made Simple
Ingredients
Method
- Whisk the flour, salt, and instant yeast together in a large bowl.
- Add the water and stir until every bit of flour is moistened. The dough should be rough, sticky, and shaggy, with no kneading required.
- Cover the bowl tightly with plastic wrap or a lid. Let the dough rise at room temperature for 12-18 hours, or up to 24 hours in a cool kitchen, until doubled, bubbly, and puffy.
- Turn the dough onto a generously floured surface. Fold the edges toward the center several times, then form a loose round without working in excessive flour.
- Place the dough seam-side down on parchment or a floured towel. Cover and let it rest for 30-60 minutes.
- About 30 minutes before baking, place a 4-6 quart covered Dutch oven in the oven and preheat to 450°F (230°C).
- Carefully transfer the dough into the hot pot. Score the top with a sharp knife or bread lame, cover the pot, and bake at 450°F for 30 minutes.
- Remove the lid and bake for another 10-15 minutes, until deeply golden brown and crisp. Cool on a rack for at least 30 minutes before slicing.
Notes
Final Thoughts
Crusty no-knead artisan bread proves that excellent homemade bread does not require complicated equipment or advanced baking skills. With four ingredients, a long unattended rise, and a thoroughly heated Dutch oven, you can create a loaf with a crisp golden crust and a beautifully airy crumb.
Give the dough enough time, resist adding too much flour, and let the finished loaf cool for at least 30 minutes before slicing. Once you taste that first crackly, buttery slice, this simple overnight method is likely to become a regular part of your baking routine.