This easy Cream Cheese Danish Crescent Rolls recipe makes a rich, flaky 9 x 13-inch breakfast pastry with only two tubes of refrigerated crescent-roll dough and a sweet cream-cheese filling. Layer the dough, spread in the smooth filling, add the second crust, and bake at 350°F for 30–35 minutes.
The finished Danish has buttery, lightly golden crescent layers wrapped around a creamy vanilla-scented center. Let it cool for at least 20–30 minutes before adding the optional powdered sugar glaze so the filling sets and every slice cuts cleanly.
Jump to RecipeWhy You’ll Love This Recipe

This cream cheese Danish is one of those dependable recipes that looks special but requires very little pastry work. Refrigerated crescent dough creates tender, buttery layers, while the sweet cream-cheese center gives each square the flavor of a classic bakery Danish.
The filling uses four simple ingredients: softened cream cheese, sugar, one egg, and vanilla. There is no yeast, kneading, rolling pin, or long rise time, making this an excellent choice for weekend breakfast, a holiday brunch, or an afternoon coffee break.
Because this is baked as one layered pastry, it is also easy to portion and serve. Cut it into smaller squares for a dessert tray or larger pieces for a satisfying breakfast treat.
If you enjoy fruit and cream cheese pastries, you may also like these blueberry cream cheese egg rolls for another sweet, creamy option.
Ingredients You’ll Need

Start with two 8-ounce cans of refrigerated crescent-roll dough. The dough forms both the base and the top of the Danish, so take a few extra moments to press the perforations together thoroughly.
- Crescent-roll dough: Two 8-ounce cans provide the flaky pastry layers.
- Cream cheese: Two 8-ounce packages create a generous, creamy filling.
- Granulated sugar: One cup sweetens the cream cheese without overpowering its tang.
- Egg: One large egg helps bind the filling and gives it a soft, set texture.
- Vanilla extract: One teaspoon adds warm bakery-style flavor.
- Cooking spray or butter: Use either one to lightly grease the 9 x 13-inch baking dish.
The optional glaze needs one cup of powdered sugar, two tablespoons of milk, and one-half to one teaspoon of vanilla extract. Add the milk gradually if you prefer a thicker drizzle that stays visible on the pastry.
For another bake featuring a sweet cream-cheese center, try these cream cheese filled pumpkin cupcakes when seasonal spice is calling.
How to Make It Step-by-Step
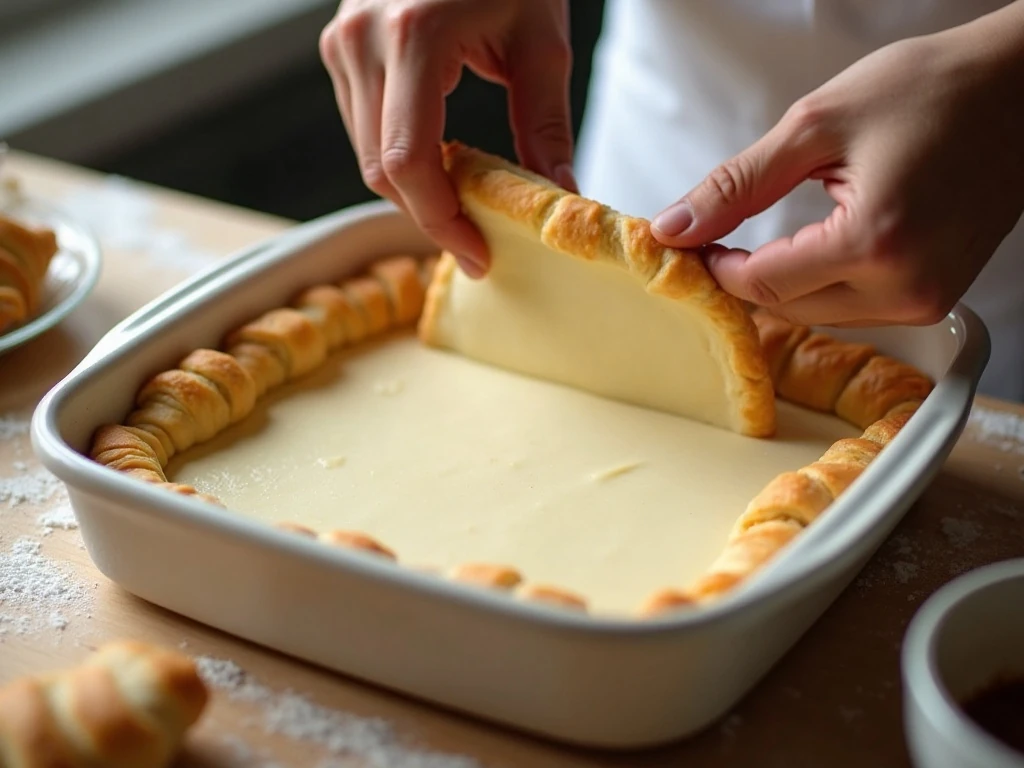
Step 1: Heat the oven to 350°F (175°C), allowing it to fully preheat while you prepare the dough and filling. Lightly grease a 9 x 13-inch baking dish with cooking spray or butter, paying attention to the corners.
Step 2: Open the first tube of crescent-roll dough and unroll it over the prepared dish. Press it into the bottom and gently stretch it toward the edges, then pinch every perforation closed so the filling will not seep through the bottom crust.
Step 3: Place the softened cream cheese in a mixing bowl with the sugar, egg, and vanilla extract. Beat the mixture until it looks smooth, thick, and creamy, scraping the sides of the bowl if needed to remove any unmixed cream cheese.
Step 4: Spoon the filling onto the bottom crescent layer and spread it into an even layer. Leave the filling level rather than piling it in the center, since an even surface makes it easier to cover with the second sheet of dough.
Step 5: Unroll the second tube of crescent dough and pinch its seams together before moving it. Carefully place it over the cream cheese, using your fingertips to adjust the dough without pressing hard into the filling.
Step 6: Bake the Danish for 30–35 minutes, watching for a puffed top and a light golden color. The edges may brown slightly sooner than the center, but the pastry should look fully baked rather than pale or wet.
Step 7: Transfer the baking dish to a cooling rack and let the Danish cool for at least 20–30 minutes. This resting time allows the filling to set, which makes the pastry easier to slice and keeps the glaze from melting away.
Step 8: Whisk the powdered sugar, milk, and vanilla together in a small bowl until smooth. Drizzle the glaze over the cooled Danish, then cut it into squares with a sharp knife and serve.
Pro Tips for the Best Danish

Fully softened cream cheese is the most important preparation detail. Cold cream cheese tends to stay lumpy, and those lumps make the filling harder to spread across the delicate bottom layer.
To soften the cream cheese, leave it at room temperature before beginning the recipe. It should yield easily when pressed but should not be warm or melted.
- Seal the bottom crescent seams thoroughly to help prevent the filling from leaking into the pan.
- Pinch the seams on the top dough sheet before placing it over the filling.
- Spread the filling gently so the bottom layer stays in place.
- Do not rush the cooling period; the center firms as it rests.
- Add the glaze only after the Danish is cool enough for it to remain on top.
A little unevenness in the top crust is completely fine. The pastry puffs while baking, and a simple glaze adds a polished finish to any small rustic spots.
For a cookie-sized treat with a similar tangy flavor, keep this cream cheese cookie recipe on your baking list.
Serving Suggestions

Serve the Danish slightly warm, at room temperature, or chilled. It pairs beautifully with coffee, black tea, hot chocolate, or a glass of cold milk.
For brunch, arrange the squares on a platter and add fresh berries alongside them. Strawberries, raspberries, and blueberries bring color and a pleasant contrast to the rich cream-cheese filling.
You can also serve each piece as a simple dessert after dinner. The optional glaze adds sweetness, but the Danish is still delicious without it if you prefer a less sugary finish.
For a fruit-forward pastry idea, take a look at this blueberry cream cheese Danish, which offers a lovely variation on the same creamy pastry theme.
Storage and Reheating
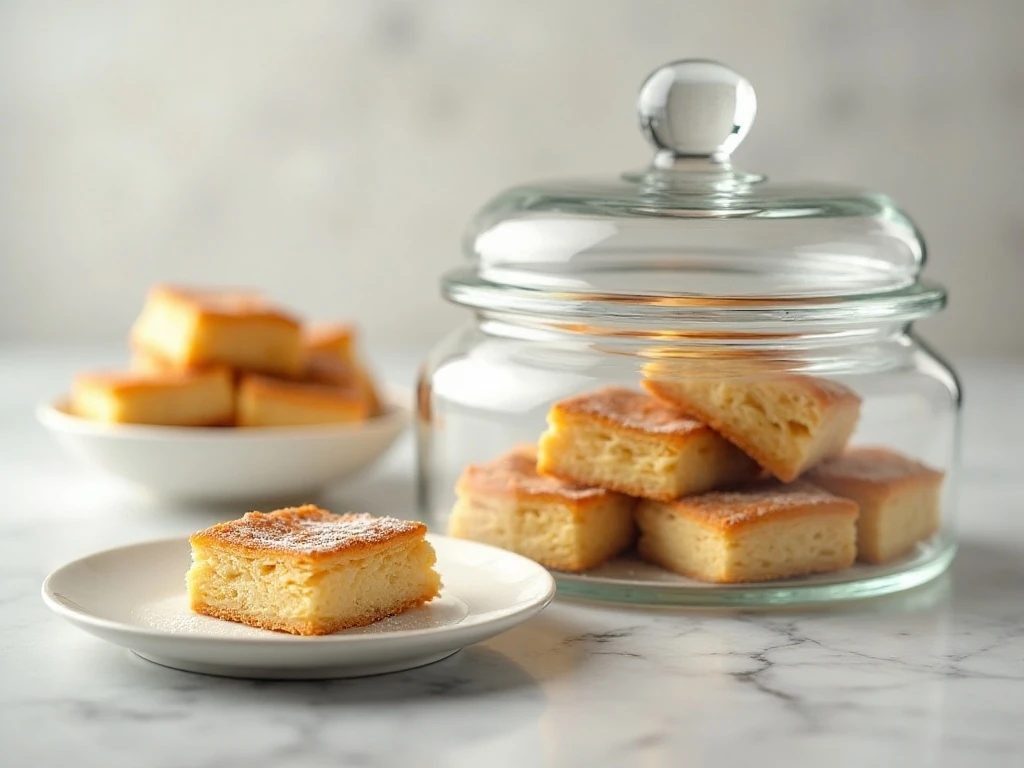
Because the filling contains cream cheese and egg, store leftover Danish in the refrigerator once it has cooled. Cover the baking dish tightly or transfer the squares to an airtight container.
Enjoy refrigerated leftovers within a few days for the best texture. The crescent layers will soften slightly over time, but the creamy center remains flavorful.
To warm a piece, use a low oven until just heated through, or warm it briefly in the microwave. Avoid overheating, since too much heat can make the filling loose and the glaze runny.
This recipe is also a wonderful companion to a richer coffee cake breakfast. For another cream-cheese-filled bake, try this chocolate chip banana bread coffee cake.

Easy Cream Cheese Danish Crescent Rolls
Ingredients
Method
- Heat the oven to 350°F (175°C) and lightly grease a 9 x 13-inch baking dish with cooking spray or butter.
- Unroll one tube of crescent-roll dough and press it into the bottom of the prepared dish. Pinch all perforations together carefully so the dough forms one continuous bottom crust.
- Beat the softened cream cheese, granulated sugar, egg, and vanilla extract until smooth and creamy. Spread the mixture evenly over the bottom crescent layer.
- Unroll the second tube of crescent dough and pinch the seams together. Carefully place it over the cream-cheese filling, gently adjusting the dough until the top is covered.
- Bake for 30–35 minutes, or until the top is puffed and lightly golden. Remove the Danish from the oven and cool for at least 20–30 minutes.
- For the optional glaze, whisk the powdered sugar, milk, and vanilla together until smooth. Drizzle it over the cooled Danish, then slice into squares and serve.
Notes
Final Thoughts
These Easy Cream Cheese Danish Crescent Rolls deliver bakery-style comfort with a short ingredient list and straightforward preparation. Two layers of refrigerated crescent dough surround a smooth vanilla cream-cheese filling, creating a golden pastry that is ready for breakfast, brunch, or dessert.
Remember the three details that make the biggest difference: soften the cream cheese completely, seal the crescent seams carefully, and cool the Danish before glazing and cutting. Once you try this simple layered version, it is sure to become a favorite whenever you want a warm, sweet pastry without making dough from scratch.