This easy cold chocolate snacking cake recipe makes one tender 8-inch square cake in about 15 to 20 minutes of prep, followed by 28 to 35 minutes in the oven. Made with natural cocoa powder, buttermilk, melted butter, and hot coffee, it is a small, moist, unfrosted or lightly glazed dessert that becomes especially delicious after it cools completely and chills in the refrigerator.
The finished cake has a soft, fudgy crumb, rich chocolate flavor, and a pleasantly firm texture when served cold. Cut it into about nine squares for an everyday dessert, lunchbox treat, afternoon snack, or simple after-dinner bite that does not require elaborate decorating.
Jump to RecipeWhy You’ll Love This Recipe
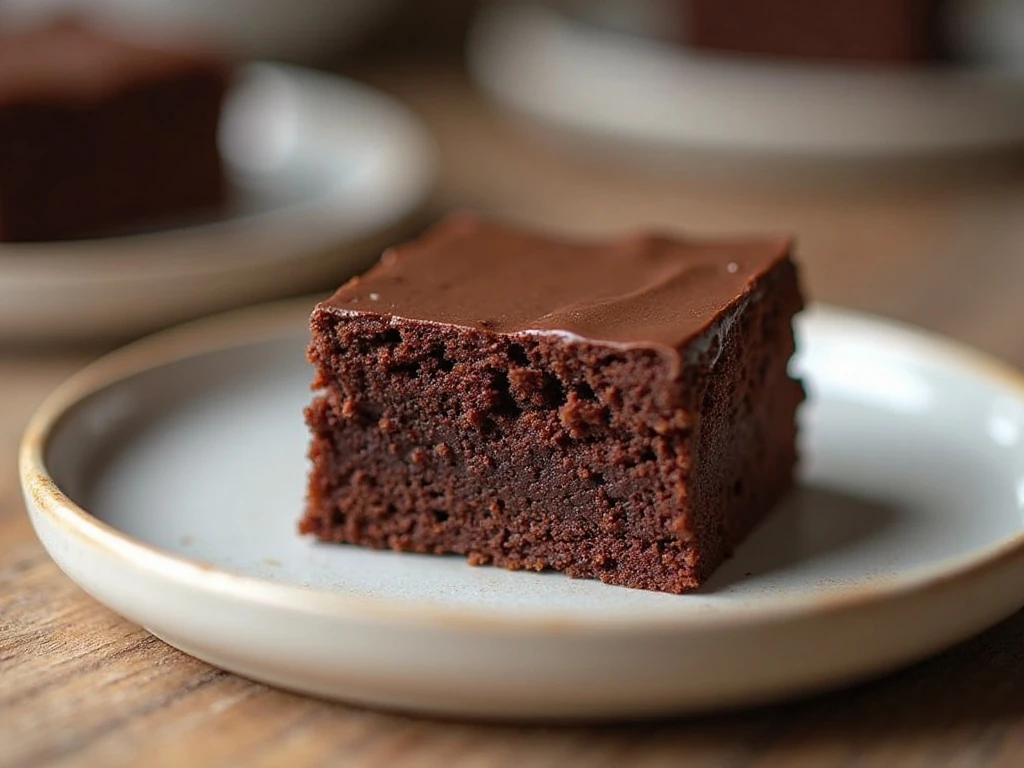
This cold chocolate snacking cake is the kind of dessert that earns a permanent place in a home baker’s rotation. It uses one square pan, familiar pantry ingredients, and a simple mixing method, yet the result tastes rich enough for a special occasion.
The cake is intentionally modest in size, making it ideal when you want chocolate dessert without a large layer cake sitting on the counter. Nine small squares are just right for sharing, and the chilled texture makes each piece easy to pick up and enjoy.
Unlike a heavily frosted celebration cake, this snack cake lets the chocolate crumb take center stage. You can serve it plain, dust it with confectioners’ sugar, or finish it with the quick cocoa glaze included below.
If you enjoy classic chocolate desserts with a little more cake-shop drama, our favorite Ina Garten chocolate cake is another excellent recipe to save.
Ingredients You’ll Need
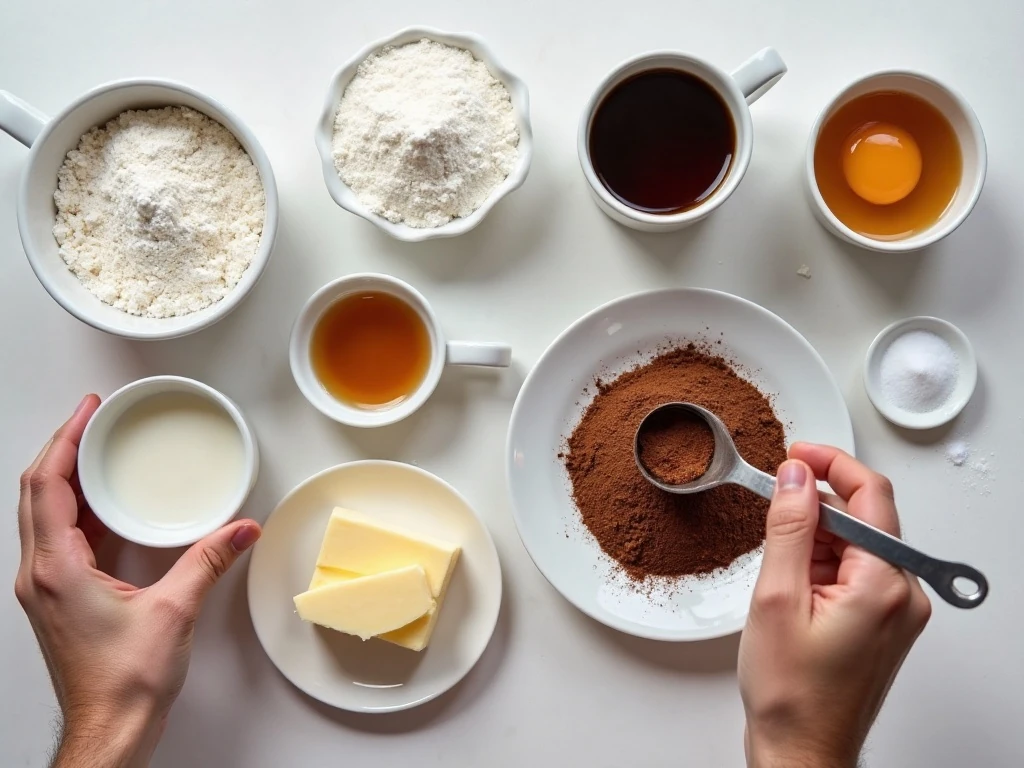
The ingredient list is short, but each item has an important job. Natural cocoa powder supplies the chocolate flavor, while baking soda works with the acidity in the buttermilk to help the cake rise.
- Flour and sugar: All-purpose flour provides structure, and granulated sugar sweetens the cake while helping keep the crumb soft.
- Natural cocoa powder: Choose unsweetened natural cocoa rather than a sweetened cocoa drink mix.
- Buttermilk: Its gentle tang balances the sweetness and contributes to a tender texture.
- Melted butter: Butter adds richness and a rounded flavor without requiring a mixer.
- Egg and vanilla: The egg supports the structure, while vanilla makes the chocolate taste fuller.
- Hot coffee or water: Hot liquid helps the cocoa bloom. Coffee gives the deepest chocolate impression, but hot water works well too.
For the most reliable result, weigh the flour if possible. If using volume measures, spoon the flour into the cup and level it rather than scooping directly from the bag.
For another fruit-forward dessert idea, you can also visit our blueberry cake with whipped lemon frosting when you are in the mood for something lighter and bright.
How to Make It Step-by-Step
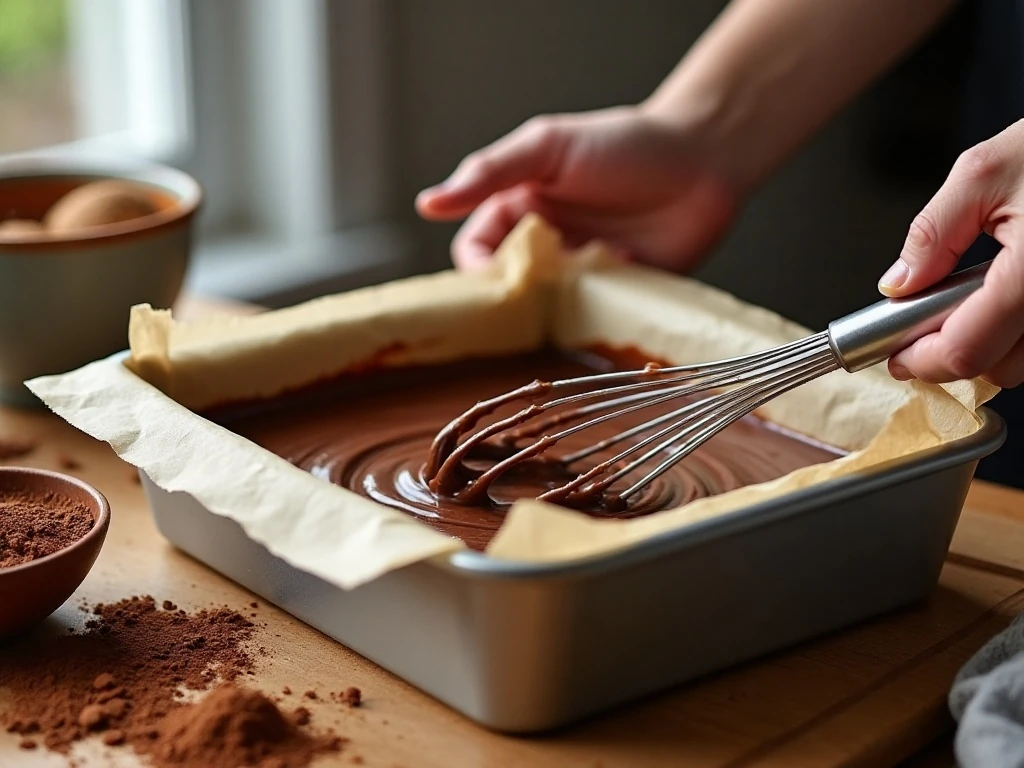
Step 1: Heat the oven to 350°F (175°C), then grease an 8-inch square pan and line the bottom with parchment. The parchment makes serving easier and helps protect the cake from sticking as it cools.
Step 2: Add the sugar, flour, cocoa powder, baking soda, and salt to a large bowl. Whisk thoroughly to distribute the cocoa and leavening evenly, paying special attention to any small cocoa clumps.
Step 3: In another bowl, whisk the room-temperature egg with the buttermilk, melted butter, and vanilla. Let the melted butter cool slightly first so it blends smoothly without scrambling the egg.
Step 4: Stir the wet ingredients into the dry ingredients just until combined. A few tiny streaks of flour are acceptable at this stage because the hot coffee or water will finish bringing the batter together.
Step 5: Pour in the hot coffee or hot water and whisk gently until smooth. Expect a fairly thin batter; do not add extra flour, since the loose consistency is part of what gives the baked cake its moist texture.
Step 6: Pour the batter into the prepared pan and bake for 28 to 35 minutes. Begin checking near the earlier end of the range, and remove the cake when a toothpick shows a few moist crumbs rather than wet batter.
Step 7: Let the cake cool in the pan for 15 to 20 minutes, then allow it to cool completely. Chilling the fully cooled cake for 1 to 2 hours makes it firmer and gives you especially neat squares.
Step 8: If using the topping, whisk the confectioners’ sugar, cocoa powder, melted butter, vanilla, salt, and enough milk to create a spreadable glaze. Apply it only after the cake is completely cool, or the glaze may soften and slide.
Pro Tips for the Best Texture
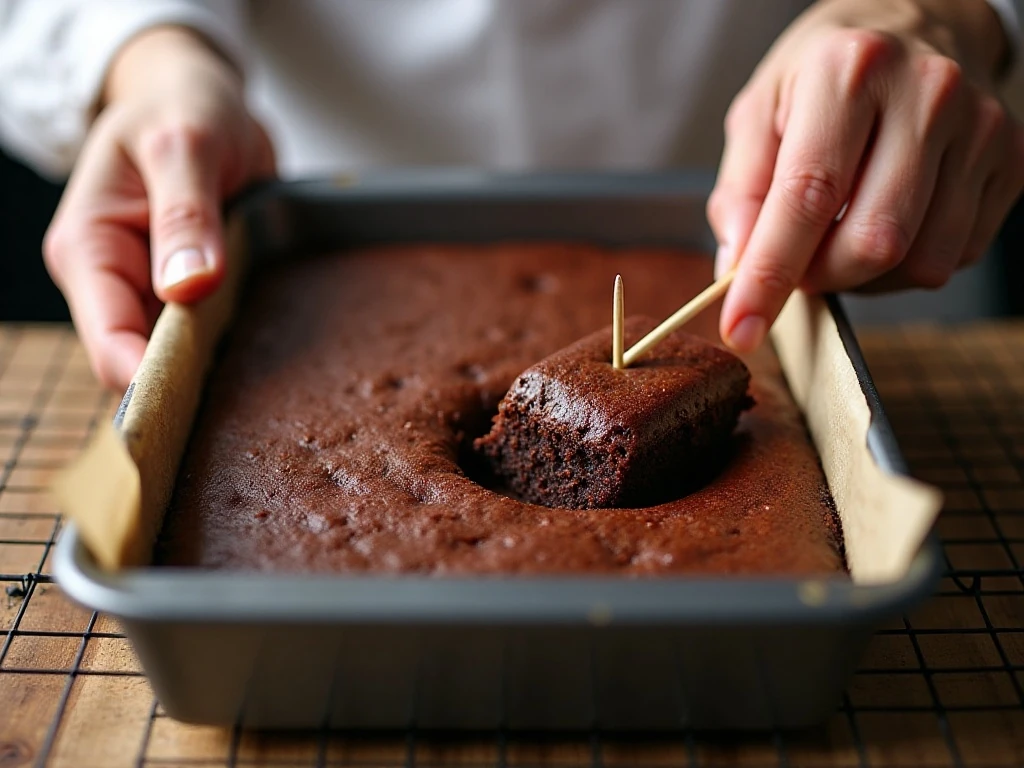
The biggest secret to this cake is knowing when to stop baking. A tester with a few moist crumbs is exactly what you want, because the crumb continues to set during cooling and becomes firmer in the refrigerator.
Hot coffee is especially useful when you want a bold chocolate flavor. It generally does not make the finished cake taste like coffee; instead, it rounds out the cocoa and gives the small cake a deeper profile.
Mix gently once the flour is added. Stirring only until combined helps preserve a tender crumb, while vigorous or extended mixing can make the cake heavier.
- Bring the egg to room temperature for easier blending.
- Use a metal or glass pan that is truly 8 inches square for the stated baking time.
- Check the cake in the center, not just near the edges.
- Let the cake cool fully before glazing or covering it.
- Use a sharp knife and wipe it between cuts for tidy squares.
If you like the idea of a simple, comforting pie as well as a snack cake, our easy butterscotch pie makes a lovely companion dessert for a larger gathering.
Serving Ideas and Optional Glaze
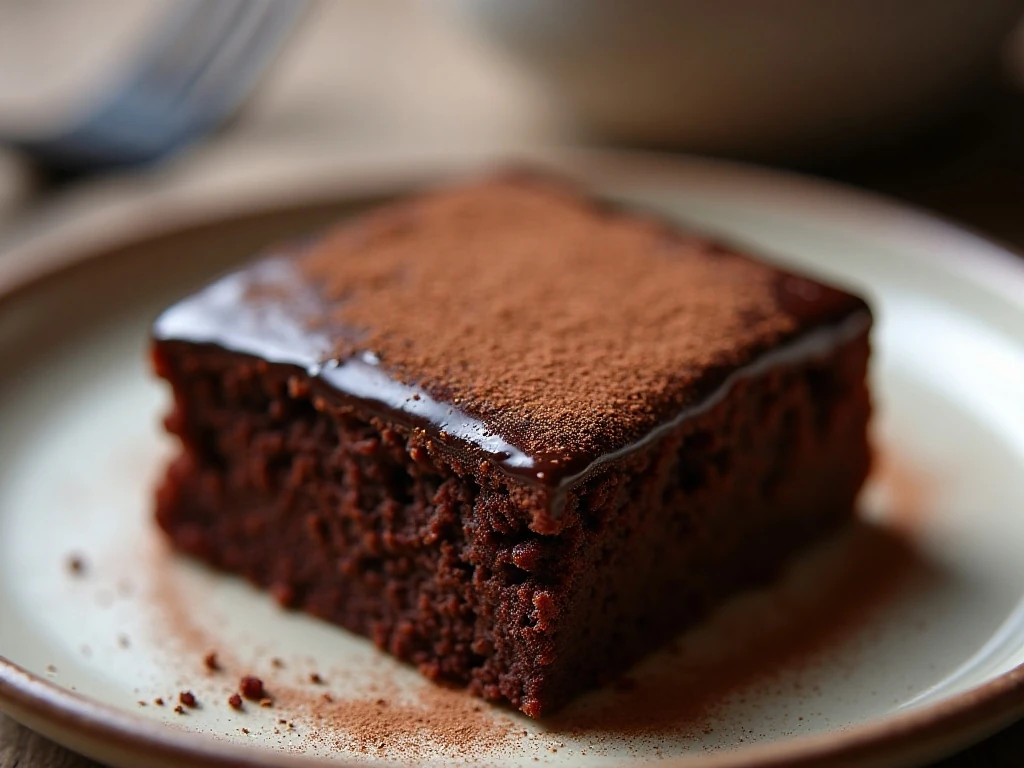
Plain chilled squares are wonderfully satisfying, especially with a glass of milk or a cup of hot coffee. The cold cake has a compact, tender bite that feels almost brownie-like without being dense or fudgy in the center.
The optional cocoa glaze adds a thin layer of sweetness without overwhelming the cake. Spread it in a delicate layer, or drizzle it over the top and let a little of the dark crumb remain visible.
For a pretty finish, add a very light dusting of cocoa powder immediately before serving. You can also place the squares on a small platter with a few chocolate shavings, but the cake needs no elaborate garnish.
A chilled coffee drink makes a natural pairing, so consider serving this dessert alongside our Dalgona whipped coffee for a fun afternoon treat.
Storage and Make-Ahead Advice
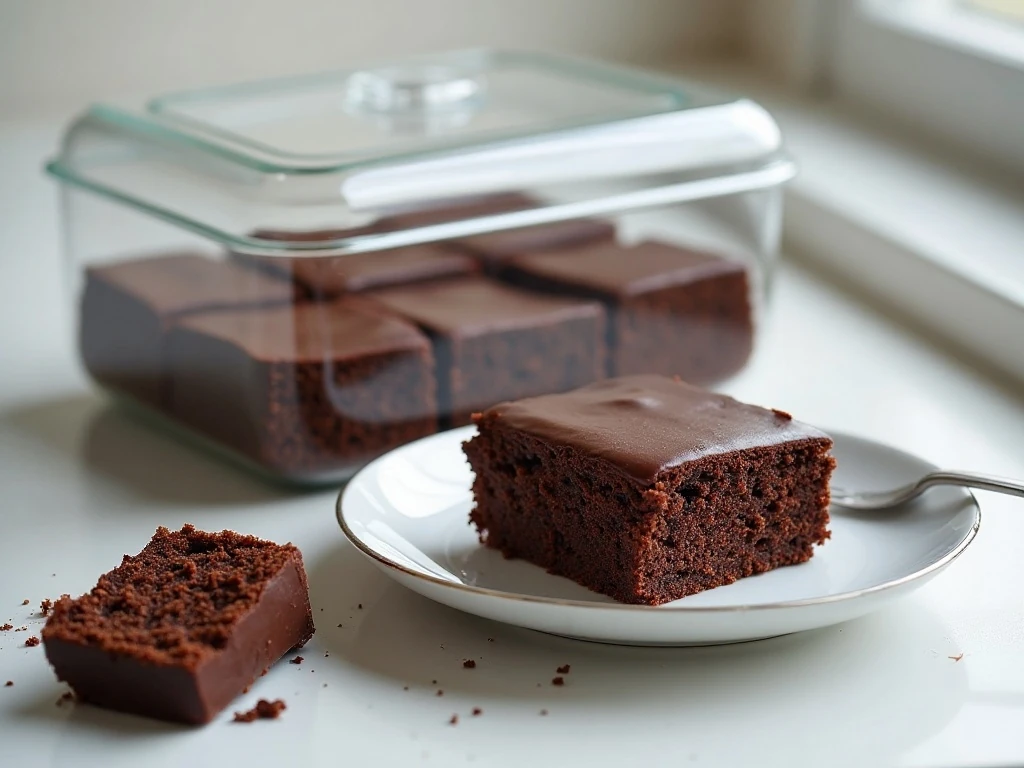
Once completely cool, cover the cake tightly and refrigerate it for up to 3 to 4 days. Keeping it covered protects the crumb from drying out and prevents the cake from picking up refrigerator odors.
You can make the cake a day ahead and chill it overnight. If you prepare the glaze in advance, store it covered and bring it to a spreadable consistency before applying it to the cold cake.
For the cleanest presentation, wait to cut the cake until it is cold. Use the parchment overhang to lift it from the pan if desired, then slice it into approximately nine squares with a thin, sharp knife.
Although this is a dessert recipe, the same cozy one-pan approach is useful for casual savory baking too. For a completely different meal idea, see our easy taco pie.
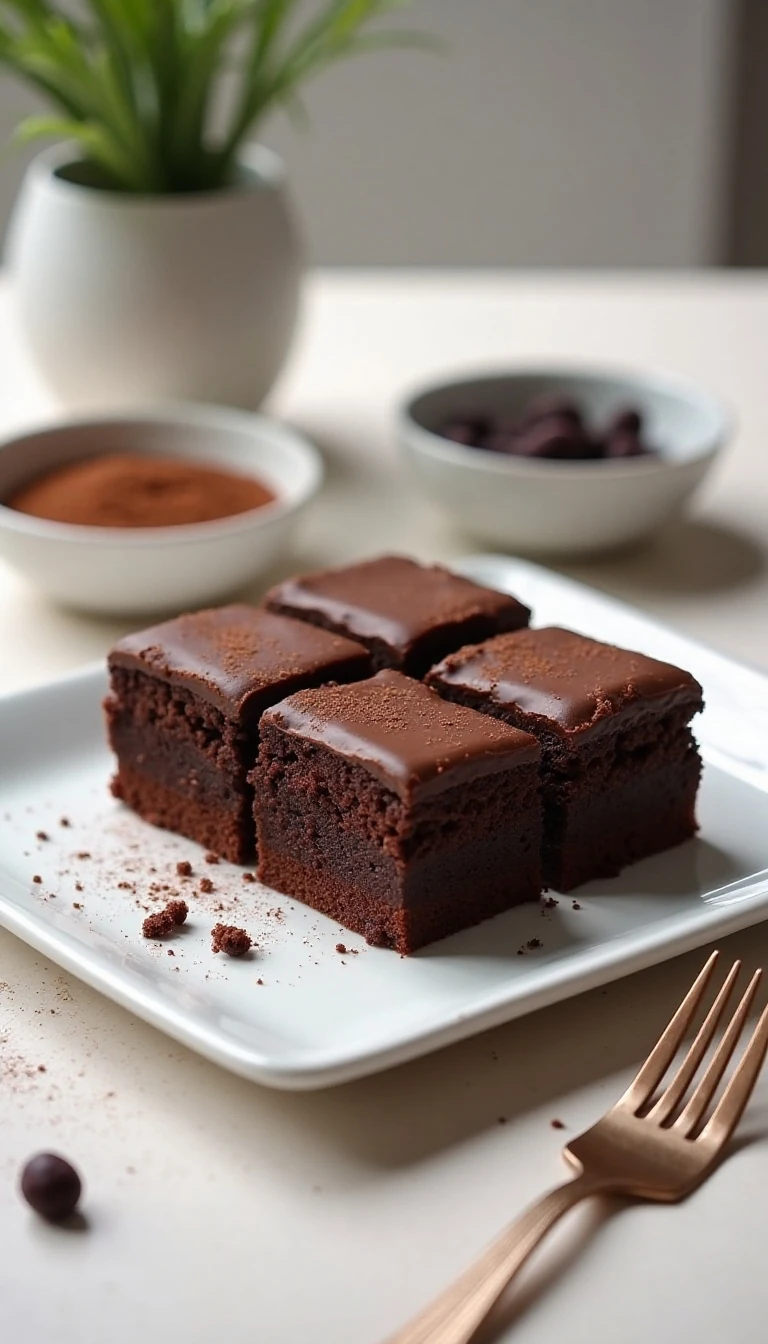
Easy Cold Chocolate Snacking Cake
Ingredients
Method
- Heat the oven to 350°F (175°C). Grease an 8-inch square baking pan and line the bottom with parchment, leaving a little overhang if you want to lift the cooled cake out easily.
- Whisk the sugar, flour, cocoa powder, baking soda, and salt together in a large bowl. Break up any cocoa lumps so the finished batter will be smooth.
- In a separate bowl, whisk the room-temperature egg, buttermilk, melted and slightly cooled butter, and vanilla extract until blended. The butter should not be hot enough to cook the egg.
- Pour the wet mixture into the dry ingredients and stir just until no large dry patches remain. Avoid prolonged mixing, since overworking the batter can make the cake less tender.
- Add the hot coffee or hot water and whisk gently until the batter is smooth. The mixture will be fairly thin, which is expected and helps create a moist crumb.
- Pour the batter into the prepared pan and bake for 28 to 35 minutes. The cake is ready when the center springs back lightly and a toothpick comes out with a few moist crumbs.
- Cool the cake in the pan for 15 to 20 minutes, then continue cooling until completely cold. For the cleanest slices and firmest cold-cake texture, refrigerate the covered cake for 1 to 2 hours before cutting.
- For the optional topping, whisk the confectioners' sugar, cocoa powder, melted butter, vanilla, and salt together with enough milk to make a spreadable glaze. Spread it over the fully cooled cake, then chill briefly before slicing if desired.
Notes
Final Thoughts
This easy cold chocolate snacking cake delivers everything a practical homemade dessert should: deep cocoa flavor, a soft crumb, simple preparation, and a manageable nine-serving size. The buttermilk keeps it tender, the hot coffee brings out the chocolate, and refrigeration gives the cake its signature cool, firm bite.
Serve it plain for an everyday snack, add the quick cocoa glaze for extra sweetness, or prepare it a day ahead when you want dessert ready without last-minute work. Remember to pull it from the oven when the tester shows a few moist crumbs, cool it completely, and keep it covered in the refrigerator for the best texture.
With just an 8-inch pan and a handful of dependable ingredients, this is a chocolate cake worth making whenever a craving appears. One square is delicious on its own, but you may want to set aside two because the chilled slices disappear quickly.
1 thought on “Easy Cold Chocolate Snacking Cake Recipe”