These Chocolate Peanut Butter Rice Krispie Cups are an easy no-bake dessert made with crispy rice cereal, creamy peanut butter, a chewy honey or corn syrup mixture, and a smooth semisweet chocolate topping. The recipe makes 12 standard muffin-cup servings and takes about 15 minutes to prepare, 5 minutes on the stovetop, and 30–60 minutes to chill.
Every bite brings together a crisp, chewy cereal base, rich peanut butter flavor, and a creamy chocolate finish. They are sweet without requiring an oven, easy to portion for parties, and sturdy enough to keep covered in the refrigerator for several days.
Jump to RecipeWhy You’ll Love This Recipe
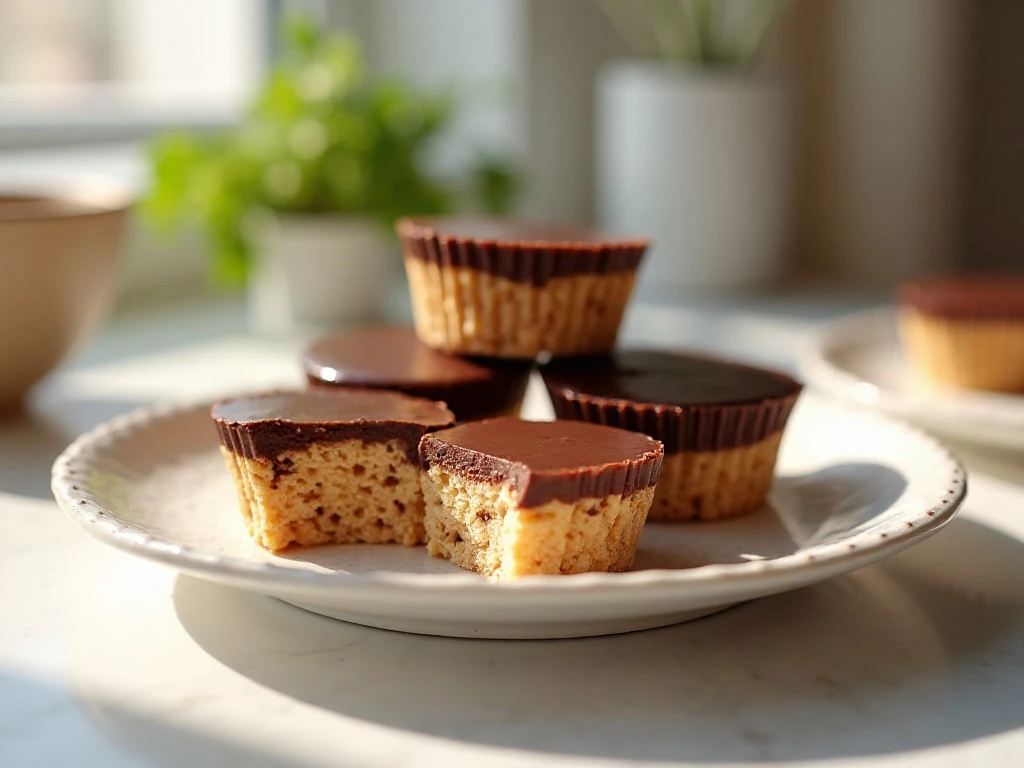
These individual treats have all the appeal of a classic crispy cereal bar, but the muffin-tin format makes them neat, attractive, and ready to serve. Each cup has a satisfying crunch from the cereal, a soft chew from the peanut butter syrup, and a rich chocolate layer that sets into a smooth finish.
There is no oven to preheat and no complicated candy thermometer involved. The syrup and sugar simply need to dissolve and just begin to bubble, which keeps the method quick and approachable for beginners.
The portioned design is especially useful for bake sales, lunchbox treats, holiday dessert trays, and casual gatherings. If you enjoy peanut butter sweets, you may also like our creamy peanut butter fudge for another rich, refrigerator-friendly dessert.
- No-bake: The cups come together with a saucepan, bowl, and refrigerator.
- Make-ahead friendly: They need 30–60 minutes to firm and can be stored covered.
- Easy to customize: Use honey, corn syrup, dark chocolate, milk chocolate, or mini muffin tins.
Ingredients You’ll Need
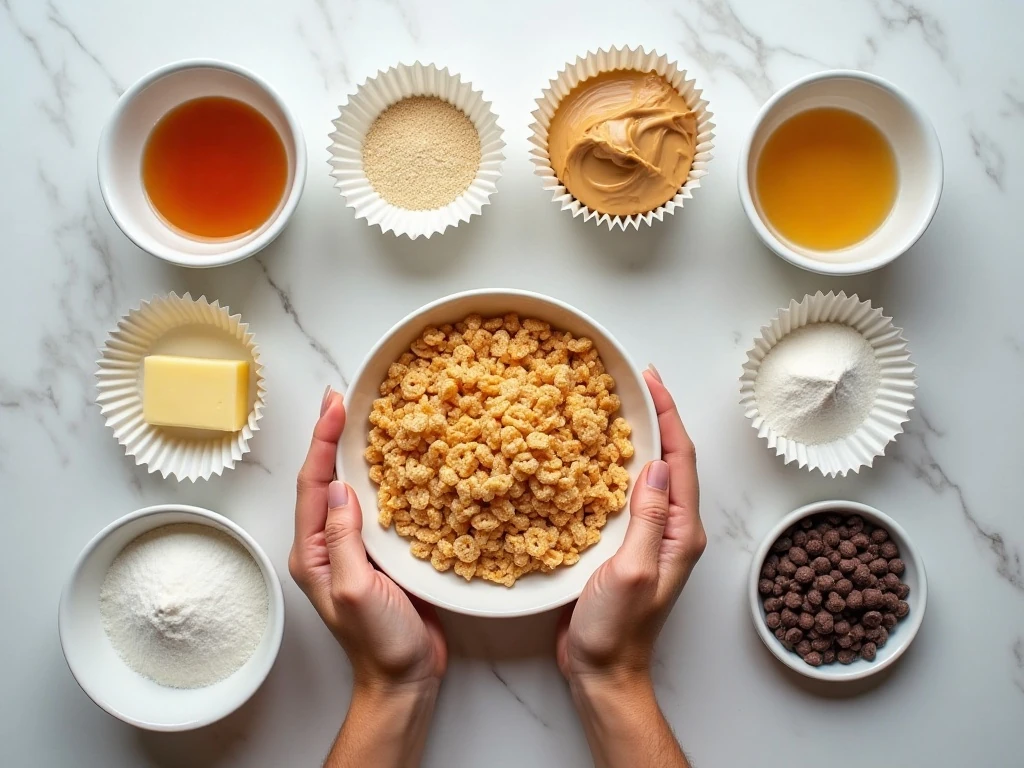
The recipe begins with 4 cups of crispy rice cereal, which provides the light, crackly texture that makes these cups so enjoyable. Measure the cereal before adding it to the bowl, and choose a large mixing bowl so you have plenty of room to fold without spilling.
You will use 1 cup of creamy peanut butter in total, divided equally between the cereal base and chocolate topping. Creamy peanut butter blends smoothly into both mixtures; if your peanut butter is unsalted, a small pinch of salt in the base can make the sweetness taste more balanced.
The chewy binder contains 1/2 cup of light corn syrup or honey and 1/2 cup of granulated sugar. Corn syrup gives a familiar candy-bar texture, while honey adds a gentle floral note. Either option works with the stated quantity.
For the topping, use 1 cup of semisweet chocolate chips. Two tablespoons of unsalted butter or coconut oil are optional, but they can help the chocolate mixture melt more smoothly and spoon easily over the cereal cups.
For a dessert-table pairing, consider serving these alongside our chocolate chip almond biscotti. The biscotti’s firm almond crunch offers a pleasing contrast to the softer peanut butter cups.
How to Make It Step-by-Step
Step 1: Line a standard 12-cup muffin tin with paper liners. Lightly grease the liners if you want the chilled cups to release especially easily, although good-quality paper liners generally work well on their own.
Step 2: Add the light corn syrup or honey and granulated sugar to a saucepan over medium heat. Stir continuously until the sugar dissolves and the mixture just begins to bubble; do not let it boil vigorously or continue cooking for an extended time.
Step 3: Remove the saucepan from the heat immediately. Stir in 1/2 cup of the peanut butter and the optional pinch of salt, mixing until the peanut butter melts into a glossy, unified syrup.
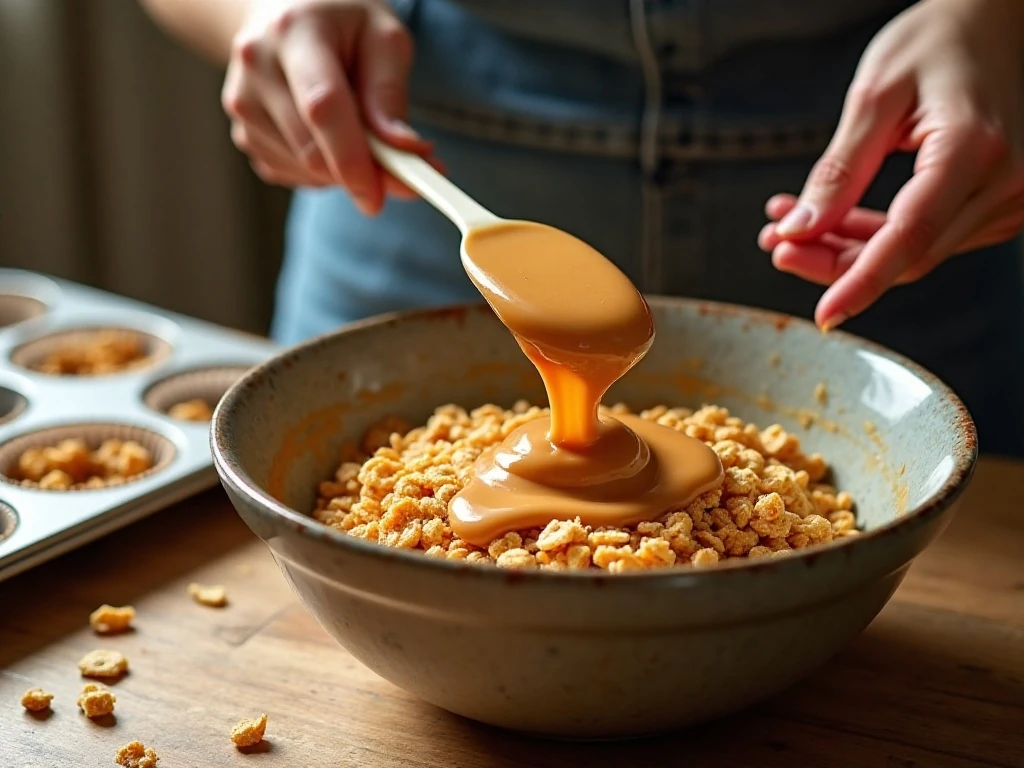
Step 4: Put the crispy rice cereal in a large bowl and pour the warm peanut butter mixture over it. Use a silicone spatula or wooden spoon to fold from the bottom upward, coating the cereal evenly while taking care not to crush the crisp pieces.
Step 5: Divide the coated cereal evenly among the 12 muffin cups. Press the mixture down gently with the back of a spoon or a lightly greased measuring cup so each portion holds together, but avoid packing it so tightly that the texture becomes dense.
Step 6: Let the cereal bases cool slightly while you prepare the topping. Melt the chocolate chips, remaining 1/2 cup peanut butter, and optional butter or coconut oil in short microwave intervals, stirring thoroughly after each interval, or melt them gently over a double boiler.
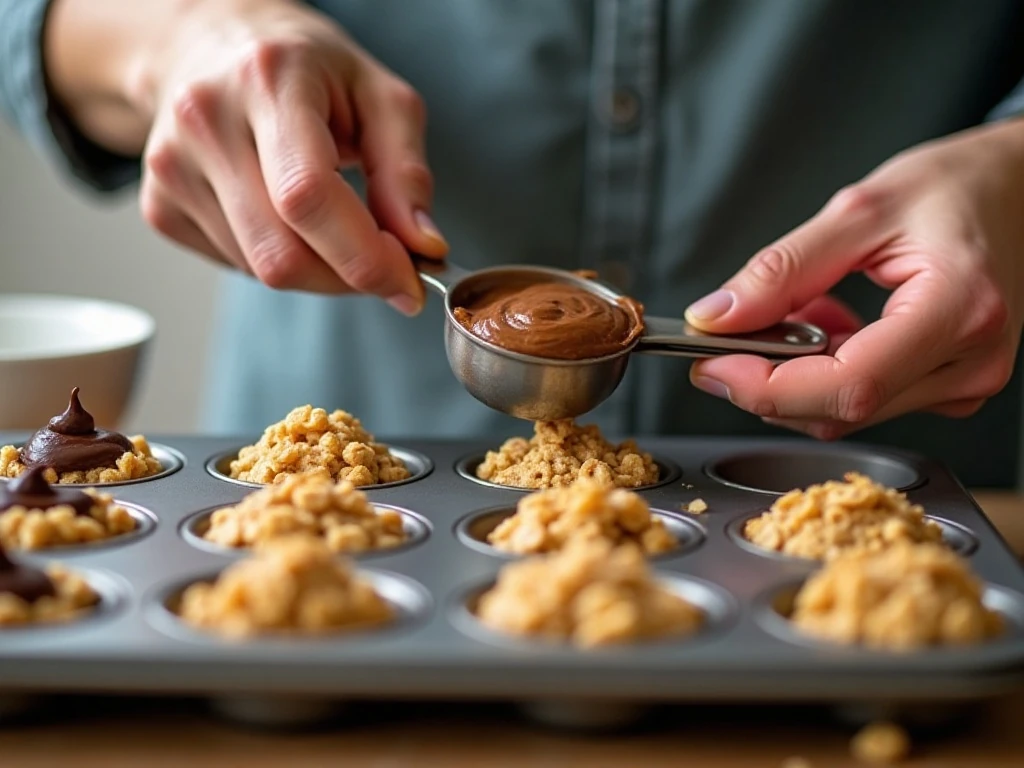
Step 7: Spoon the warm chocolate-peanut-butter mixture over each cereal cup. Spread it carefully toward the edges for a clean top, or leave a small amount of the cereal base visible for a more homemade look.
Step 8: Place the muffin tin in the refrigerator for 30–60 minutes, or until the chocolate topping and cereal bases feel firm. Once set, serve the cups chilled or let them sit briefly at room temperature for a softer bite.
Pro Tips for Perfect Cups
The most important detail is controlling the syrup mixture. Once the sugar has dissolved and the mixture just starts to bubble, take it off the heat. Boiling it for more than about 1 minute can cause the finished cups to become hard and brittle rather than chewy.
Use a gentle folding motion when combining the syrup and cereal. Stirring too aggressively breaks the cereal into small crumbs, while too little mixing leaves dry patches that will not hold together properly.
Press each cup with moderate, even pressure. The goal is a compact base that stays intact when lifted from the liner, not a dense block. A lightly greased measuring cup makes it easy to create level, uniform portions.
Allow the cereal bases to cool slightly before adding the chocolate topping. If the bases are very hot, the topping may become thin and run toward the sides instead of remaining in a neat layer.
If the chocolate mixture seems thick, the optional butter or coconut oil can help it become smoother. Melt in short intervals and stir frequently, because chocolate can continue melting from residual heat even after it leaves the microwave.
For a smaller party bite, use a mini muffin tin. The recipe generally makes about 24–30 mini cups, depending on how generously you fill each cavity and how thick you make the topping.
Flavor Variations and Serving Ideas
Semisweet chocolate gives the cups a balanced finish, but milk chocolate creates a sweeter, creamier result. Dark chocolate works beautifully when you prefer a deeper cocoa flavor, and a mixture of chocolate and butterscotch chips adds a buttery caramel note.
Honey can replace light corn syrup for a subtly different flavor, while the rest of the quantities remain unchanged. Use creamy peanut butter for the smoothest base and topping, especially if you want clean layers when the cups are chilled.
For a simple presentation, remove the paper liners and arrange the cups on a platter with the chocolate side facing up. A light sprinkle of flaky salt can provide a pleasant contrast, especially when the peanut butter is unsalted.
These cups are also a fun addition to a dessert assortment. After a savory meal, you might browse our Worcestershire butter roast beef for the main course, then finish with these chilled treats.
Although the other recipes are savory, our zucchini noodles with lemon caper butter can make a light first course before a dessert spread. For a special dinner menu, garlic and butter grilled scallops are another elegant option before these easy chocolate cups.
Storage and Make-Ahead Advice
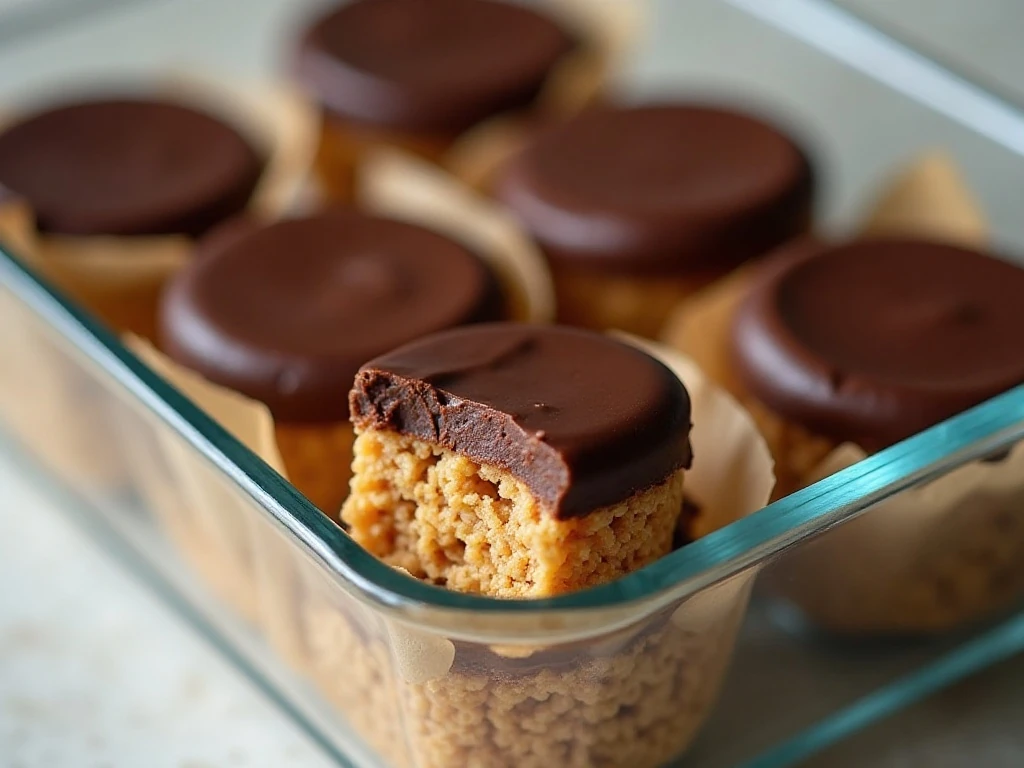
Store the finished cups covered in the refrigerator. Chilling keeps the chocolate layer firm and helps the cereal base hold its shape, especially if the kitchen is warm.
For the best texture, let a cup sit at room temperature for a few minutes before eating. It will remain firm but become slightly softer and chewier, allowing the peanut butter flavor to come through more fully.
Keep the cups in a single layer when possible so the chocolate tops stay neat. If you need to stack them, place parchment paper between layers and use a covered container to protect them from refrigerator odors.
Because this is a no-bake recipe, it is convenient to prepare earlier on the same day. Allow the full 30–60 minute chilling period before transferring the cups to a serving platter or packing them for transport.
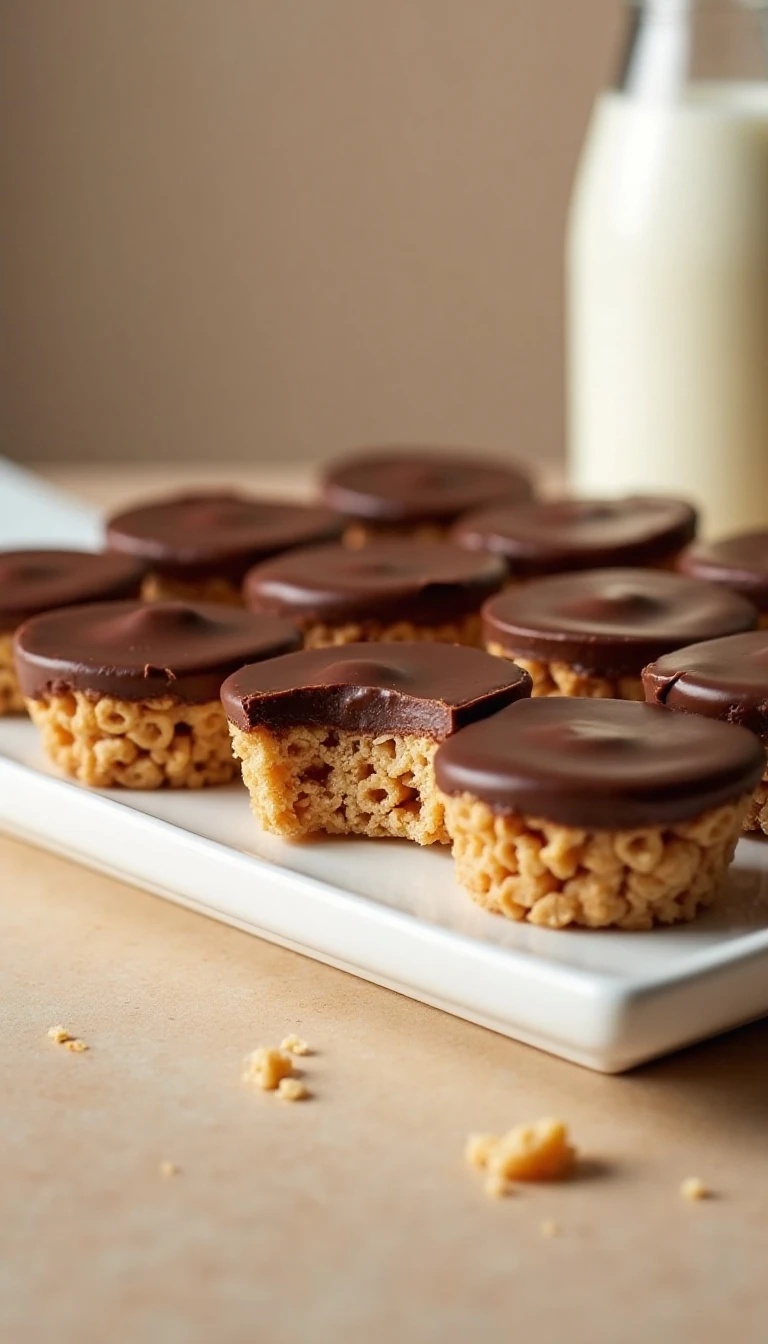
Chocolate Peanut Butter Rice Krispie Cups
Ingredients
Method
- Line a 12-cup muffin tin with paper liners and lightly grease them if desired.
- Place the light corn syrup or honey and granulated sugar in a saucepan over medium heat. Stir until the sugar dissolves and the mixture just begins to bubble, then remove it from the heat immediately.
- Stir 1/2 cup peanut butter and the optional pinch of salt into the warm syrup mixture until smooth.
- Pour the mixture over the crispy rice cereal and fold gently until the cereal is evenly coated without crushing it.
- Divide the cereal mixture among the lined muffin cups. Press each portion down gently with the back of a spoon or a lightly greased measuring cup.
- Melt the chocolate chips, remaining 1/2 cup peanut butter, and optional butter or coconut oil together in short microwave intervals, stirring after each, or use a double boiler.
- Spoon the chocolate-peanut-butter mixture over each cereal cup.
- Refrigerate for 30–60 minutes, until firm. Store the finished cups covered in the refrigerator.
Notes
Final Thoughts
Chocolate Peanut Butter Rice Krispie Cups are the kind of dessert that delivers maximum satisfaction with very little effort. The chewy cereal base, creamy peanut butter, and semisweet chocolate topping create a familiar combination in a tidy individual serving.
Follow the key timing details: heat the syrup mixture only until it begins to bubble, fold gently, press the cereal just enough to hold, and chill for 30–60 minutes. With those simple steps, you will have 12 crisp, chewy, chocolate-covered cups ready for sharing.
Make a batch for a party, keep them chilled for an afternoon treat, or prepare them as an easy homemade gift. Once you taste the contrast between the crunchy cereal and smooth peanut butter chocolate, this recipe is likely to become a regular favorite.
2 thoughts on “Chocolate Peanut Butter Rice Krispie Cups Recipe You’ll Love”