To make sourdough starter from scratch, mix 50 g whole-wheat or dark rye flour with 50 g lukewarm, preferably filtered water in a clean 1-quart jar. Leave it loosely covered at room temperature for 24 hours, then discard about half and feed the remaining starter with 50 g flour and 50 g water every 24 hours until it reliably doubles within 4–8 hours.
This simple fermented mixture becomes pleasantly tangy, fruity, bubbly, and airy as wild yeast and helpful bacteria grow. It usually takes 5–7 days to become reliably active, although a cool kitchen may require 7–14 days, and once it is ready, you can use it for everything from tender sourdough pastries to a rustic sourdough crockpot loaf.
Jump to RecipeWhy You’ll Love This Recipe
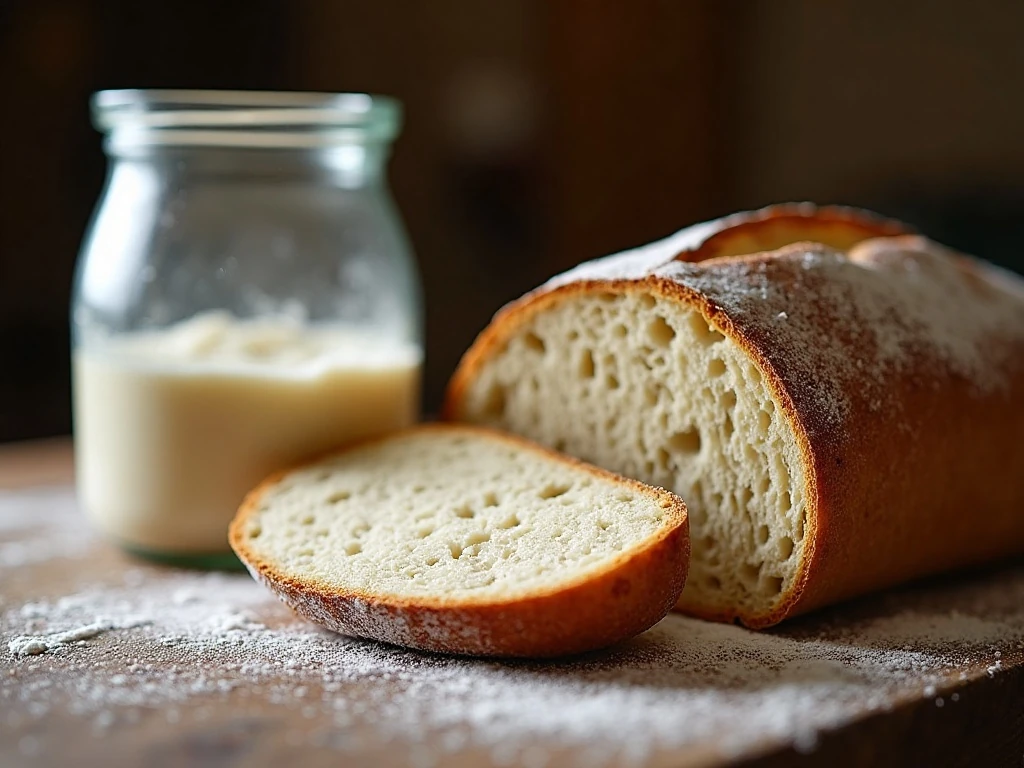
Making sourdough starter is one of the most rewarding projects in a home kitchen because the ingredient list is tiny, the process is inexpensive, and the results are deeply flavorful. Flour and water transform into a living culture that can add complexity to breads, pancakes, waffles, crackers, and naturally leavened desserts.
This small-batch method uses 50 g flour and 50 g water at each feeding, which keeps discard manageable. Larger formulas often use 113 g flour and 113 g water, but the smaller approach is especially friendly for beginners who are still learning how quickly their starter grows.
Once established, the starter smells pleasantly sour, fruity, or lightly yeasty. Its flavor can range from gently tangy to distinctly acidic depending on flour, temperature, feeding schedule, and how long it ferments between refreshments.
For another cozy baking project, pair your starter practice with our favorite pumpkin bread, a richly spiced quick bread that is perfect for breakfast or dessert.
Ingredients You’ll Need
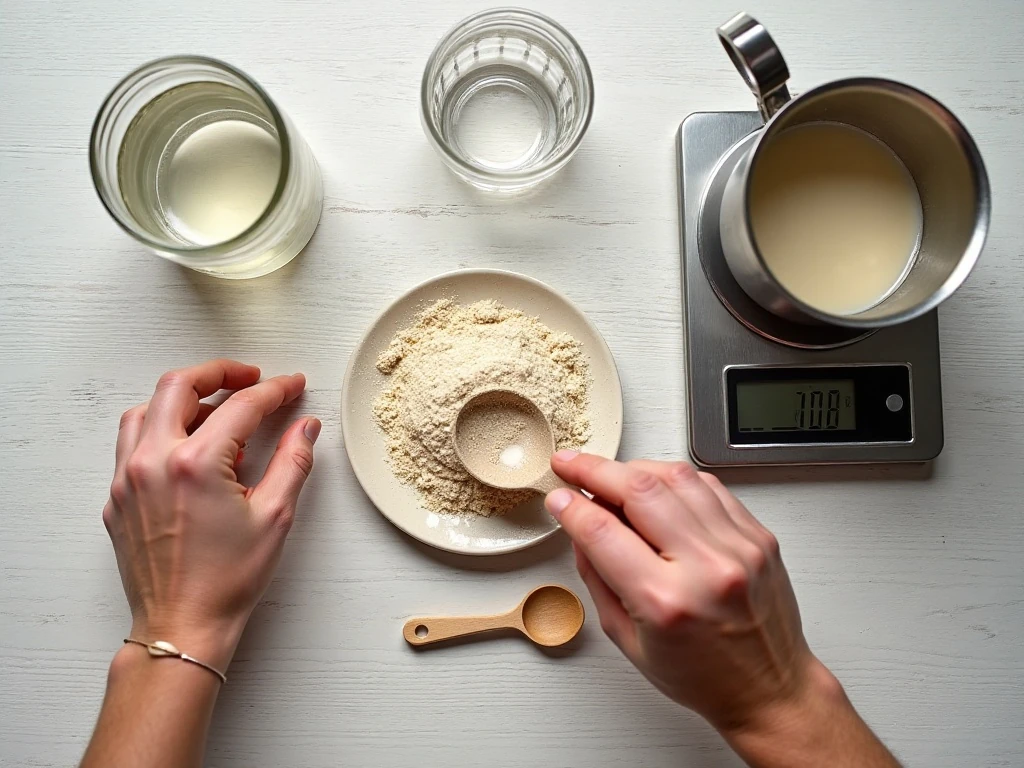
You need only two ingredients to begin, but their quality and temperature make a noticeable difference. A kitchen scale is strongly recommended because flour compacts in cups, making volume measurements less reliable.
- 50 g whole-wheat or dark rye flour: Whole-grain flour contains minerals and microorganisms that help a new culture get moving.
- 50 g lukewarm water: Filtered or dechlorinated water is preferred, especially if your tap water has a strong chlorine odor.
- 50 g flour plus 50 g water for each feeding: Continue using whole-grain flour at first, then switch to unbleached all-purpose or bread flour after the starter is active if desired.
You will also need a clean 1-quart glass jar, a spoon or spatula, and a loose-fitting lid or cloth cover. A rubber band or washable marker makes it easy to track the starter’s rise after every feeding.
How to Make It Step-by-Step
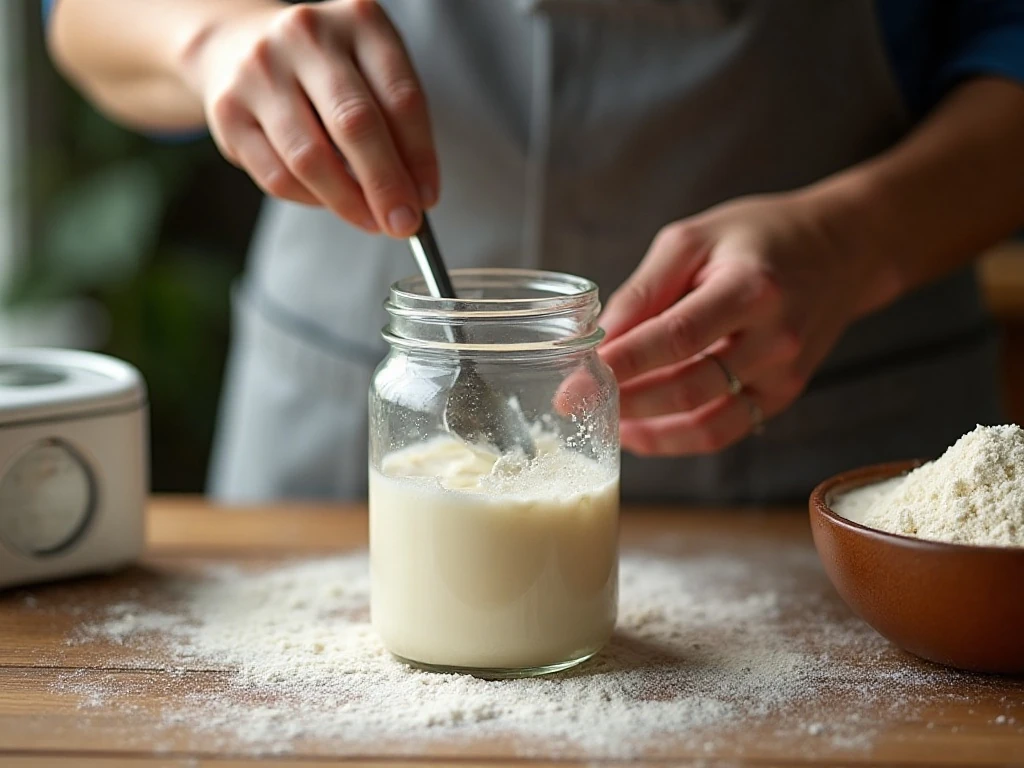
Step 1: Add 50 g whole-wheat or dark rye flour and 50 g lukewarm water to a clean 1-quart glass jar. Stir with a spoon or spatula until the mixture is uniform and no dry flour remains, then scrape down the sides so stray bits do not dry out.
Step 2: Cover the jar loosely with its lid or a cloth secured around the top. Leave it at room temperature for about 24 hours, ideally in a spot that stays around 21–27°C (70–80°F), away from direct sunlight and strong drafts.
Step 3: On day 2, look for small bubbles, expansion, or a mild sour smell. These signs may be subtle, so do not worry if the mixture appears quiet; discard about half, leaving approximately 50 g in the jar, then add 50 g flour and 50 g water.
Step 4: Stir the feeding thoroughly until the flour is fully hydrated. Mark the level with a rubber band or marker, replace the loose cover, and return the jar to the same room-temperature location.
Step 5: Repeat the discard-and-feed process every 24 hours. Each feeding uses 50 g flour and 50 g water, and the culture will generally yield approximately 100–150 g after feeding depending on how much you discard.
Step 6: Watch the timing rather than following the calendar blindly. If the starter rises and falls within 12 hours, it is becoming very active, so begin feeding every 12 hours to keep it supplied with fresh flour and water.
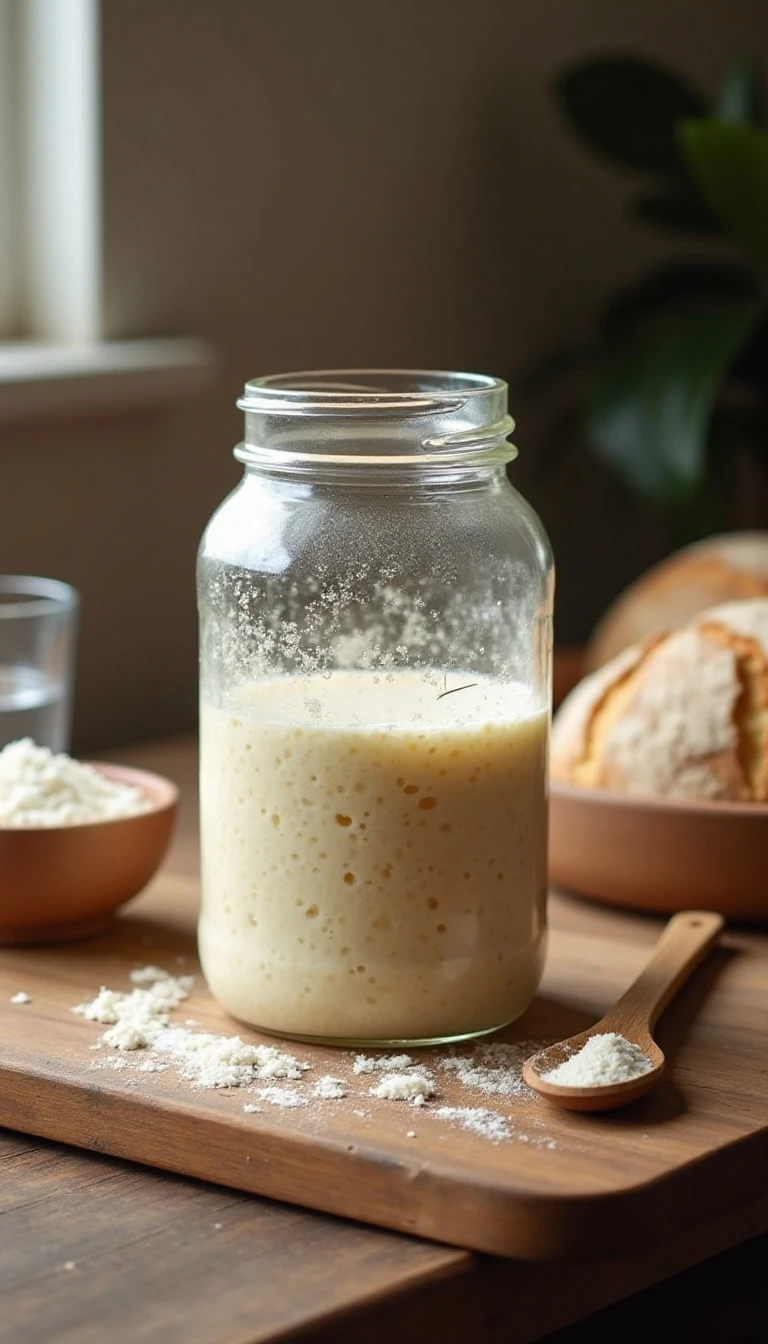
Step 7: Test the starter for baking readiness when it consistently doubles in volume within about 4–8 hours after feeding. It should be filled with bubbles throughout, smell pleasantly tangy or fruity, and show a domed, airy surface near its peak.
Step 8: Use the starter at or near peak rise, before the dome begins to collapse. Stir only as much as needed to portion it into your recipe, then feed the remaining culture so it can continue growing.
How to Tell When It Is Ready

A starter is ready when it behaves consistently, not merely when a certain number of days has passed. Most cultures become dependable in 5–7 days, while some need 7–14 days if the kitchen is cool or the flour and water ferment slowly.
Place a rubber band at the starter’s level immediately after feeding. When it doubles, you will see the mixture climb noticeably above the band, often with bubbles along the glass and a rounded top.
- Reliable rise: It doubles within approximately 4–8 hours after feeding.
- Active texture: Bubbles appear throughout the mixture rather than only on the surface.
- Healthy aroma: The scent is pleasantly tangy, fruity, or lightly yeasty.
- Peak appearance: The top is domed and airy but not yet sinking.
A floating test is not necessary for this method. Rise, aroma, bubbles, and repeatable timing provide more useful information about the culture’s strength.
Pro Tips for a Strong Starter
Temperature is one of the biggest factors affecting fermentation speed. A warm kitchen around 21–27°C (70–80°F) encourages steady activity, while a cooler room can make the starter seem inactive for several days.
Use a digital scale every time you feed. The equal-weight 1:1:1 ratio means equal parts starter, flour, and water by weight, so a typical feeding is approximately 50 g starter, 50 g flour, and 50 g water after discard.
Whole-wheat or dark rye flour is especially useful during the first days because whole grains ferment readily. Once the starter is reliably active, unbleached all-purpose or bread flour can replace the whole-grain flour if you prefer a lighter-colored culture.
Keep the cover loose rather than sealing the jar tightly. Fermentation produces gas, and the culture needs protection from dust while still allowing pressure to escape.
When you have extra discard, save it for recipes designed for unfed starter instead of pouring large amounts down the drain. A future batch of baked goods, such as our soft white velvet cake, can be a lovely dessert project while your culture matures.
Troubleshooting Common Problems
A gray liquid on top or a sharp alcoholic smell usually means the starter is hungry. Stir the liquid in or pour it off, then feed the culture with 50 g flour and 50 g water; repeated hunger may mean the room is warm or the starter is fermenting faster than your schedule.
No bubbles after the first day does not necessarily signal failure. Give the starter more time, keep it within the suggested temperature range, and continue the daily discard-and-feed routine.
If you see fuzzy mold or any pink, orange, or red discoloration, discard the entire starter and begin again with a clean jar and fresh ingredients. Do not scrape away a questionable patch and continue using the rest.
A starter that rises quickly and then collapses may simply need more frequent feedings. Move from every 24 hours to every 12 hours once it repeatedly completes its rise-and-fall cycle in about half a day.
Storage and Feeding Routine
If you bake frequently, keep the starter at room temperature and feed it according to how quickly it rises and falls. A daily schedule works well during the building phase, while a very active culture may need two feedings per day.
For occasional baking, maintain the culture until it is reliably active, then consult a separate cold-storage routine suited to your baking schedule. Always refresh it and wait for a strong rise before relying on it as the leavening agent in a recipe.
Each time you feed, mark the starting height and observe the peak. These simple notes teach you more about your particular starter than a rigid timetable because flour, water, temperature, and jar shape all influence its behavior.
While sourdough is most associated with bread, fermented discard can inspire many kitchen experiments. For hearty non-sourdough meal planning, you can also browse ground beef cooking ideas, then return to your jar when it is time for another feeding.
Ways to Use Your Active Starter
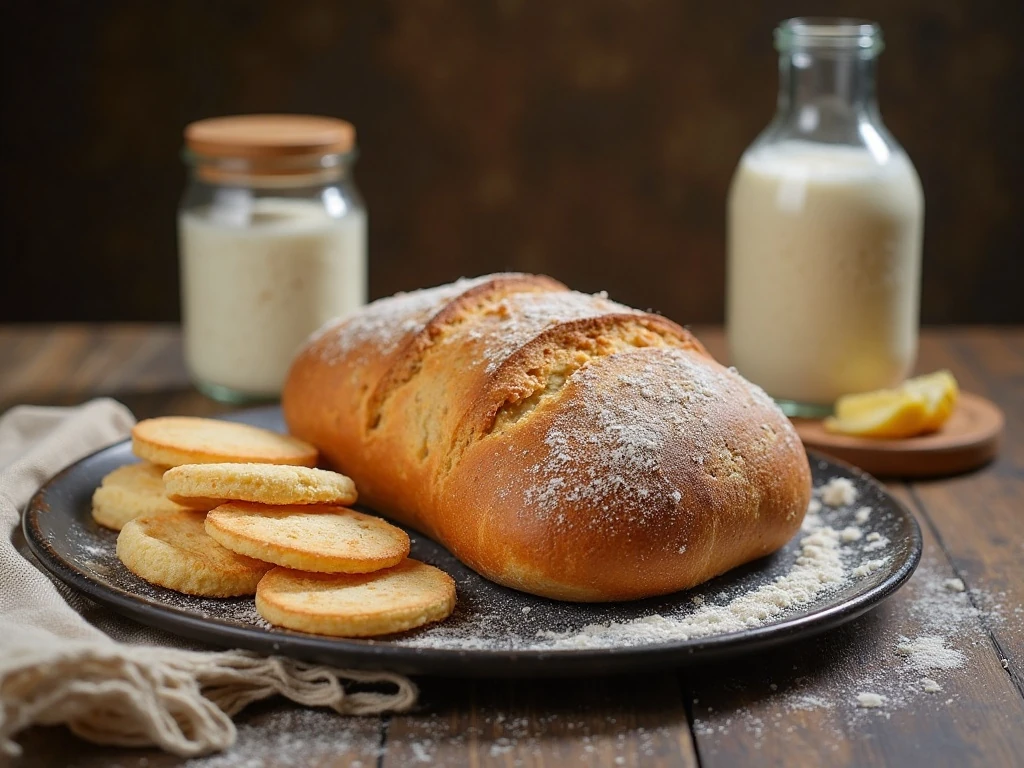
Once your starter doubles predictably, it is ready to bring depth to baked recipes. Use it near peak rise, when the surface is domed and the mixture is airy, because that is when its natural leavening power is strongest.
- Rustic sourdough loaves with a crisp crust and chewy center.
- Discard pancakes, waffles, and crepes with a gently tangy flavor.
- Sourdough crackers seasoned with herbs, spices, or grated cheese.
- Soft rolls and buns for sandwiches or breakfast.
- Sweet sourdough bakes that balance rich ingredients with light acidity.
Do not be discouraged if the first bake is not perfect. Starter care is a process of observation, and each rise teaches you when your culture needs food and when it is ready to work.
For a comforting savory option alongside your baking projects, our biscuits and gravy casserole offers a satisfying contrast to the starter’s bright, fermented flavor.
Sourdough Starter from Scratch
Ingredients
Method
- Combine 50 g whole-wheat or dark rye flour and 50 g lukewarm water in a clean 1-quart glass jar. Stir until no dry flour remains, cover loosely, and leave at room temperature for 24 hours.
- On day 2, inspect the mixture for bubbles and a mild sour aroma. Discard about half, leaving approximately 50 g in the jar, then add 50 g flour and 50 g water and stir thoroughly.
- Repeat the discard-and-feed routine every 24 hours. Mark the level after each feeding so you can see when the starter rises and falls.
- If the starter becomes vigorous enough to rise and fall within 12 hours, begin feeding it every 12 hours. Continue until it consistently doubles within about 4–8 hours and smells pleasantly tangy or fruity.
- Use the starter near its peak rise, when it looks domed, airy, and full of bubbles but has not begun to collapse. This is the ideal time to add it to a bread or baking recipe.
Notes
Final Thoughts
Learning how to make sourdough starter from scratch takes only flour, water, a jar, and a few minutes of attention each day. Start with 50 g whole-wheat or dark rye flour and 50 g lukewarm water, then discard and feed with equal weights until the culture doubles reliably within 4–8 hours.
Remember that fermentation follows conditions, not a fixed calendar. A warm kitchen may produce an active starter in 5–7 days, while a cool kitchen may need 7–14 days, so trust the bubbles, aroma, rise, and timing you observe.
When the starter is domed, airy, pleasantly tangy, and close to its peak, it is ready to help create flavorful homemade baking. Keep feeding it patiently, avoid using any culture with mold or unusual pink, orange, or red discoloration, and enjoy the satisfying rhythm of caring for your own living baking ingredient.