To build a chicken run that keeps hens safe, choose a well-drained location near the coop, construct a sturdy frame, enclose every side and the roof with predator-resistant welded-wire hardware cloth, and reinforce the perimeter against digging. Use galvanized hardware cloth, often with 1/2-inch mesh, rather than ordinary chicken wire, then finish the run with a secure two-step or locking latch, weather protection, and safe access to feed and water.
A well-built run gives hens room to scratch, dust-bathe, forage, and enjoy fresh air while helping protect them from climbing, flying, and digging predators. This is a poultry-housing and DIY construction guide rather than a culinary dinner recipe, so there are no cooking ingredients, standard prep time, cook time, servings, or calorie count; exact material quantities depend on flock size, run dimensions, climate, and local predator pressure.
Jump to RecipeWhy a Safe Chicken Run Matters
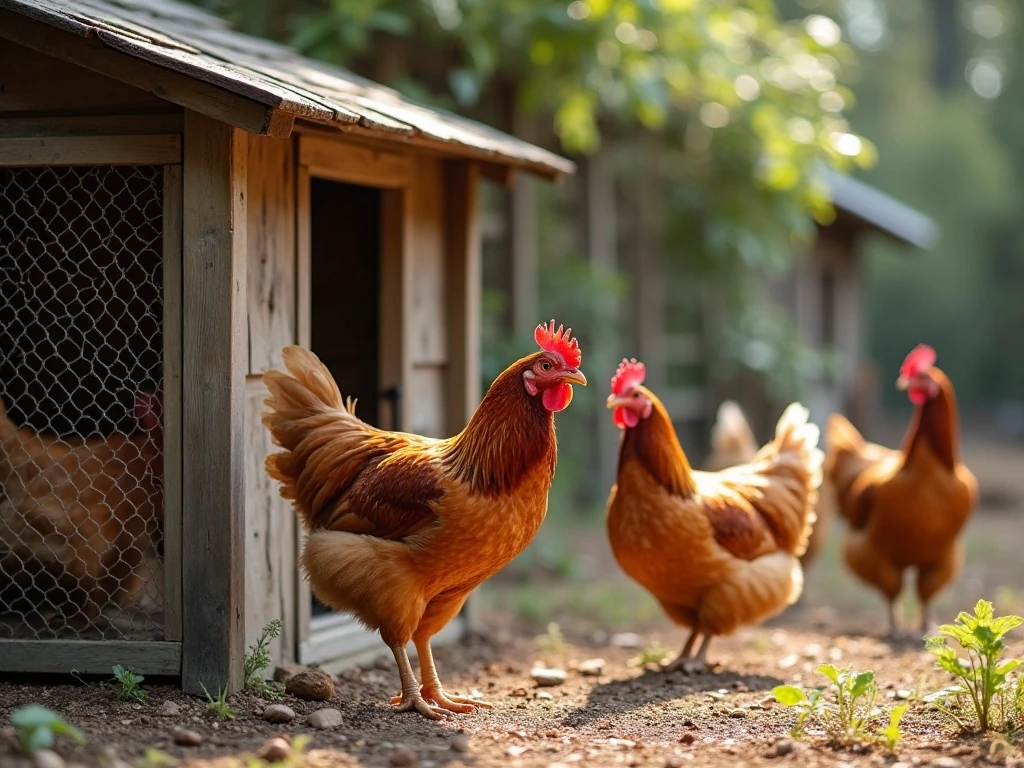
A chicken run is more than a fenced patch of ground. It is the space where hens spend much of their day, and its design must account for predators that climb, fly, squeeze through small openings, or dig beneath barriers.
The strongest plan starts with a complete enclosure. That means sturdy framing, strong mesh on every side, and overhead coverage rather than an open-top pen that leaves hens exposed to aerial predators.
Good construction also makes daily care easier. When the run is close to the coop, you can refresh water, check feed, collect eggs, and inspect the flock without crossing a muddy yard or opening several gates.
Although this guide appears in the Dinner category, it is not a food recipe. If you are looking for something delicious to make with store-bought chicken, try this comforting slow cooker chicken and bean soup instead.
Materials You’ll Need

There is no universal shopping list because a run for four hens will not require the same amount of material as a large enclosure for a substantial flock. Measure the planned length, width, and height first, then account for the mesh that will be buried or extended outward at ground level.
- Galvanized welded-wire hardware cloth, often 1/2-inch mesh, for the walls and roof.
- Lumber or metal framing sized to support the enclosure and its roofing.
- Predator-resistant fasteners suited to the frame and outdoor conditions.
- Hinges and a secure two-step or locking latch for the access door.
- Roofing material for shade and protection from rain, snow, and harsh sun.
- Ground anchors where needed to help keep the structure stable.
Choose galvanized hardware cloth instead of lightweight chicken wire. Chicken wire is useful for some basic separation tasks, but it is not considered predator-proof because a strong predator may tear or pull it apart.
Plan the door hardware before cutting the frame. A door that looks secure but can be nudged open, lifted, or reached through by a clever animal is a weak point in the entire run.
For another chicken dinner idea while you plan your project, save these tender oven-baked chicken drumsticks for a future meal.
How to Make It Step-by-Step
Step 1: Choose a well-drained location near the coop. Avoid areas that stay wet after rain, collect runoff, or become difficult to walk through during winter, because persistent moisture can make cleaning harder and create an uncomfortable environment for hens.
Step 2: Size the run for the number of hens and the way you plan to use it. Leave enough space for the flock to move between feeding, watering, shaded, and open areas, while also allowing you to enter safely for cleaning and inspection.
Step 3: Build a sturdy frame from lumber or metal framing. Set the posts and supports so the structure remains square and stable, and use ground anchors when the soil, wind, or roof design makes additional stability necessary.
Step 4: Enclose all four sides with galvanized welded-wire hardware cloth. Stretch the mesh firmly and attach it with predator-resistant fasteners, paying close attention to corners, seams, the connection to the coop, and any place where two materials meet.
Step 5: Cover the top of the run with strong welded-wire mesh as well. An overhead barrier helps prevent climbing or flying predators from entering and keeps hens inside when they flap, perch, or become startled.
Step 6: Reinforce the perimeter against digging. Bury the mesh around the edges or create an outward flare along the ground, securing it so a predator cannot simply dig at the base of the wall and pass underneath.
Step 7: Install the access door with sturdy hinges and a secure two-step or locking latch. Test it from inside and outside, confirm that it closes tightly, and check that there are no gaps around the frame large enough for a predator to reach through.
Step 8: Add roofing or another weather-protection section to provide shade and shelter from rain, snow, and intense sun. Keep some open space for airflow, but make sure the hens can retreat to a dry, comfortable area when conditions change.
Step 9: Place feed and water where they remain accessible and protected from contamination. Keep the setup practical for refilling, and avoid positioning containers where spilled water will create a constantly damp section of ground.
Step 10: Walk around the finished run and inspect every connection before releasing the flock. Look for sharp wire ends, loose fasteners, unstable posts, openings at the roofline, and any section that could collect water or allow a hen to become trapped.
Predator-Proof Construction Tips

Use small-mesh galvanized hardware cloth for the primary barrier, with 1/2-inch mesh often recommended in poultry and homesteading guidance. The goal is to prevent both entry and reach-through attacks, not merely to mark the boundary.
Do not treat the roof as optional. Foxes, raccoons, climbing animals, and birds of prey can exploit an open top, especially when the run is positioned near trees, fences, sheds, or other launch points.
Give extra attention to the lower edge. Digging predators usually test corners and soft soil first, so the buried or outward-flared mesh should be continuous around the entire perimeter rather than installed only on the side that looks most vulnerable.
Use fasteners that resist outdoor wear and hold the mesh tightly against the frame. Staples or attachments that loosen as the wood changes can create openings even when the original construction was careful.
Consider the flock’s behavior as well as predator behavior. A shaded retreat, dry footing, and protected feeding area reduce stress and make the run more useful during hot, rainy, or windy weather.
On a busy week, an easy chicken dinner can be made with this air fryer rotisserie chicken, leaving more time for checking the enclosure before nightfall.
Daily Use and Maintenance
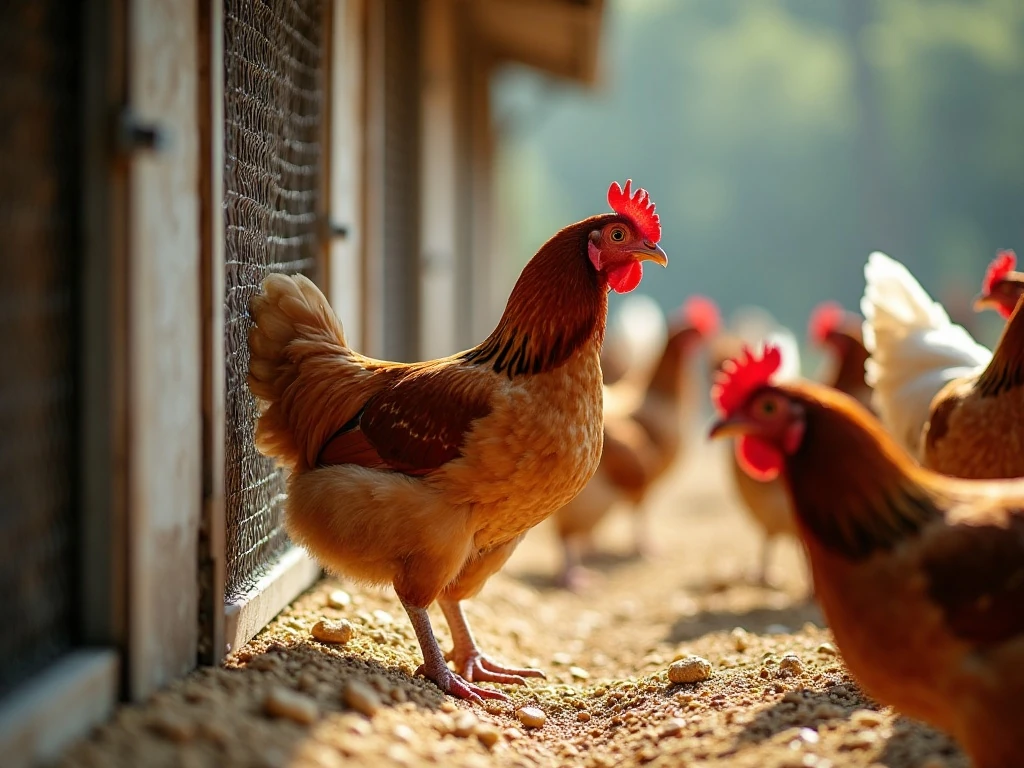
Inspect the run regularly rather than waiting for visible damage. Check for gaps, corrosion, loose fasteners, bent mesh, damaged roofing, and signs that an animal has started digging along the edge.
Pay attention after storms and strong winds. Roofing can loosen, soil can wash away from buried mesh, and fallen branches can bend the frame or create a new opening.
Keep the door routine consistent. Close and latch it securely when the hens are inside for the night, and make sure every person who cares for the flock knows how the two-step or locking latch works.
Refresh feed and water as needed, remove wet or spoiled material, and keep shaded areas reasonably clean. A tidy run is easier to inspect and gives you a clearer view of unusual damage or changes in the hens’ behavior.
If you want a shareable meal after finishing outdoor chores, this pesto chicken tear-and-share is a flavorful option for the table.
Common Mistakes to Avoid
- Using ordinary chicken wire as the only predator barrier.
- Leaving the roof open because the run is surrounded by a fence.
- Stopping the mesh at ground level without burying or flaring the perimeter.
- Installing a simple latch that can be lifted, nudged, or reached through.
- Building on poorly drained ground that stays muddy after rain.
- Forgetting gaps where the run joins the coop, door, roof, or corners.
- Skipping inspections after weather events or suspected digging.
Another frequent mistake is buying materials before deciding the run’s dimensions. Since quantities vary with flock size, layout, climate, and predator risk, measure first and then calculate the mesh, framing, fasteners, roofing, hinges, latch, and anchors required.
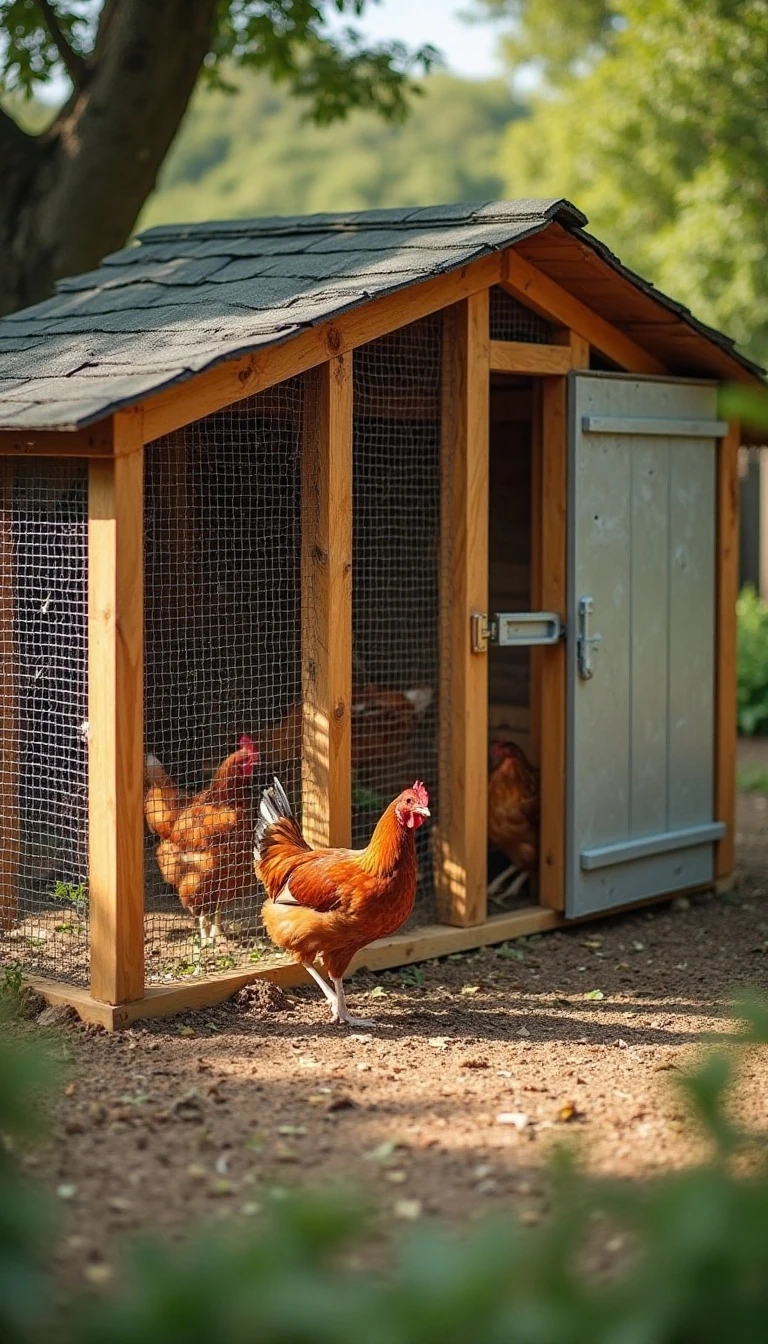
How to Build a Chicken Run That Keeps Hens Safe
Ingredients
Method
- Choose a well-drained location near the coop, allowing enough room for the hens and convenient daily access.
- Build a sturdy frame sized for the number of hens, using lumber or metal that can support the mesh and roof.
- Attach galvanized welded-wire hardware cloth to all sides and the top, securing it with predator-resistant fasteners.
- Bury the mesh around the perimeter or extend it outward along the ground to discourage predators from digging underneath.
- Install a properly fitted door with hinges and a secure two-step or locking latch.
- Add shade, roofing, weather protection, and safe, accessible locations for feed and water.
- Inspect the enclosure regularly for gaps, corrosion, loose fasteners, and signs of digging.
Notes
Final Thoughts
The safest chicken run combines a strong frame, galvanized welded-wire hardware cloth on every side and overhead, a buried or outward-flared perimeter, and a properly secured door. Add shade, weather protection, and convenient feed and water access so the enclosure supports both safety and everyday comfort.
Because every property and flock is different, inspect the finished run from a predator’s point of view and continue checking it through the seasons. A small gap, loose fastener, corroded section, or fresh digging mark is a reason to repair the enclosure promptly.
Once the hens are secure, daily care becomes calmer and more predictable. There is no cooking time or ingredient list for this project, but there is a clear recipe for success: plan carefully, build completely, and inspect often.