Homemade ice cream sandwiches are easy to make with one package of devil’s food cake mix, melted butter, an egg, and softened vanilla ice cream. Bake the cake layer in a 15 x 10 x 1-inch jelly-roll pan at 350°F for 10–12 minutes, cool it completely, add the ice cream, then freeze the assembled slab for at least 1 hour before cutting.
The result is a wonderfully chewy chocolate cookie-cake layer wrapped around cold, creamy vanilla ice cream. Each bar has the familiar charm of a classic ice cream sandwich, but the generous cake layer and thick ice cream center make these homemade treats especially satisfying for birthdays, cookouts, summer parties, and relaxed family desserts.
Jump to RecipeWhy You’ll Love This Recipe
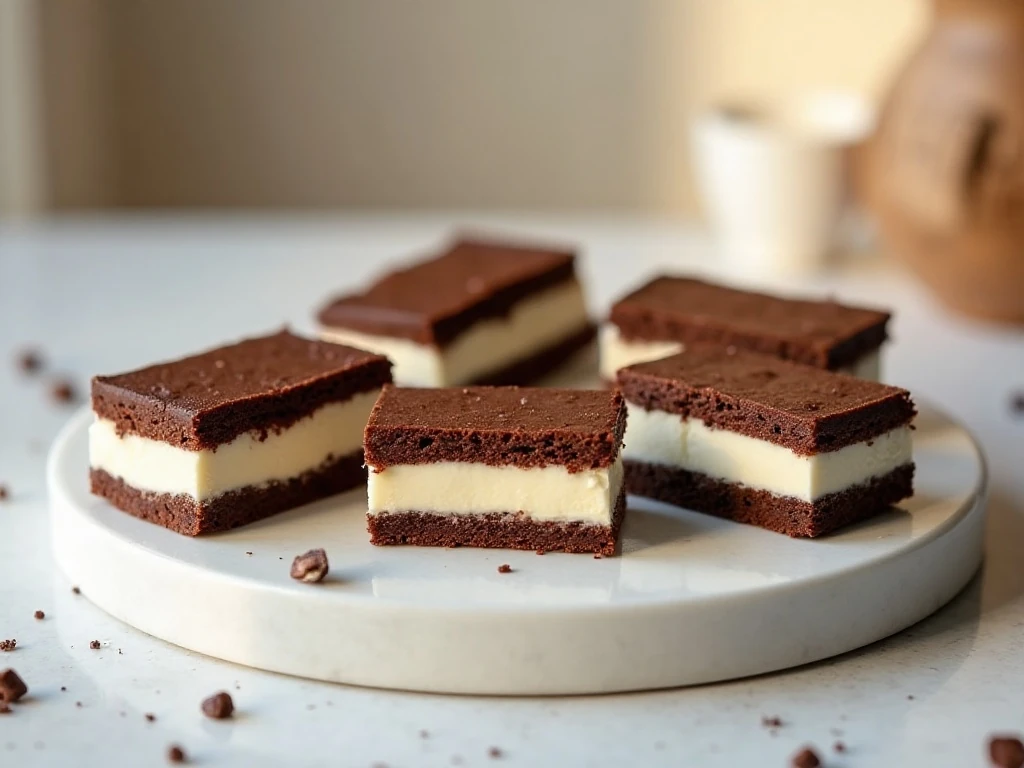
This recipe gives you the fun of homemade ice cream sandwiches without making separate cookies or preparing a custard from scratch. The cake-mix dough comes together in one bowl, presses directly into the pan, and bakes in just 10–12 minutes.
The chocolate layer is tender and pleasantly chewy after freezing, while the vanilla center stays rich and creamy. Because the dessert is assembled as one large slab, you can cut tidy bars all at once instead of filling individual sandwiches one by one.
- Simple ingredients: Cake mix, butter, egg, and ice cream are all you need.
- Party-friendly: The slab makes approximately 15 bars.
- Make-ahead appeal: The sandwiches can stay frozen until dessert time.
- Classic flavor: Chocolate and vanilla deliver a combination almost everyone enjoys.
If you are planning a full dessert table, pair these bars with mini apple pies for another hand-held favorite with plenty of homemade charm.
Ingredients You’ll Need
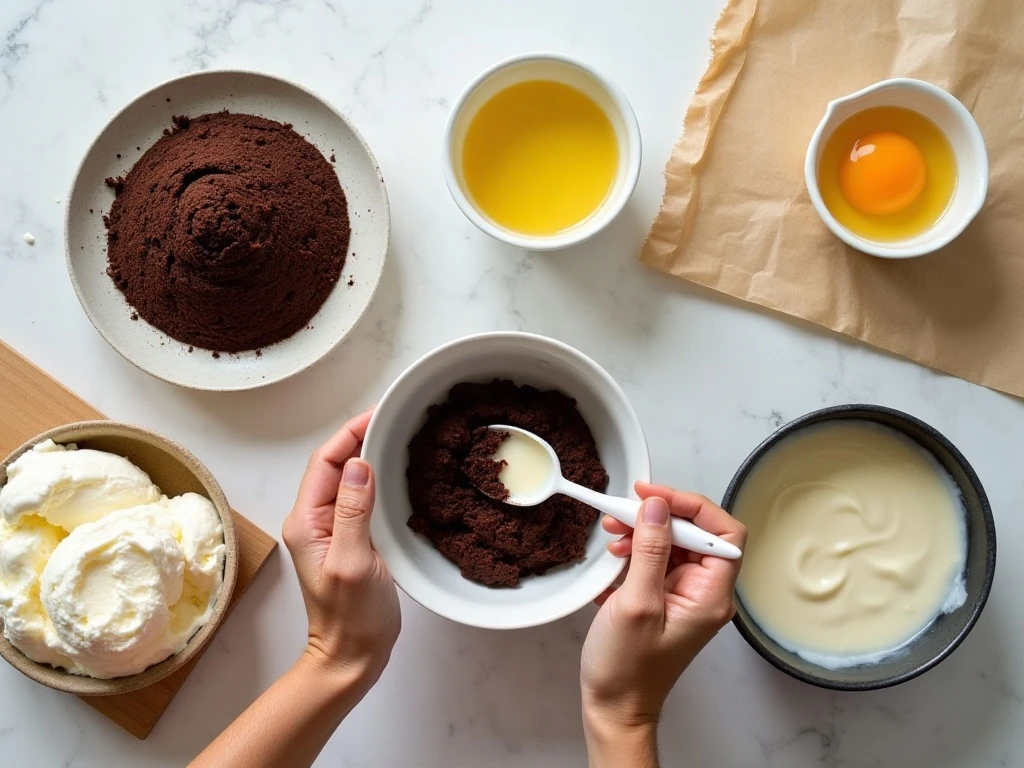
Choose a regular-size box of devil’s food cake mix weighing about 15–16 ounces. This creates a deep chocolate flavor and a dough sturdy enough to form the two cake halves after baking.
You will also need 1/2 cup melted butter and 1 large egg, preferably at room temperature. The butter adds richness and helps bind the cake mix, while the egg gives the baked layer structure and a soft bite.
For the filling, use 1/2 gallon of vanilla ice cream, which is equal to 2 quarts or about 1.9 liters. Let it soften just enough to spread; it should be pliable and scoopable, not runny or glossy from melting.
A 15 x 10 x 1-inch jelly-roll pan is the right size for producing a thin, even cake layer. Parchment paper is optional, but it makes lifting and handling the cooled cake much easier, especially when cutting it in half.
For another frozen dessert idea with a fruit-forward flavor, take a look at this no-churn peach ice cream.
How to Make It Step-by-Step
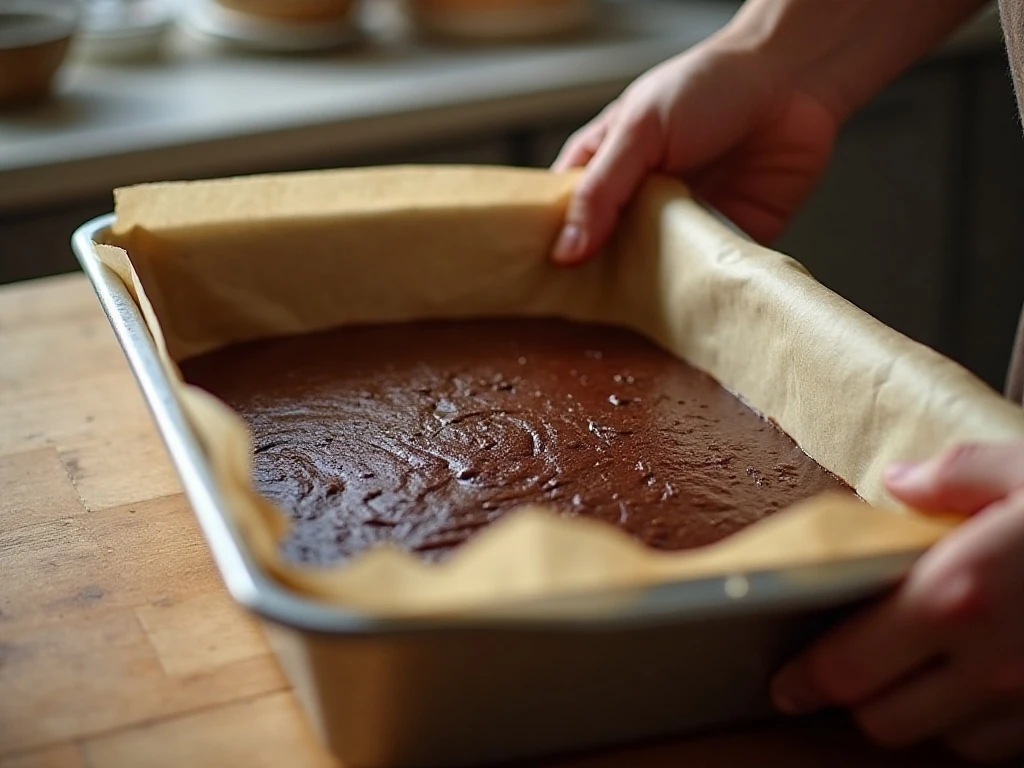
Step 1: Preheat your oven to 350°F (175°C). Grease the jelly-roll pan thoroughly, then line it with parchment if you want an easier release and cleaner edges.
Step 2: Add the devil’s food cake mix, melted butter, and egg to a large bowl. Stir until a thick dough forms, scraping the sides and bottom of the bowl so every bit of dry mix is incorporated.
Step 3: Transfer the dough to the prepared pan and press it into an even layer. Work gently toward the corners, using lightly greased fingertips or a piece of parchment to prevent sticking.
Step 4: Bake the cake layer for 10–12 minutes. It is ready when the center is set and a toothpick comes out clean or carries only a few moist crumbs; avoid overbaking so the frozen cake remains tender.
Step 5: Set the pan on a cooling rack and let the cake cool completely, which typically takes about 30–45 minutes. Adding ice cream to a warm cake will cause unnecessary melting and can make the finished layer icy when refrozen.
Step 6: Once cool, cut the cake in half widthwise to make two equal rectangles. A serrated knife helps saw through the cake without compressing it, and parchment can help you lift one portion if it sticks.
Step 7: Spread the softened vanilla ice cream over one cake half. Smooth it to the edges in an even layer, working quickly so it stays thick and creamy instead of becoming liquid.
Step 8: Set the second cake half on top of the ice cream. Press gently across the surface to settle the layers and correct any uneven spots without squeezing out the filling.
Step 9: Cover the assembled slab and freeze it for at least 1 hour, or until firm. A longer freeze is fine if you are preparing the dessert ahead of time, provided it is well covered to protect it from freezer odors.
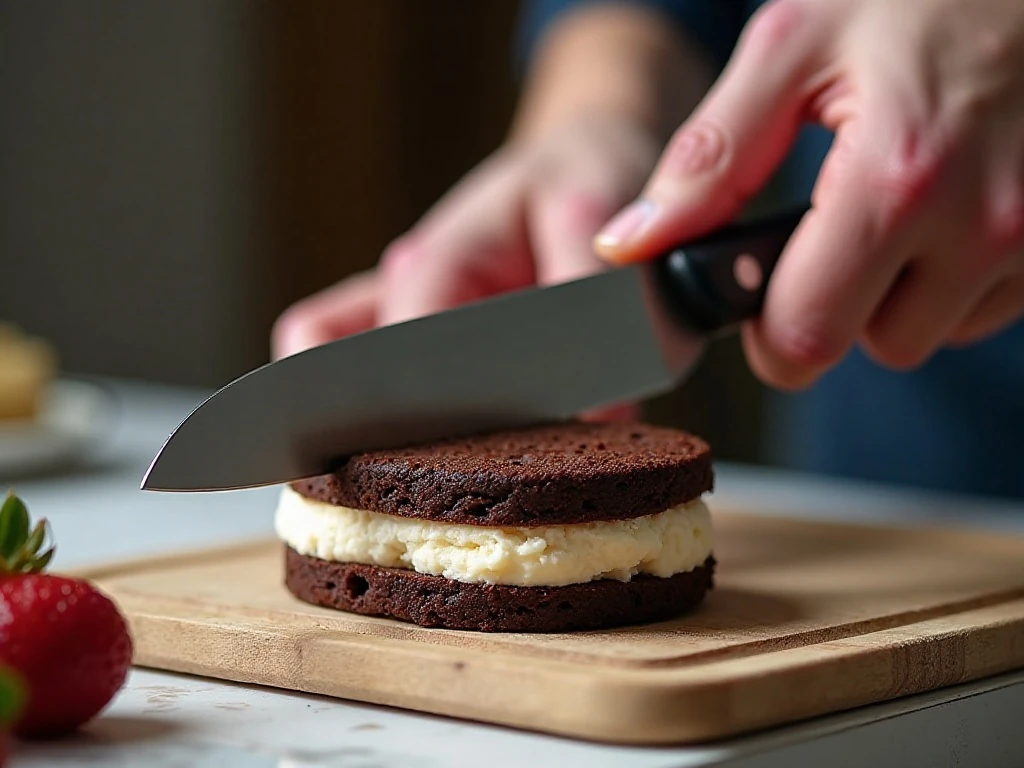
Step 10: Slice the firm slab into approximately 15 bars. Warm a large knife under hot water, wipe it completely dry, make one cut, and repeat the warming and drying process for especially clean edges.
Pro Tips for Creamy, Clean-Cut Bars
The most important texture tip is to soften the ice cream only as much as necessary. If it becomes melted, the water in the ice cream can form larger ice crystals as it refreezes, creating a harder and icier center.
Allow the cake to cool completely before assembling. Even slight warmth can soften the ice cream too rapidly, making it difficult to spread evenly and increasing the chance of messy layers.
For neat portions, freeze the assembled dessert until firm before slicing. A hot, dry knife glides through the cake and ice cream, while wiping the blade between cuts prevents chocolate crumbs from streaking across the pale filling.
- Press the dough into the pan as evenly as possible for matching top and bottom layers.
- Do not skip the toothpick test at the center of the cake.
- Cover the slab tightly before freezing to preserve its fresh flavor.
- Slice only what you plan to serve, then return the remaining slab or bars to the freezer.
For a contrast of textures on your dessert spread, these easy chocolate truffles make a lovely companion to the chilled bars.
Storage, Serving, and Variations
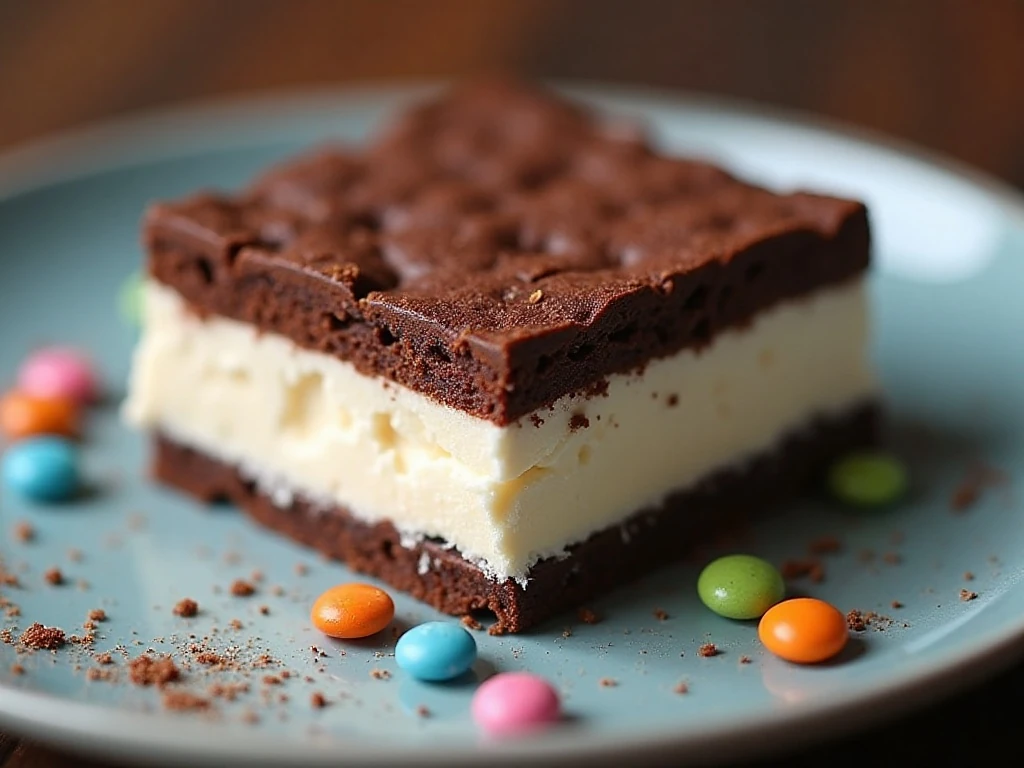
Keep the sandwiches frozen until serving so the ice cream remains firm and the cake holds its shape. Store individual bars in an airtight freezer-safe container, placing parchment between layers if you stack them.
Let a bar stand at room temperature briefly if you prefer a slightly softer bite, but do not leave the sandwiches out long enough for the ice cream to melt. For the cleanest presentation, serve them directly from the freezer on chilled plates.
The base recipe is intentionally focused on chocolate cake and vanilla ice cream, but simple finishing touches can make it feel special. Add a light sprinkle of mini chocolate chips, crushed cookies, or colorful candy pieces immediately after spreading the ice cream, before placing on the top cake layer.
You can also serve each bar with a small spoonful of chocolate sauce or a few fresh berries. Keep additions modest so the sandwich remains easy to pick up and the chocolate-vanilla balance stays at the center.
For a seasonal sweet bite to serve alongside these sandwiches, consider pumpkin spice cream cheese donut holes.
When to Serve Homemade Ice Cream Sandwiches
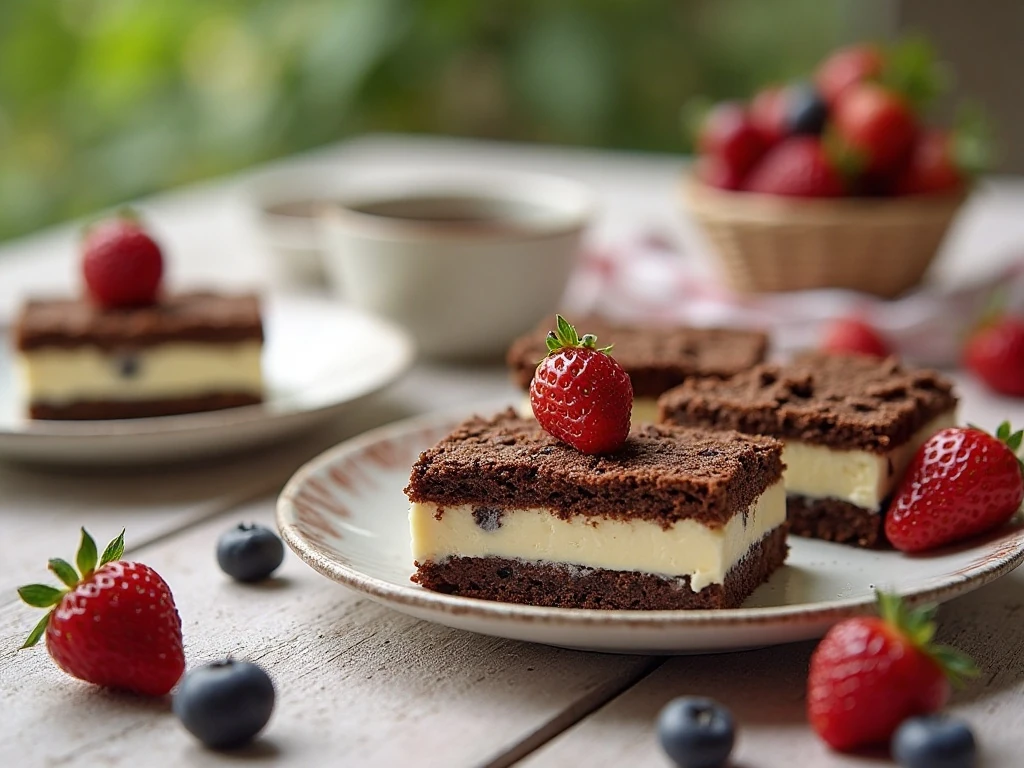
These bars are especially useful for summer gatherings because they can be prepared before guests arrive. Freeze the assembled dessert, slice it shortly before serving, and arrange the bars on a chilled platter.
They are also a cheerful choice for children’s parties, movie nights, school celebrations, and casual weekend dinners. The rectangular shape makes portions easy to count, while the familiar flavors appeal to both children and adults.
If you are serving them after a savory outdoor meal, prepare the bars in advance and keep them in the freezer until everyone is ready. Even a cookout menu featuring crockpot pork barbecue can finish with these cool, chocolatey treats.
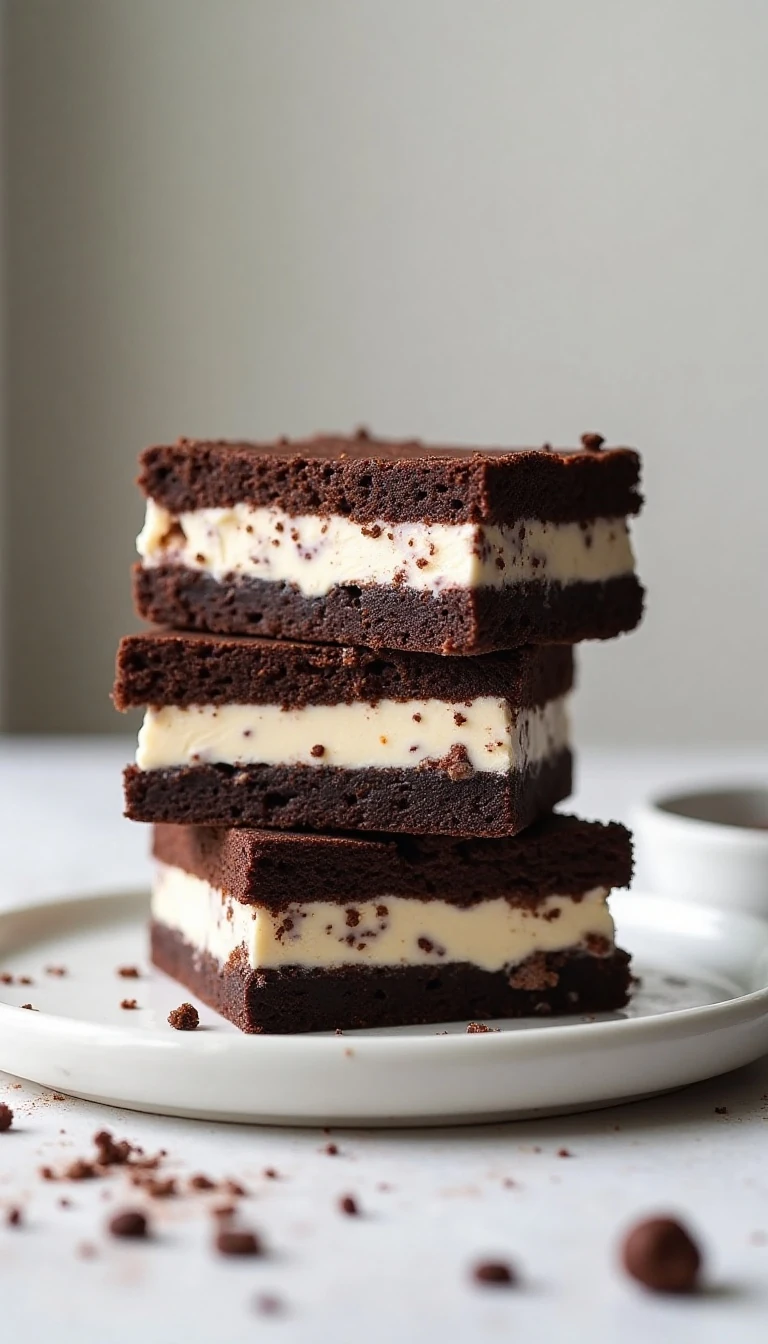
Homemade Ice Cream Sandwiches Made Easy
Ingredients
Method
- Preheat the oven to 350°F (175°C). Grease a 15 x 10 x 1-inch jelly-roll pan and line it with parchment paper if desired, leaving a little overhang to help lift out the cooled cake.
- Combine the devil's food cake mix, melted butter, and egg in a large bowl. Stir until the mixture becomes a thick, cohesive dough with no dry pockets remaining.
- Press the dough evenly into the prepared pan. Use lightly greased fingertips or a sheet of parchment to help spread the dough into the corners without tearing it.
- Bake for 10–12 minutes, until the center is set and a toothpick comes out clean or with only a few moist crumbs. Do not wait for the cake to become dry, since a slightly soft layer gives the best texture when frozen.
- Cool the cake completely in the pan for about 30–45 minutes. The cake must be fully cool before the ice cream is added, or the ice cream may melt too quickly.
- Cut the cooled cake in half widthwise to create two equal rectangles. Work carefully with a serrated knife and use the parchment, if present, to help transfer or reposition the cake.
- Spread the softened vanilla ice cream evenly over one cake rectangle. It should be pliable enough to spread but still firm rather than melted.
- Place the second cake rectangle on top of the ice cream and press gently to level the sandwich. Cover the pan tightly and freeze for at least 1 hour, or until the slab is firm.
- Cut the frozen slab into approximately 15 bars. For clean cuts, warm a large knife under hot water, wipe it dry, slice, and repeat between cuts.
Notes
Final Thoughts
Homemade ice cream sandwiches made with cake mix are proof that an impressive dessert does not need a long ingredient list. A quick chocolate cake layer, creamy vanilla ice cream, and one hour in the freezer create a generous batch of approximately 15 delicious bars.
Keep the ice cream softly spreadable, cool the cake completely, and use a warmed, dry knife for tidy slices. Once you try this simple slab method, you will have an easy frozen dessert ready for parties, celebrations, and any day that calls for chocolate and vanilla together.