To make homemade buttermilk biscuits that rise every time, use cold butter, cold buttermilk, fresh leaveners, gentle handling, and a straight-down cutter. This reliable recipe makes 8 medium biscuits at 425°F (220°C), with a prep time of 15–20 minutes, an optional 10–15 minute chill, and a bake time of 12–16 minutes.
These biscuits bake up tall, tender, flaky, and golden, with buttery layers that pull apart easily. They are wonderful beside eggs and gravy, split for breakfast sandwiches, or served warm with butter, jam, or a spoonful of fresh homemade whipped cream for a sweet brunch plate.
Jump to RecipeWhy You’ll Love This Recipe
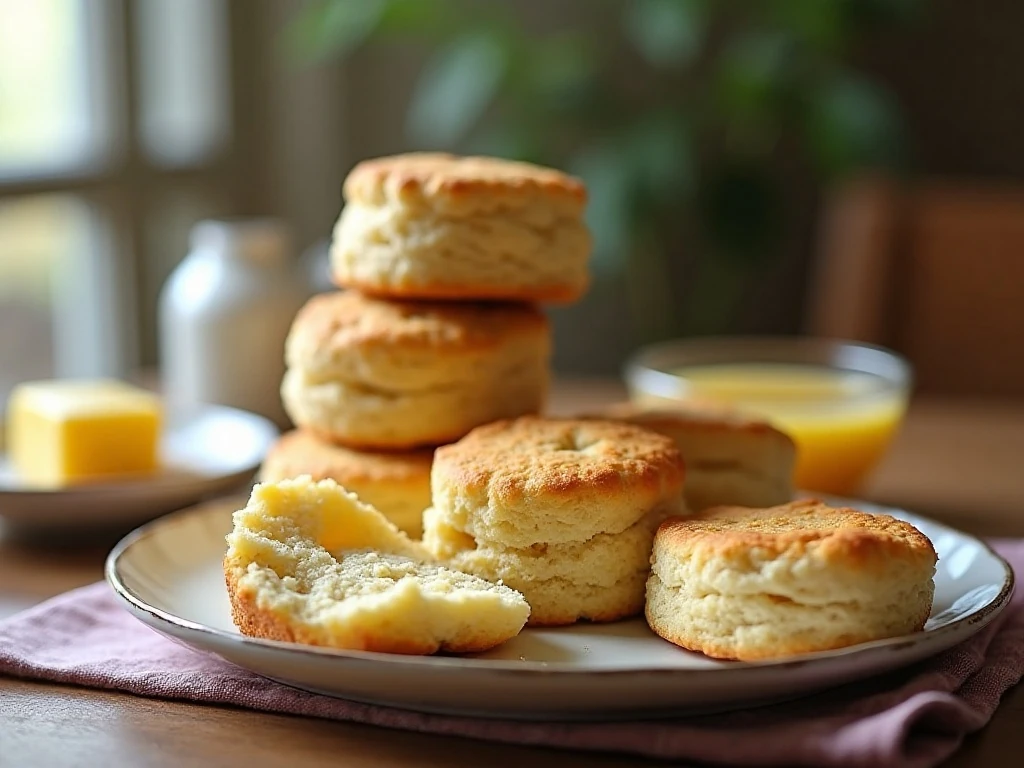
There is something especially satisfying about pulling a basket of tall buttermilk biscuits from the oven. The tops are lightly crisp and golden, while the centers stay soft, tender, and rich with buttery flavor.
This recipe is designed to make the important details easy to follow. Cold ingredients create steam as the biscuits bake, and that steam helps separate the layers and push the dough upward.
The dough also uses both baking powder and baking soda. Baking powder provides dependable lift, while baking soda works with the acidity of the buttermilk for a nicely browned crust and a delicate crumb.
Serve these biscuits with sausage gravy, fried chicken, scrambled eggs, soup, or a simple pat of salted butter. They also make a lovely contrast beside roasted vegetables, including our caramelized roasted cabbage.
Ingredients You’ll Need
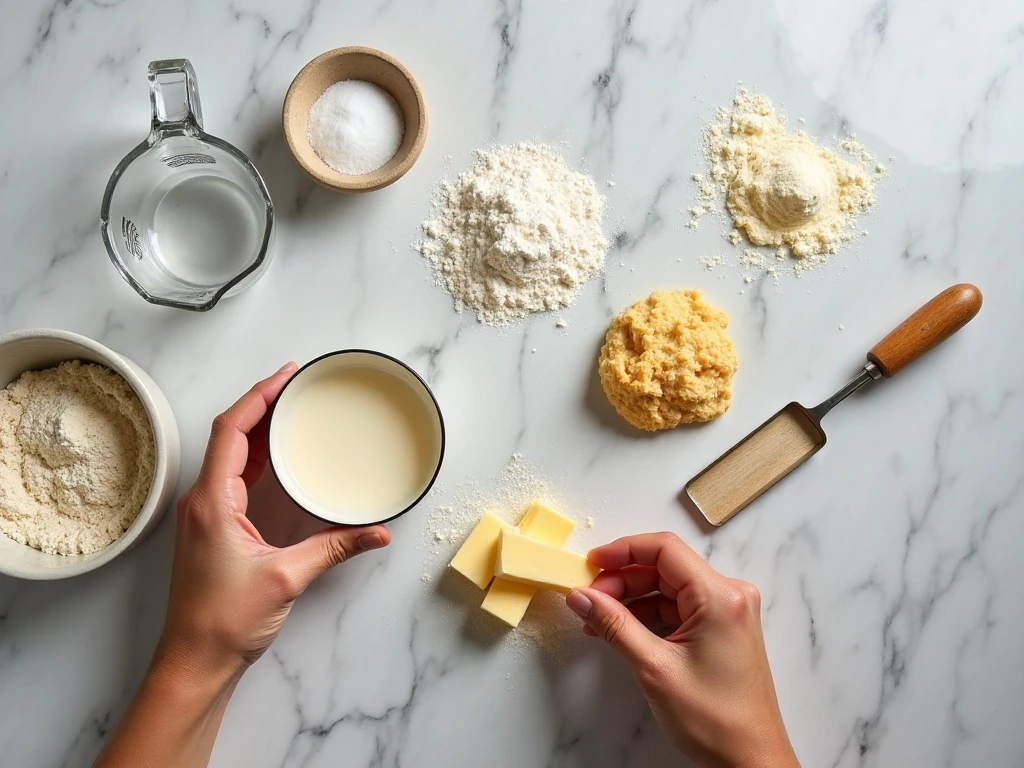
The ingredient list is short, so each item has an important job. Measure the flour carefully by spooning it into a dry measuring cup and leveling the top, or use the listed weight for the most consistent results.
- All-purpose flour: Two cups, or 240 grams, create a sturdy but tender biscuit structure.
- Baking powder: One tablespoon supplies the primary lift.
- Baking soda: One-half teaspoon reacts with the buttermilk and encourages browning.
- Fine salt: One teaspoon balances the richness and brings out the buttery flavor.
- Cold unsalted butter: Six tablespoons, or 85 grams, create flaky pockets throughout the dough.
- Cold buttermilk: Three-fourths cup, or 180 milliliters, brings the dough together and adds gentle tang.
- Extra buttermilk: Keep 1–2 tablespoons available in case the dough needs a little more moisture.
- Melted butter: One tablespoon is optional for brushing the baked biscuits.
For the best rise, check that your baking powder and baking soda are fresh. Old leaveners may leave the biscuits flatter and denser, even when every other step is done correctly.
Keep the butter in the refrigerator until you are ready to cut it into the flour. The buttermilk should also be cold, and the baking sheet can remain at room temperature while you shape the dough.
How to Make It Step-by-Step
Step 1: Heat the oven to 425°F (220°C), then line a baking sheet with parchment. A fully heated oven is essential because the sudden blast of heat helps the cold butter release steam quickly, so do not put the biscuits into a lukewarm oven.
Step 2: Add the flour, baking powder, baking soda, and salt to a large bowl, then whisk until the mixture looks evenly combined. This distributes the leaveners before the butter and liquid are added, preventing pockets of baking soda or salt in the finished biscuits.
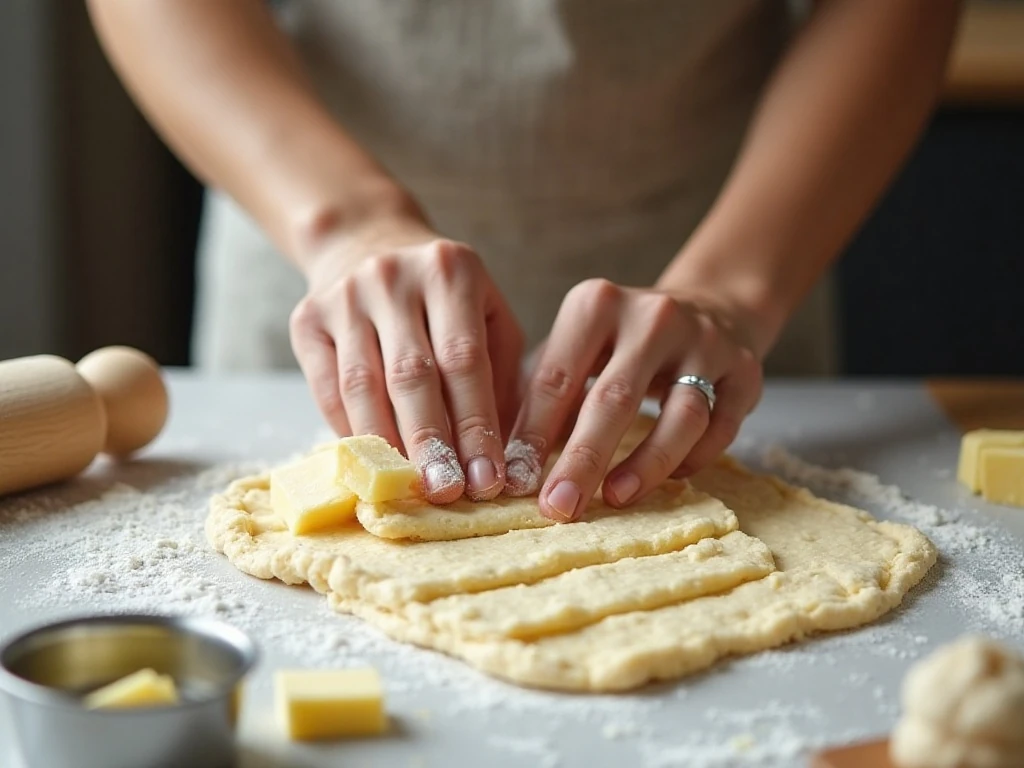
Step 3: Add the cold butter cubes and cut them into the flour with a pastry cutter, two knives, or your fingertips. Stop when the mixture resembles coarse crumbs with several pea-sized butter pieces still visible; those larger pieces are useful because they form flaky layers as they melt.
Step 4: Pour in the cold buttermilk and stir with a fork or flexible spatula just until a shaggy dough forms. If dry flour remains at the bottom after gentle mixing, add 1–2 tablespoons of buttermilk as needed, but avoid stirring until the dough becomes smooth.
Step 5: Turn the dough onto a lightly floured surface and pat it into a rectangle about 3/4 inch thick. Fold the dough in half, then pat it out again, repeating the fold 2–3 times to build distinct layers without kneading.
Step 6: Pat or roll the dough to 3/4–1 inch thick. Dip a 2 1/2-inch biscuit cutter in flour, press it straight down, and lift it straight back up; twisting the cutter can seal the edges and interfere with an even rise.
Step 7: Place the cut biscuits on the parchment-lined baking sheet. Keep them close together for softer sides, or leave a little space between them if you prefer more golden, crisp edges.
Step 8: If the butter has softened or the dough feels warm, chill the cut biscuits for 10–15 minutes. Bake for 12–16 minutes, until the biscuits are tall and golden on top, then brush them with melted butter if desired and serve warm.
Pro Tips for a Reliable Rise
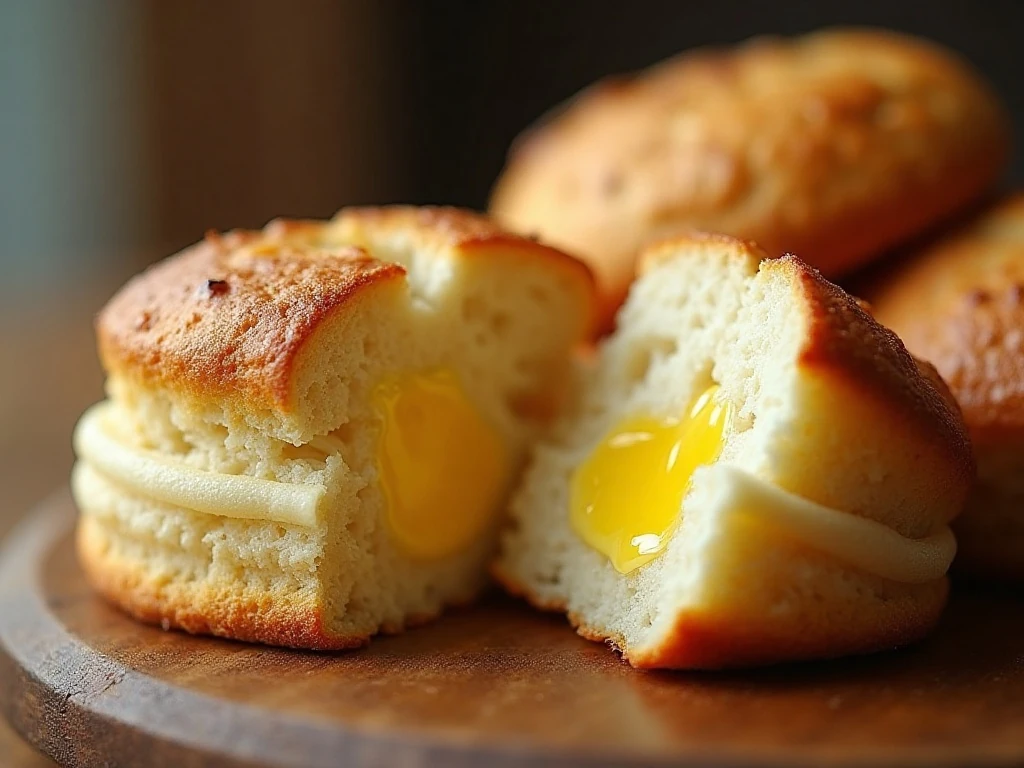
The biggest secret is temperature control. Warm butter blends too thoroughly into the flour, while cold butter stays in small pieces that melt in the oven and create steam-filled pockets.
Work quickly, but do not rush so much that you skip the visual cues. The mixture should look crumbly before the buttermilk goes in, and the dough should look shaggy rather than polished after the liquid is added.
- Use a light touch: Overmixing develops gluten and can make biscuits chewy instead of tender.
- Keep flour off the outside of the dough: Too much added flour makes the biscuits dry and heavy.
- Do not twist the cutter: A straight-down cut keeps the edges open so the biscuits can rise evenly.
- Use the right thickness: Dough thinner than 3/4 inch may produce shorter biscuits, while 3/4–1 inch gives them room to become tall.
- Chill when necessary: A short chill restores firmness when the dough has warmed during shaping.
- Choose your pan arrangement: Close biscuits support one another and develop softer sides; spaced biscuits brown more around the edges.
If your kitchen is warm, place the bowl of cubed butter in the refrigerator while you whisk the dry ingredients. You can also return the shaped biscuits to the refrigerator for the optional 10–15 minute chill before baking.
For a savory meal, serve the biscuits with eggs and pickled vegetables. Our cold-packed pickled peppers add a bright, tangy bite that cuts through the butter.
Serving Ideas and Flavor Variations
Fresh biscuits are at their best while warm, when the layers are soft and the butter is fragrant. Split one carefully with a fork or serrated knife, then add butter, honey, fruit preserves, or pepper jelly.
For breakfast, fill the biscuits with eggs, cheese, bacon, or sausage. The tender crumb holds hearty fillings without overwhelming them, and the slight tang from the buttermilk keeps the sandwich from tasting flat.
For dinner, use them as a side for chicken, stew, chili, or creamy soup. They are also excellent with a spoonful of gravy, where the flaky layers catch every savory drop.
If you prefer a sweet brunch, serve warm biscuits with berries and a dollop of homemade whipped topping. For a lighter dessert spread, small portions of key lime dessert whips can provide a cool, citrusy contrast.
Keep the basic dough simple rather than adding extra ingredients that could weigh it down. Once you are comfortable with the method, you can experiment with serving combinations such as sharp cheddar and ham or honey butter and cinnamon.
Storage, Freezing, and Reheating
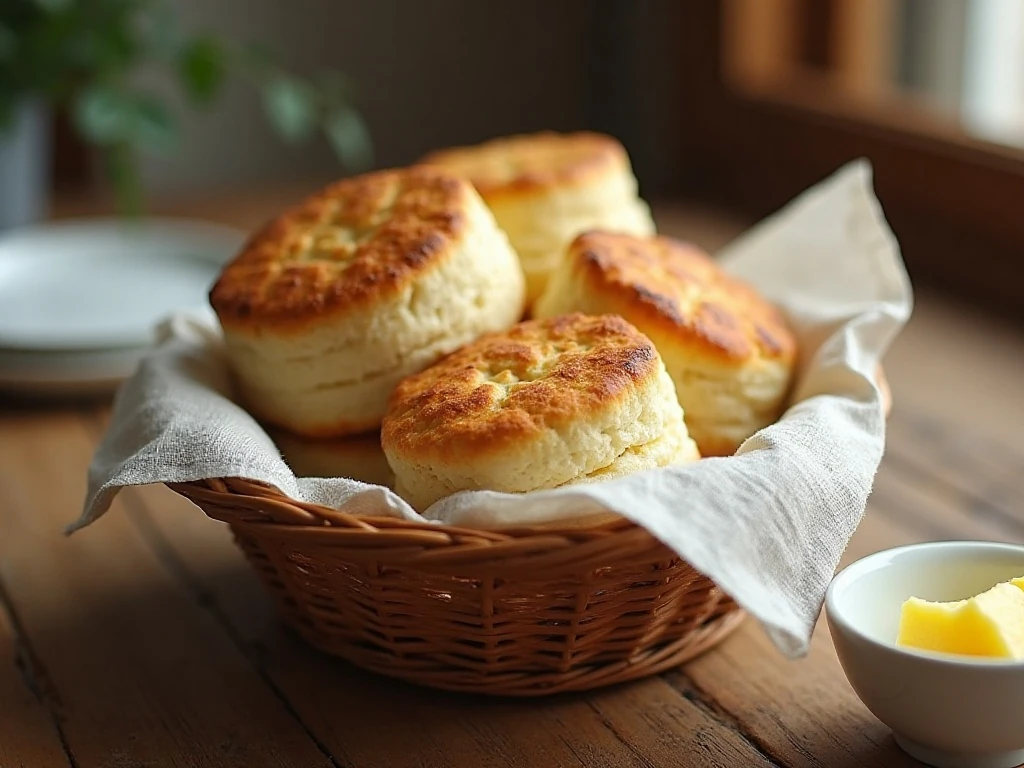
Biscuits are most tender on the day they are baked, but leftovers can be stored in an airtight container at room temperature for a short period. Let them cool completely before storing so trapped steam does not make the crust damp.
To warm baked biscuits, place them in a moderate oven until heated through. Avoid overheating, which can dry out the crumb and make the butter taste less fresh.
For longer storage, freeze the baked biscuits once they are completely cool, then thaw and reheat them gently. If you want to prepare ahead, shape and cut the dough, arrange the biscuits on a tray, and chill them before baking; bake according to the listed temperature and time, checking for a tall golden top.
Do not add a large amount of flour during shaping just to make the dough easier to handle. A slightly shaggy dough produces a more tender result, while excess flour can make the biscuits firm and dry.
These biscuits are also a useful bread option when you are serving a meal with bold flavors. If you are planning a pizza-inspired spread, pair them with the savory toppings and salad from our Chicago-style deep dish pizza recipe for a fun comfort-food menu.
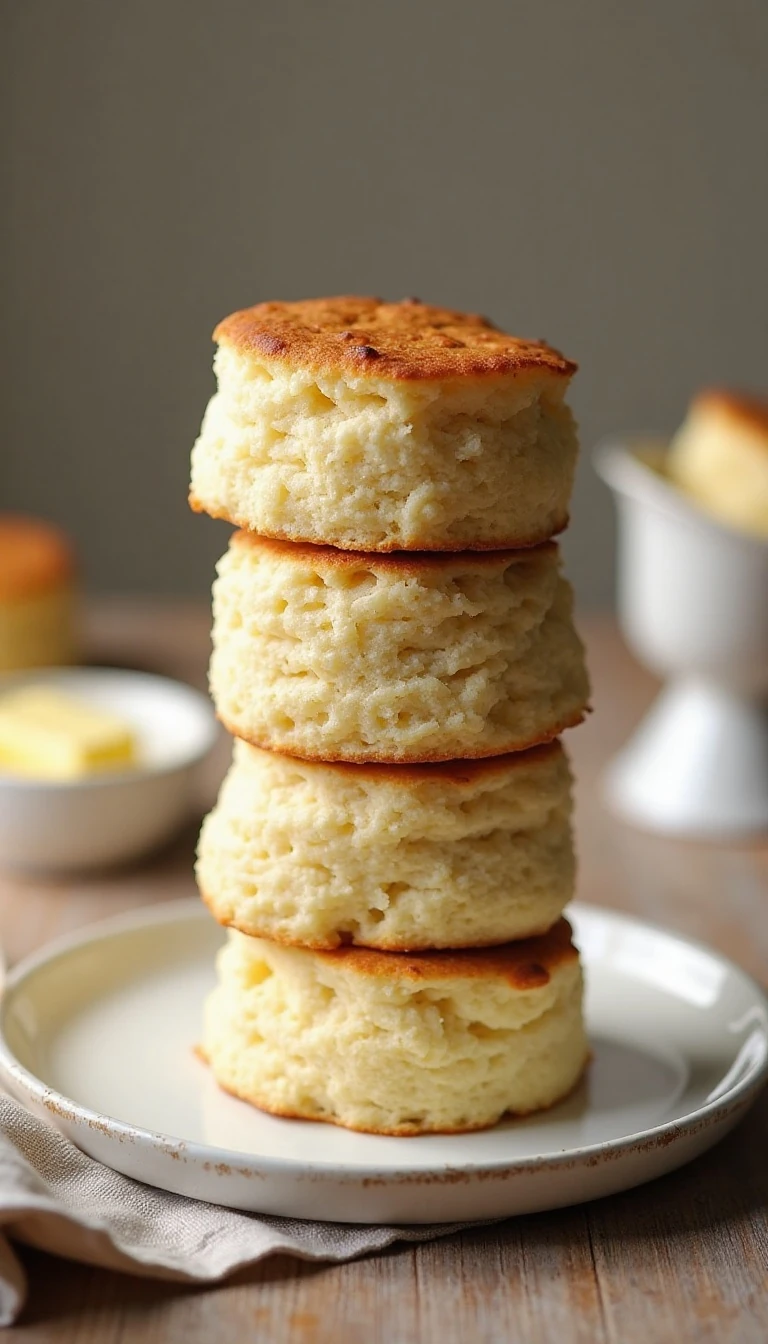
Homemade Buttermilk Biscuits That Rise Every Time
Ingredients
Method
- Heat the oven to 425°F (220°C) and line a baking sheet with parchment.
- Whisk the flour, baking powder, baking soda, and salt together in a large bowl.
- Cut in the cold cubed butter with a pastry cutter or your fingertips until coarse crumbs form, leaving some pea-sized butter pieces.
- Pour in the cold buttermilk and stir gently just until a shaggy dough forms. Add 1–2 tablespoons more buttermilk only if the dough seems unusually dry.
- Turn the dough onto a lightly floured surface, pat it into a rectangle about 3/4 inch thick, fold it in half, and pat it out again. Repeat the fold 2–3 times.
- Pat or roll the dough to 3/4–1 inch thick, then cut 8 biscuits with a floured 2 1/2-inch cutter pressed straight down without twisting.
- Arrange the biscuits close together for softer sides or slightly apart for crisper edges. Chill for 10–15 minutes if the dough or butter has softened.
- Bake for 12–16 minutes, until the biscuits are tall and golden on top. Brush with melted butter if desired and serve warm.
Notes
Final Thoughts
Homemade buttermilk biscuits that rise every time come down to a few dependable habits: measure the flour accurately, keep the butter and buttermilk cold, leave visible pieces of butter in the mixture, and handle the dough gently. Folding the dough several times and cutting straight down gives you the layered structure and open edges needed for a tall bake.
Once the biscuits emerge golden and fragrant, brush them with melted butter and serve them while warm. With this simple method, a handful of everyday ingredients becomes a basket of tender, flaky bread that belongs at breakfast, dinner, and every cozy meal in between.