To make a beautiful spice rack from scrap wood, measure your available wall or cabinet space, plan shelf dimensions around your spice jars, cut and sand the boards, then glue and fasten the pieces with brad nails or small screws. Finish the rack with paint, stain, or clear sealer, let it dry completely, and secure it with suitable wall-mounting hardware before adding spices.
This is a flexible woodworking project rather than a standardized recipe, so there are no edible ingredients, cooking temperatures, calories, or fixed quantities. The most practical design is the one sized to your jars and kitchen, with preparation usually taking about 20–45 minutes and cutting, sanding, assembly, and finishing commonly requiring 2–4 hours, excluding drying time.
Jump to RecipeWhy You’ll Love This Scrap Wood Spice Rack
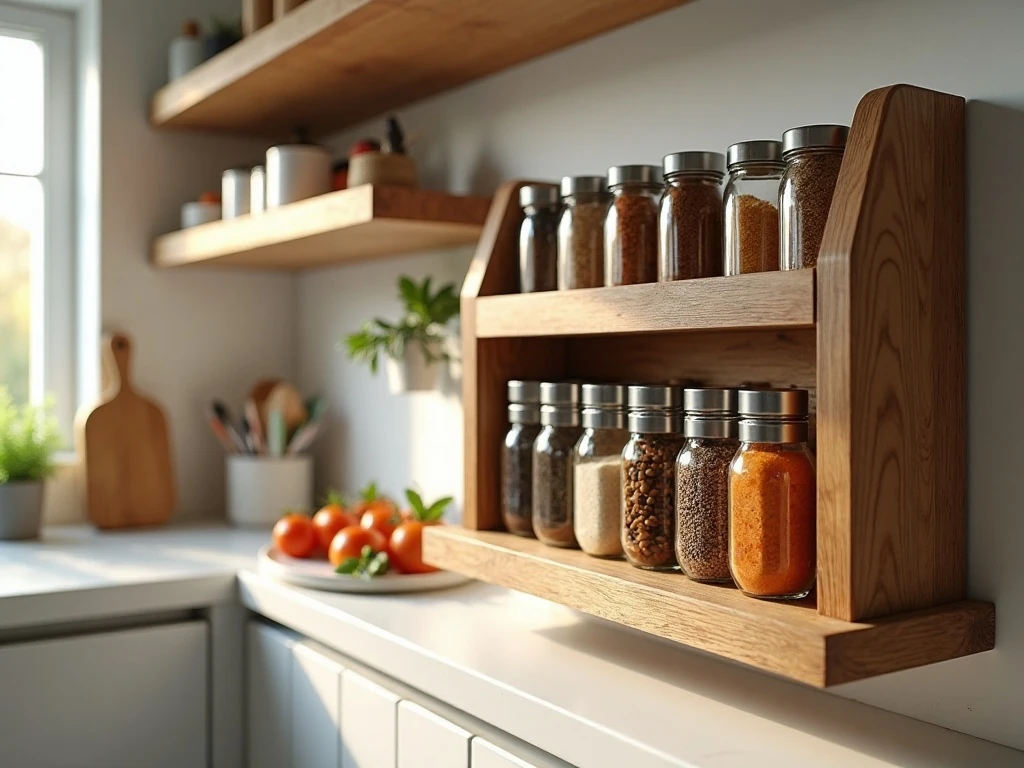
A handmade spice rack turns small leftover boards into useful kitchen storage. It keeps frequently used seasonings visible, reduces crowded cabinets, and gives an otherwise plain wall a warm, personal detail.
The design is easy to customize because scrap wood rarely comes in identical sizes. You can make a narrow rack for a small apartment kitchen, a wider multi-shelf version for a serious home cook, or a compact cabinet insert for renters who cannot drill into the wall.
Once your jars are arranged, cooking becomes more pleasant because paprika, cumin, cinnamon, and dried herbs are easy to find. The rack can also sit near ingredients used for dishes such as fresh watermelon salsa, where a tidy selection of seasonings makes prep feel more organized.
Materials You’ll Need
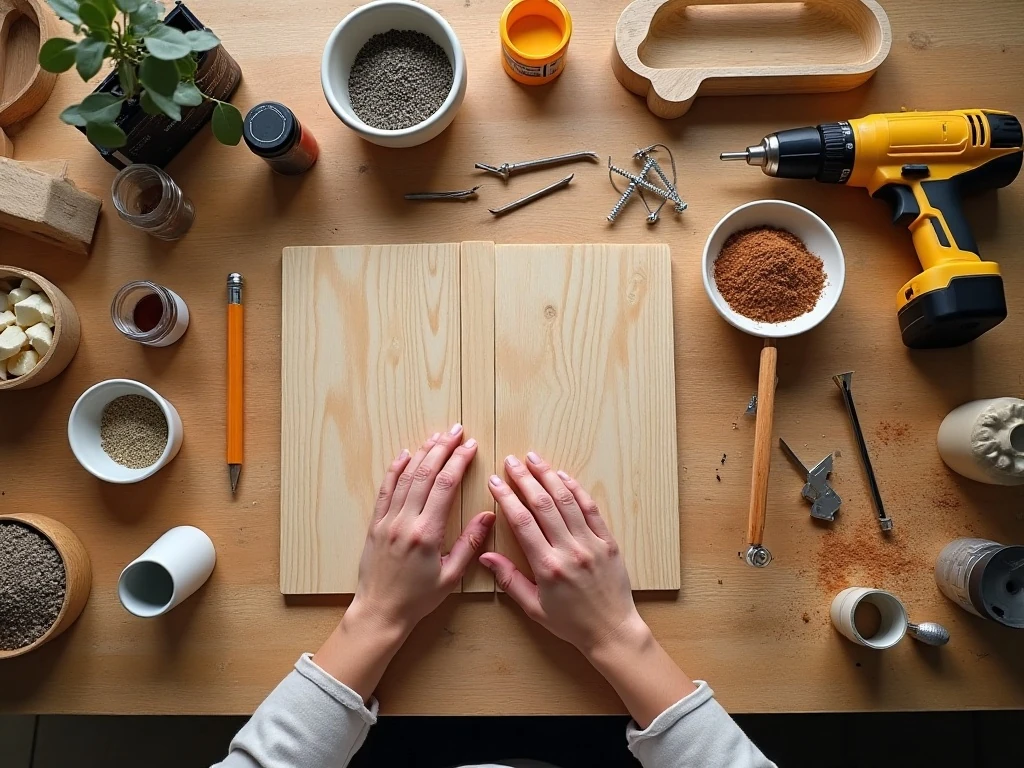
Because this project is based on scrap wood, the exact amount of lumber depends on the rack you choose to build. Gather enough boards for a back panel, shelves, and side supports, making sure each piece is straight enough for a stable assembly.
- Scrap wood boards for the back, shelves, and side supports
- Wood glue
- Small finishing nails, brad nails, or wood screws
- Sandpaper suitable for smoothing rough edges
- Wood stain, paint, or clear sealer
- Optional wall-mounting hardware, trim, labels, and small spice jars
You will also want a tape measure, pencil, square, saw, clamps, drill, and suitable drill bits. A clean, flat work surface makes measuring and dry-fitting much easier.
If you enjoy preparing a welcoming kitchen for entertaining, organize the rack beside the ingredients for cranberry brie bread or other favorite appetizers.
How to Make It Step-by-Step
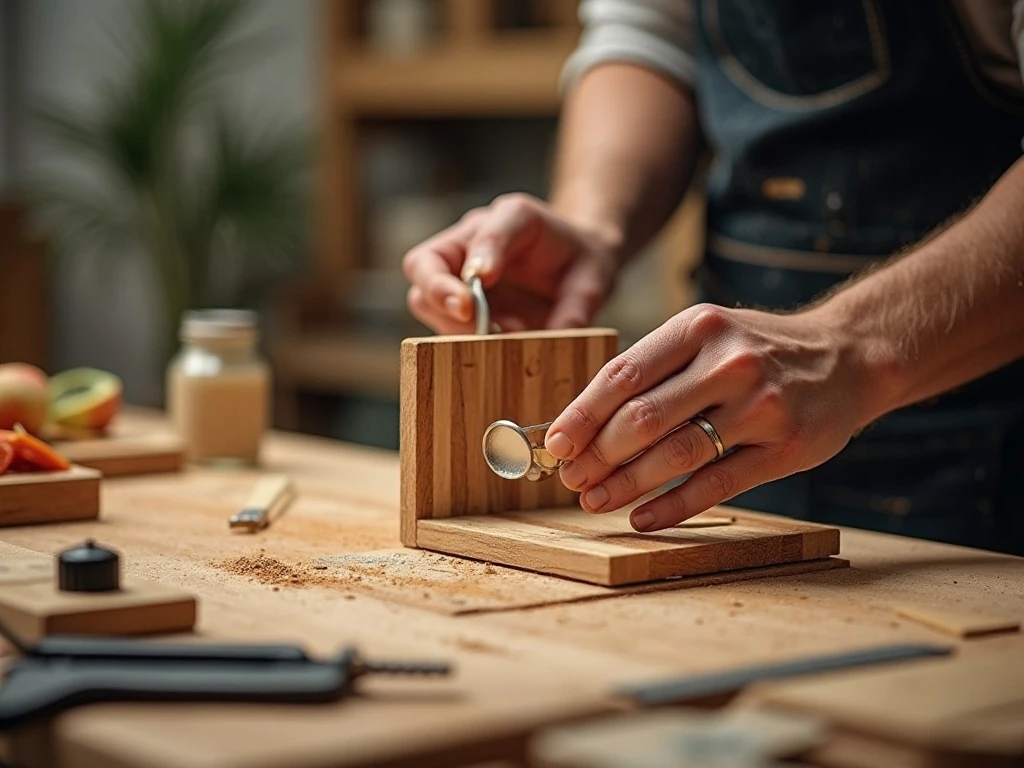
Step 1: Measure the available wall or cabinet space before cutting anything. Count the jars you want to store and note their height, width, and depth, since these measurements determine the shelf spacing and overall rack size.
Step 2: Sketch a simple front and side view of the rack. Plan enough shelf height for the tallest jar, enough depth to keep jars stable, and enough width to avoid overcrowding the labels.
Step 3: Cut the scrap wood for the back, shelves, and side supports according to your plan. Sand the exposed edges and corners until they feel smooth, paying special attention to splinters that could catch on hands or kitchen towels.
Step 4: Arrange the cut pieces on a flat surface without glue. Place the jars on or beside the shelves to verify the spacing, then use a square to check that the planned corners and supports line up properly.
Step 5: Apply a thin, even layer of wood glue to each joining surface. Clamp the pieces in position, wipe away excess glue, and check the rack for square before fastening it with brad nails, finishing nails, or small screws.
Step 6: Predrill near board edges before driving screws or nails if the wood is narrow or prone to splitting. Keep the fasteners appropriately sized so they hold the joints without poking through the front or side surfaces.
Step 7: Let the glue set as directed, then inspect the rack for gaps, raised edges, or visible holes. Fill the holes if desired and sand the entire piece again, removing dust with a clean, dry cloth.
Step 8: Apply your chosen paint, stain, or clear sealer in a well-ventilated area. Follow the product instructions and allow the finish to dry completely, which may take several hours or overnight.
Step 9: Attach suitable wall-mounting hardware to the back or install the rack according to your cabinet plan. Test the support carefully before adding jars, and distribute the weight evenly across the shelves.
Finishing and Styling Ideas
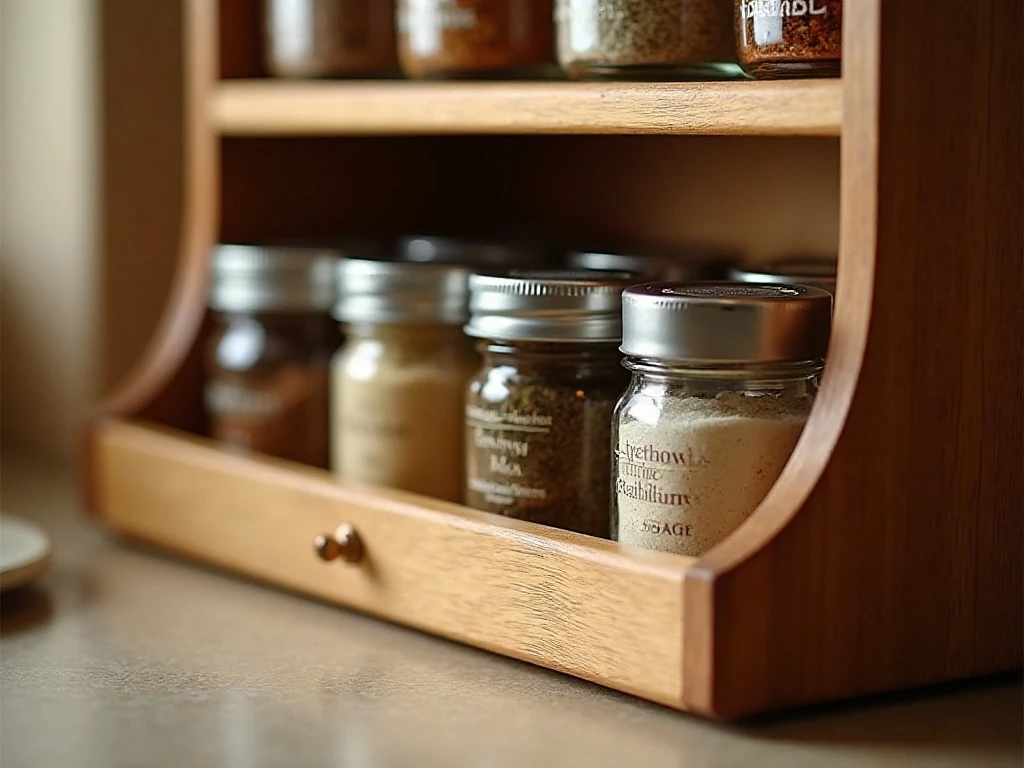
A clear sealer highlights attractive wood grain and suits a simple, natural kitchen. Stain can give mismatched boards a more coordinated appearance, while paint is a good choice when you want the rack to match cabinets, tile, or open shelving.
For a farmhouse look, lightly sand selected edges after painting so small areas of the wood show through. A narrow trim piece across the front of each shelf can add character and help keep jars from sliding forward.
Labels are optional, but they make the rack especially useful when several spices look similar. Matching jars create a clean display, although a collection of different containers can look charming when arranged by height or color.
Place the finished rack where it is easy to reach but away from direct steam and splashing water. A dry location helps protect both the wood finish and the freshness of the spices.
For another kitchen-friendly serving idea, keep the seasonings nearby when making classic bruschetta and other quick appetizers.
Smart Spice-Rack Tips
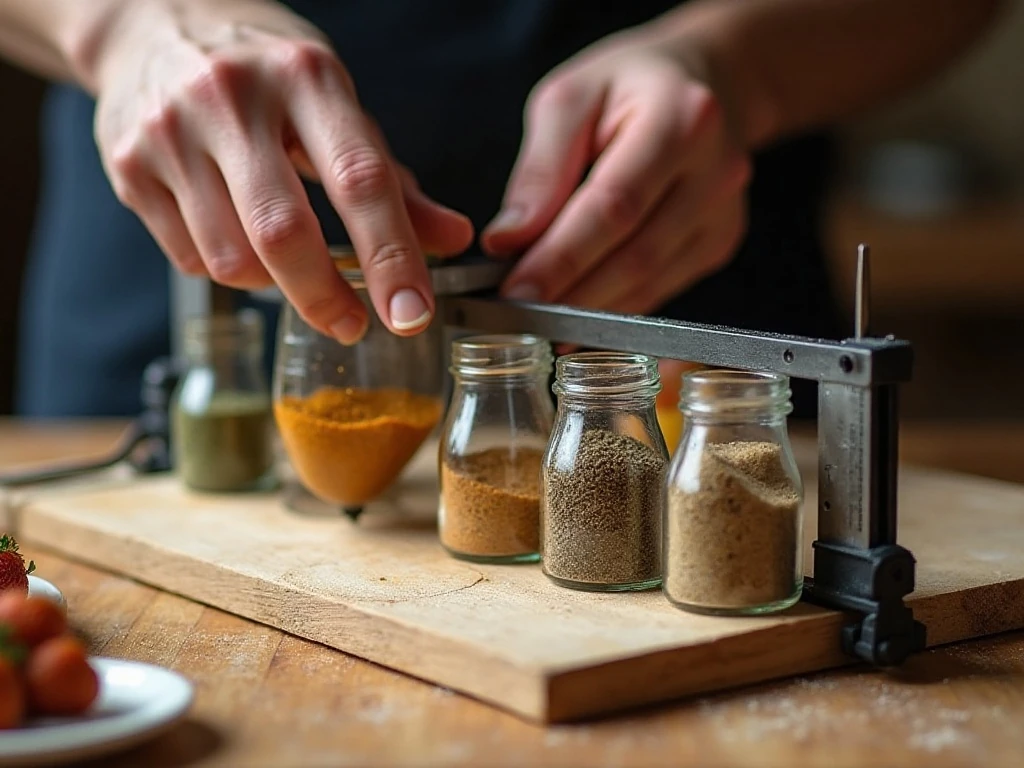
Standardize the spice jars before finalizing the design whenever possible. Their dimensions are more important than a generic plan because they determine the most practical shelf depth, spacing, and front clearance.
- Use clamps during assembly to keep the rack square while the glue sets.
- Predrill near board edges to reduce splitting.
- Sand every exposed corner, especially on a rack mounted at eye or shoulder level.
- Dry-fit all pieces and test jar placement before applying glue.
- Leave enough room to remove a jar without knocking neighboring containers over.
- Choose wall hardware based on the rack’s finished weight and the wall material.
Preparation and measuring commonly take about 20–45 minutes. Cutting, sanding, assembly, and finishing often take 2–4 hours, while paint, stain, or sealer may need several hours to overnight before the rack is ready to use.
A thoughtfully arranged rack is also handy when seasoning cranberry chicken or experimenting with a new weeknight dinner.
Care, Safety, and Long-Term Use
Keep the rack lightly dusted and wipe spills promptly with a barely damp cloth. Avoid soaking the wood, since excess moisture can damage some finishes and may loosen labels or affect unfinished edges.
Inspect the mounting hardware occasionally, especially if the rack is heavily loaded or attached to a surface that experiences vibration. Remove a few jars before checking the fasteners so you can see whether anything has shifted.
Do not place the rack directly above a hot range unless the finish and mounting location are specifically suitable for that environment. Heat, grease, and steam can shorten the life of the wood and make jars unpleasant to handle.
If you build a larger rack, distribute heavier jars across multiple shelves rather than concentrating them at one end. This keeps the piece balanced and reduces stress on the wall hardware.
For a useful pairing with a well-organized seasoning station, try baked spaghetti squash when you want a simple meal that welcomes herbs and spices.
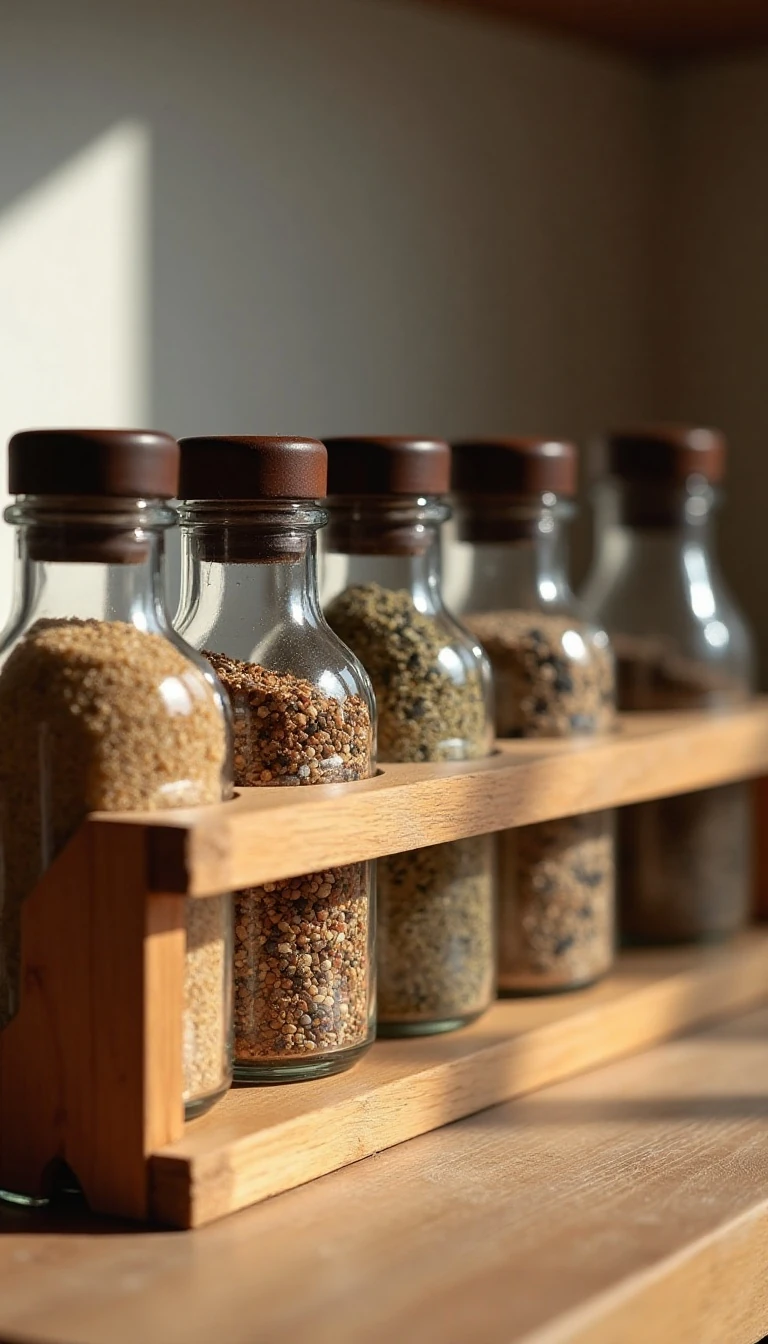
Beautiful Scrap Wood Spice Rack
Ingredients
Method
- Measure the wall or cabinet area and count the spice jars the rack must hold. Record the jar height, width, and depth before deciding how many shelves you need.
- Plan the back panel, shelves, and side supports so every jar has enough clearance. Allow practical shelf depth and spacing rather than relying on a one-size-fits-all measurement.
- Cut the scrap wood to your planned dimensions and sand every exposed edge smooth. Dry-fit all pieces on a flat surface to confirm the rack is square and the jars fit comfortably.
- Apply wood glue to the joining surfaces, position the shelves and supports, and clamp the assembly. Fasten the joints with brad nails, finishing nails, or small screws, predrilling near edges when needed to reduce splitting.
- Fill visible nail or screw holes if you want a polished appearance, then sand the rack again. Remove all dust before applying any finish.
- Apply paint, stain, or clear sealer according to the product directions. Allow the finish to dry completely, commonly for several hours or overnight, before handling the rack.
- Install suitable wall-mounting hardware and check that the rack is securely supported. Load the spice jars only after confirming that the mounting points can safely carry the finished rack.
Notes
Final Thoughts
Making a beautiful spice rack from scrap wood is a practical weekend project with plenty of room for creativity. The key is to measure your jars first, plan the shelf spacing carefully, dry-fit every piece, and build on a flat surface so the finished rack stays square.
There is no single ingredient list or fixed dimension for this project because every scrap pile, kitchen, and spice collection is different. Use the general material list and time estimates as a starting point, then adapt the design to your available boards and mounting location.
With smooth edges, a durable finish, and secure wall hardware, a simple collection of leftover wood can become attractive everyday storage. Once it is installed, your favorite seasonings will be visible, accessible, and ready for the next meal.