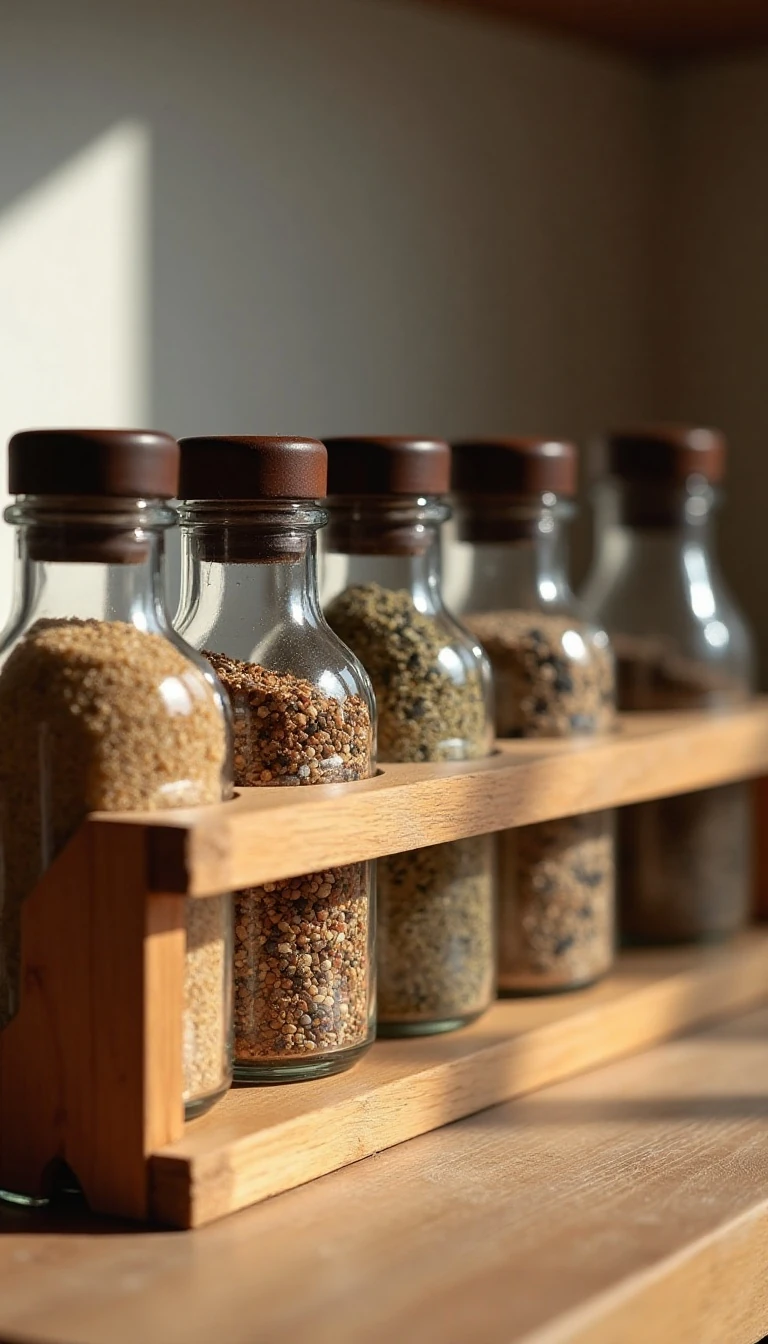
Ingredients
Method
Step-by-Step
- Measure the wall or cabinet area and count the spice jars the rack must hold. Record the jar height, width, and depth before deciding how many shelves you need.
- Plan the back panel, shelves, and side supports so every jar has enough clearance. Allow practical shelf depth and spacing rather than relying on a one-size-fits-all measurement.
- Cut the scrap wood to your planned dimensions and sand every exposed edge smooth. Dry-fit all pieces on a flat surface to confirm the rack is square and the jars fit comfortably.
- Apply wood glue to the joining surfaces, position the shelves and supports, and clamp the assembly. Fasten the joints with brad nails, finishing nails, or small screws, predrilling near edges when needed to reduce splitting.
- Fill visible nail or screw holes if you want a polished appearance, then sand the rack again. Remove all dust before applying any finish.
- Apply paint, stain, or clear sealer according to the product directions. Allow the finish to dry completely, commonly for several hours or overnight, before handling the rack.
- Install suitable wall-mounting hardware and check that the rack is securely supported. Load the spice jars only after confirming that the mounting points can safely carry the finished rack.
Notes
Exact dimensions, material quantities, and project times depend on the particular rack design. Standardize the spice jars first, use clamps during assembly, predrill close to board edges, and never load the rack until the finish and wall installation are fully secure.