This easy apple pie recipe with store-bought crust makes a classic 9-inch double-crust pie with very little fuss. You will need two refrigerated pie crusts, six medium baking apples, sugar, flour, cinnamon, lemon juice, butter, and a simple egg wash; prep takes about 25–30 minutes, baking takes 55–65 minutes, and the pie needs at least 2 hours to cool before slicing.
The finished pie has a crisp, golden crust and a warmly spiced apple filling that tastes both buttery and fresh. A mixture of firm tart and sweet apples keeps each bite flavorful and pleasantly textured, while the flour thickens the juices into a spoonable filling that sets beautifully as the pie cools.
Jump to RecipeWhy You’ll Love This Recipe
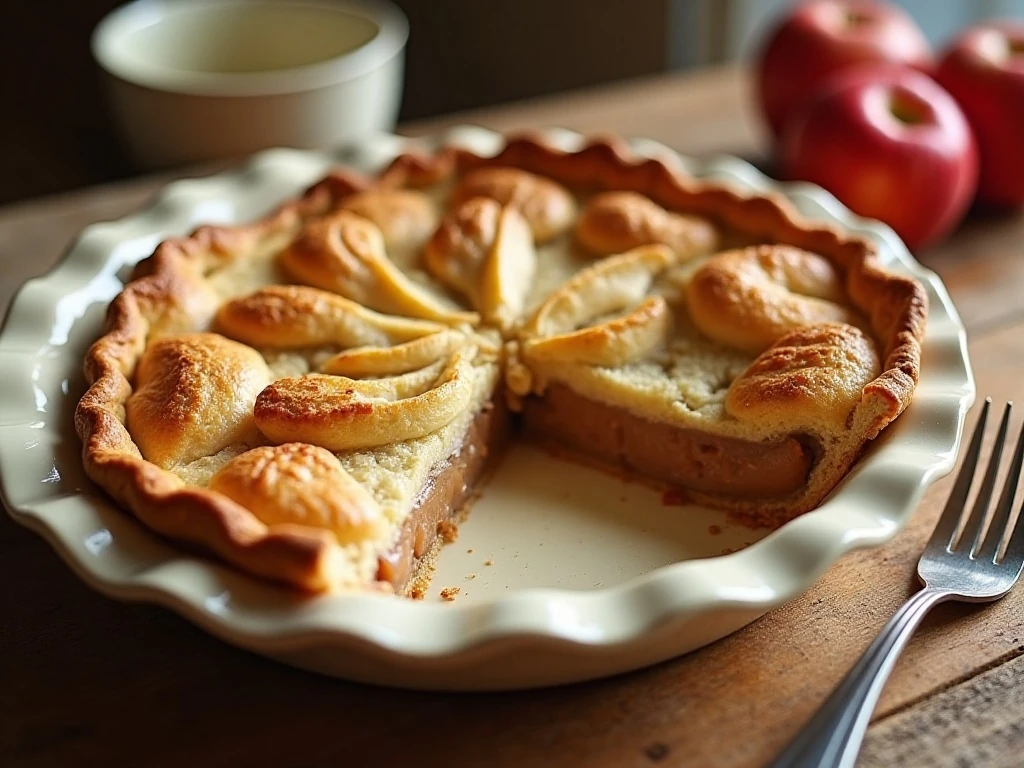
Homemade apple pie does not require homemade pastry to taste special. Refrigerated crusts provide a dependable foundation, allowing you to spend your time choosing good apples, seasoning the filling, and shaping a pretty top crust.
This recipe follows the familiar proportions used in classic American apple pies: six medium apples, 3/4 cup sugar, a modest amount of flour, cinnamon, lemon juice, and butter. The balance gives you a filling that is sweet but not flat, fragrant without being overpowering, and thick enough to hold together after cooling.
The two-temperature baking method is especially useful. Starting at 425°F helps the bottom and top crust begin browning, while lowering the oven to 375°F gives the apples time to soften and the juices time to bubble without burning the pastry.
For a complete comfort-food menu, serve this pie after a savory dinner such as easy baked chicken tacos. The bright apple filling makes a refreshing finish after a warm, flavorful main course.
Ingredients You’ll Need
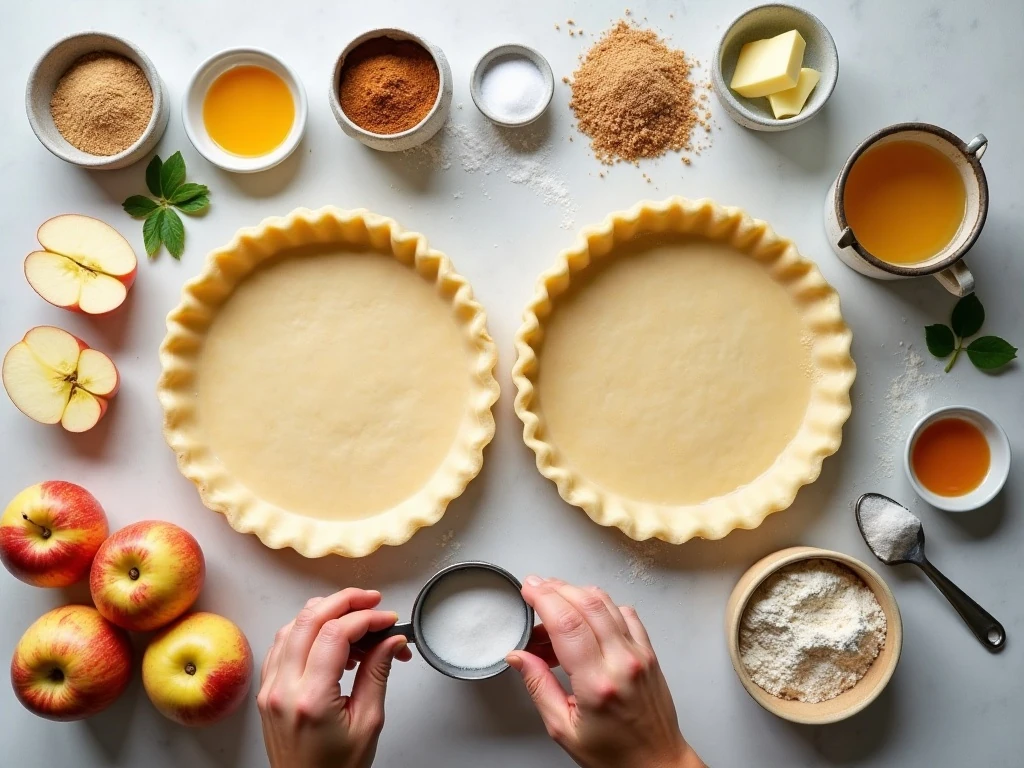
Begin with two refrigerated 9-inch pie crusts from one package, usually about 14–16 ounces total. Let the crust you are using soften according to its package directions if needed, but keep the second crust cold until the filling is ready.
Choose six medium baking apples, totaling about 2 1/2 pounds before preparation. Granny Smith brings tartness, Honeycrisp contributes crisp sweetness, Braeburn offers a balanced flavor, and Golden Delicious gives the filling a mellow honeyed note.
- 3/4 cup granulated sugar sweetens the fruit and draws out flavorful juices.
- 2 tablespoons all-purpose flour thicken the juices as the pie bakes.
- 3/4 teaspoon ground cinnamon provides the familiar apple-pie aroma.
- 1/4 teaspoon salt keeps the sweetness balanced.
- 1 tablespoon lemon juice adds freshness and helps prevent the sliced apples from tasting dull.
- 1 tablespoon unsalted butter adds richness beneath the top crust.
- One egg beaten with 1 tablespoon water creates a glossy golden finish.
- One tablespoon coarse sugar is optional but adds sparkle and a light crunch.
For the most interesting texture, combine a firm tart apple with a firm sweet apple instead of using only one variety. Avoid making the entire pie with very soft apples, since they can break down too much and leave the filling watery or mushy.
How to Make It Step-by-Step
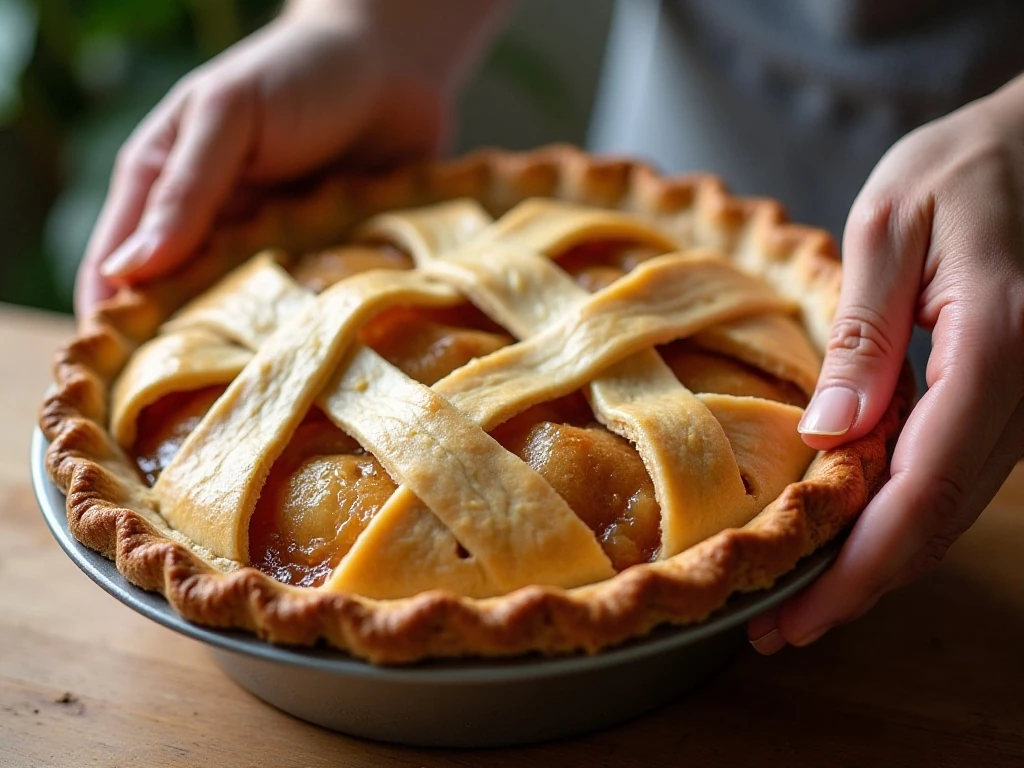
Step 1: Heat the oven to 425°F so it is fully ready before the pie goes in. Place one refrigerated crust in a 9-inch pie plate, pressing it gently into the bottom and sides without stretching the dough.
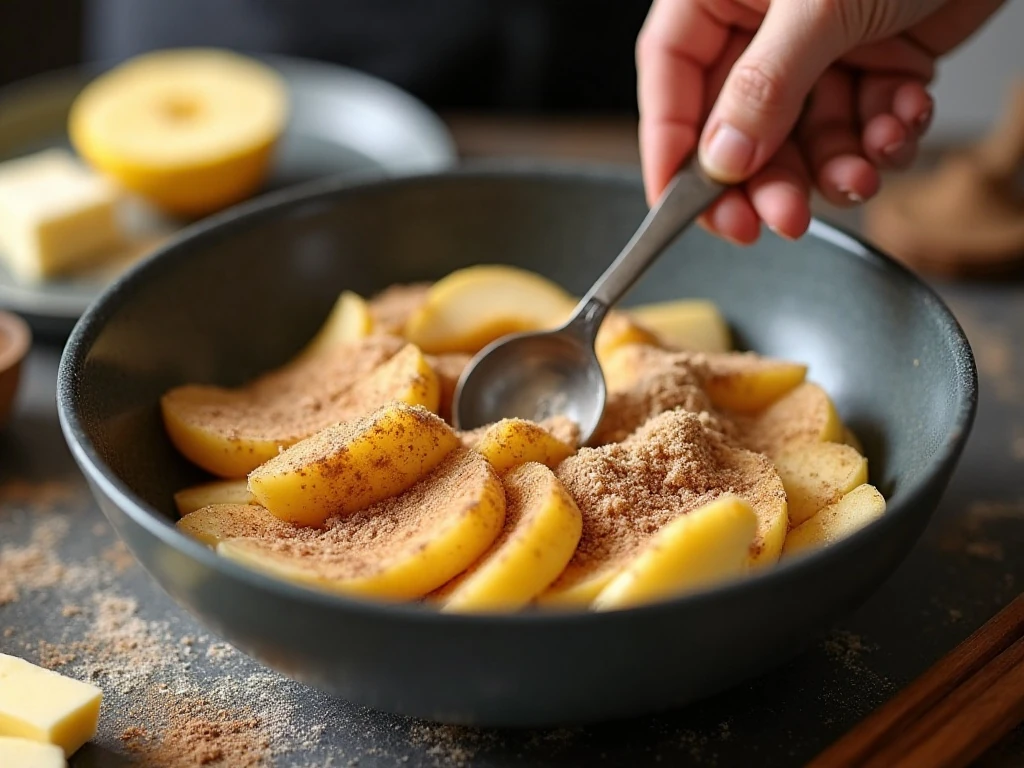
Step 2: Peel, core, and thinly slice the apples so they cook at a similar rate. Add them to a large bowl with the sugar, flour, cinnamon, salt, and lemon juice, then toss carefully until the flour and spices cling evenly to the fruit.
Step 3: Let the apple mixture stand for about 5 minutes. This short pause allows the sugar to begin drawing out juice and gives the flour a chance to coat the liquid, which helps it thicken during baking.
Step 4: Pour the apples into the bottom crust along with any juices collected in the bowl. Arrange the apple slices into an even mound, then dot the surface with the small pieces of butter so they melt into the filling.
Step 5: Remove the second crust from the refrigerator and lay it over the apples. Trim away excess dough, press the edges together, and crimp them with your fingers or a fork to create a sealed border.
Step 6: Cut 4–6 vents in the top crust. These openings let steam escape and make it easier to see when the fruit juices are actively bubbling, which is the best indication that the filling has thickened.
Step 7: Beat the egg with 1 tablespoon water until blended, then brush it over the top crust, avoiding puddles around the vents. Sprinkle with coarse sugar if you want a lightly crisp, sparkling finish.
Step 8: Bake at 425°F for 15–20 minutes. Reduce the temperature to 375°F and bake for another 35–45 minutes, watching for a deeply golden crust and filling that visibly bubbles through the vents.
Step 9: If the rim becomes brown before the center is done, cover the edges loosely with aluminum foil. Move the finished pie to a cooling rack and wait at least 2 hours before slicing.
Pro Tips for a Crisp, Thick Filling
Slice the apples thinly and consistently, but do not cut them paper-thin. Slices that are too thin can dissolve into the juices, while thicker irregular pieces may remain firm when the crust is already finished.
Do not judge doneness by crust color alone. The filling must be actively bubbling through the vents because bubbling shows that the juices have become hot enough for the flour to thicken them.
Do not skip the cooling period. Apple pie continues to settle as it cools, and cutting too soon can release the juices onto the plate instead of leaving them suspended around the tender fruit.
If your apples vary in size, weigh them when possible so the filling remains close to the intended 2 1/2 pounds. A mixture of tart and sweet apples also helps the pie taste rounded without requiring extra sugar.
For a different spice profile, add 1/4 teaspoon ground nutmeg or 1 teaspoon vanilla to the apple mixture. You can also replace 1 tablespoon of the flour with cornstarch for a slightly glossier filling.
For a simpler finish, omit the egg wash and brush the top crust with milk before adding the coarse sugar. The crust may have a softer shine, but it will still brown attractively.
Serving, Storage, and Reheating
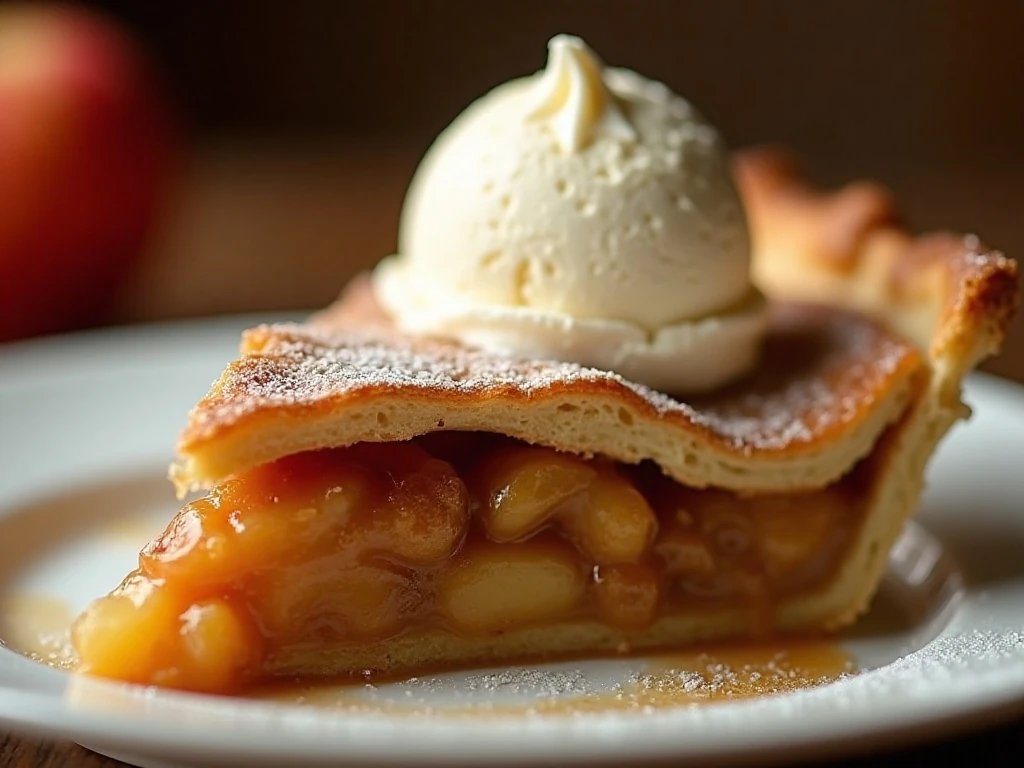
Once the pie has cooled for at least 2 hours, slice it with a sharp knife and serve it at room temperature or slightly warm. Vanilla ice cream, lightly sweetened whipped cream, or a spoonful of plain yogurt all pair well with the cinnamon apples.
Store leftover pie covered at room temperature for a short period or refrigerate it for longer storage. Chilling firms the filling and crust, so let individual slices sit briefly before serving if you prefer a softer texture.
To reheat a slice, place it in a warm oven until the filling is heated through and the crust feels crisp again. Avoid overheating, since very high heat can make the filling runny and the pastry too dark.
If you are planning a larger meal, this dessert can follow a light seafood entrée such as garlic butter shrimp with asparagus. The pie can be baked earlier in the day, giving it plenty of time to cool and set before dessert.
Common Questions About Easy Apple Pie
Can I use one type of apple? Yes, but a combination usually gives better flavor and texture. If you use one variety, choose a firm baking apple rather than a soft apple that breaks down quickly.
Why is my pie filling watery? The pie may have been sliced before it cooled fully, or it may not have baked until the filling bubbled. Both the flour and the cooling time are important for a filling that holds together.
Should I peel the apples? Peeling is recommended for this recipe because it creates a softer, more uniform filling. The apple skins can remain chewy and may prevent the slices from blending smoothly.
Can I skip the egg wash? Yes. Brush the top with milk instead, then sprinkle with coarse sugar if desired. The egg wash simply provides a shinier, richer golden color.
How many vents should I cut? Cut 4–6 vents in the top crust. They provide enough room for steam to escape while making the bubbling filling visible as the pie finishes.
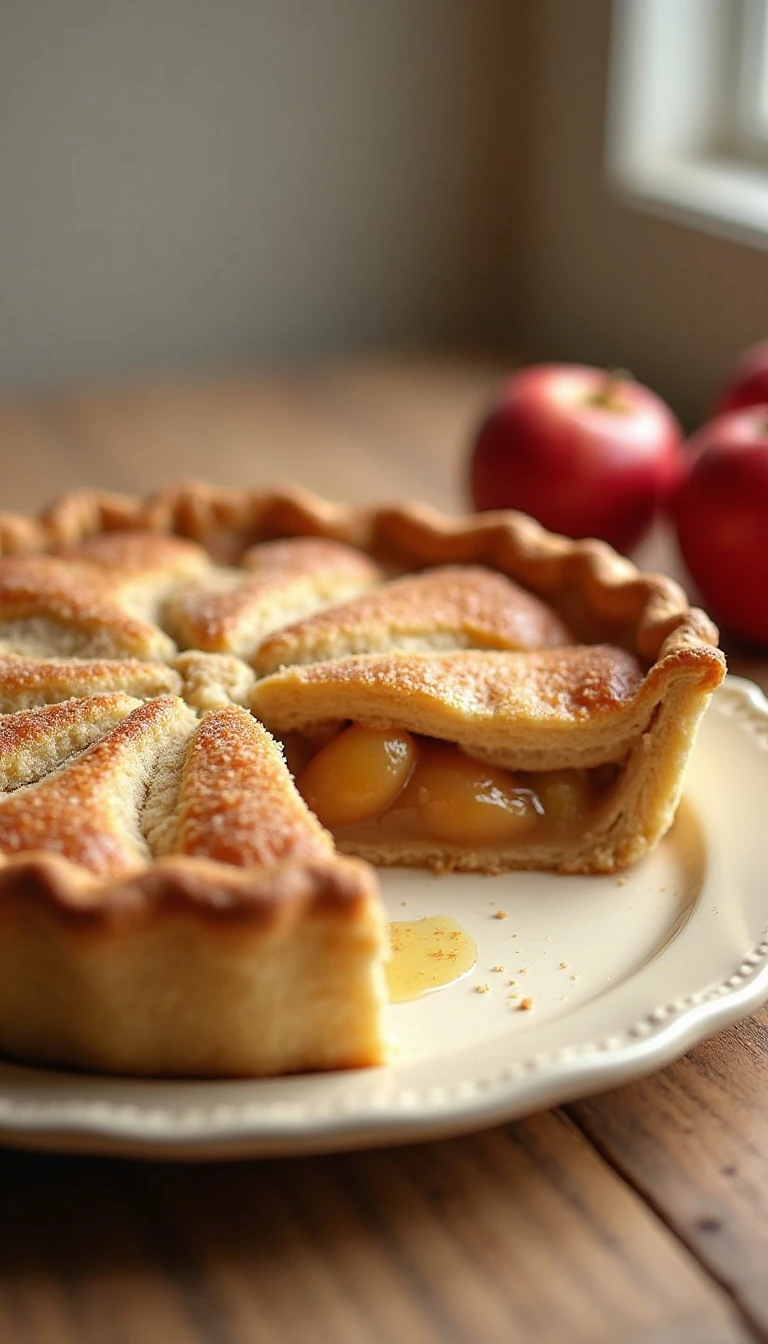
Easy Apple Pie Recipe (With Store-Bought Crust)
Ingredients
Method
- Heat the oven to 425°F. Place one refrigerated crust in a 9-inch pie plate and gently press it across the bottom and up the sides. Keep the second crust refrigerated until you are ready to cover the filling.
- In a large bowl, combine the peeled, cored, thinly sliced apples with the sugar, flour, cinnamon, salt, and lemon juice. Toss until every apple slice is evenly coated, then let the mixture stand for about 5 minutes.
- Pour the apples and any juices that have collected in the bowl into the bottom crust. Spread the apples into an even mound and arrange the small butter pieces over the top.
- Cover the filling with the second crust. Trim excess dough, crimp the edges to seal, and cut 4–6 vents in the top crust so steam can escape.
- Beat the egg with the water and brush the mixture over the top crust. Sprinkle with coarse sugar, if using.
- Bake at 425°F for 15–20 minutes. Reduce the oven temperature to 375°F and continue baking for another 35–45 minutes, until the crust is golden brown and the filling is visibly bubbling through the vents.
- If the edges brown too quickly, cover them loosely with aluminum foil while the center finishes baking. Transfer the pie to a rack and cool for at least 2 hours before slicing so the filling can set.
Notes
Final Thoughts
This easy apple pie recipe proves that store-bought crust can still produce a dessert with the warmth and aroma of a traditional homemade pie. The key details are simple: use a firm blend of tart and sweet apples, coat them evenly with the flour and spices, bake until the filling bubbles, and allow the pie to cool completely.
After the first slice, the golden crust, buttery apple juices, and cinnamon-scented fruit make the small amount of preparation feel completely worthwhile. Save this dependable recipe for holidays, family dinners, or any evening when a classic dessert is in order.
1 thought on “Easy Apple Pie Recipe With Store-Bought Crust”