This Spooky and Delicious Halloween Brownies Recipe makes about 24 rich, fudgy brownies in a 9 x 13-inch pan. The scratch brownie batter comes together in about 15 to 20 minutes, bakes at 350°F (175°C) for 25 to 32 minutes, and is finished with white chocolate ghosts or spiderwebs, dark chocolate details, candy eyes, and colorful sprinkles.
Each brownie has a deep cocoa flavor, chewy edges, a soft center, and pockets of semisweet chocolate chips. They are easy enough for a weeknight baking project and festive enough for a Halloween party, school celebration, movie night, or spooky dessert table.
Jump to RecipeWhy You’ll Love This Recipe
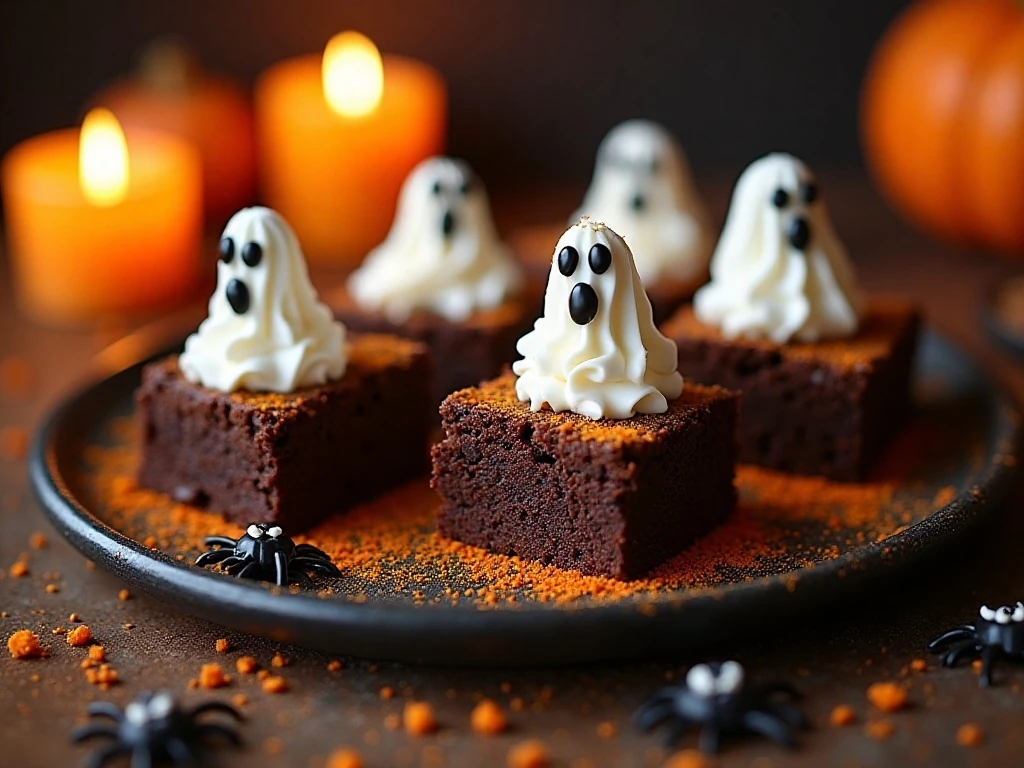
These Halloween brownies bring together everything a great party dessert needs: dependable ingredients, simple preparation, and a decoration that makes everyone smile. The brownie base is made from pantry staples, so there is no need to search for unusual ingredients or prepare a complicated frosting.
The texture is the main attraction. Melted butter, sugar, eggs, cocoa powder, and chocolate chips create a dense, moist brownie with a glossy, chocolate-rich bite. The center stays fudgy when the pan is removed at the right moment, while the edges develop a pleasant chew.
The decorations can be as simple or elaborate as you like. A few candy eyes turn ordinary squares into little monsters, while piped white chocolate spiderwebs and ghosts make the tray look ready for a Halloween gathering.
If you are planning a full holiday spread, pair these brownies with our no-bake chocolate Halloween bars for another easy chocolate treat. The two desserts can be prepared ahead and arranged together on one colorful platter.
Ingredients You’ll Need
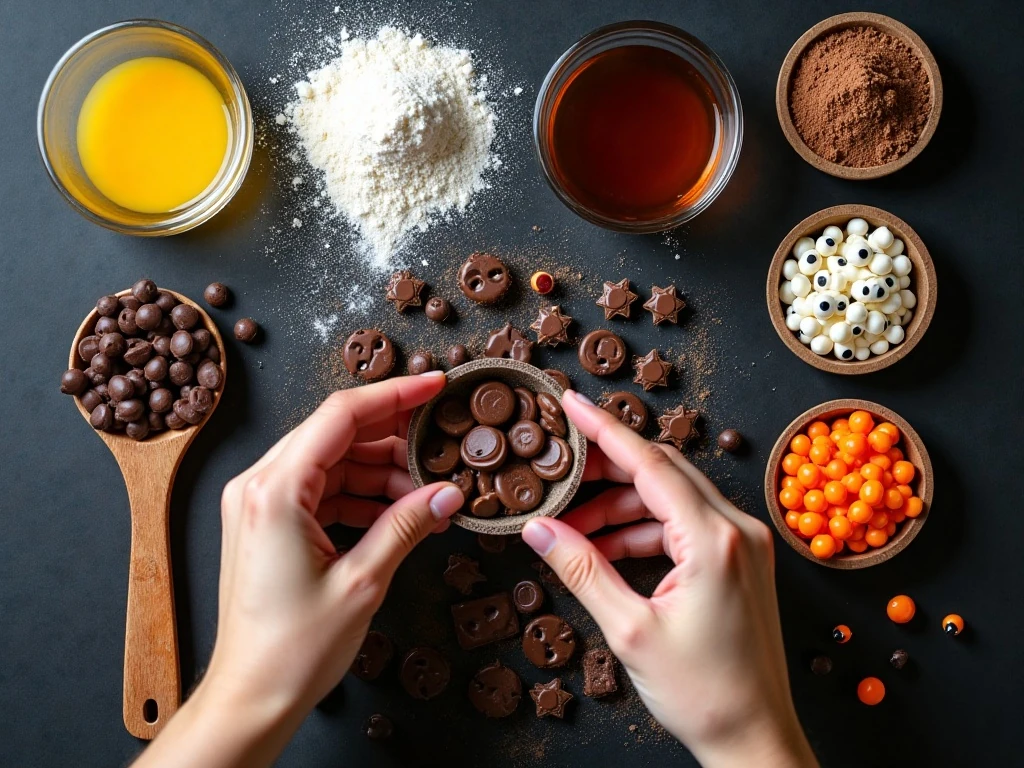
The brownie batter uses a short list of familiar ingredients, but measuring them accurately helps protect the fudgy texture. Melt the butter before beginning and allow it to cool slightly so it combines smoothly with the eggs without being excessively hot.
- Butter and sugar: One cup of melted unsalted butter and two cups of granulated sugar provide richness, sweetness, and moisture.
- Eggs and vanilla: Four large eggs give the brownies structure, while two teaspoons of vanilla round out the cocoa flavor.
- Dry ingredients: All-purpose flour, unsweetened cocoa powder, baking powder, and fine salt create the brownie framework without making it too cakey.
- Chocolate chips: One cup of semisweet chips is optional, but it adds soft chocolate pockets throughout the slab.
- Decorations: White chocolate chips or candy melts make the ghosts and webs, while dark chocolate creates faces and web lines.
- Finishing touches: Candy eyeballs and orange or black sprinkles add color, contrast, and a playful Halloween look.
Candy melts are often the most forgiving choice for piping because they set reliably and do not require tempering. If using white chocolate, melt it gently and stir often so it stays smooth.
How to Make It Step-by-Step
Step 1: Heat the oven to 350°F (175°C) and prepare the pan before mixing the batter. Line a 9 x 13-inch (23 x 33 cm) baking pan with parchment paper, leaving paper overhang on two sides so the finished brownie slab can be lifted out easily.
Step 2: Place the melted butter and granulated sugar in a large mixing bowl and whisk them together. Add the eggs and vanilla extract, then continue whisking until the mixture is smooth, cohesive, and slightly glossy.
Step 3: In a second bowl, stir together the all-purpose flour, unsweetened cocoa powder, baking powder, and fine salt. Breaking up cocoa lumps now helps the dry mixture blend into the wet ingredients evenly.
Step 4: Add the dry mixture to the butter mixture and fold with a spatula just until combined. Stop as soon as the flour disappears, because excessive mixing can make the brownies less tender and more cakey.
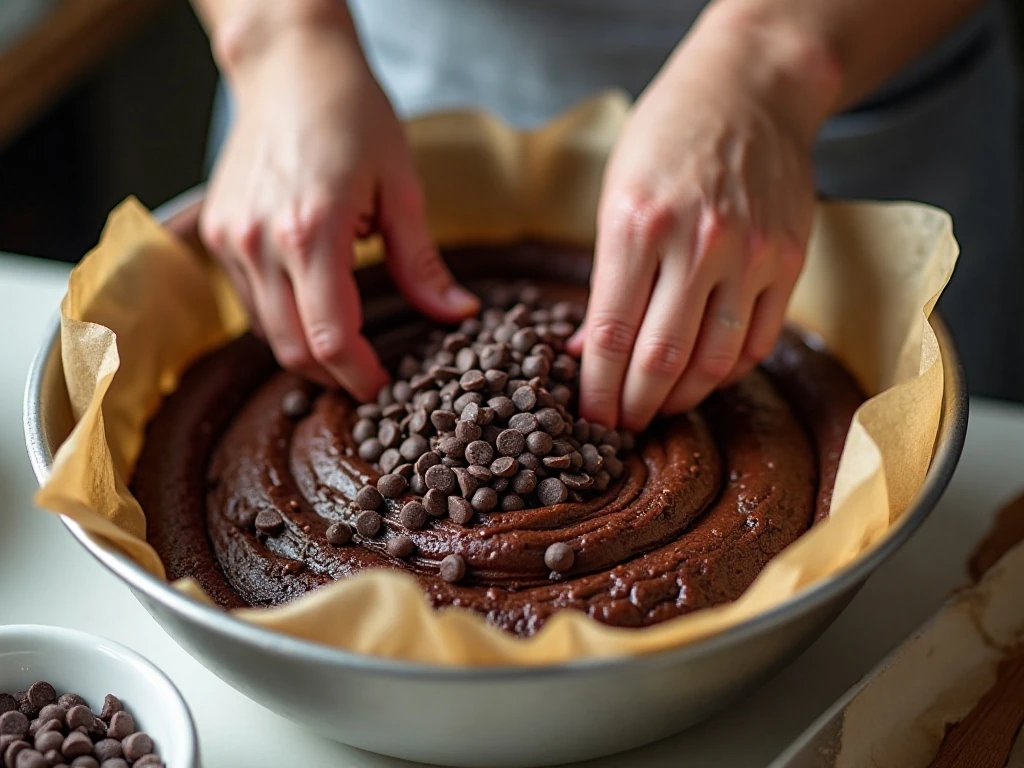
Step 5: Stir in the semisweet chocolate chips if you are using them. Scrape the batter into the parchment-lined pan and spread it into an even layer, paying special attention to the corners.
Step 6: Bake for 25 to 32 minutes. Begin checking near the shorter end of the range, and look for a center that is set but still moist; a toothpick should show a few damp crumbs, not wet batter or a completely dry crumb.
Step 7: Place the pan on a cooling rack and let the brownies cool completely. For especially neat cuts, refrigerate the cooled brownies for 30 minutes before adding decorations or slicing.
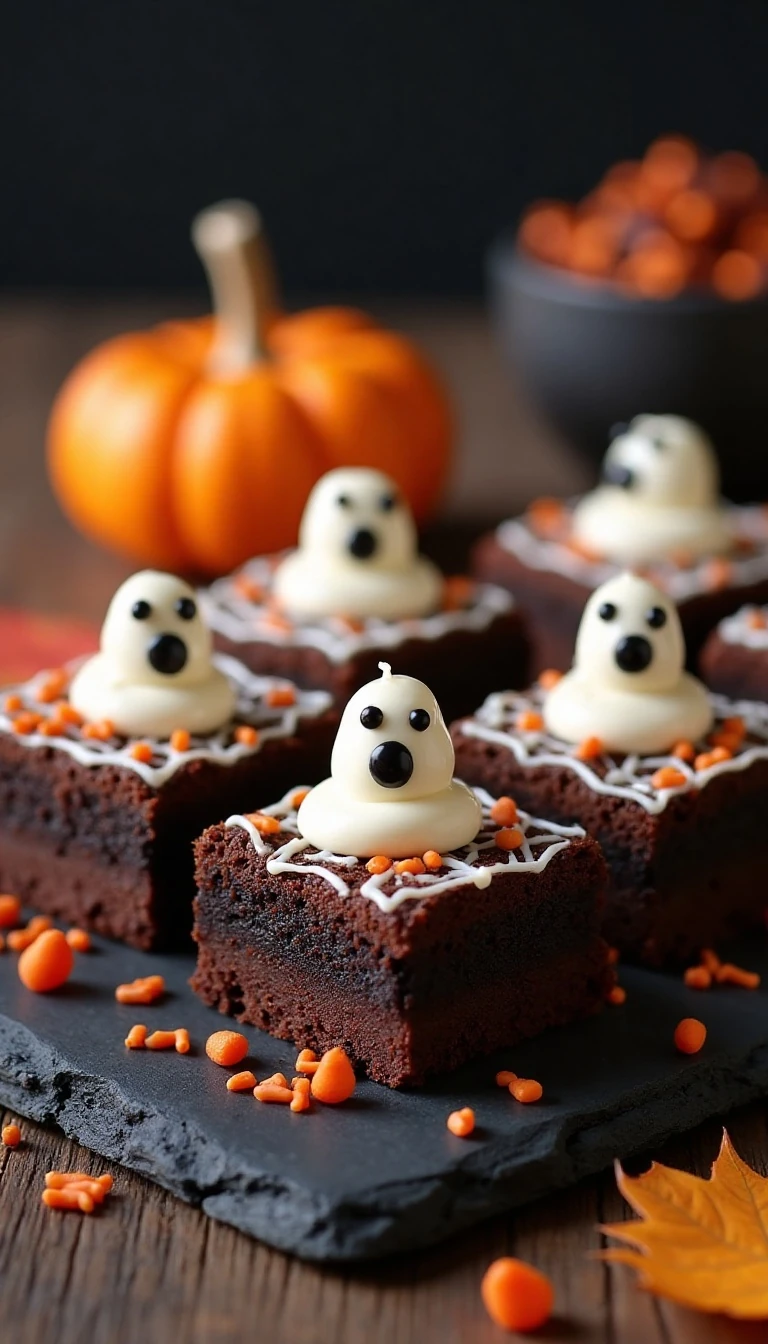
Step 8: Melt the white chocolate or candy melts and transfer the coating to a piping bag, squeeze bottle, or small zip-top bag with the corner snipped. Pipe ghost shapes, spiderwebs, zigzags, or a thin decorative layer across the brownie surface.
Step 9: Melt the semisweet or dark chocolate and pipe small ghost faces, spiderweb lines, or curly accents over the white coating. Add candy eyes and sprinkles immediately while the coating is soft, then wait for the designs to set.
Step 10: Lift the brownie slab from the pan using the parchment overhang and cut it into about 24 squares. For polished edges, use a sharp knife and wipe the blade clean after each cut.
Decorating Ideas for a Spooky Dessert
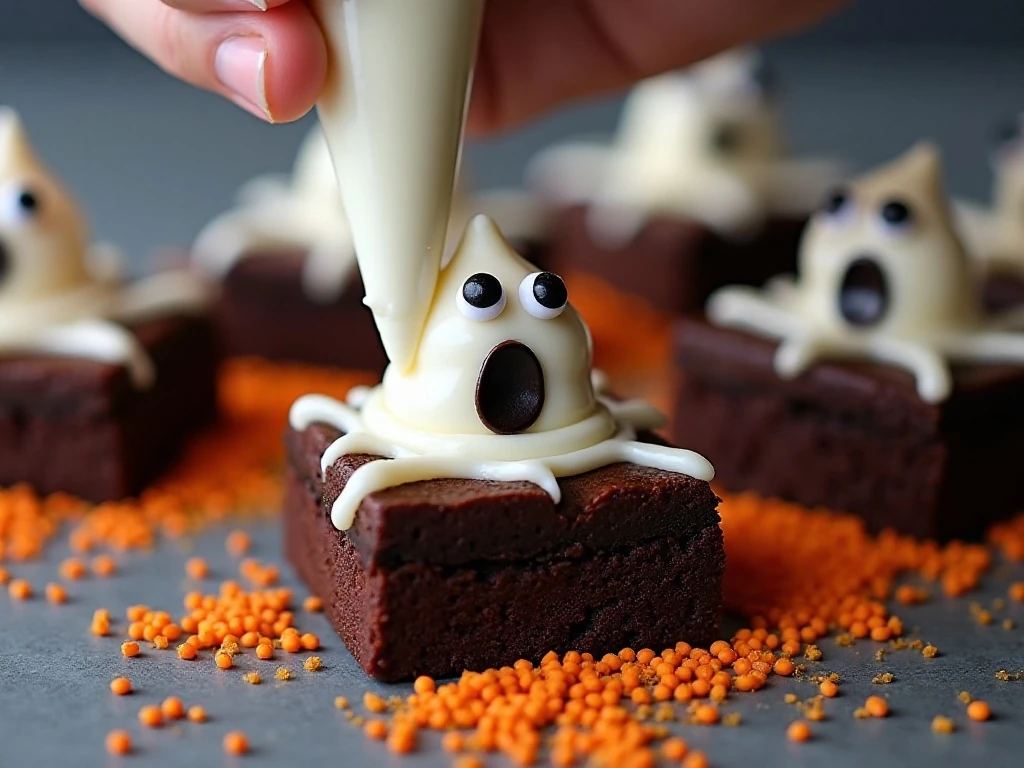
For ghost brownies, pipe a rounded white shape with a wavy lower edge, then add two dark chocolate eyes and a tiny mouth. The shapes do not need to be identical; slight differences make each ghost look more charming.
Spiderweb brownies are even faster. Pipe several thin white circles or curved rings on each square, then drag a toothpick from the center outward at regular intervals to create web lines before the coating sets.
You can also spread a thin white layer over the entire brownie slab and pipe dark chocolate zigzags across it. A toothpick pulled through the lines creates a marbled web pattern that looks dramatic when cut into squares.
Use orange and black sprinkles sparingly so the chocolate designs remain visible. If children are decorating, set out the cooled brownies, melted coatings, candy eyes, and sprinkles separately so everyone can create their own little monster.
For another party-friendly savory idea, serve these sweets alongside our taco hot dogs. The contrast between the spicy, hearty snack and the rich chocolate dessert makes a fun Halloween buffet.
Pro Tips for Fudgy Brownies
The most important tip is to avoid overbaking. Brownies continue to firm as they cool, so taking them out when the center is set but still moist gives you the soft texture this recipe is meant to have.
- Measure carefully: Too much flour can make the brownies dry, so use the listed cup or gram measurements and avoid packing flour into the measuring cup.
- Fold gently: Mix only until the dry ingredients are incorporated. A few strokes after the flour disappears are usually enough.
- Watch the center: A few damp crumbs on the toothpick are ideal. Wet batter means the brownies need more time, while a totally clean toothpick may indicate they have gone too far.
- Cool before decorating: Warm brownies can soften melted chocolate and make the designs slide or lose their shape.
- Chill for clean cuts: Thirty minutes in the refrigerator firms the slab and makes sharp, tidy squares much easier.
- Pipe with control: If the coating seems too thick, let it cool slightly less before piping; if it is too runny, wait briefly and stir again.
Do not worry if the first few decorations are imperfect. Halloween designs are wonderfully forgiving, and a few extra sprinkles or candy eyes can turn a small piping mistake into part of the character.
Storage, Serving, and Make-Ahead Advice
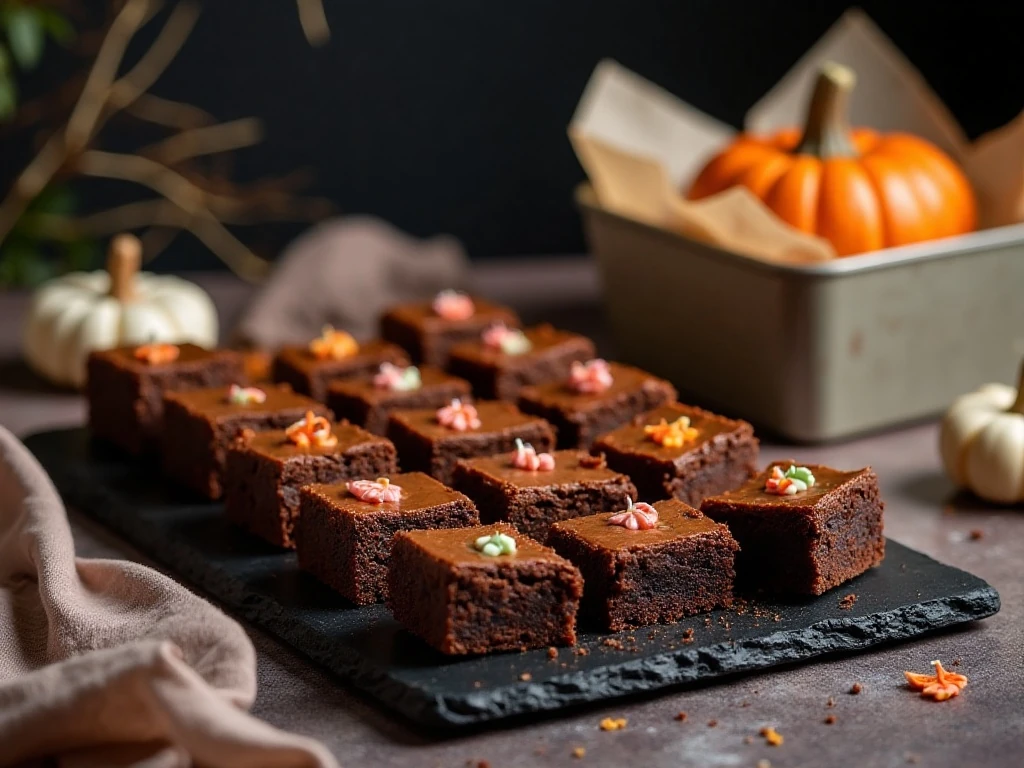
Once the decorations have set, store the brownies in a tightly covered container at room temperature for several days. Place parchment between layers if you stack them, especially when using raised candy eyes or thick chocolate designs.
Refrigeration gives the brownies a firmer, chewier texture and can help preserve the decoration in a warm kitchen. Let refrigerated brownies sit briefly before serving if you prefer a softer bite.
For the neatest party presentation, decorate and chill the slab before cutting. Arrange the finished squares on a black, orange, or white platter, and add a few unwrapped candy eyes or Halloween sprinkles around the edges for a festive display.
If you prefer a shortcut, use one 18 to 19-ounce (510 to 539 g) package of fudge brownie mix. Add the eggs, oil, and water listed on that specific package, bake according to its directions—usually at 350°F (175°C) for about 25 to 30 minutes in a 9 x 13-inch pan—and decorate using the same melted coatings and candy toppings.
For more inspiration, you can also browse our classic Halloween brownie idea when planning different shapes and finishing styles for your dessert table.
Spooky and Delicious Halloween Brownies Recipe
Ingredients
Method
- Heat the oven to 350°F (175°C). Line a 9 x 13-inch (23 x 33 cm) baking pan with parchment paper, leaving enough overhang to lift out the cooled brownies.
- Whisk the melted butter and granulated sugar together in a large bowl. Add the eggs and vanilla extract, then whisk until the mixture looks smooth and evenly combined.
- In a separate bowl, combine the flour, unsweetened cocoa powder, baking powder, and fine salt. Add the dry ingredients to the butter mixture and fold just until no dry streaks remain.
- Stir in the semisweet chocolate chips if using, taking care not to overmix the batter. Spread the batter evenly into the prepared pan.
- Bake for 25 to 32 minutes, until the center is set but still moist. A toothpick inserted in the center should come out with a few damp crumbs rather than wet batter.
- Cool the brownies completely in the pan. For cleaner cuts and easier decorating, refrigerate them for 30 minutes once cooled.
- Melt the white chocolate or candy melts and pipe ghost shapes, spiderwebs, zigzags, or a thin frosting-style layer over the brownies. Melt the dark chocolate and pipe web lines or ghost faces.
- Add candy eyes and orange or black sprinkles while the coating is still soft. Let the decoration set, then lift the brownie slab from the pan and cut it into squares or Halloween shapes.
Notes
Final Thoughts
This Spooky and Delicious Halloween Brownies Recipe is a reliable way to make a festive dessert without sacrificing the deep, fudgy chocolate texture everyone loves. The scratch batter is straightforward, the decorations are flexible, and the finished brownies are easy to portion for a crowd.
Make the brownies a day ahead, chill them for clean cutting, and add the candy eyes and sprinkles while the chocolate coating is still soft. Whether you choose friendly ghosts, intricate webs, or simple monster squares, these treats are sure to disappear before the Halloween movie ends.