This spooky and delicious Halloween brownies recipe makes 12 rich, fudgy brownies with dark chocolate, butter, cocoa powder, and golden caster sugar. The batter takes about 20 minutes to prepare, bakes in approximately 25 minutes, and becomes a festive Halloween dessert after cooling and decorating with white chocolate spiderwebs, candy eyes, or Halloween sprinkles.
Every bite has a deep chocolate flavor, slightly crisp edges, and a soft center that stays wonderfully moist without becoming underbaked. The spiderweb topping looks impressive but is simple to create, making these brownies ideal for Halloween parties, school celebrations, autumn bake sales, or a cozy night of spooky films.
Jump to RecipeWhy You’ll Love This Recipe
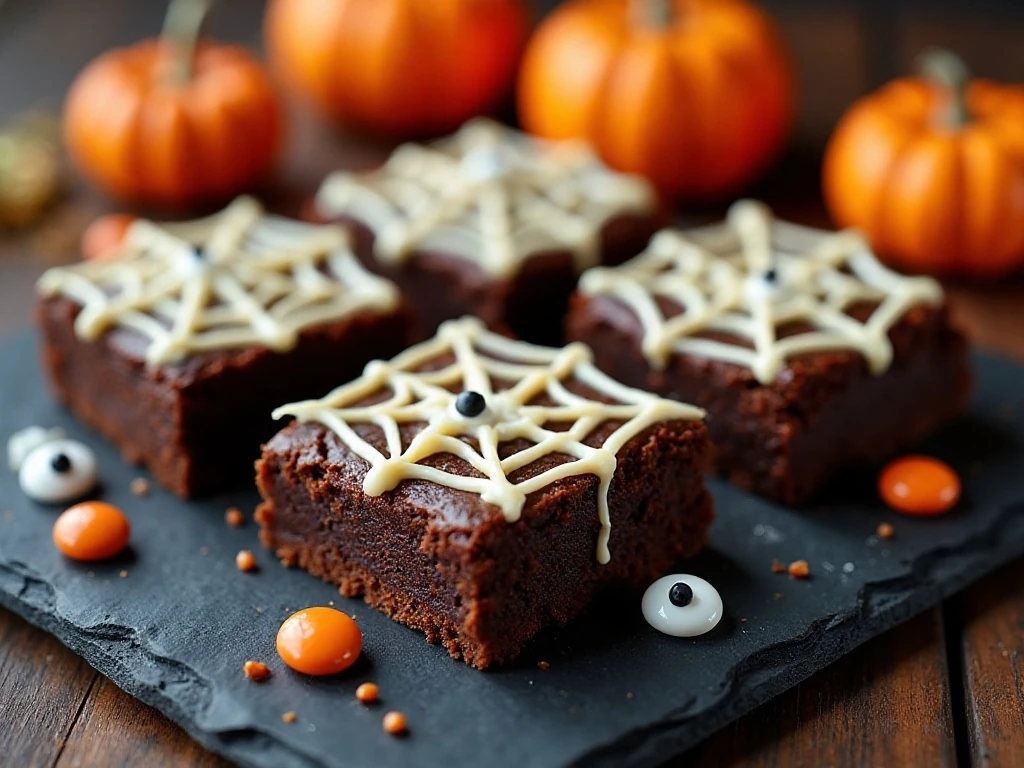
These Halloween brownies deliver the best qualities of a classic chocolate brownie in a playful seasonal design. The base is intensely chocolaty, chewy around the edges, and soft in the middle, while the white chocolate spiderwebs add a sweet contrast and a striking finish.
The recipe is also wonderfully approachable. You do not need a stand mixer, specialist decorating tools, or complicated pastry skills; a bowl, a whisk or wooden spoon, a square tin, and a toothpick are enough to create the web effect.
They are easy to prepare ahead of time, which is useful when you are organizing a party. Bake the brownies earlier in the day, let them cool, decorate them once the surface is firm, and slice just before guests arrive.
- Makes 12 generous brownies.
- Uses simple supermarket ingredients.
- Requires about 20 minutes of preparation and 25 minutes of baking.
- Offers an easy spiderweb decoration for beginners.
- Works beautifully for parties, lunch boxes, and Halloween dessert tables.
Ingredients You’ll Need
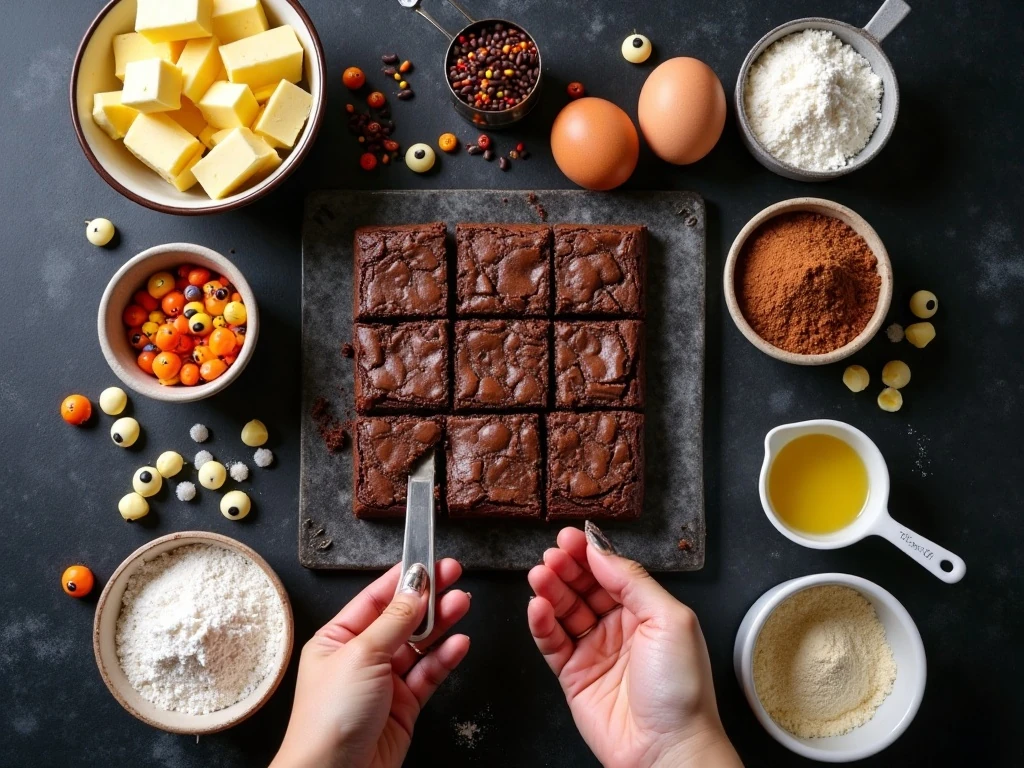
The brownie base starts with 100 g of roughly chopped dark chocolate and 100 g of unsalted butter. Melting these together creates a smooth, rich foundation and helps the finished brownies retain their moist, dense texture.
Four large eggs and 250 g of golden caster sugar provide structure, sweetness, and a lightly glossy batter. Golden caster sugar brings a gentle caramel note that pairs especially well with dark chocolate.
For the dry ingredients, measure 100 g of plain or all-purpose flour, 30 g of unsweetened cocoa powder, and 1 teaspoon of baking powder. Sifting these ingredients prevents cocoa clumps and makes it easier to fold them into the wet mixture without excessive stirring.
For decoration, prepare 100 to 150 g of white chocolate, plus black writing icing or melted dark chocolate if you want extra detail. Candy eyes and Halloween sprinkles are optional, but they add instant personality and make each portion look party-ready.
Use a 20 cm square baking tin lined with parchment. The size matters because it gives the brownies enough depth to stay fudgy while still baking through in the recommended time.
How to Make It Step-by-Step
Step 1: Heat the oven to 180°C conventional, 160°C fan, or 350°F. Line a 20 cm square baking tin with parchment, pressing it into the corners and leaving some paper over the sides for easy removal later.
Step 2: Place the chopped dark chocolate and butter in a heatproof bowl over gently simmering water. Alternatively, melt them in short microwave bursts, stirring between each burst, until the mixture is glossy and smooth; let it cool slightly so it will not excessively warm the eggs.
Step 3: Beat the four eggs and golden caster sugar until well combined and slightly thickened. You are not required to whip the mixture to a lofty foam, but a little extra volume helps create a pleasant brownie texture.
Step 4: Pour the melted chocolate and butter into the egg mixture. Stir steadily until the color is uniform and no streaks of butter or chocolate remain.
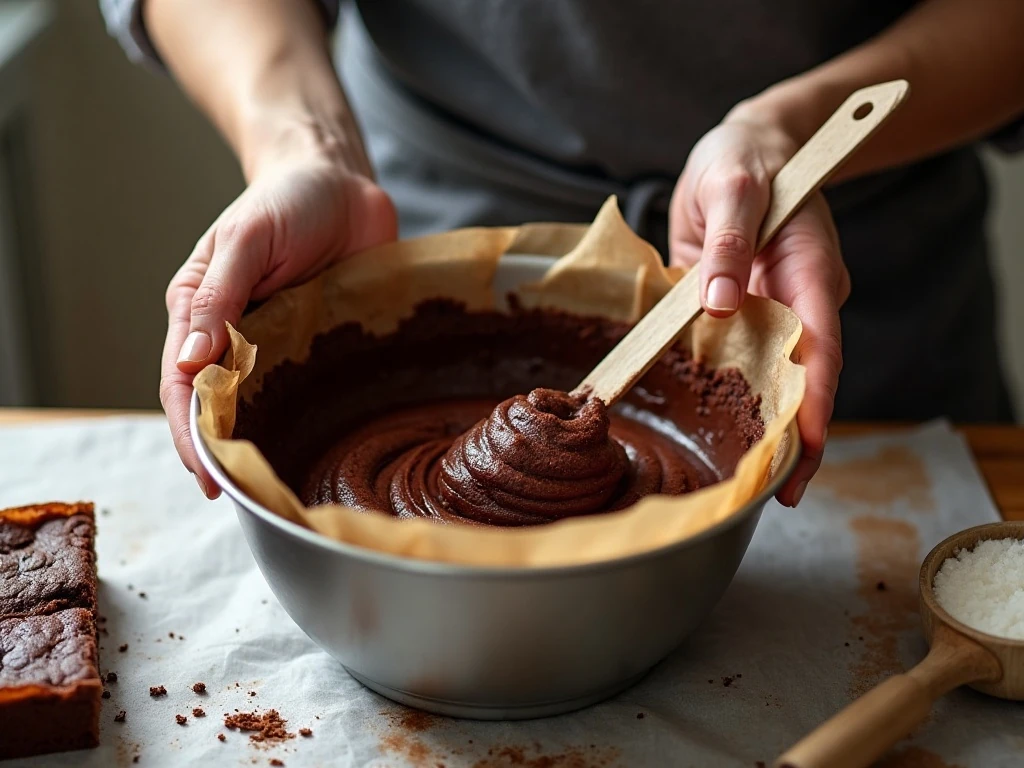
Step 5: Sift the flour, cocoa powder, and baking powder over the bowl. Fold with a spatula or wooden spoon just until the dry ingredients disappear; overmixing can produce a tougher crumb instead of the desired fudgy texture.
Step 6: Transfer the batter to the lined tin and spread it into an even layer. Bake for approximately 25 minutes, watching for set edges and a center that still has a slight softness.
Step 7: Remove the tin from the oven and let the brownies cool completely in place. Resist cutting while they are hot, because the center needs time to finish setting and will become easier to slice as it cools.
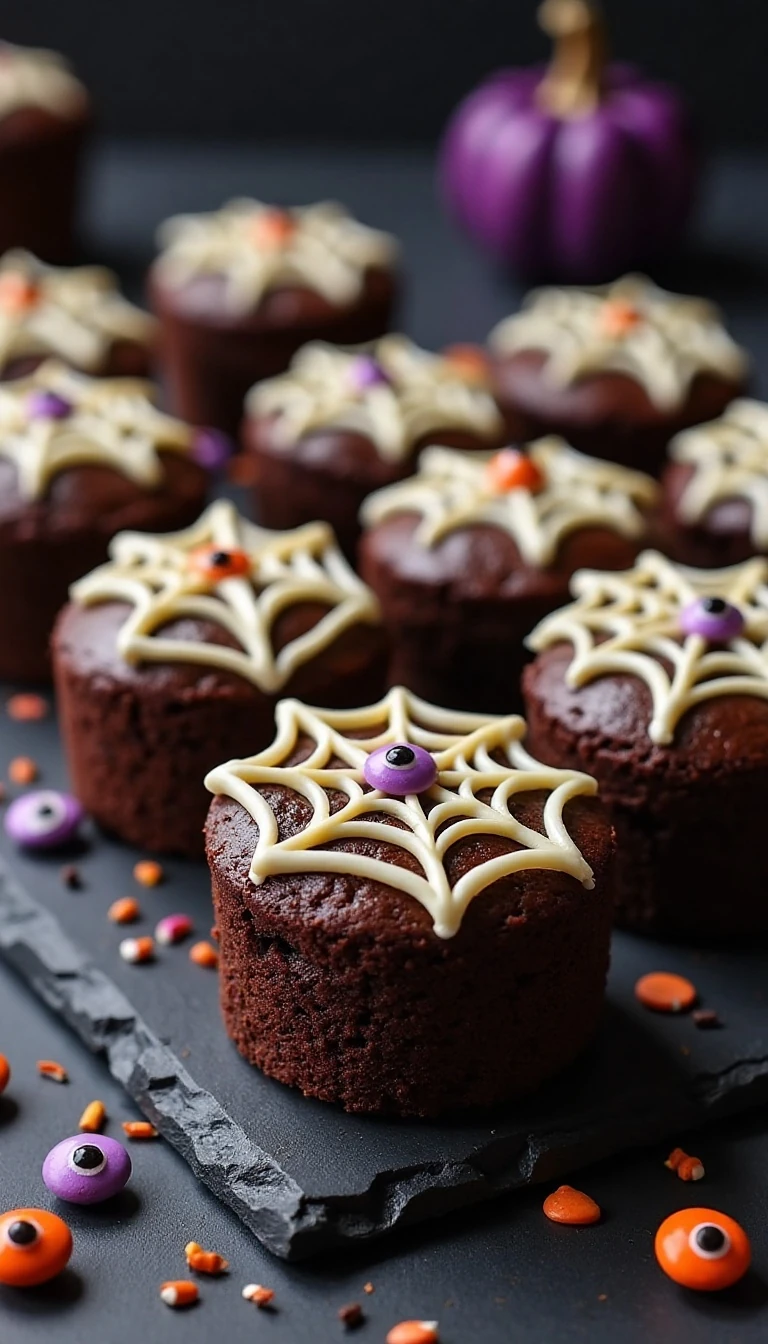
Step 8: Melt the white chocolate and pipe or drizzle several concentric circles over the brownie slab. Starting in the center, pull a toothpick outward through the circles at regular intervals to make the lines of a spiderweb.
Step 9: Add candy eyes or Halloween sprinkles while the white chocolate is still soft. If desired, use black writing icing or melted dark chocolate to draw tiny spiders, extra web lines, or a border around the brownies.
Step 10: Allow the decoration to set, then lift the brownie slab from the tin and cut it into 12 portions. Wipe the knife between cuts for cleaner edges and a more polished presentation.
Creating the Spiderweb Decoration
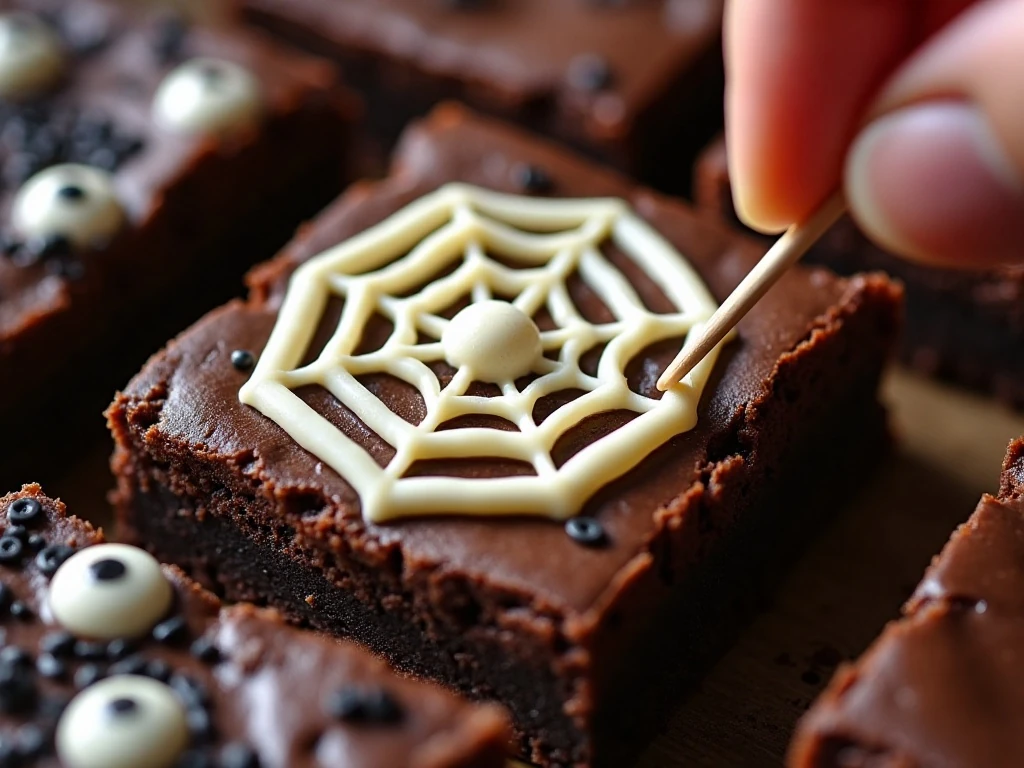
The spiderweb design is easiest when the white chocolate is fluid but not scorching hot. Transfer it to a small piping bag, parchment cone, or sandwich bag with the very tip snipped off, then work from the center outward in tidy circles.
Do not worry if the circles are not perfectly even. The toothpick pulls will visually connect the pattern, and the homemade look suits a Halloween dessert better than rigid perfection.
For a more dramatic finish, place a few candy eyes in different areas of the web or scatter orange, purple, and black sprinkles around the surface. You can also add a small dark chocolate spider to one corner, keeping the design simple enough that the brownie remains the star.
For another cozy drink to serve alongside dessert, our Italian hot chocolate would make a rich, comforting pairing on a chilly October evening.
Pro Tips for Fudgy Brownies
The most important clue is the center. When the brownies are ready, the edges should look set while the middle remains slightly soft; a skewer should show a few moist crumbs rather than come out completely clean.
Every oven behaves a little differently, so begin checking close to the 25-minute mark. If you bake until the skewer is perfectly clean, the brownies may lose the moist texture that makes this recipe so satisfying.
Let the melted chocolate and butter cool slightly before combining them with the eggs. This small pause helps the mixture blend smoothly and protects the eggs from being heated too quickly.
Fold the dry ingredients gently and stop as soon as no dry streaks remain. A light touch keeps the crumb tender, whereas prolonged mixing can develop the flour and make the brownies less soft.
For neat portions, cool the brownies fully and chill them briefly before slicing. Use a sharp knife, make firm downward cuts, and clean the blade between slices to keep the white web and chocolate edges distinct.
Serving, Storage, and Party Ideas
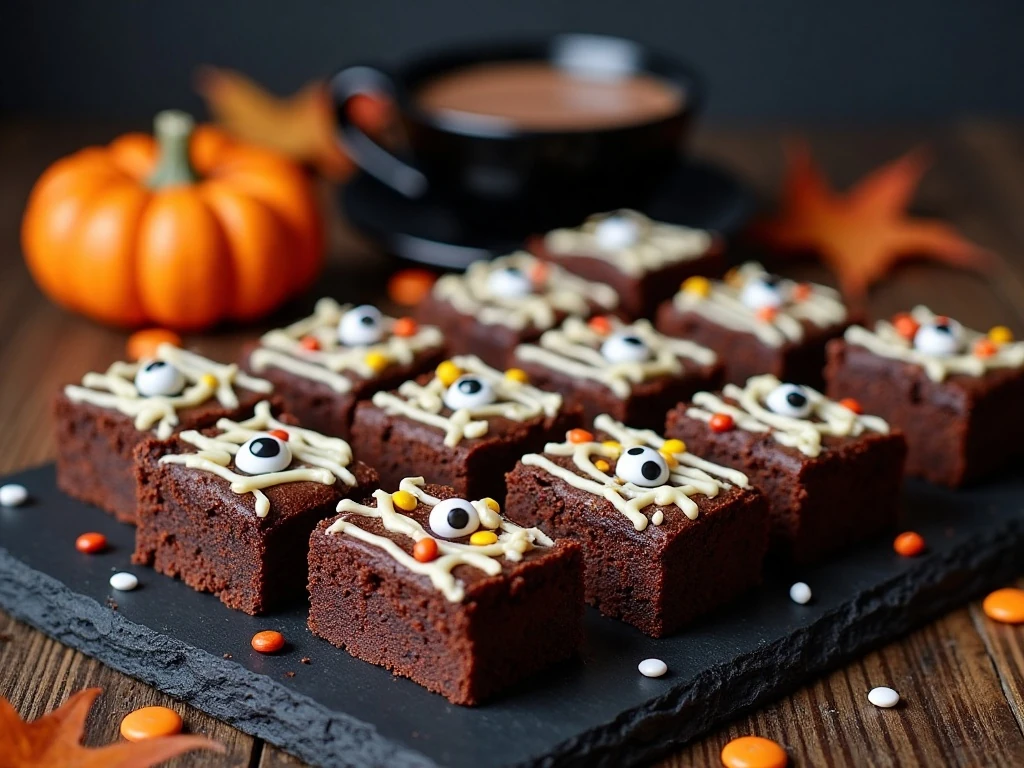
Serve these brownies at room temperature when you want the center to feel especially soft and chocolatey. If you prefer a firmer, more luxurious bite, serve them slightly chilled with a glass of milk, coffee, or hot chocolate.
Arrange the portions on a black platter with a few extra Halloween sprinkles around the base. Small paper cupcake cases can help guests pick up individual brownies without disturbing the decorations.
Store the cooled brownies in an airtight container at room temperature for several days. Keep them away from direct heat and sunlight so the white chocolate web remains firm and the brownie texture stays moist.
If you are planning a larger Halloween buffet, pair the sweet tray with savory comfort food such as our creamy macaroni and cheese. A hearty party spread can also include our Popeyes-style red beans and rice for a satisfying contrast to the rich dessert.
To prepare ahead, bake and cool the brownies, then cover them before decorating. Add the spiderwebs and candy eyes on the day of serving whenever possible, since the decoration will look freshest and the candy colors will stay crisp.
Spooky and Delicious Halloween Brownies
Ingredients
Method
- Heat the oven to 180°C conventional, 160°C fan, or 350°F. Line a 20 cm square baking tin with parchment, leaving a little overhang to make lifting out the cooled brownies easier.
- Melt the dark chocolate and unsalted butter together gently in a heatproof bowl set over simmering water, or use short microwave bursts. Stir until smooth, then set aside to cool slightly.
- Beat the eggs and golden caster sugar together until well combined and slightly thickened. Pour in the warm chocolate mixture and stir until the batter is evenly blended.
- Sift in the flour, cocoa powder, and baking powder. Fold gently until no dry streaks remain, taking care not to overmix the batter.
- Pour the batter into the prepared tin and level the surface. Bake for approximately 25 minutes, until the edges are set and the center remains slightly soft.
- Cool the brownies completely in the tin before attempting to decorate or slice them. For especially neat cuts, chill the cooled brownies briefly so the chocolate structure firms up.
- Melt 100 to 150 g of white chocolate and drizzle or pipe it in concentric circles across the brownie surface. Drag a toothpick from the center outward at regular intervals to form a spiderweb pattern.
- Finish with candy eyes, Halloween sprinkles, black writing icing, or fine lines of melted dark chocolate. Allow the decoration to set before cutting into 12 portions and serving.
Notes
Final Thoughts
This spooky and delicious Halloween brownies recipe proves that a memorable holiday dessert does not need to be complicated. A fudgy dark chocolate base, a quick white chocolate spiderweb, and a few candy eyes transform familiar brownies into a centerpiece-worthy treat.
Keep an eye on the baking time, cool the slab completely, and let a few moist crumbs remain on the skewer. Once decorated and cut into 12 portions, these brownies are ready to bring plenty of chocolatey fun to your Halloween table.