This No-Bake Chocolate Halloween Bars Recipe makes 16 to 24 festive, three-layer treats in an 8-inch square pan. The bars need only 25 to 30 minutes of hands-on preparation, 5 minutes on the stovetop, and about 2 hours of chilling, so you can make a dramatic Halloween dessert without turning on the oven.
Every bite combines a buttery chocolate graham-cracker base with coconut and optional nuts, a smooth vanilla custard filling, and a glossy semisweet chocolate topping. Orange, purple, and black sprinkles give these refrigerator bars their party-ready finish, while the rich chocolate and creamy center make them irresistible for children and adults.
Jump to RecipeWhy You’ll Love This Recipe
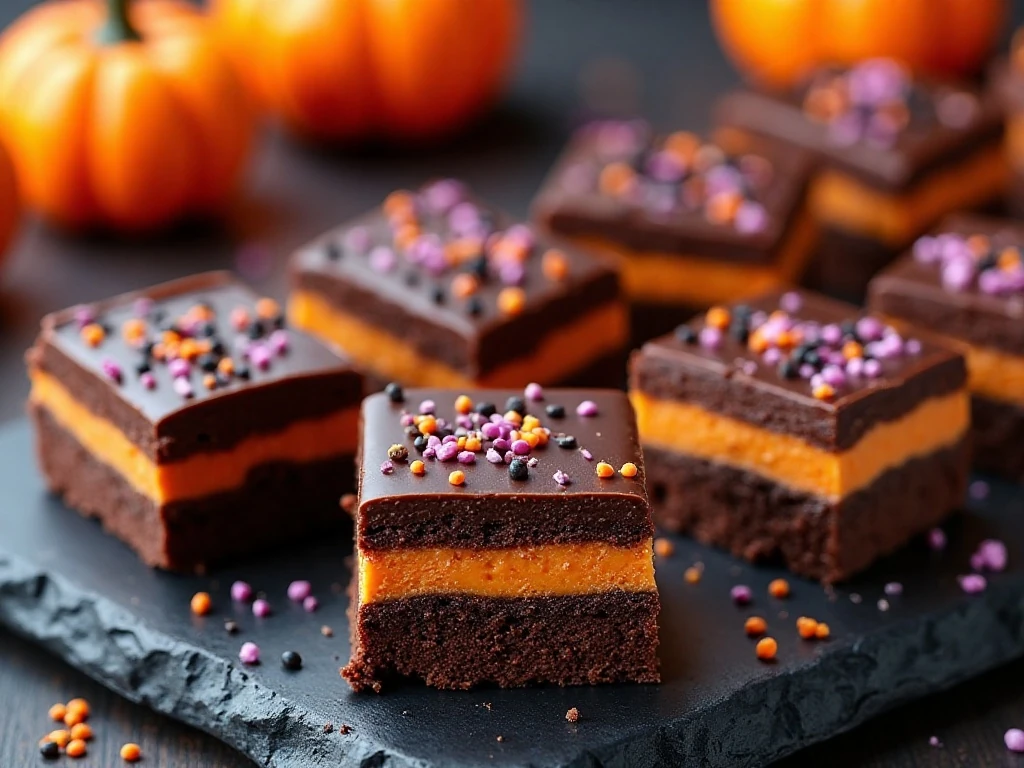
These no-bake Halloween bars deliver the layered look of a bakery dessert with straightforward refrigerator-bar preparation. You get a firm, chewy chocolate crumb base, a sweet vanilla center, and a thin chocolate shell in every slice.
They are especially useful for Halloween parties because they can be prepared ahead of time and cut into small portions. The recipe yields 16 to 24 bars, depending on whether you prefer generous squares or bite-size party pieces.
- No oven required: Only the chocolate base is briefly cooked on the stovetop.
- Make-ahead friendly: The bars keep covered in the refrigerator for up to 5 days.
- Easy to customize: Use orange and black sprinkles, colored sugar, or a mixture of Halloween shapes.
- Rich but balanced: Cocoa and bittersweet chocolate complement the sweet vanilla filling.
If you are planning a full dessert table, these bars pair nicely with a warm drink such as this Italian hot chocolate for a cozy after-dinner spread.
Ingredients You’ll Need
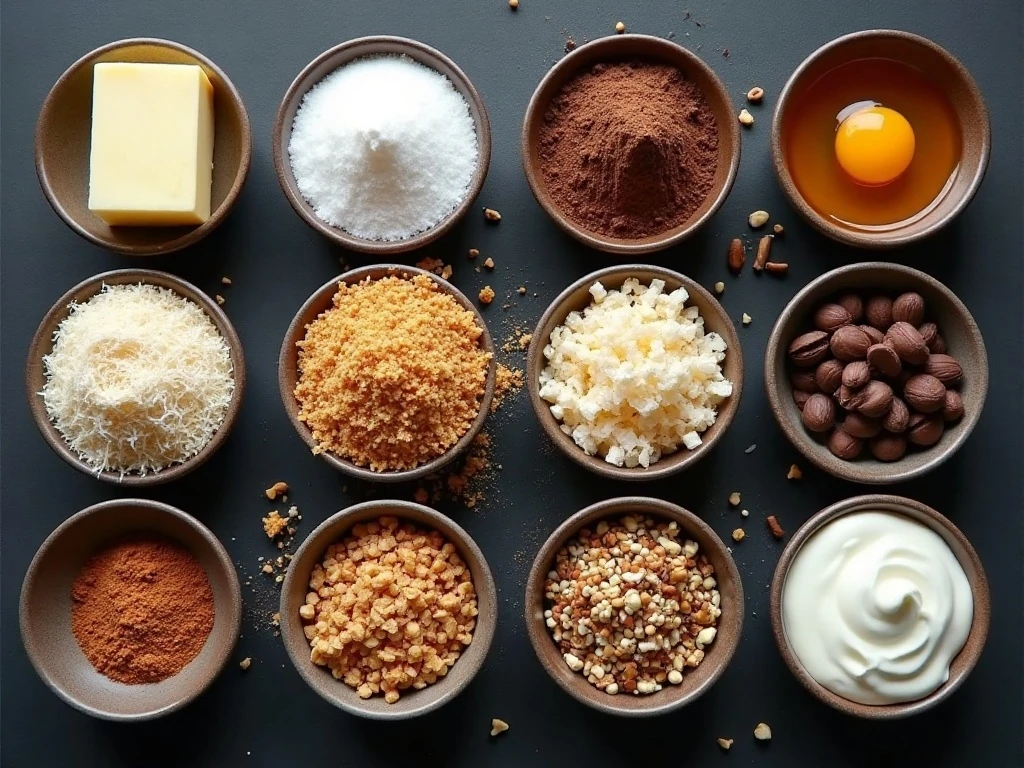
The chocolate crumb base starts with unsalted butter, granulated sugar, unsweetened cocoa powder, egg, vanilla, graham-cracker crumbs, sweetened shredded coconut, and optional finely chopped walnuts or almonds. The crumbs provide structure, while coconut gives the bottom layer its pleasantly chewy texture.
For the middle, use softened unsalted butter, heavy cream or milk, instant vanilla custard powder or instant vanilla pudding powder, and confectioners sugar. The custard powder adds vanilla flavor and helps create a smooth, spreadable filling.
The topping needs only 4 ounces of semisweet or bittersweet chocolate and 2 tablespoons of unsalted butter. Finish with Halloween sprinkles or colored sugar before the chocolate sets.
- Measure the graham-cracker crumbs by volume or use approximately 200 grams.
- Use about 85 grams of shredded coconut and 55 to 60 grams of finely chopped nuts if including them.
- Have the filling butter softened before mixing so the center becomes smooth instead of lumpy.
- Keep the chocolate topping ingredients close by because the sprinkles must be added while the surface is soft.
How to Make It Step-by-Step
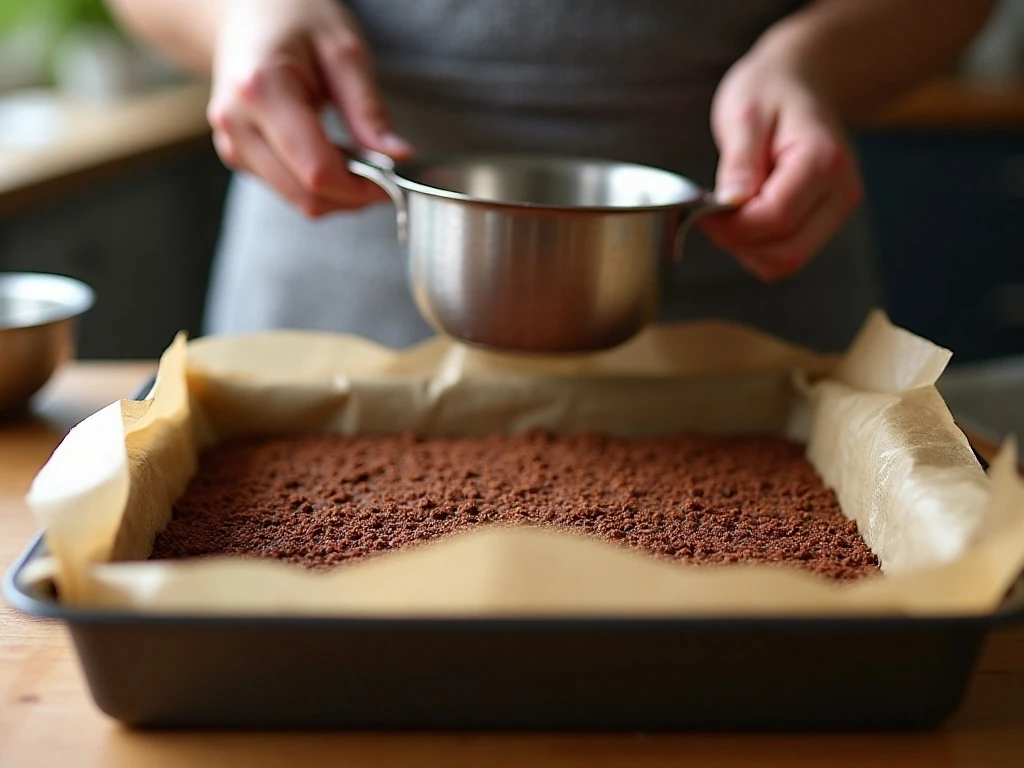
Step 1: Prepare the pan by lining an 8-inch square pan with parchment paper, leaving paper overhanging two sides. The overhang will act as a sling, making it easier to lift the chilled slab out before slicing.
Step 2: Melt the 1/2 cup unsalted butter in a saucepan over low heat. Whisk in the granulated sugar and unsweetened cocoa powder until the mixture looks even and glossy, keeping the heat gentle.
Step 3: Slowly whisk in the lightly beaten egg while stirring constantly. Cook the mixture over low heat for about 3 to 5 minutes, until it thickens slightly; do not let it boil, because high heat can scramble the egg or make the base greasy.
Step 4: Remove the saucepan from the heat and stir in the vanilla extract, graham-cracker crumbs, sweetened coconut, and optional chopped walnuts or almonds. Mix until every crumb is coated and the texture resembles a thick, moist crumble.
Step 5: Transfer the base mixture to the parchment-lined pan and press it firmly into an even layer. Use the flat bottom of a measuring cup or a small glass to compact the corners, then chill for 20 to 30 minutes.
Step 6: Beat the softened 1/2 cup butter with the heavy cream or milk, instant vanilla custard powder or pudding powder, and confectioners sugar. Continue until the filling is smooth and spreadable, scraping down the bowl if needed.
Step 7: Spread the vanilla mixture evenly over the chilled chocolate base. Refrigerate for another 20 to 30 minutes so the filling firms enough to support the topping.
Step 8: Melt the semisweet or bittersweet chocolate with 2 tablespoons butter in short microwave bursts, stirring between each burst, or melt them together over a double boiler. Stir until completely smooth, then spread the chocolate over the vanilla layer.
Step 9: Scatter Halloween sprinkles or colored sugar over the soft chocolate topping. Chill the bars for at least 1 hour, preferably 2 hours, until all three layers are firm.
Step 10: Let the chilled slab stand at room temperature for 10 minutes before cutting. Lift it out using the parchment, score the topping after about 10 minutes of chilling if desired, and slice with a warm, dry knife for clean edges.
Pro Tips for Perfect Bars
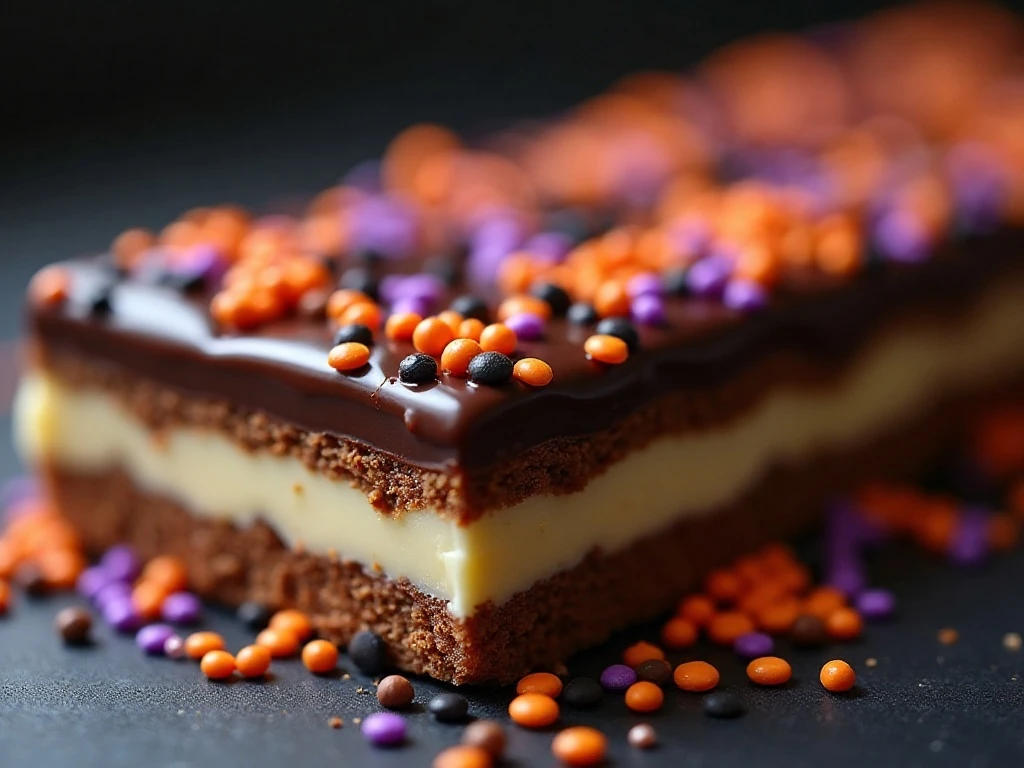
The most important technique is gentle heat for the chocolate base. Once the egg goes into the saucepan, stir constantly and keep the mixture below a simmer; the goal is slight thickening, not boiling.
Press the base firmly and evenly, especially along the corners. A compact base will hold together when sliced, while a loosely pressed layer may crumble when the bars are lifted.
For a smooth vanilla layer, use truly softened butter and add the confectioners sugar gradually. If the filling seems too firm to spread, the measured cream or milk will help it become smooth without changing the ingredient balance.
Let the chocolate topping cool slightly if it is very hot, but spread it while it remains fluid. Add the decorations immediately, and score the topping after roughly 10 minutes of chilling so later cuts are less likely to crack it.
For a fun party presentation, cut some bars into 16 larger squares and others into 24 smaller pieces. A dark platter makes the pale center and colorful sprinkles stand out, while individual paper candy cups make serving easy.
For another rich, make-ahead dessert idea, you can also serve these bars alongside a creamy Baileys cheesecake at an adults-only Halloween gathering.
Storage and Serving
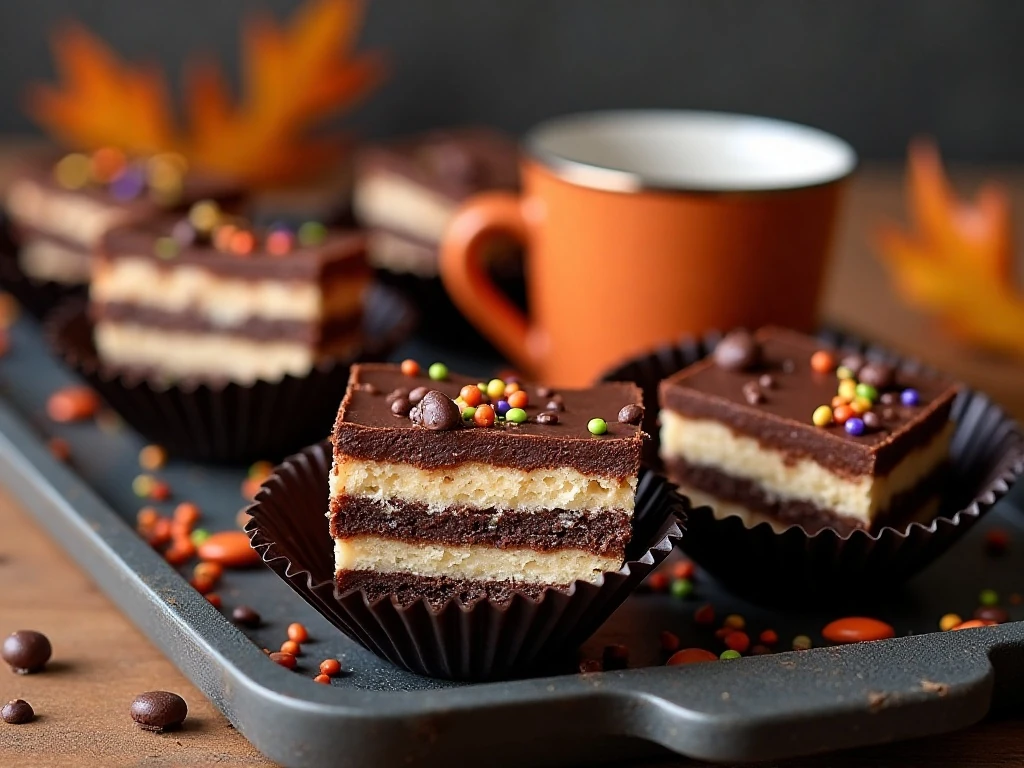
Store the bars covered in the refrigerator for up to 5 days. Keeping them cold protects the vanilla filling and helps the chocolate top remain firm and easy to handle.
These bars can be frozen for up to 1 month. Wrap the chilled slab or individual bars well, thaw them in the refrigerator, and allow them to stand at room temperature for 10 minutes before serving.
For the cleanest presentation, wipe the knife between cuts and warm it under hot water before drying it completely. A warm, dry blade glides through the chocolate topping and leaves distinct layers.
For a dessert table with varied textures, serve the bars in small portions with coffee, milk, or a mug of hot chocolate. A few extra Halloween sprinkles scattered around the platter add color without requiring additional decorating work.
Common Questions
Can I leave out the nuts? Yes. The walnuts or almonds are optional, so omit them without replacing them with another ingredient.
Can I use milk instead of heavy cream? Yes. The vanilla filling allows either heavy cream or milk, making it easy to use what is already in your refrigerator.
Why did my chocolate topping crack? The topping may crack if the bars are cut while very cold or if the chocolate was not scored before it fully set. Let the bars stand for 10 minutes and use a warm, dry knife.
Can I make the bars ahead? Absolutely. Refrigerate them covered for up to 5 days, or freeze them for up to 1 month for longer storage.
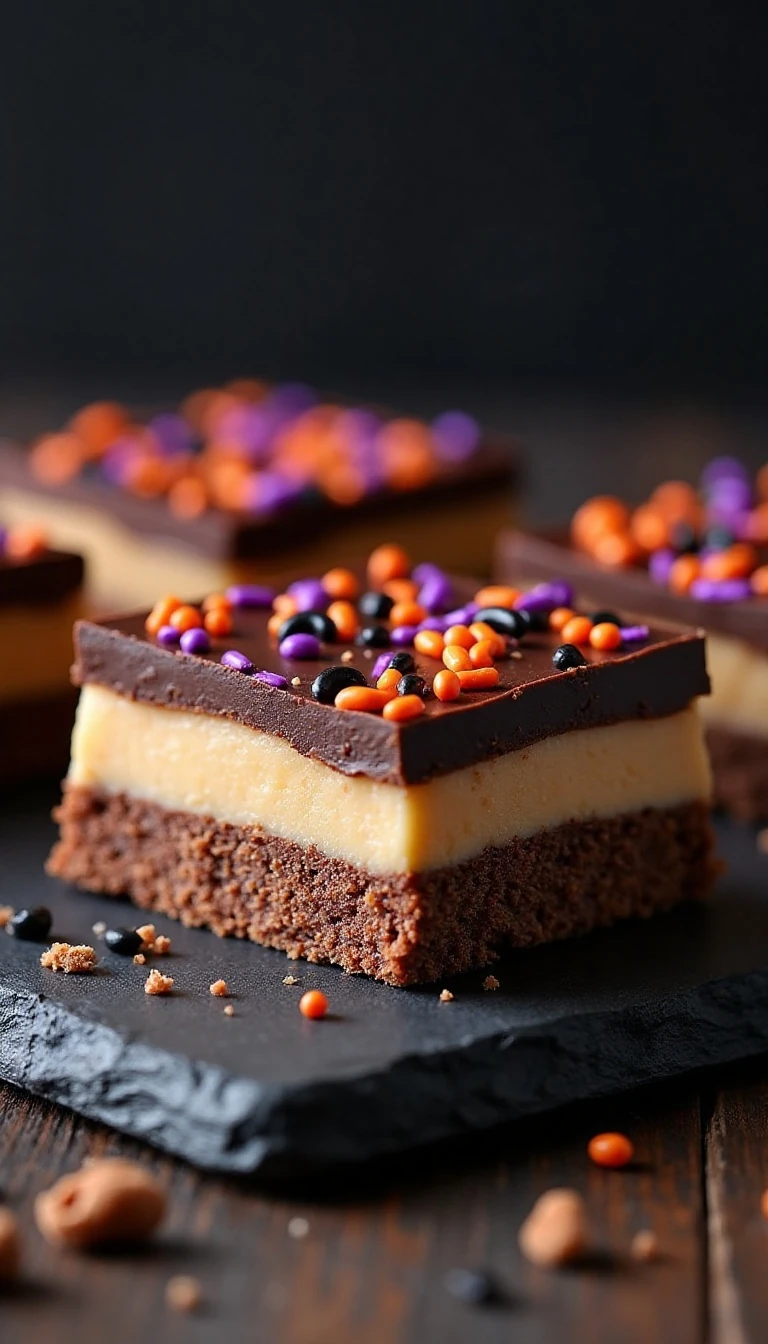
No-Bake Chocolate Halloween Bars
Ingredients
Method
- Line an 8-inch square pan with parchment paper, leaving an overhang on two sides. Melt 1/2 cup butter in a saucepan over low heat, then whisk in the granulated sugar and cocoa powder.
- Slowly whisk in the lightly beaten egg and cook over low heat for about 3 to 5 minutes, stirring constantly, until slightly thickened. Do not let the mixture boil.
- Remove the saucepan from the heat and stir in the vanilla, graham-cracker crumbs, coconut, and optional nuts. Press the mixture firmly into the prepared pan and chill for 20 to 30 minutes.
- Beat the softened butter, cream or milk, custard powder, and confectioners sugar until smooth and spreadable. Spread this vanilla layer over the chilled base and refrigerate for another 20 to 30 minutes.
- Melt the chocolate and 2 tablespoons butter together in short microwave bursts or over a double boiler, stirring until smooth. Spread the topping over the filling and add Halloween sprinkles while the chocolate is still soft.
- Chill the assembled bars for at least 1 hour, preferably 2 hours, until firm. Let them stand at room temperature for 10 minutes, then cut with a warm, dry knife.
Notes
Final Thoughts
This No-Bake Chocolate Halloween Bars Recipe is a dependable way to make a festive layered dessert with simple ingredients and no oven baking. The buttery cocoa crumb, creamy vanilla filling, and glossy sprinkle-covered topping bring plenty of texture and Halloween character to every bite.
Give the layers enough chilling time, keep the egg mixture over low heat, and use a warm, dry knife for polished slices. Whether you serve 16 generous bars or 24 small treats, these chocolate Halloween squares are ready for parties, school events, bake sales, and cozy celebrations at home.
1 thought on “No-Bake Chocolate Halloween Bars Recipe”