The best easy apple crisp recipe starts with eight firm apples, a lightly sweet cinnamon filling, and a buttery old-fashioned oat topping. Bake it at 375°F (190°C) for 35 to 45 minutes in an 8-inch or 9-inch square dish, then let it rest for at least 10 minutes before serving. The result is a classic homemade dessert that feeds eight and takes about an hour from start to finish.
Every spoonful offers tender, juicy apples beneath a golden, crunchy blanket of oats, flour, brown sugar, butter, and optional pecans or walnuts. A scoop of vanilla ice cream melts into the warm cinnamon-scented filling, making this simple apple crisp especially inviting for weeknight desserts, holiday tables, and cozy gatherings.
Jump to RecipeWhy You’ll Love This Recipe
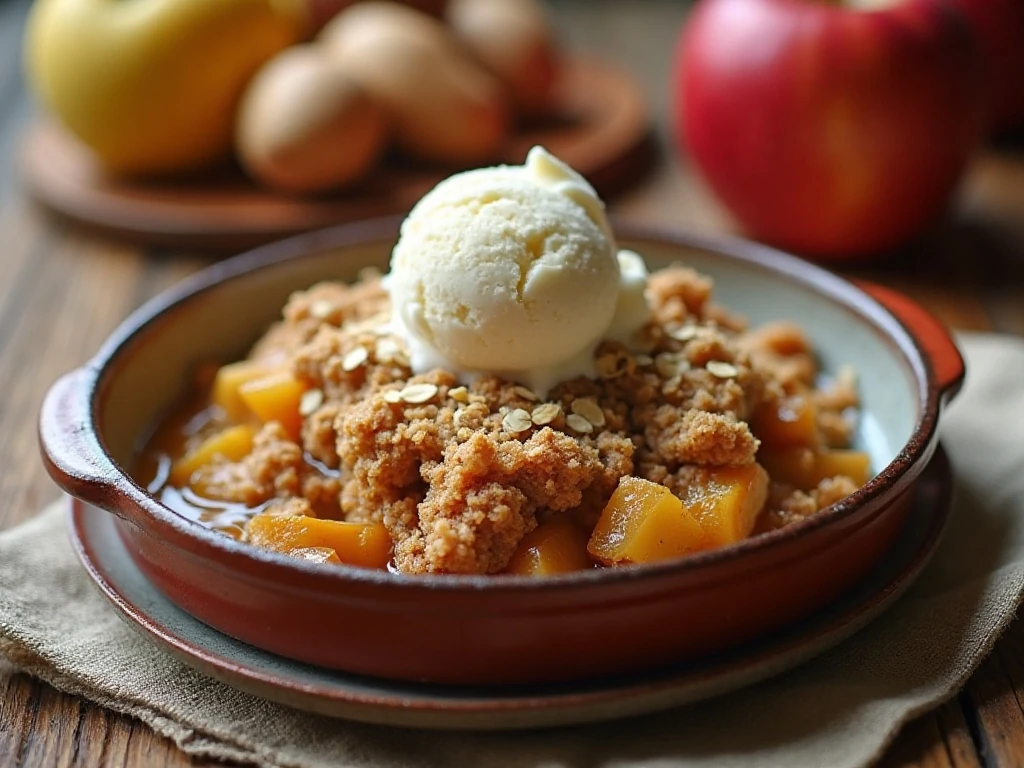
This apple crisp is the kind of dessert that tastes as though it came from a treasured family cookbook, yet it requires only straightforward preparation. There is no pie crust to roll, no special equipment to find, and no complicated pastry technique to master.
The filling has a lovely balance of sweetness and brightness. Granulated sugar sweetens the apples, lemon juice keeps the flavor fresh, cinnamon brings warmth, and a small amount of flour helps the bubbling juices become lightly syrupy rather than thin.
The topping is where the signature crisp texture comes from. Old-fashioned rolled oats stay pleasantly chewy and crunchy, while brown sugar and butter create golden edges and rich caramel notes. Optional pecans or walnuts add another layer of texture.
For another comforting homemade dessert, you may also enjoy this chocolate pudding pie when you are planning a classic dessert spread.
Ingredients You’ll Need
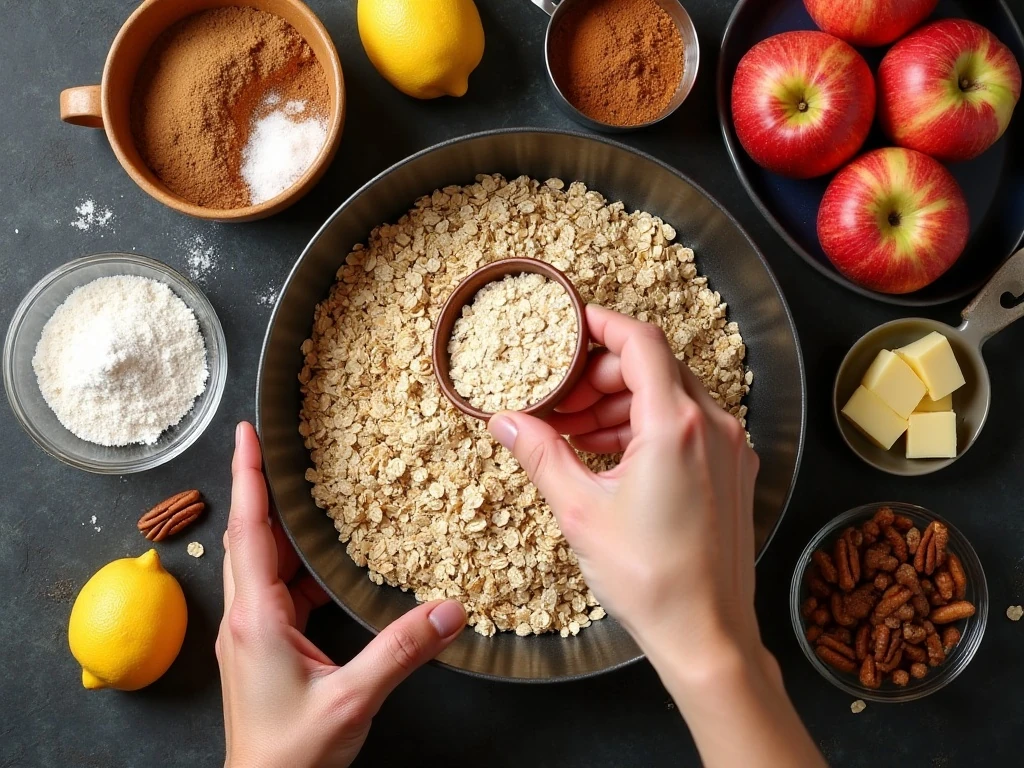
Choose about 3 pounds of firm apples. Granny Smith apples provide a tart, sturdy filling, while Honeycrisp, Pink Lady, Braeburn, or Golden Delicious make a sweeter crisp. A mixture of tart and sweet apples gives the most interesting flavor and helps create a pleasing texture.
- Apples: Use eight medium apples, peeled, cored, and sliced about 1/4 inch thick.
- Filling essentials: Granulated sugar, all-purpose flour, lemon juice, cinnamon, optional nutmeg, and salt create a balanced, lightly thickened filling.
- Oat topping: Old-fashioned rolled oats, flour, packed light brown sugar, cinnamon, salt, and unsalted butter form the crumbly topping.
- Optional nuts: Add 1/2 cup of chopped pecans or walnuts for extra crunch.
Peeling the apples gives the filling a softer, more unified texture, but the most important preparation detail is slicing them evenly. Similar-size slices finish cooking at the same time, so you avoid a dish with both firm and overly soft pieces.
How to Make It Step-by-Step
Step 1: Heat the oven to 375°F (190°C). Lightly butter an 8-inch or 9-inch square baking dish, making sure the butter reaches the corners and sides. A 9-by-13-inch dish can also be used when you prefer a thinner crisp, though the baking time may be toward the shorter end of the range.
Step 2: Peel, core, and slice eight medium apples into pieces approximately 1/4 inch thick. Try to keep the slices consistent, and place them in a large mixing bowl as you work so they are ready for the filling mixture.
Step 3: Add the granulated sugar, 2 tablespoons of flour, lemon juice, 1 teaspoon of cinnamon, optional nutmeg, and 1/8 teaspoon of salt to the apples. Toss gently until every slice is coated and the flour is no longer visible in dry patches.
Step 4: Transfer the seasoned apples to the buttered baking dish. Spread them into an even layer, but do not pack them down firmly; leaving a little space between slices allows the heat and juices to move through the filling.
Step 5: Prepare the topping in a clean bowl by combining the rolled oats, 3/4 cup of flour, brown sugar, 1 teaspoon of cinnamon, 1/2 teaspoon of salt, and the chopped pecans or walnuts if using. Stir the dry ingredients until the cinnamon and sugar are distributed evenly.
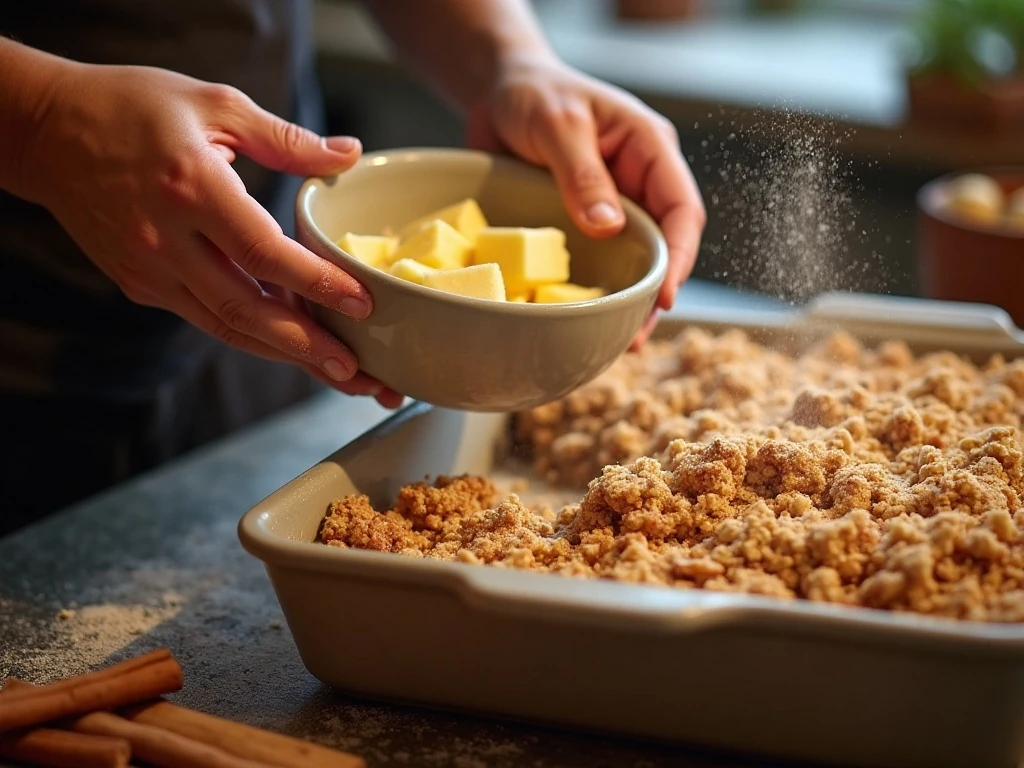
Step 6: Stir in the 1/2 cup of unsalted butter, either melted or cut into small cubes. Work it through the mixture until coarse, crumbly clumps form; stop before it becomes a smooth dough, because those irregular crumbs create the best crisp texture.
Step 7: Scatter the topping evenly over the apples. Avoid pressing it down firmly, since a loose layer browns more readily and gives you a lighter, crunchier finish.
Step 8: Bake for 35 to 45 minutes. The crisp is ready when the topping is golden brown and apple juices are visibly bubbling around the edges of the dish.
Step 9: Remove the baking dish from the oven and let it stand for at least 10 minutes before serving. This short rest gives the juices time to thicken and makes each portion easier to spoon without losing the warm filling.
Pro Tips for the Best Apple Crisp
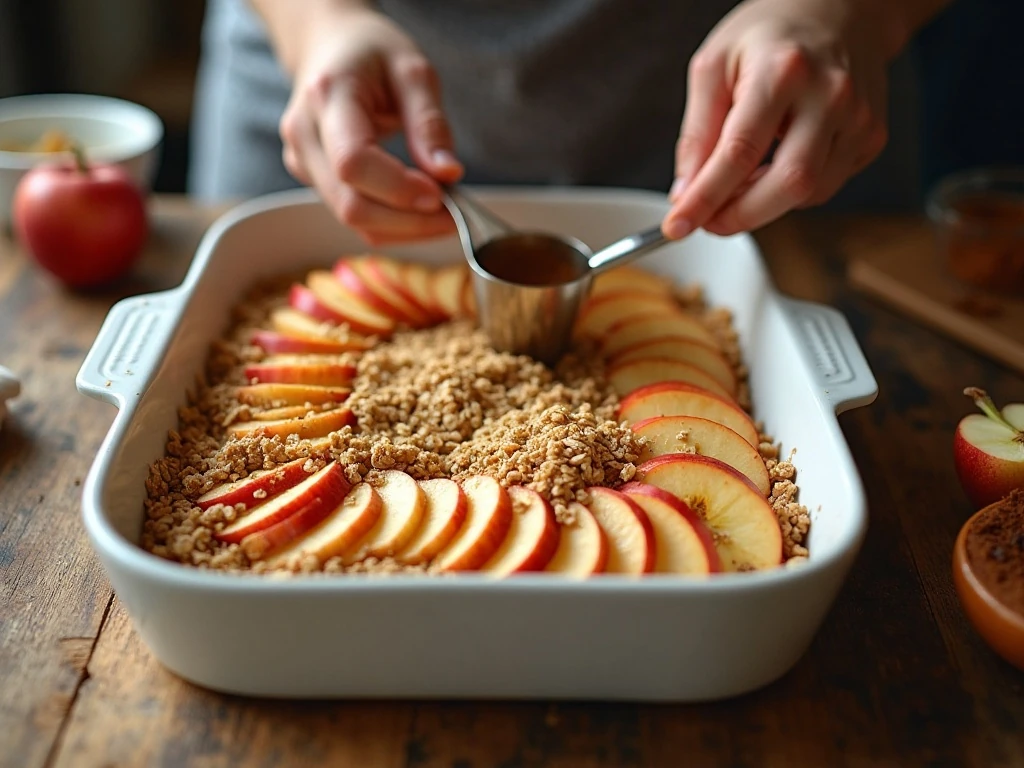
Firm apples are essential because very soft varieties can turn watery or mushy during baking. If you are unsure about a variety, combine a tart apple such as Granny Smith with a sweeter firm apple such as Honeycrisp or Pink Lady.
Old-fashioned oats are preferable to quick oats here. Their larger flakes hold their shape and provide a more substantial bite, while quick oats can make the topping seem softer and less distinct.
Butter temperature is flexible. Melted butter makes the topping quick to mix, while small cold butter cubes can create especially varied crumbs as they are rubbed or stirred into the dry ingredients. Whichever method you use, keep the final mixture crumbly.
Watch the topping during the final part of baking. If it becomes deeply golden before the apples are tender, loosely cover the dish with foil for the remainder of the baking time. Do not seal the foil tightly, and continue baking until the juices bubble and the apples are tender.
Allowing the crisp to rest is not optional if you want the best consistency. Fresh from the oven, the filling is very loose and hot; after 10 to 15 minutes, it settles into a glossy spoonable sauce around the apples.
How to Serve Apple Crisp
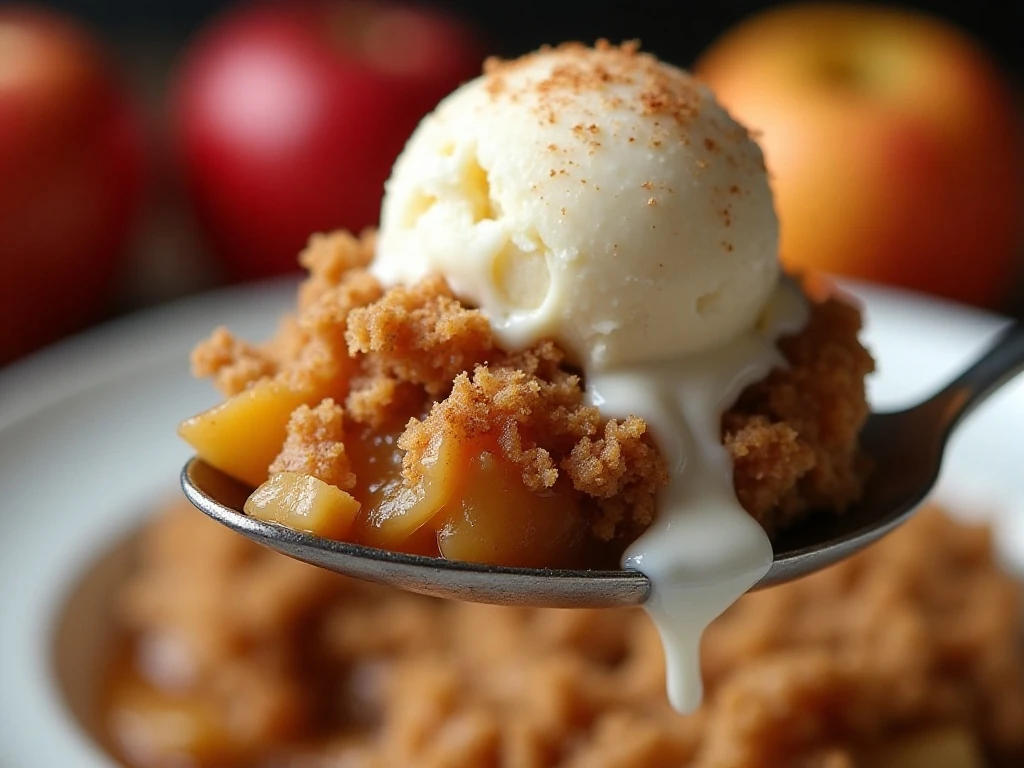
Serve this dessert warm, ideally with a scoop of vanilla ice cream. The cold creaminess contrasts with the hot apples and crisp topping, while the ice cream melts into the cinnamon-scented juices.
Whipped cream and lightly sweetened yogurt are also excellent choices. For a brunch-style table, you can pair the crisp with an easy bakery-style blueberry muffin and fresh coffee.
Apple crisp is rich enough to stand alone, but a small pinch of extra cinnamon over the ice cream or a few toasted nuts on top makes each serving feel special. Keep portions generous but practical, since the recipe is designed to serve eight.
If you are planning a larger comfort-food menu, a warm dessert like this works nicely after a savory soup such as this easy tortellini soup. For a summer gathering, save the same simple dessert approach for Pina Colada bars.
Storage and Reheating
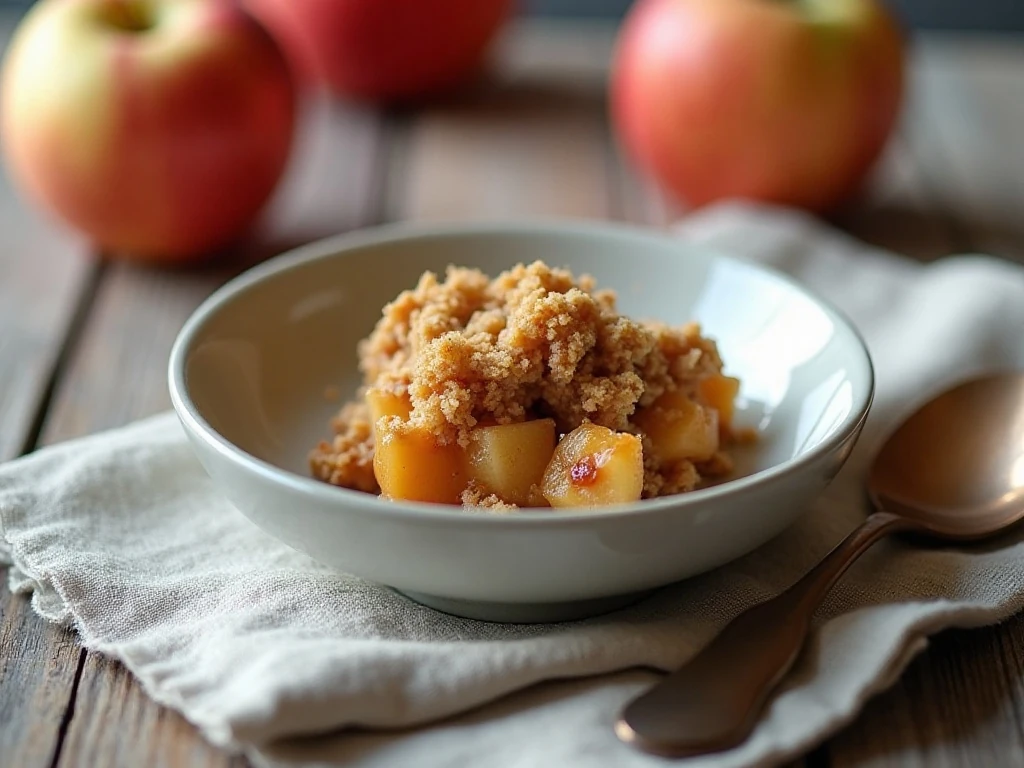
Cool leftover apple crisp, cover the baking dish, and refrigerate it. The topping will soften somewhat in the refrigerator, but the flavor remains delicious for a quick dessert the next day.
Reheat individual portions gently until warm, or warm a larger amount in the baking dish. A brief uncovered heating period helps the topping regain some of its texture, although it will not be exactly as crisp as it was straight from the oven.
For a casual meal-prep plan, portion the leftovers after they have cooled and add the ice cream only when serving. Keep the topping and filling together rather than stirring them, so every portion retains some contrast between the juicy apples and oat crumbs.
Easy Variations
The classic formula is dependable, but you can adjust the character of the dish while keeping the required proportions. Use all Granny Smith apples for a sharper, tarter dessert, or choose mostly Honeycrisp and Golden Delicious for a softer sweetness.
For added texture, include the optional pecans or walnuts in the topping. Pecans bring a buttery flavor, while walnuts contribute a slightly earthy bite; both work well with cinnamon and baked apples.
You can also serve the crisp with lightly sweetened yogurt instead of ice cream for a less rich accompaniment. If you are preparing several desserts for a party, a crunchy side such as this homemade coleslaw can balance a menu filled with warm, sweet, and savory dishes.
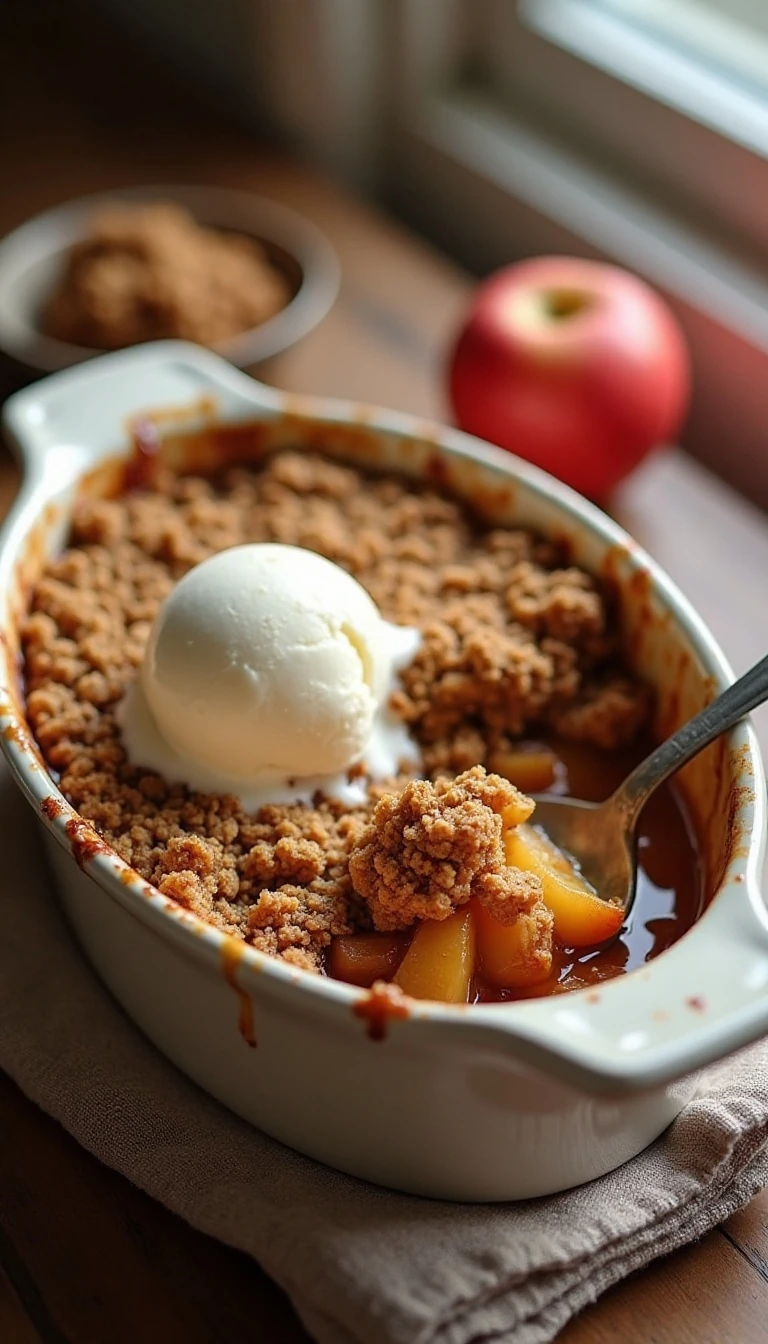
The Best Easy Apple Crisp Recipe (Classic & Homemade)
Ingredients
Method
- Heat the oven to 375°F (190°C) and lightly butter an 8-inch or 9-inch square baking dish.
- Peel, core, and slice the apples approximately 1/4 inch thick.
- Toss the apples with the granulated sugar, flour, lemon juice, cinnamon, optional nutmeg, and salt.
- Spread the apple mixture evenly in the prepared baking dish.
- Combine the oats, flour, brown sugar, cinnamon, salt, and optional chopped nuts in a bowl.
- Stir in the butter until coarse, crumbly clumps form. Do not mix the topping into a smooth dough.
- Scatter the topping evenly over the apples without pressing it down firmly.
- Bake for 35 to 45 minutes, until the topping is golden brown and the apple juices bubble around the edges.
- Let the crisp stand for at least 10 minutes before serving so the filling can thicken slightly.
Notes
Final Thoughts
This classic homemade apple crisp proves that an impressive dessert does not need a long ingredient list or a complicated method. Firm apples, a little cinnamon, lemon juice, and a buttery oat topping are all it takes to create bubbling fruit and golden crumbs in one baking dish.
Remember the three details that make the biggest difference: use a mixture of firm tart and sweet apples, keep the topping in coarse clumps instead of mixing it into a dough, and let the baked crisp rest for at least 10 minutes. Those simple choices produce tender apples, thickened juices, and a topping with satisfying crunch.
Serve it warm with vanilla ice cream, whipped cream, or lightly sweetened yogurt, and enjoy every spoonful while the topping is at its crispest. Once you make this easy version, it is sure to become a dependable favorite for family dinners, autumn celebrations, and last-minute guests.