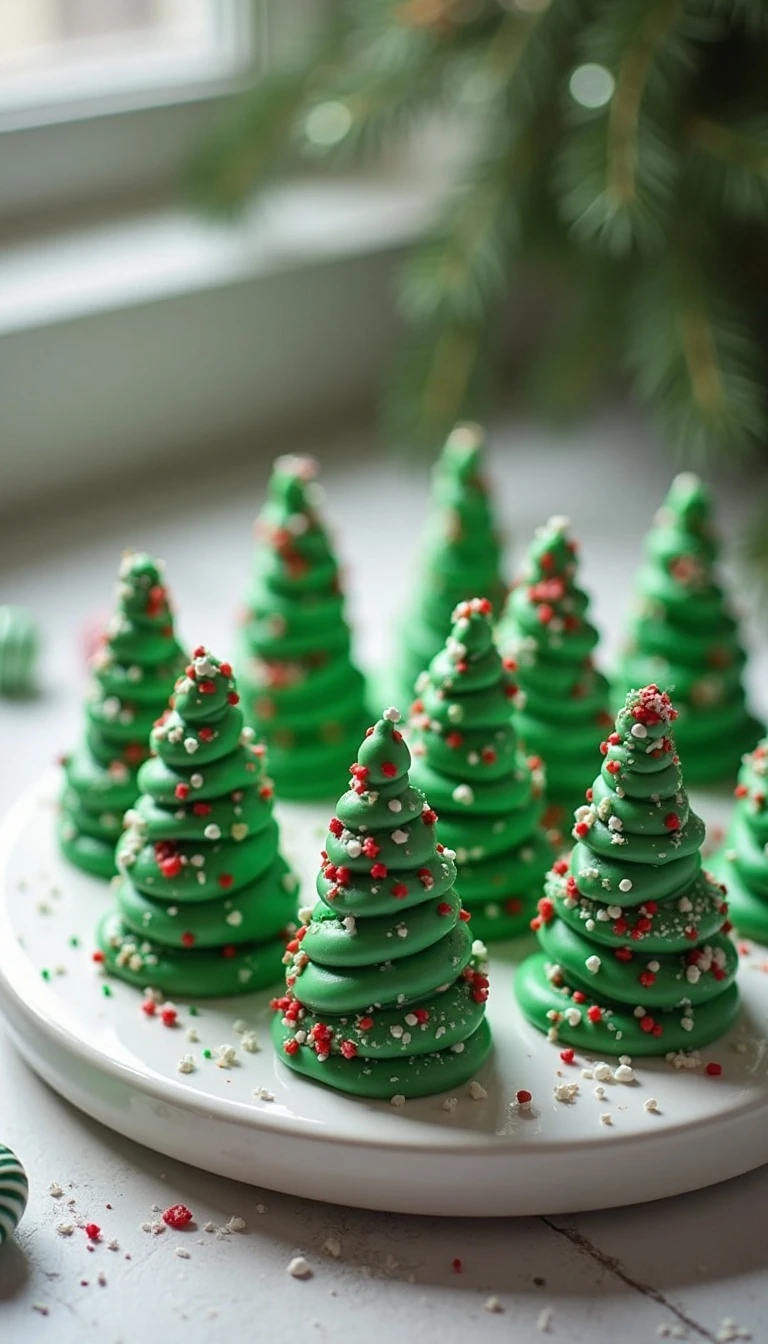
These Easy Christmas Tree Pretzels are a festive no-bake holiday treat made with 12 pretzel rods, green candy melts, sprinkles, and miniature candies. Melt the coating, pipe a simple triangular tree shape over each rod, decorate immediately, and let the trees set for 15–20 minutes at room temperature or about 10 minutes in the refrigerator.
Every bite combines a crisp, salty pretzel with creamy, sweet candy coating and cheerful crunchy decorations. The recipe makes 12 pretzel trees in about 35–45 minutes, making it an ideal Christmas classroom treat, edible centerpiece, cookie-exchange addition, or quick dessert for a holiday party.
Jump to RecipeWhy You’ll Love This Recipe
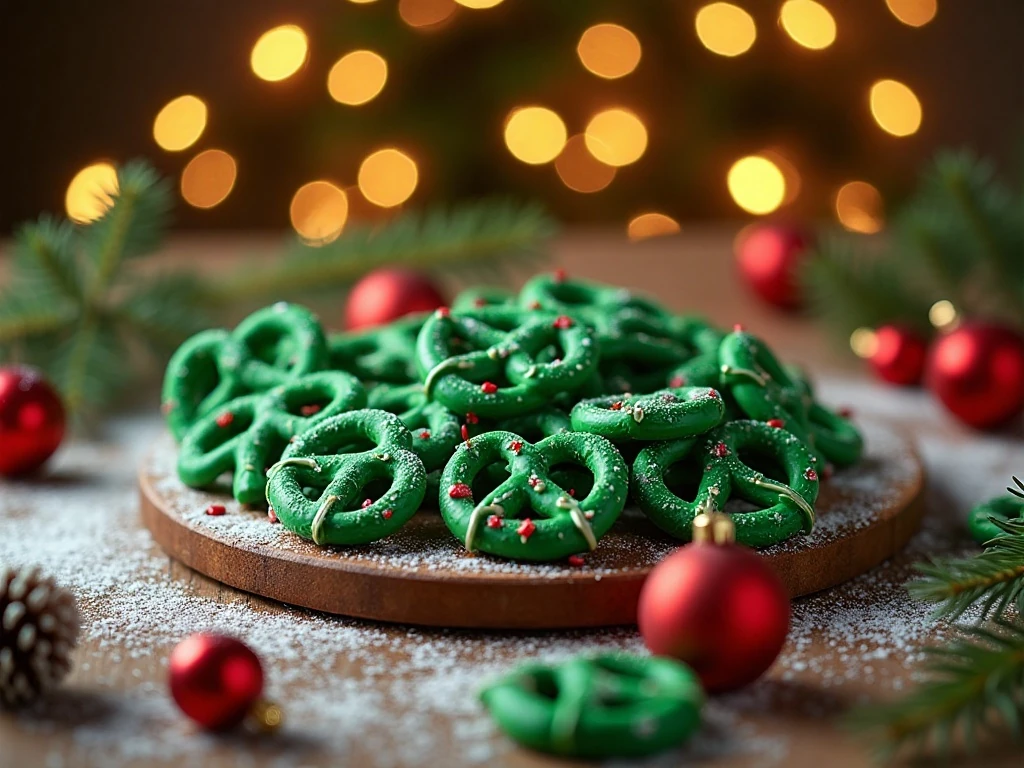
Christmas baking does not always need to involve mixing bowls, flour, or a hot oven. These pretzel trees deliver the look of a decorated holiday cookie with a short ingredient list and a simple piping technique that beginners can master on the first try.
The combination of textures is especially appealing. The pretzel rod stays crisp and salty beneath the smooth green candy coating, while sprinkles and miniature candies add little pops of crunch and color.
This recipe also works beautifully when children want to help. Adults should handle the warm melted coating, but kids can choose the ornaments, sprinkle the decorations, and help arrange the finished trees on a platter.
For a larger holiday snack table, serve these treats alongside a savory dip such as our easy cheeseburger dip. The sweet-and-salty contrast gives guests plenty of variety without requiring another complicated dessert.
Ingredients You’ll Need
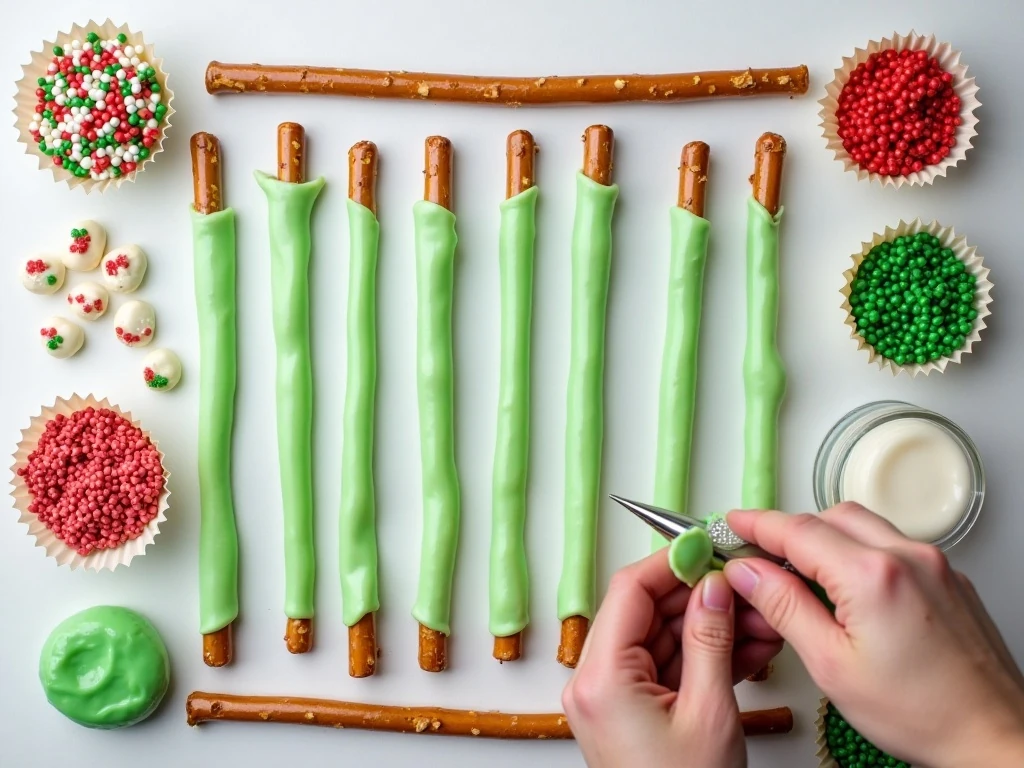
The ingredient list is intentionally short, but each item has a useful role in the finished design. Full-size pretzel rods provide a sturdy trunk and handle, while green candy melts create the broad triangular foliage.
- 12 full-size pretzel rods: Choose unbroken rods with enough length to leave an uncovered trunk at the bottom.
- 12 ounces green candy melts: This amount is usually sufficient for 12 trees, with a little left for touch-ups or drizzling.
- 1 teaspoon vegetable shortening or coconut oil, optional: Use this only if the melted coating needs thinning.
- 2 tablespoons Christmas sprinkles: Red, white, and green nonpareils provide the classic holiday appearance.
- 2 tablespoons miniature candy-coated chocolates or other small candies, optional: These become colorful ornaments scattered across the branches.
- 1 ounce white or brown candy melts, optional: White coating makes snow, while brown coating can add extra trunk detail.
- Parchment paper or a silicone baking mat: This prevents sticking and makes cleanup much easier.
Candy melts are a dependable choice because they melt smoothly and set firmly. White chocolate, almond bark, or other colored melting wafers may be substituted, but work carefully and keep all equipment dry.
For another easy party dessert to place near the pretzel trees, try our mandarin orange dessert. Its bright citrus flavor is a refreshing match for the rich candy coating.
How to Make It Step-by-Step
Step 1: Prepare the work surface by lining a baking sheet or counter with parchment paper or a silicone baking mat. Set the pretzel rods several inches apart, leaving enough space for the green coating to spread slightly beyond the edges of each tree.
Step 2: Add the green candy melts to a completely dry microwave-safe bowl. Heat them in 20–30-second intervals, stirring well after every interval, until the mixture is glossy and smooth; do not add shortening unless the coating remains too thick to pipe.
Step 3: If needed, stir in the vegetable shortening or coconut oil gradually. Start with a very small amount, and remember that about 1/4 teaspoon at a time is enough when reheating a coating that later becomes stiff.
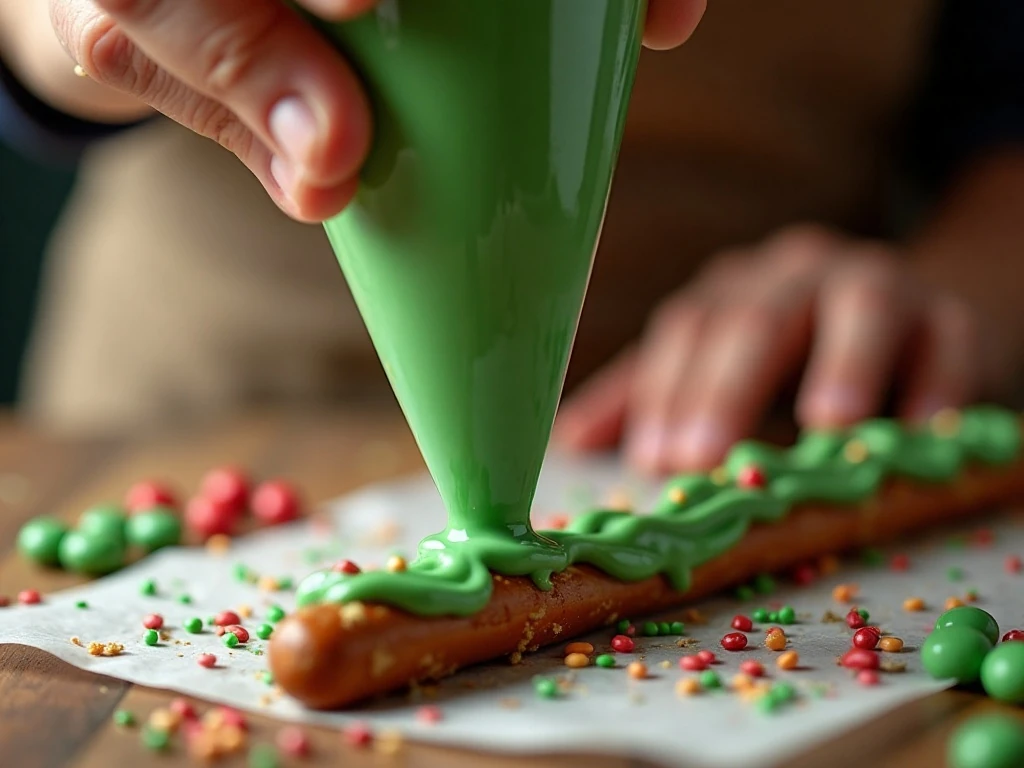
Step 4: Spoon the melted coating into a piping bag or zip-top bag and snip a small corner open. You can also use a spoon, although piping gives you more control over the tree outline and makes the zigzag branches look more even.
Step 5: Pipe a narrow zigzag near the top portion of one pretzel rod. Continue downward, making each zigzag progressively wider until you have formed a triangular tree, and leave the bottom section uncovered to serve as the trunk.
Step 6: Decorate that tree immediately while the coating is still soft. Sprinkle red, white, and green decorations over the branches, then add miniature candy-coated chocolates as ornaments before moving to the next pretzel.
Step 7: Repeat the piping and decorating process for the remaining 11 rods. Working one tree at a time is important because candy coating firms quickly, and decorations will not adhere well once the surface has set.
Step 8: Let the completed trees stand at room temperature for 15–20 minutes, or refrigerate them for about 10 minutes, until firm. For a snowy finish, melt 1 ounce of white candy coating and drizzle a small amount over the branches after the green coating has set.
Pro Tips for Perfect Pretzel Trees

Use a small piping opening rather than a large one. A narrow stream lets you build the tree gradually and prevents the branches from becoming one thick, shapeless mound.
Keep the pretzel rods stationary while piping. If a rod rolls, place a tiny dab of green coating beneath one end to hold it in position, then cover that spot naturally with the tree design.
Do not overheat candy melts. Short microwave intervals and frequent stirring are safer than one long heating cycle, which can make the coating too hot, thick, or difficult to smooth.
If the coating starts to drag instead of flowing, reheat it briefly and stir thoroughly. Add shortening or coconut oil sparingly, about 1/4 teaspoon at a time, until the texture is fluid enough to pipe.
Prepare all decorations before melting the coating. Once the trees are piped, you want the sprinkles and candies within reach so every ornament sticks while the surface is still glossy.
For tidy presentation, use a mixture of small nonpareils and a few larger candies. The tiny sprinkles fill the branches, while larger pieces create recognizable ornaments without making the trees too heavy.
For a brunch-inspired holiday spread, pair the trees with our easy beignets. The powdered sugar on the warm pastries and the bright green pretzels create a playful dessert table with contrasting textures.
Serving and Decorating Ideas
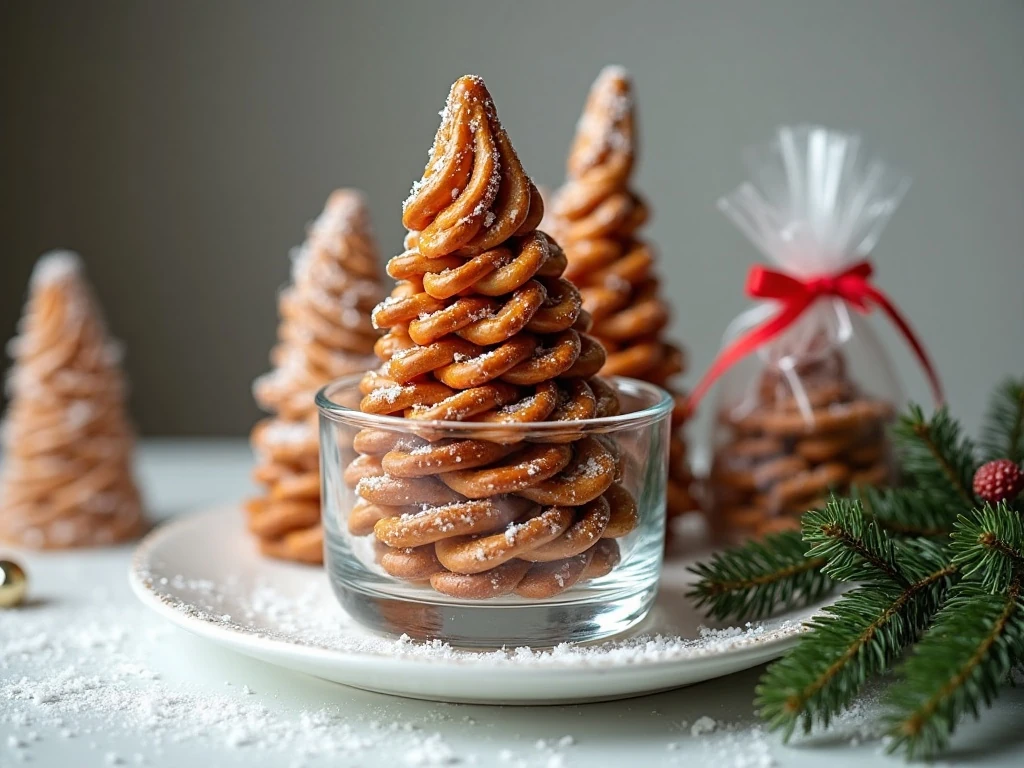
Arrange the pretzel trees upright in a tall glass or lay them across a white platter in a single layer. If you stand them in a glass, make sure the uncovered pretzel trunks rest securely and the container is stable.
Use red, white, and green decorations for a traditional Christmas palette, or choose silver and blue candies for a frosty winter theme. A white candy drizzle looks like freshly fallen snow, while a small brown drizzle can suggest a more defined trunk.
These treats make charming edible place cards when you add a small food-safe tag beside each one. They are also easy to wrap individually in clear treat bags for party favors, teacher gifts, or holiday cookie exchanges.
Because the recipe is no-bake, it is useful when the oven is already occupied by dinner or other holiday desserts. Add a platter of these trees beside a savory spread and a batch of our easy roasted potatoes for a casual seasonal gathering with plenty of crowd-friendly choices.
Storage and Make-Ahead Notes
Let the candy coating become completely firm before stacking or packaging the pretzel trees. Store them in a covered container in a cool, dry place, separating layers with parchment paper if necessary.
Avoid warm rooms, direct sunlight, and excess humidity, since heat can soften the candy coating and moisture can affect the crisp pretzel. Refrigeration is useful for quick setting, but extended chilling may create condensation when the treats come back to room temperature.
For the neatest make-ahead results, prepare the trees earlier the same day and keep them covered until serving. If you are transporting them, place the container on a level surface and leave the pretzel trunks uncovered from pressure so the decorated branches remain intact.
Any leftover green coating can be drizzled over parchment and sprinkled with extra decorations. Once firm, break it into small candy bark pieces for another festive snack.
For a sweet breakfast spread the next morning, include our easy peach bread beside the pretzel trees. The tender fruit bread gives the menu a softer baked option while these treats provide a crisp, chocolatey bite.
Easy Christmas Tree Pretzels Recipe
Ingredients
Method
- Line a baking sheet or work surface with parchment paper or a silicone baking mat. Arrange 12 pretzel rods several inches apart, leaving enough room for the green coating to spread around each tree.
- Place the green candy melts in a completely dry microwave-safe bowl. Microwave in 20–30-second intervals, stirring thoroughly after each interval, until the coating is smooth; stir in the shortening or coconut oil only if the coating is too thick.
- Transfer the melted coating to a piping bag or zip-top bag with a small corner snipped off, or keep it in the bowl and use a spoon. Pipe over the upper portion of each pretzel rod, beginning with a narrow zigzag near the top and making each lower zigzag progressively wider.
- Leave the lower section of every pretzel rod uncovered so it looks like the tree trunk and gives you a convenient handle. Work with one tree at a time so the coating remains soft while you decorate.
- Immediately scatter Christmas sprinkles and miniature candy-coated chocolates over each freshly piped tree. Press a few larger candies gently into the coating if needed, but avoid waiting because the surface firms quickly.
- Let the pretzel trees stand at room temperature for 15–20 minutes, or refrigerate them for about 10 minutes, until the candy coating is firm. If desired, drizzle a small amount of melted white candy coating over the finished trees to resemble snow.
Notes
Final Thoughts
These Easy Christmas Tree Pretzels prove that an impressive holiday treat can be simple, colorful, and completely oven-free. With crisp pretzel rods, smooth green candy coating, cheerful sprinkles, and miniature candy ornaments, each tree looks special while taking only a few minutes of hands-on work.
Remember the three keys to success: keep every utensil dry, pipe and decorate one tree at a time, and thin the coating only a little if it becomes difficult to work with. Once the trees are firm, arrange them on a festive platter or package them as edible gifts.
Make a batch for your next Christmas party, let the family decorate their own designs, and enjoy a sweet-and-salty treat that brings plenty of holiday charm to the table.