These easy no-bake peanut butter bars are a rich, creamy dessert made with melted butter, finely crushed graham crackers, powdered sugar, creamy peanut butter, and a smooth semisweet chocolate topping. They take only 15 to 20 minutes of preparation, require no oven, and become firm after about 1 hour in the refrigerator.
Every bite combines a sweet, tender peanut butter base with a buttery graham cracker texture and a silky chocolate layer. Make them for holidays, bake sales, potlucks, lunchbox treats, or any evening when you want a homemade dessert without turning on the oven.
Jump to RecipeWhy You’ll Love This Recipe
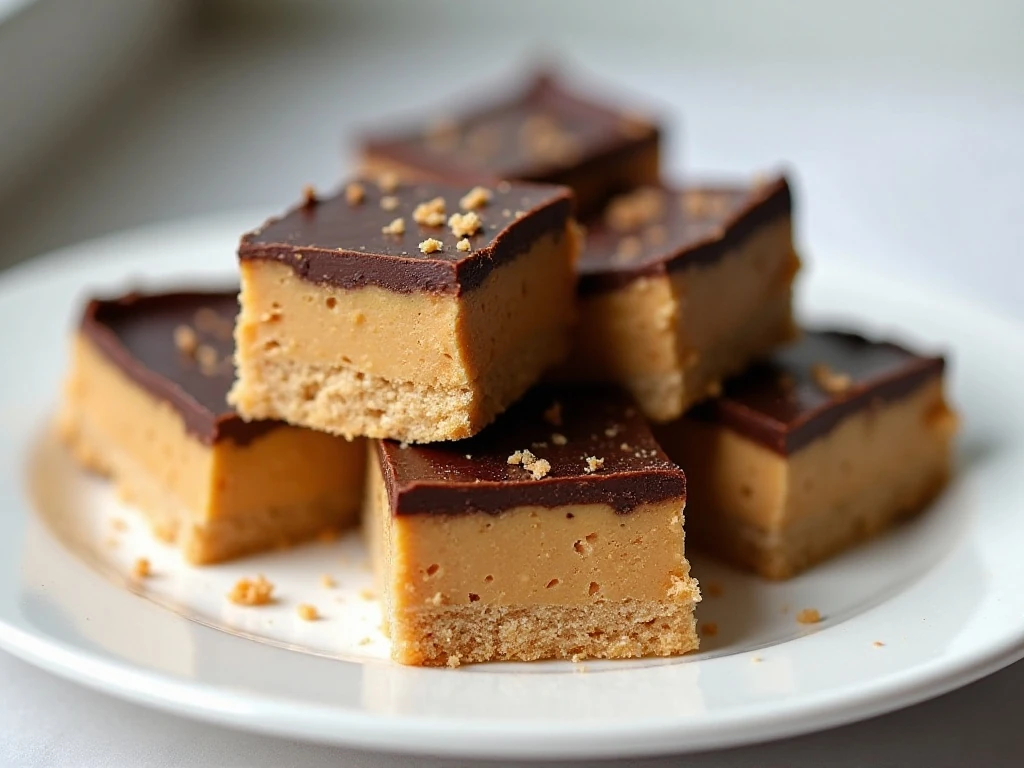
This is the kind of dessert that delivers maximum reward with very little effort. There is no oven preheating, no complicated batter, and no waiting for a cake to bake; the only heat needed is a brief melting step for the chocolate topping.
The texture is especially satisfying. Finely crushed graham crackers give the peanut butter layer structure while melted butter and powdered sugar create a rich, sweet, tender bite that holds together when sliced.
The topping is made from semisweet chocolate chips and peanut butter, so it spreads easily and sets into a smooth layer with a pleasant snap. The semisweet chocolate keeps the bars from tasting overly sugary, while the peanut butter carries through from the first bite to the last.
These bars are also wonderfully practical for entertaining. Cut the chilled slab into approximately 24 pieces, arrange them on a platter, and you have a generous dessert that can be prepared ahead of time.
If you enjoy the classic combination in cookie form, you may also like these simple peanut butter cookies for your next baking project.
Ingredients You’ll Need
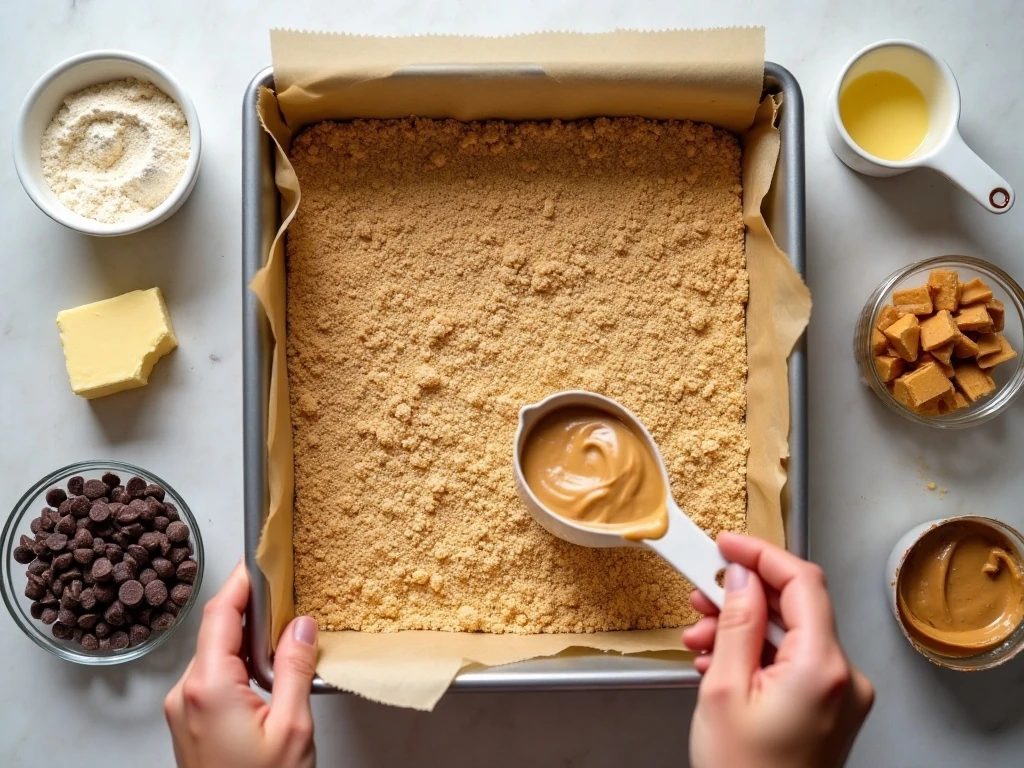
The ingredient list is short, but each item has an important role in the finished bars. Use the measurements below for the intended texture and balance.
- Butter: One cup, or 226 grams, of melted unsalted or salted butter binds the crumbs and adds richness. Either type works well.
- Graham cracker crumbs: Two cups, about 200 grams, should be crushed very finely. Larger pieces can make the base harder to compact and more likely to crumble.
- Powdered sugar: Two cups, approximately 225 to 240 grams, sweeten the base and dissolve more smoothly than granulated sugar.
- Creamy peanut butter: One cup, or 240 grams, goes into the base, while an additional 4 tablespoons, or 60 grams, blend into the chocolate topping.
- Semisweet chocolate chips: One and one-half cups, or 255 grams, create the glossy chocolate finish.
Choose a creamy peanut butter for the smoothest bars. Natural peanut butter can vary in oil content and may make the mixture less predictable, so stir it thoroughly if you use it.
For another candy-inspired peanut butter treat, take a look at these homemade peanut butter cups. They make a fun companion dessert when you are serving a selection of small sweets.
How to Make It Step-by-Step
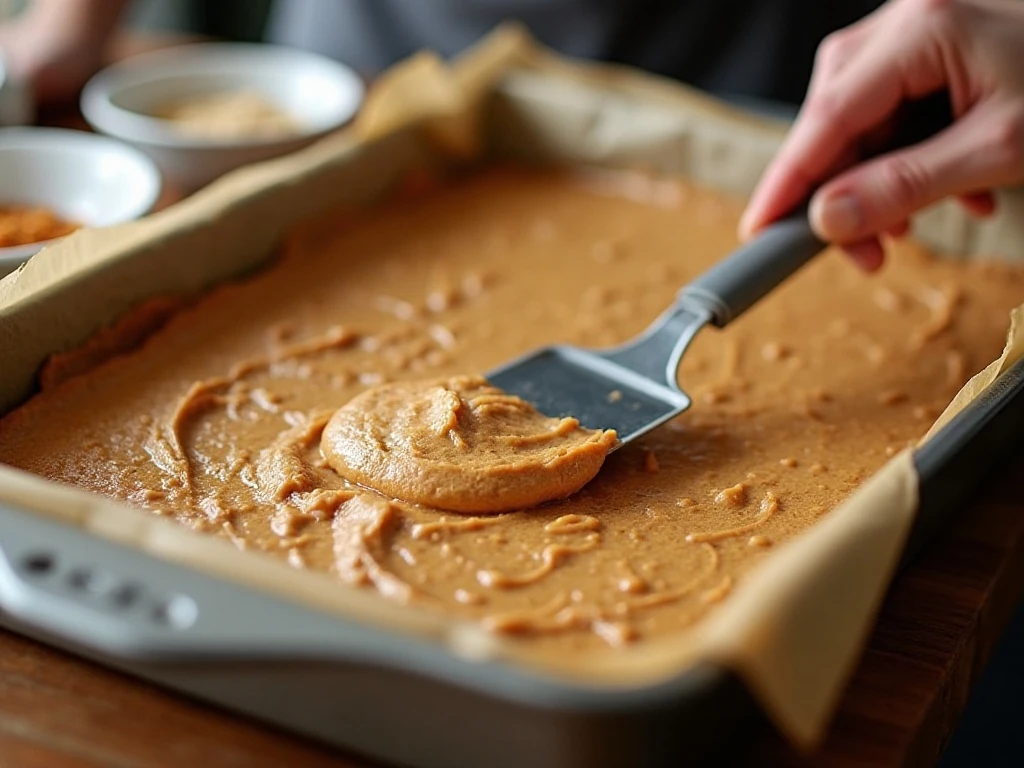
Step 1: Prepare a 9 x 13-inch baking pan by lining it with parchment paper or lightly greasing it. Parchment is particularly helpful because its overhang lets you lift the chilled bars out as one piece, making slicing easier.
Step 2: Add the melted butter, finely crushed graham cracker crumbs, powdered sugar, and 1 cup of creamy peanut butter to a large mixing bowl. Stir thoroughly until the mixture is evenly blended and resembles a thick, cohesive crumb mixture with no dry areas.
Step 3: Scrape the mixture into the prepared pan and press it down firmly and evenly. Compact the base with a spatula, the bottom of a measuring cup, or clean fingertips, making sure the corners are not thinner than the center.
Step 4: Combine the semisweet chocolate chips and 4 tablespoons of peanut butter in a microwave-safe bowl. Microwave in short intervals, stirring after each one, or use a double boiler over gentle heat until the topping is smooth and fluid.
Step 5: Pour the chocolate mixture over the peanut butter base and spread it across the surface. Work gently so the chocolate stays on top rather than mixing into the base, and smooth the finish with an offset spatula.
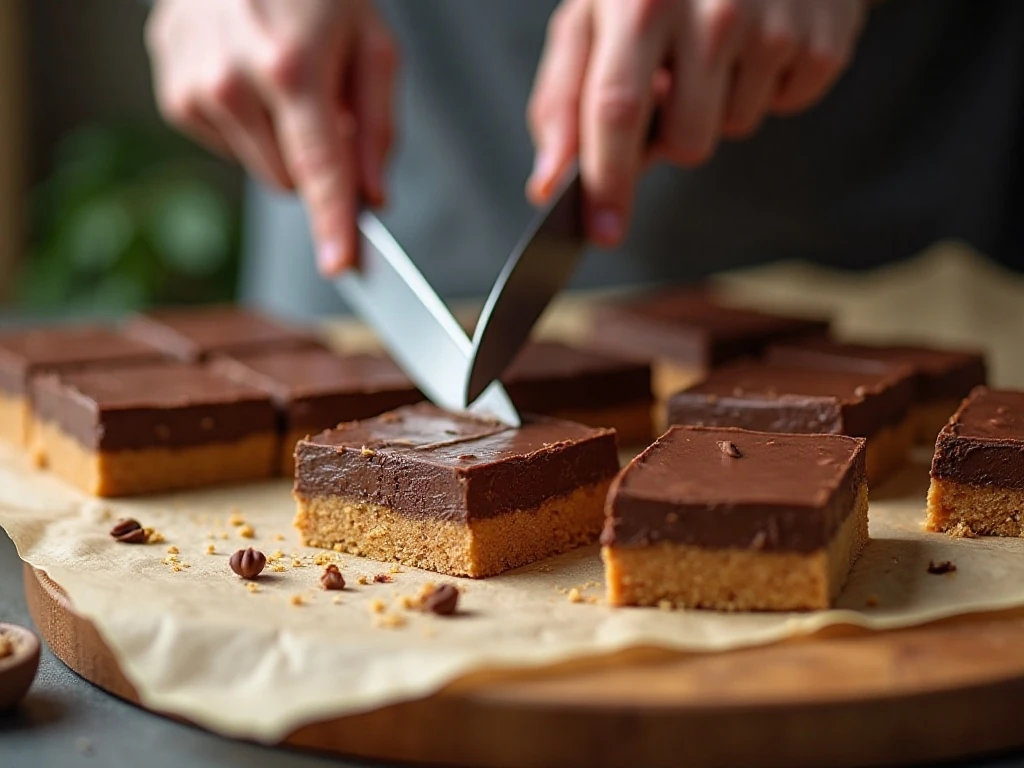
Step 6: Refrigerate the pan for approximately 1 hour, until the bars feel firm. Allow them to stand for a few minutes before cutting, then use a sharp knife to portion the slab into about 24 bars.
Pro Tips for Firm, Clean-Cut Bars
The most important detail is the crumb size. Crush the graham crackers until they look like fine sand rather than coarse pebbles; a food processor works quickly, but a sealed bag and rolling pin also do the job.
Press the base with steady, even pressure. A loosely packed layer may taste delicious, but it can break apart when lifted or cut, especially around the edges.
Chocolate can scorch quickly, so avoid heating it continuously. Short microwave intervals with frequent stirring allow the remaining chips to melt from the bowl’s residual heat without overheating the mixture.
If the topping seems thick, continue stirring patiently rather than immediately adding extra liquid. The peanut butter helps loosen the chocolate while adding flavor, and gentle warmth should produce a spreadable consistency.
For polished-looking squares, chill the bars until firm but not rock-hard. Warm a sharp knife under hot water, wipe it completely dry, make one cut, and repeat the warming and drying process between cuts.
Do not worry if the top is not perfectly glossy after refrigeration. The flavor remains rich and balanced, and a few delicate chocolate swirls can make the bars look homemade in the best possible way.
Serving, Storage & Variations
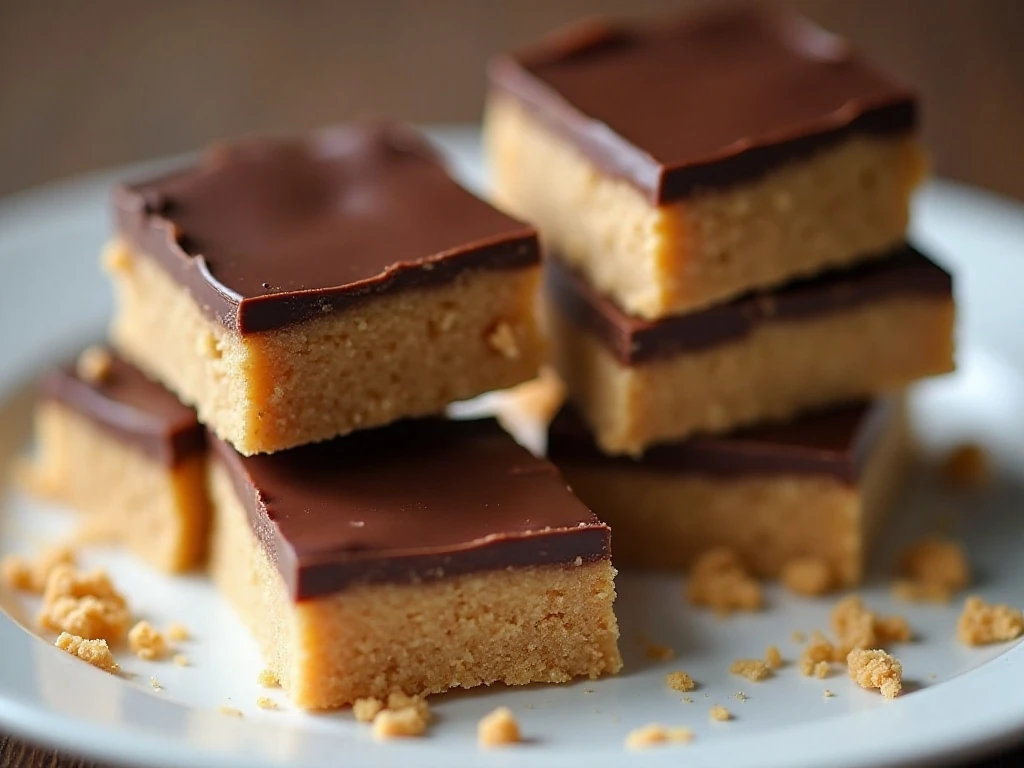
Serve these bars slightly chilled or at cool room temperature. They are rich, so smaller squares are often the ideal portion, especially after a hearty meal or alongside coffee.
Store the bars in an airtight container in the refrigerator. Keeping them chilled helps the base stay firm and the chocolate topping retain its clean shape.
For a party, place parchment between layers so the bars do not stick together. You can also lift the entire chilled slab from the pan, cut it on a board, and return the pieces to the container.
The classic recipe is intentionally simple, but you can vary the presentation without changing the ingredient ratio. Cut the bars into narrow fingers for a dessert tray, or make smaller bite-size pieces for a buffet.
For more savory make-ahead inspiration after dessert planning, browse this comforting chicken bake. A sweet-and-savory spread gives guests plenty of choices without requiring complicated cooking.
Another useful pantry project is this homemade apple butter, which brings warm fruit flavor to toast, biscuits, and breakfast plates. It is unrelated to these bars, but it pairs nicely with a relaxed weekend menu.
Common Questions
Can I use salted butter? Yes. The source recipe works with either unsalted or salted butter, so choose what you have available. Since peanut butter and chocolate already provide strong flavor, there is no need to add extra salt.
Why are my bars crumbly? The most common causes are graham cracker crumbs that are too coarse or a base that was not pressed firmly enough. Crush the crackers finely and compact the mixture evenly across the pan.
Can I melt the topping on the stove? Yes. A double boiler is an excellent option, provided the chocolate is heated gently and stirred often. Keep water from touching the chocolate because moisture can affect its texture.
How long should the bars chill? Refrigerate them for approximately 1 hour, or until firm. Let them stand for a few minutes before slicing so the chocolate is firm enough to hold its shape without being rock-hard.
What else can I serve at a casual gathering? If you want a savory dip alongside sweet treats, this easy cheeseburger dip is a crowd-friendly option for crackers, chips, and vegetables.
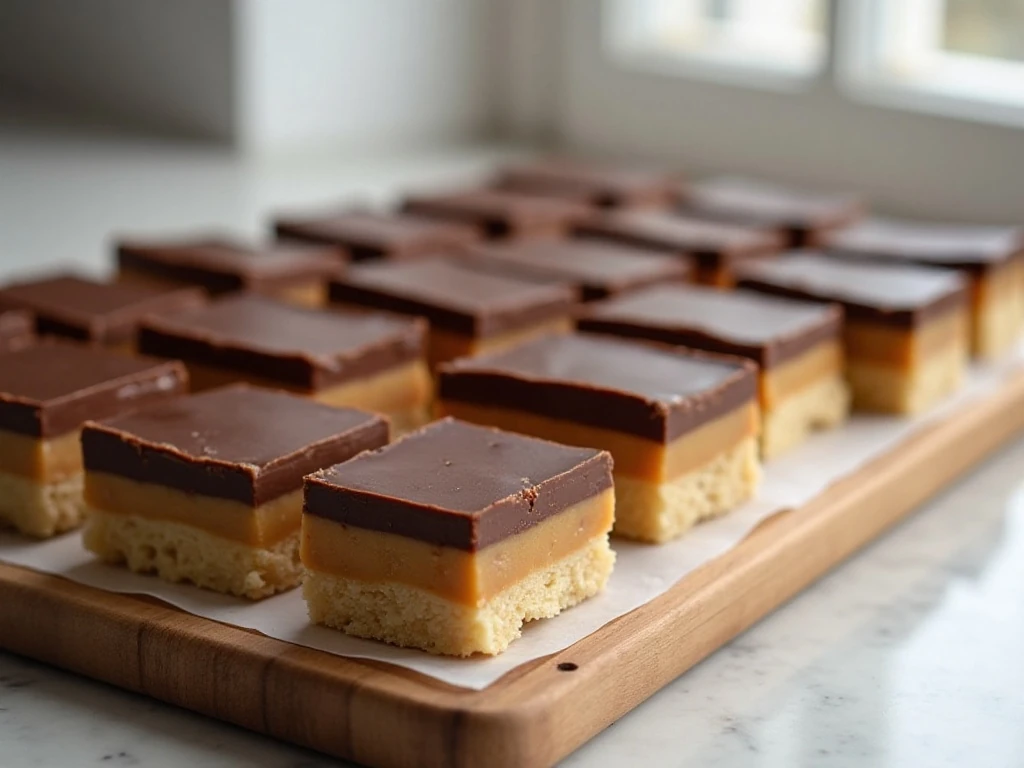
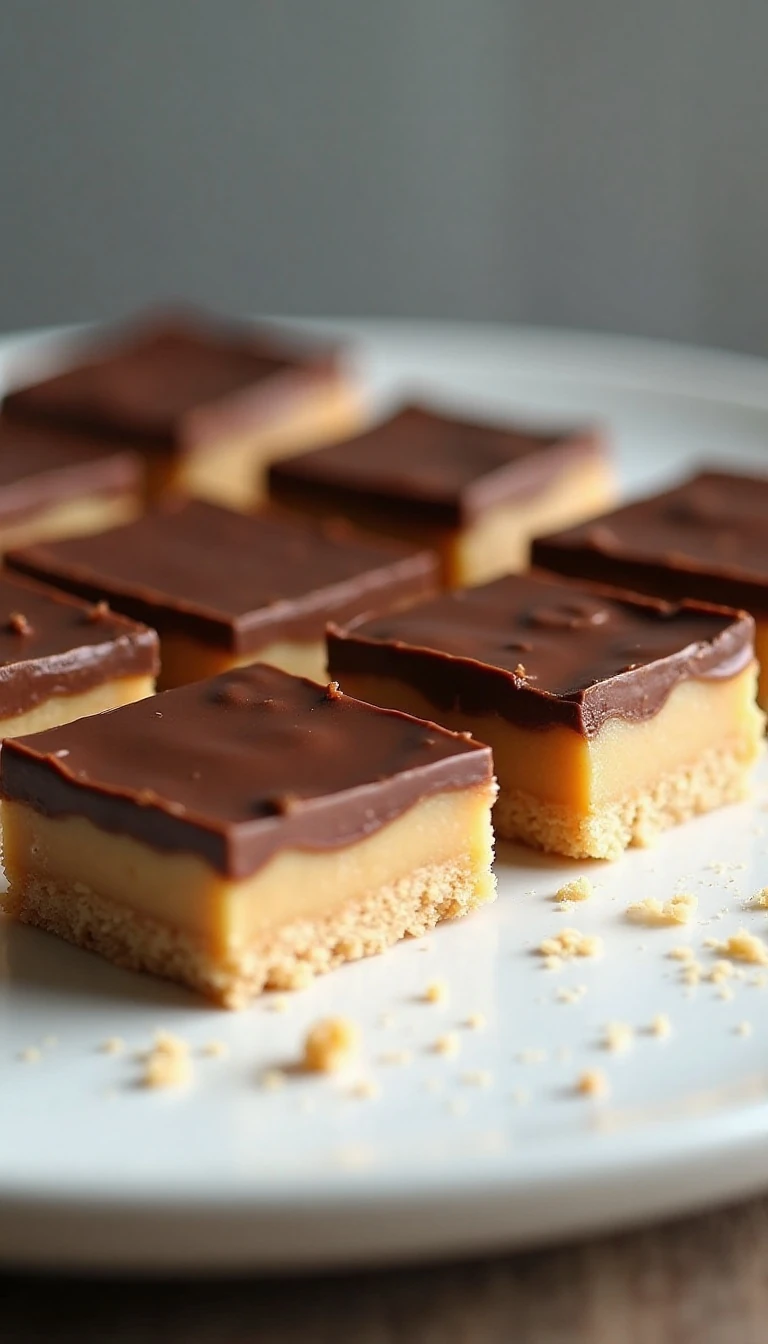
Easy No-Bake Peanut Butter Bars
Ingredients
Method
- Line a 9 x 13-inch baking pan with parchment paper, leaving some overhang for lifting, or lightly grease the pan. Make sure the pan is ready before mixing the base because the mixture sets quickly once combined.
- In a large bowl, stir together the melted butter, finely crushed graham cracker crumbs, powdered sugar, and 1 cup of creamy peanut butter. Mix until the color and texture look evenly combined, with no dry pockets of crumbs or visible streaks of peanut butter.
- Transfer the peanut butter mixture to the prepared pan and press it firmly into an even layer. Pay special attention to the corners and edges, using the flat bottom of a measuring cup or a spatula to compact the crumbs.
- Place the semisweet chocolate chips and the remaining 4 tablespoons of creamy peanut butter in a microwave-safe bowl. Heat in short intervals, stirring after each interval, until smooth; you may also melt the mixture gently in a double boiler.
- Spread the melted chocolate mixture over the peanut butter base, guiding it gently toward every corner. Use an offset spatula or the back of a spoon to create a level topping without disturbing the layer underneath.
- Refrigerate the pan for approximately 1 hour, or until the bars are firm. Let the chilled slab stand for a few minutes, then lift it out using the parchment and cut it with a sharp knife.
Notes
Final Thoughts
These easy no-bake peanut butter bars prove that an impressive homemade dessert does not need a long ingredient list or an oven. With a buttery graham cracker base, creamy peanut butter throughout, and a smooth semisweet chocolate topping, they are simple to prepare and deeply satisfying to eat.
Prepare the pan, mix and press the base firmly, melt the topping gently, and give the bars about 1 hour to chill. Once sliced, they are ready for sharing, gifting, or keeping in the refrigerator for a sweet treat whenever the craving arrives.
For the best results, remember the three key details: crush the graham crackers finely, compact the base firmly, and avoid overheating the chocolate. Follow those steps and you will have about 24 rich, tidy bars with the classic peanut butter-and-chocolate flavor everyone loves.