These Spooky and Easy Halloween Ghost Brownies are the perfect quick Halloween dessert: start with one box of fudge brownie mix, prepare it with the ingredients listed on the package, then pipe canned vanilla frosting into ghost shapes and add mini chocolate-chip eyes. The brownies bake in about 22–28 minutes, and the complete practical recipe takes approximately 1 hour to 1 hour 20 minutes, including cooling and decorating.
Every bite combines a rich, chewy chocolate brownie with sweet, creamy vanilla frosting and tiny bursts of chocolate from the ghost faces. The simple decorating method looks wonderfully spooky without requiring special cake-decorating skills, making these brownies ideal for classroom parties, Halloween gatherings, bake sales, or a fun afternoon project with the family.
Jump to RecipeWhy You’ll Love This Recipe
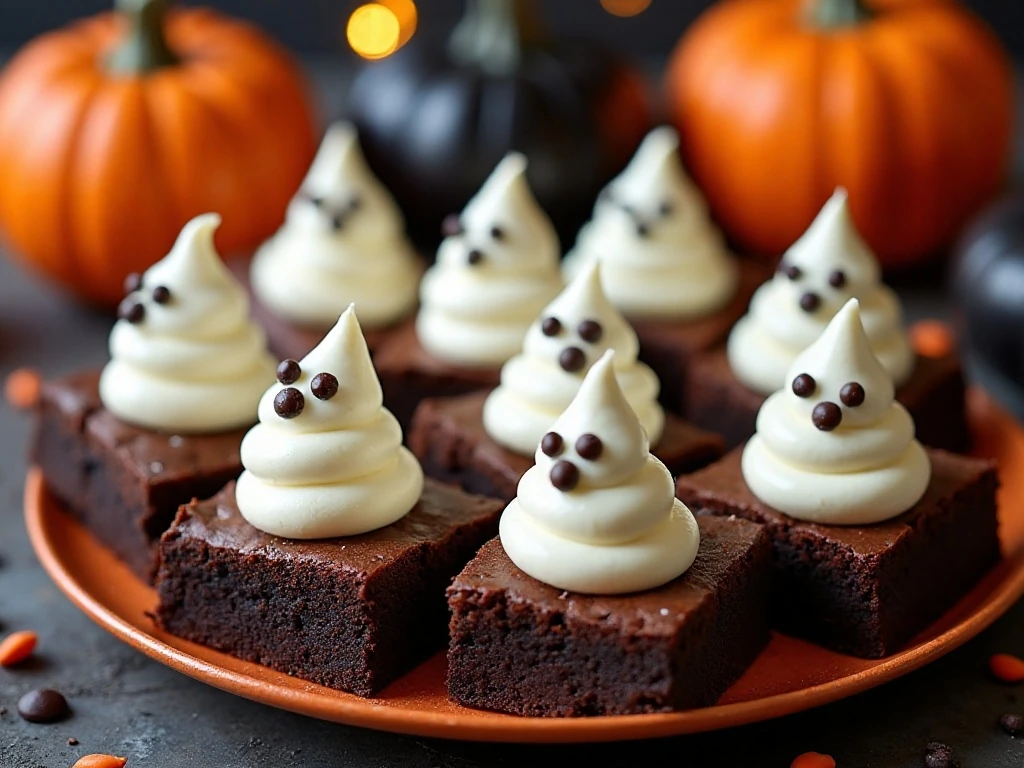
Halloween baking does not need to involve complicated layers, fondant, or a long list of specialty ingredients. These ghost brownies use a reliable boxed fudge brownie mix and turn it into a festive dessert with one easy frosting technique.
The finished brownies have a rich chocolate base, a fluffy vanilla topping, and adorable little faces that make them instantly recognizable. You can cut them into 16 large brownies, 20 medium portions, or up to 24 smaller treats for a party table.
They are also a practical make-ahead dessert. Bake the brownies earlier in the day, chill them for easier cutting, and pipe the ghosts shortly before serving.
If you are planning a full party spread, pair this sweet treat with a cheesy party dip for a hearty appetizer before dessert.
Ingredients You’ll Need
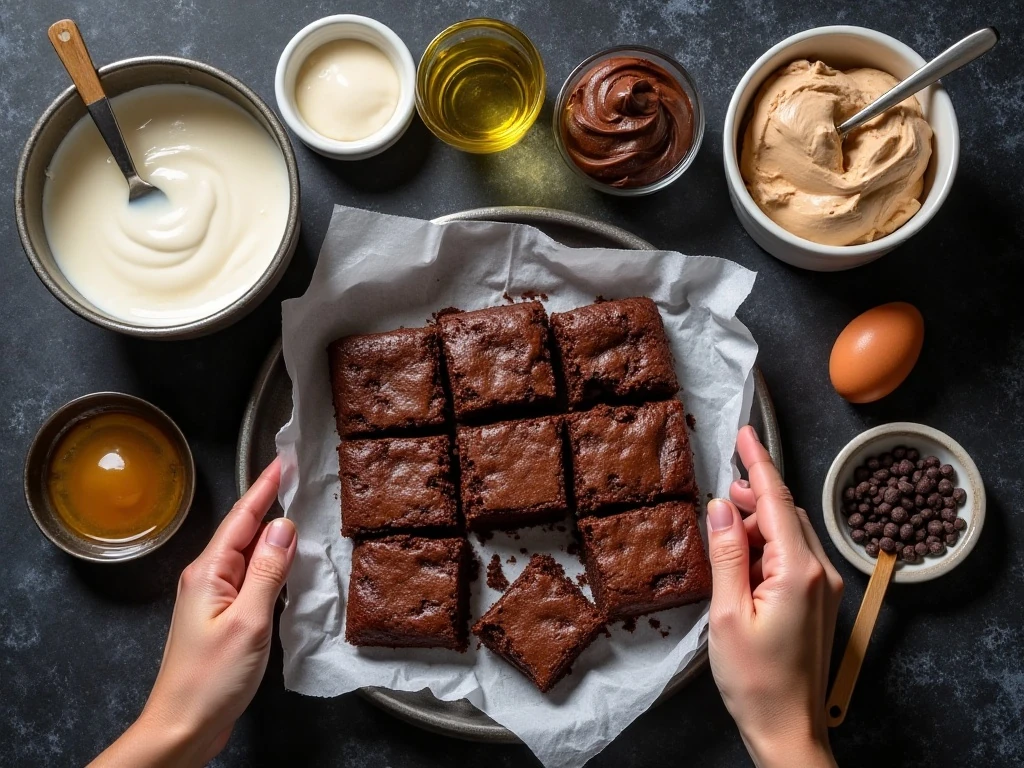
The ingredient list is short because the brownie mix provides the chocolate base and the package directions guide the liquid and egg amounts. Most typical 18–19-ounce mixes call for two large eggs, one-half cup vegetable oil, and two to three tablespoons of water.
- Fudge brownie mix: Use one box, approximately 18–19 ounces.
- Eggs, oil, and water: Add the exact ingredients and amounts listed on your chosen mix; the typical amounts are two large eggs, one-half cup vegetable oil, and two to three tablespoons water.
- Vanilla frosting: One 16-ounce container provides enough frosting for the ghost decorations.
- Mini chocolate chips: Plan on 32–48 chips, using two per ghost for the eyes.
- Optional chocolate decoration: Use one-quarter cup chocolate frosting or melted chocolate for mouths, swirls, or extra Halloween details.
A 9-by-13-inch baking pan, parchment paper, a mixing bowl, and a spoon are all you need for the brownies. For the neatest ghosts, use a piping bag or a zip-top bag with one corner snipped off.
For another easy sweet addition to your Halloween table, you can also serve quick homemade beignets alongside the brownies.
How to Make It Step-by-Step
Step 1: Heat the oven according to the brownie-mix package directions, usually to 350°F. Grease a 9-by-13-inch pan or line it with parchment paper, leaving a little overhang to make lifting the cooled brownies easier.
Step 2: Add the brownie mix, eggs, vegetable oil, and water to a mixing bowl. Stir only until the ingredients come together and no dry streaks remain; overmixing can make the brownies less tender.
Step 3: Transfer the batter to the prepared pan and spread it into an even layer. Smooth the corners gently so the brownies bake at the same rate from edge to edge.
Step 4: Bake for approximately 22–28 minutes, following the package directions for your particular mix. Begin checking toward the shorter end of the range, and remove the pan when the center is set and a toothpick comes out with a few moist crumbs instead of wet batter.
Step 5: Let the brownies cool completely in the pan, which usually takes 30–45 minutes. For especially clean cuts and firmer frosting, place the cooled pan in the refrigerator for 20–30 minutes before decorating.
Step 6: Lift the brownie slab from the pan if using parchment, then cut it into squares or rectangles. Depending on the size you prefer, the pan will yield about 16–24 brownies.
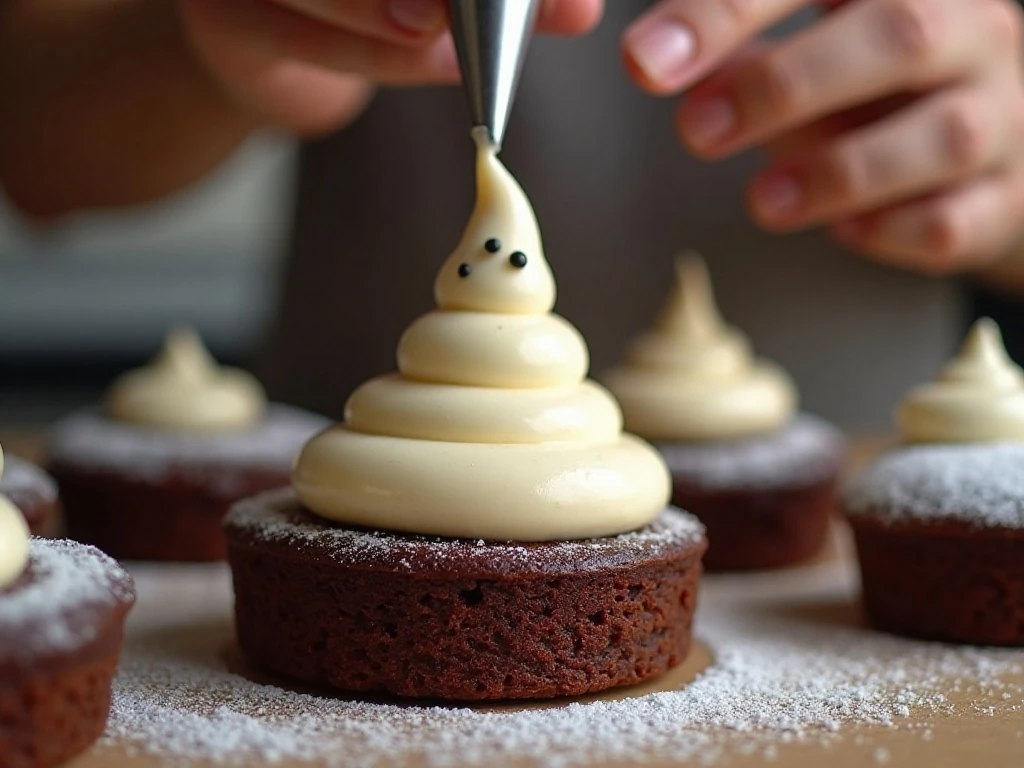
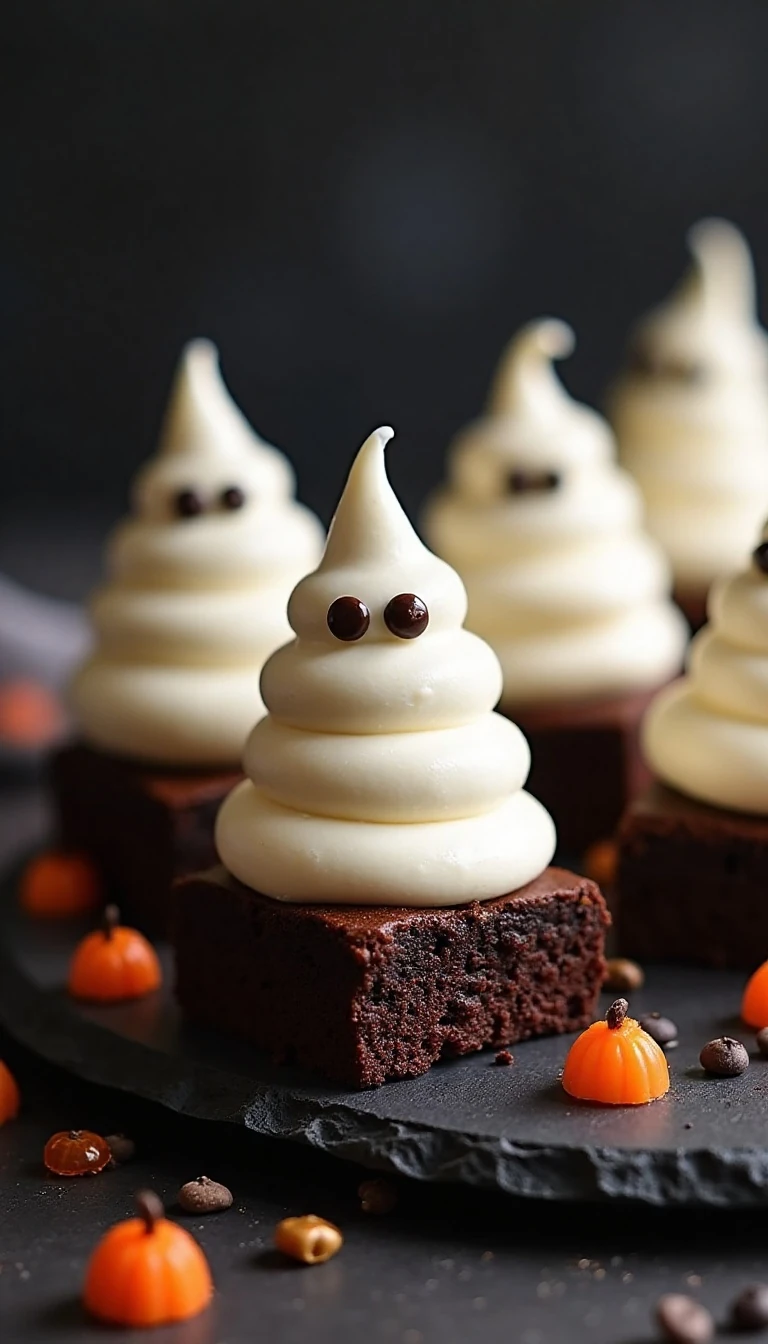
Step 7: Spoon the vanilla frosting into a piping bag or a zip-top bag with the corner snipped off. Starting at the center of each brownie, pipe upward in one continuous motion, widening the base and narrowing the top to create a rounded ghost silhouette.
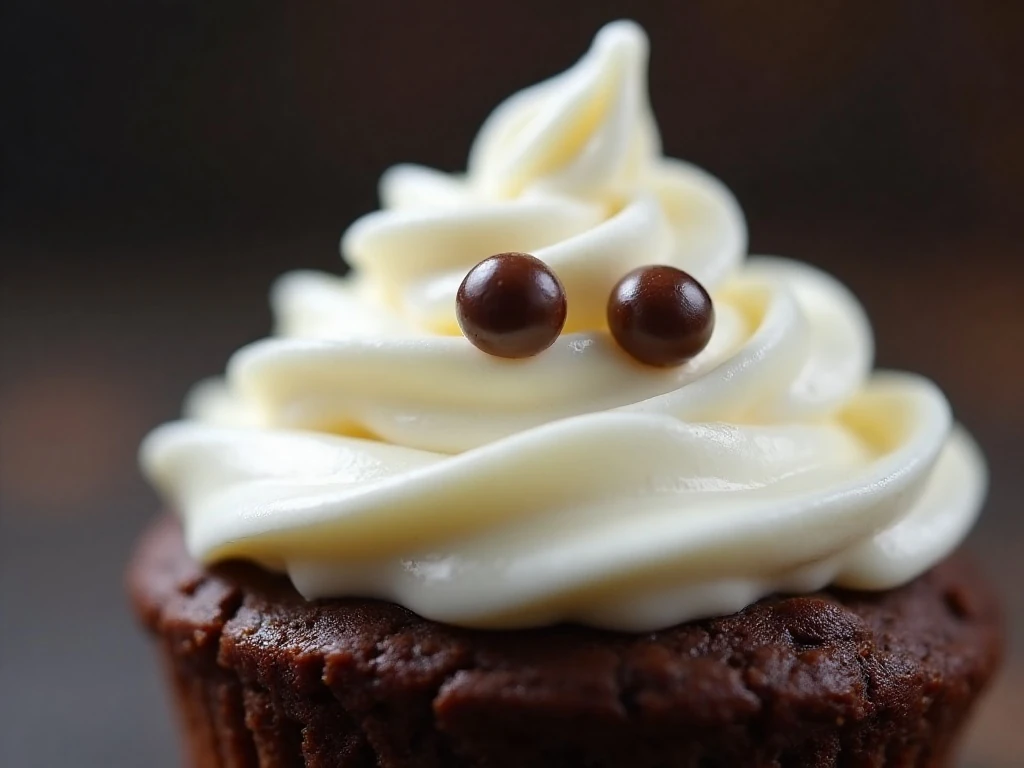
Step 8: Press two mini chocolate chips into each frosting mound to make the eyes. If you want expressive faces, add a third mini chip or a small dot of chocolate frosting for a mouth.
Step 9: Serve the brownies immediately, or refrigerate them until the frosting firms. Arrange them on a platter just before serving so the white ghosts stand out against the dark brownies.
Pro Tips for Perfect Ghost Brownies
Chilling is the most useful trick in this recipe. Firm brownies cut more cleanly, produce fewer crumbs, and give the frosting a stable surface instead of a warm, soft base.
Use mini chocolate chips rather than regular-size chips for the faces. Their smaller size keeps the frosting from sagging, and the eyes look more balanced on each little ghost.
When piping, do not spread the frosting flat with a knife. A tall mound with a wider bottom and tapered top creates the ghost shape, while a quick upward pull gives the frosting a playful point.
If your frosting is very soft, refrigerate the container for a short time before piping. If it is too firm to pipe, stir it gently until smooth, but avoid adding extra liquid.
For a polished party presentation, pipe the ghosts in slightly different heights and give some of them mouths while leaving others with only two eyes. The small variations make the platter look handmade and lively.
Keep the optional chocolate decoration simple. A tiny mouth is enough, though thin chocolate lines can also create eyebrows, tiny bow ties, or little spiderweb accents around the platter.
For a savory side dish to balance a dessert-heavy menu, consider adding crispy roasted potatoes to your gathering.
Serving, Storage, and Party Ideas
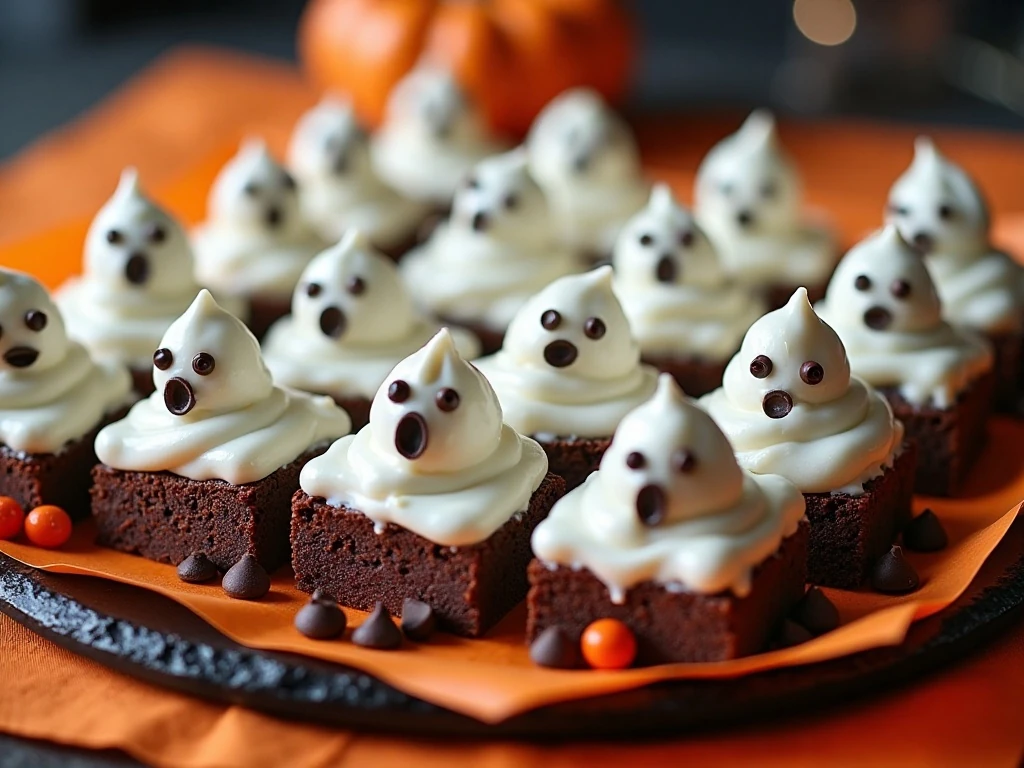
These brownies are best served at cool room temperature or slightly chilled. The chocolate flavor is rich, while the vanilla frosting stays pleasantly creamy and firm enough to hold its shape.
Store decorated brownies in a covered container in the refrigerator if your kitchen is warm or if you are preparing them in advance. Refrigeration helps the frosting firm, and the brownies can be brought out shortly before serving.
For a Halloween dessert board, arrange the ghost brownies beside bowls of candy corn, chocolate candies, or orange sprinkles. Use a black, white, or orange platter to make the vanilla ghosts and chocolate brownie edges stand out.
When serving children, cut smaller portions so everyone can enjoy a ghost without creating overly large servings. The recipe makes about 16–24 brownies, depending on how you cut the pan.
For a second fruity dessert on the table, our easy mandarin orange dessert adds a bright contrast to the rich chocolate brownies.
Easy Variations for Halloween
The classic white frosting ghosts are the simplest and most recognizable option, but you can adapt the decorations to suit your party. Add a few drops of orange or purple food coloring to a small portion of frosting and pipe tiny borders or stars around the brownies.
You can also use chocolate frosting for the mouths instead of a third chip. Transfer the chocolate frosting to a small piping bag, snip a very narrow opening, and add small round dots or curved smiles.
For a more rustic look, cut some brownies into rectangles and some into squares. The different shapes create a friendly group of ghosts, and the variation makes a large platter more visually interesting.
Keep the brownie base simple so the ghost faces remain the focus. The boxed-mix method is popular because it delivers a dependable result with minimal prep while leaving plenty of time for decorating and party planning.
If you are baking for a fall brunch as well as Halloween night, a slice of easy peach bread makes a lovely seasonal companion to these chocolate treats.
Spooky and Easy Halloween Ghost Brownies
Ingredients
Method
- Heat the oven according to the brownie-mix package directions, usually to 350°F. Grease or line a 9-by-13-inch baking pan with parchment paper.
- Stir together the brownie mix, eggs, vegetable oil, and water until just combined. Avoid overmixing so the baked brownies remain tender and fudgy.
- Spread the batter evenly in the prepared pan. Bake according to the package directions, usually for 22–28 minutes, until the center is set and a toothpick shows a few moist crumbs rather than wet batter.
- Cool the brownies completely in the pan. For cleaner cuts and firmer frosting, chill the cooled brownies for 20–30 minutes before slicing.
- Cut the brownies into 16–24 squares or rectangles. Spoon or pipe vanilla frosting onto each piece in a tall, rounded mound to resemble a ghost.
- Press two mini chocolate chips into each frosting ghost for the eyes. Add a third mini chocolate chip or a small dot of chocolate frosting for a mouth, if desired.
- Serve the brownies immediately or refrigerate them until the frosting firms. Keep decorated brownies covered so the frosting stays fresh.
Notes
Final Thoughts
Spooky and Easy Halloween Ghost Brownies are proof that a memorable holiday dessert can come together with a handful of familiar ingredients and a little creative piping. The fudgy brownie base is prepared according to the box directions, while vanilla frosting and mini chocolate chips transform each portion into a charming ghost.
Allow the brownies to cool fully, chill them before cutting, and pipe the frosting upward rather than spreading it flat. Those simple steps produce neat, recognizable ghosts that are ready for a Halloween party, school celebration, bake sale, or cozy movie night.
Make a batch, give every ghost its own expression, and watch these spooky little brownies disappear from the dessert table.
1 thought on “Spooky and Easy Halloween Ghost Brownies Recipe”