Easy Magic Brownie Bars are a simple dessert made with a boxed fudge brownie mix, chocolate chips, sweetened coconut, chopped nuts, and a rich layer of sweetened condensed milk. Bake the brownie base for about 20 minutes, add the toppings without stirring, then bake for another 15–25 minutes until golden and set.
After at least 1 hour of cooling, these bars become wonderfully fudgy, chewy, crunchy, and chocolatey all at once. They make about 24–36 bars in a 13 x 9-inch pan, making them a reliable choice for cookie trays, potlucks, bake sales, holidays, and casual family desserts.
Jump to RecipeWhy You’ll Love This Recipe
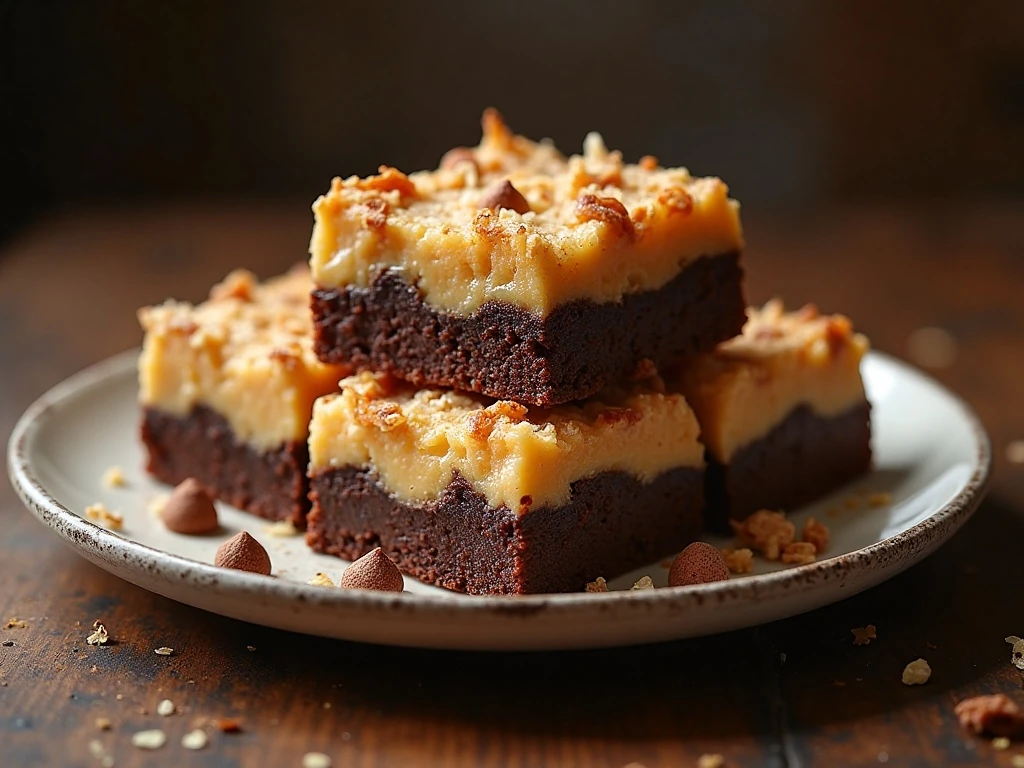
These Easy Magic Brownie Bars deliver the comfort of homemade brownies with very little measuring or mixing. A boxed fudge brownie mix creates the base, while the topping transforms it into something much more memorable.
Every bite offers a contrast of textures. The brownie layer is dense and fudgy, the chocolate chips add pockets of melt-in-your-mouth richness, the coconut becomes pleasantly chewy, and the nuts bring a delicate crunch.
The sweetened condensed milk ties everything together as it bakes into a glossy, golden topping. It does not turn the bars into a loose caramel dessert; instead, it creates a soft, chewy layer that settles beautifully as the pan cools.
If you enjoy easy treats that can feed a crowd, you may also like these fluffy homemade beignets for another low-fuss dessert idea.
Ingredients You’ll Need
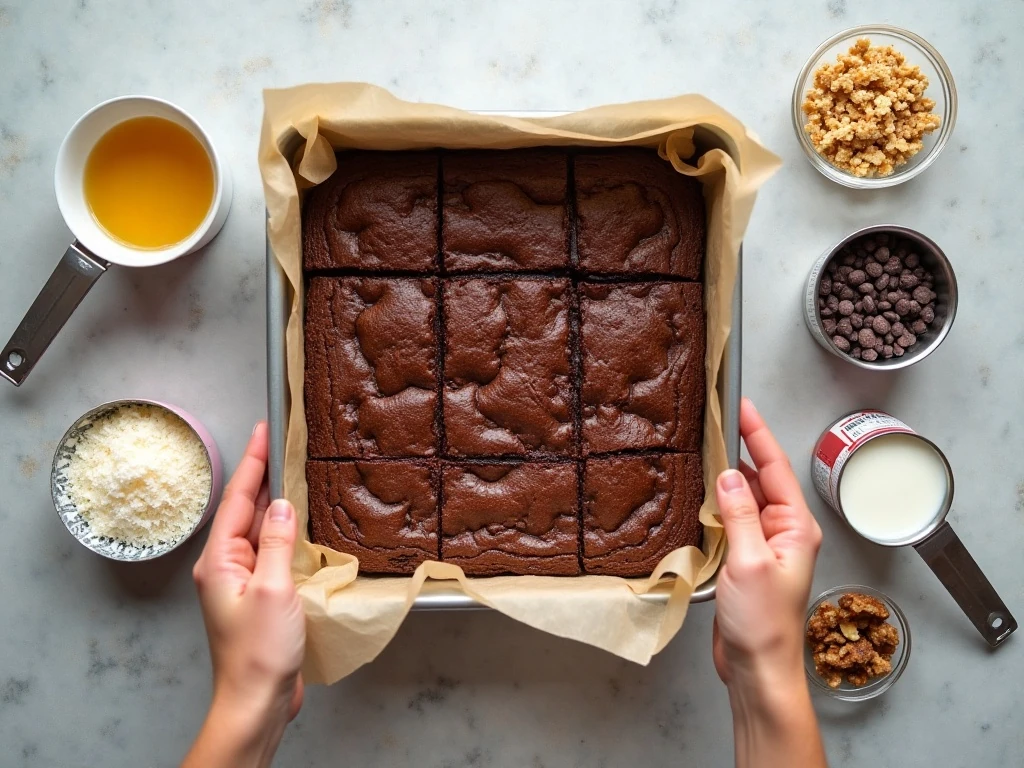
The ingredient list is short, but each component has an important job. Choose a brownie mix that makes an 18–19-ounce batch, then check its package for the exact amount of water, vegetable oil, and eggs required.
- Fudge brownie mix: This forms the rich, chocolatey foundation and keeps preparation quick.
- Semisweet chocolate chips: One cup gives the topping deep chocolate flavor without making it quite as sweet as milk chocolate chips.
- Sweetened flaked coconut: Coconut adds chewiness and a lightly toasted flavor as it bakes.
- Walnuts or pecans: Either nut works well. Pecans taste buttery and mellow, while walnuts provide a slightly more robust bite.
- Sweetened condensed milk: Use one 14-ounce can of full-fat sweetened condensed milk. Evaporated milk is not an equivalent substitute because it does not have the same thickness or sweetness.
Parchment paper is also highly recommended. Leave some paper hanging over the sides of the pan so the cooled slab can be lifted out without scraping the sticky condensed-milk topping.
How to Make It Step-by-Step
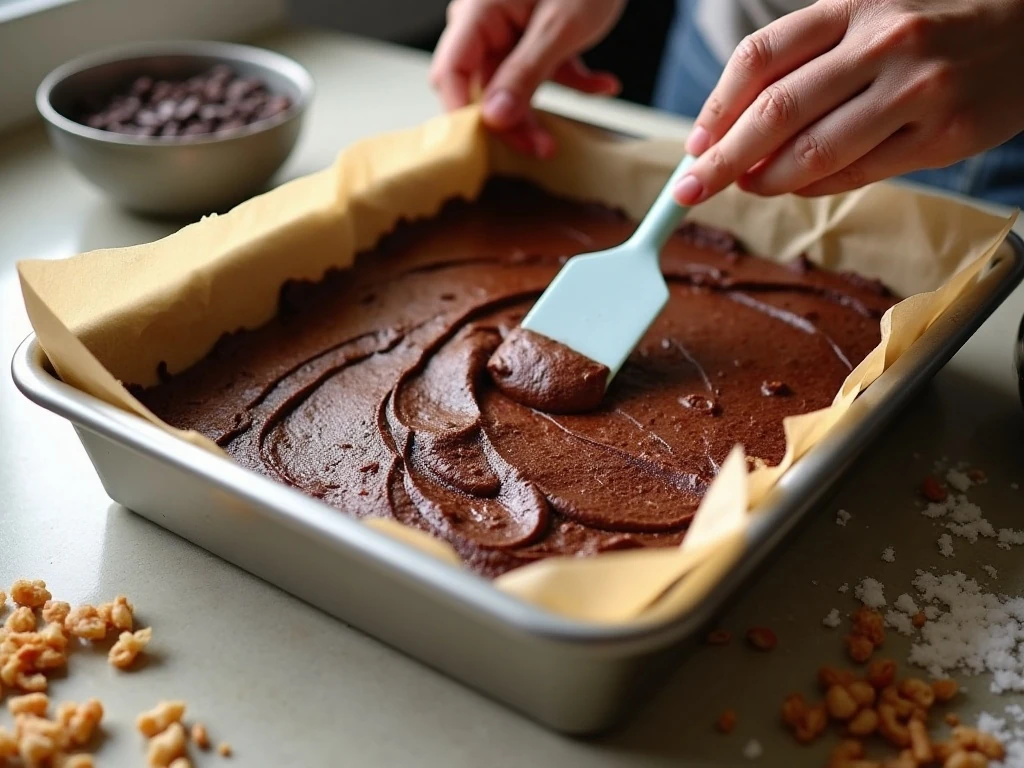
Step 1: Heat the oven to 350°F and prepare a 13 x 9-inch baking pan. Grease the pan thoroughly, or line it with parchment paper and leave an overhang on two sides so the finished bars are easier to remove.
Step 2: Prepare the fudge brownie mix according to the directions printed on the package. Because brands vary, use the exact listed amounts of water, vegetable oil, and eggs, then stir only until the batter is combined.
Step 3: Spread the brownie batter evenly into the prepared pan. Smooth the surface with a spatula so the brownie layer bakes at a consistent thickness from edge to edge.
Step 4: Bake the brownie base for about 20 minutes, just until it begins to set. It does not need to be fully baked at this stage because it will return to the oven with the topping.
Step 5: Remove the pan from the oven and sprinkle the chocolate chips evenly over the warm brownie layer. Follow with the coconut and chopped walnuts or pecans, distributing each ingredient across the surface rather than piling it in the center.
Step 6: Pour the sweetened condensed milk slowly over the toppings. Try to cover as much of the surface as possible, and resist the temptation to stir because the separate layers create the signature magic-bar texture.
Step 7: Return the pan to the oven and bake for another 15–25 minutes. The edges should be lightly browned and the center should look set, although the chocolate and condensed-milk topping will remain soft.
Step 8: Place the pan on a cooling rack and let the bars cool completely for at least 1 hour. Once cool, chill them for cleaner slices, lift them out using the parchment overhang, and cut into 24–36 bars.
How to Tell When the Bars Are Done
A clean toothpick is not the best test for this recipe. The brownie base may pass a toothpick test while the topping remains soft, and the melted chocolate chips can leave the pick looking moist even when the bars are ready.
Instead, focus on visual and structural signs. The edges should be lightly browned, the brownie base should look set, and the center should no longer appear liquid or wobbly beneath the topping.
Remember that the bars continue to firm as they cool. Taking them out when the topping is deeply dark brown can result in an overly hard coconut layer, so aim for a warm golden color.
Chef Tips for Perfect Magic Brownie Bars
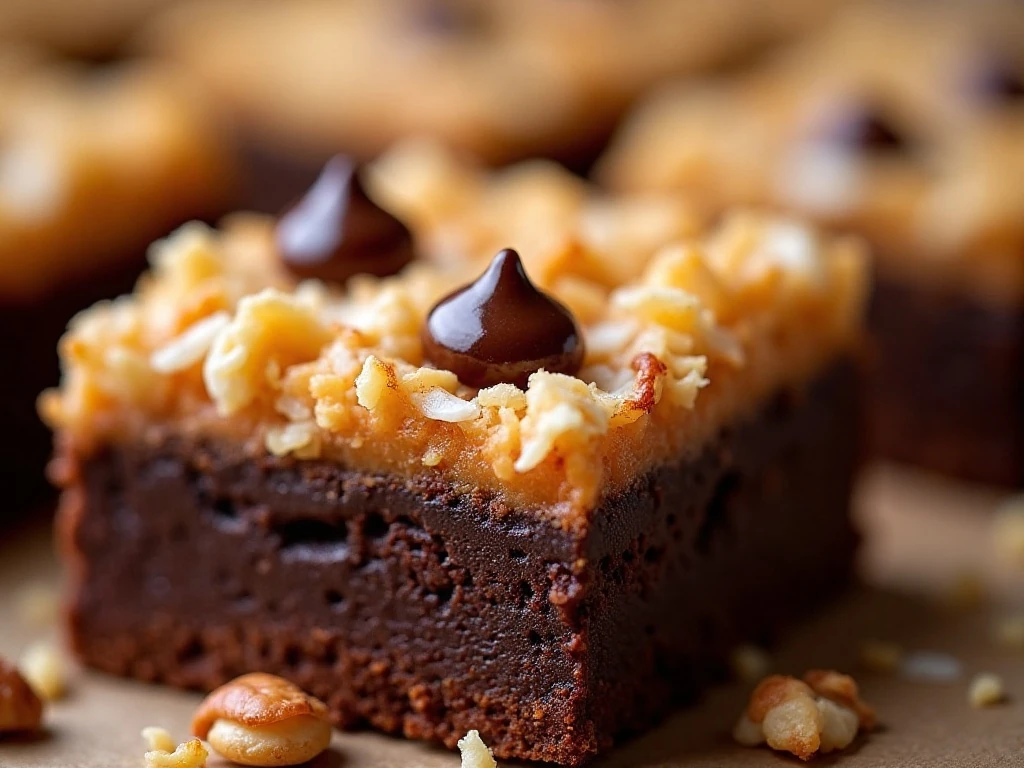
- Use the right pan: A 13 x 9-inch pan gives the recipe the intended thickness. A smaller pan may make the center too thick and change the baking time.
- Read your brownie box: Package sizes and directions vary. Do not assume every mix uses the same number of eggs or the same amount of oil and water.
- Spread the brownie batter evenly: Thin spots can overbake before the middle is ready, so take a moment to smooth the batter into the corners.
- Keep the layers separate: Scattering and pouring are all that is needed. Stirring the toppings into the batter can make the finished bars heavy and uneven.
- Choose fresh nuts: Walnuts and pecans can pick up stale flavors when stored too long. Taste them before adding them to the pan.
- Chill before slicing: Cooling for at least 1 hour is essential, and additional chilling makes the sticky top easier to cut neatly.
For a less-sweet version, reduce the chocolate chips to 3/4 cup and keep the semisweet variety. Milk chocolate chips can be used for a sweeter bar, but semisweet chips offer a better balance with the condensed milk and coconut.
For another easy sweet option to serve alongside these bars, try this refreshing mandarin orange dessert when you want something creamy and fruity.
Serving Suggestions
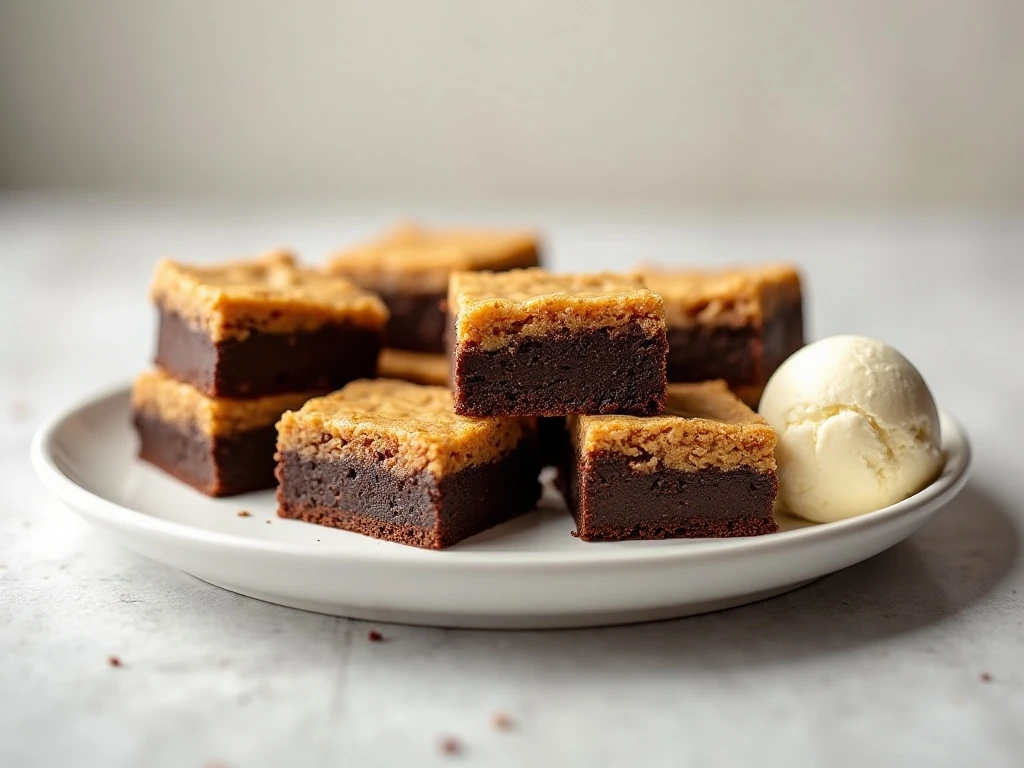
Serve the bars in small squares because they are rich and satisfying. A sharp knife wiped clean between cuts will give you attractive layers and reduce smearing across the condensed-milk topping.
They are delicious at room temperature, when the brownie feels soft and fudgy. Chilled bars are firmer and especially convenient for dessert trays, lunch boxes, and transporting to gatherings.
For a simple presentation, arrange the squares on a white platter and add a light dusting of powdered sugar just before serving. You can also serve each bar with a small scoop of vanilla ice cream, although the recipe is already sweet and rich on its own.
Planning a full meal for guests? Pair dessert with crisp roasted potatoes as a savory side, or add a bright ham and pineapple salad to the table.
Storage and Make-Ahead Advice
Let the bars cool fully before covering them. Store them in an airtight container with parchment between layers if you stack them, and keep the container at room temperature for short-term serving.
For firmer texture and longer storage, refrigerate the covered bars. Chilling also makes the topping less sticky and makes it easier to cut uniform pieces straight from the pan.
The bars are convenient to make ahead because the flavor and texture settle as they cool. If preparing them for a party, bake them the day before, chill them, and cut them shortly before arranging them on a serving platter.
For a fruit-filled baking project on another day, our easy peach bread is another welcoming choice for a dessert table.
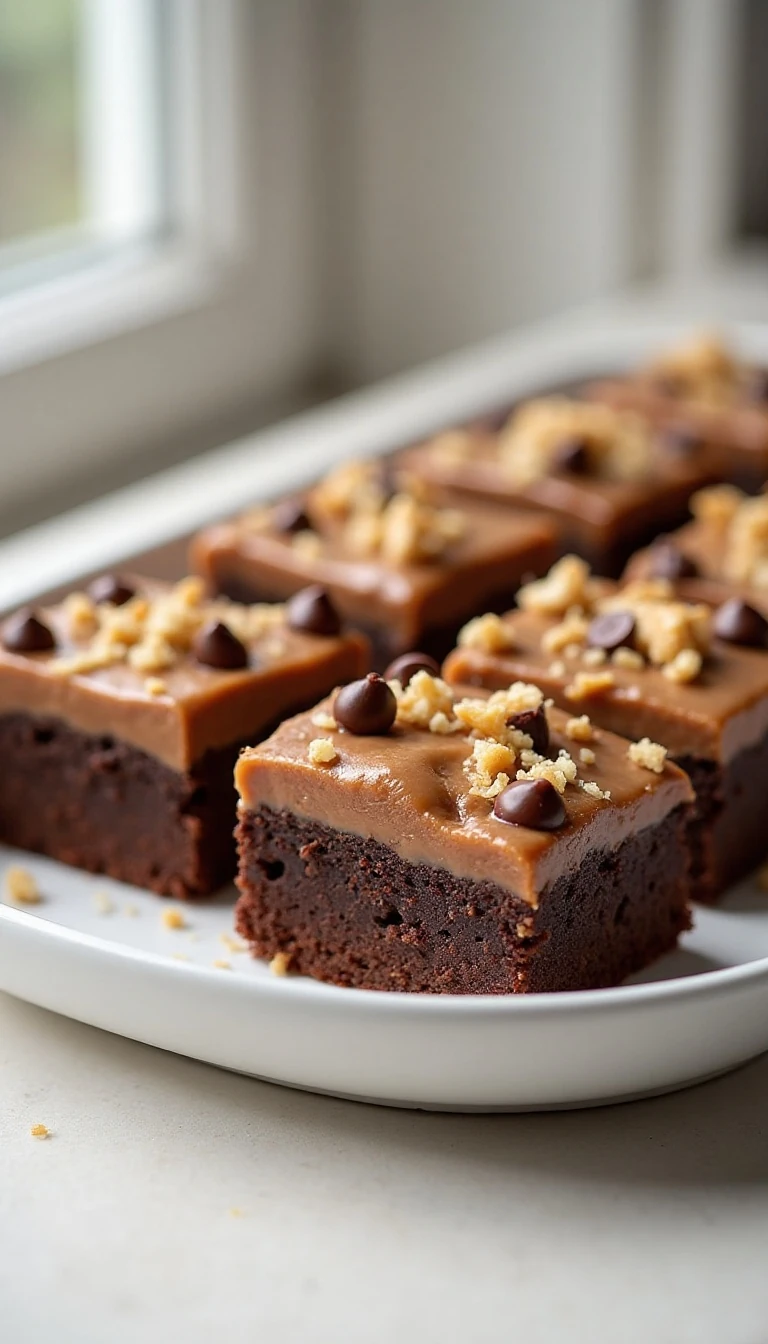
Easy Magic Brownie Bars
Ingredients
Method
- Heat the oven to 350°F. Grease a 13 x 9-inch baking pan or line it with parchment paper, leaving an overhang on two sides for lifting.
- Prepare the brownie mix according to the directions on the specific package, using the listed amounts of water, vegetable oil, and eggs. Spread the batter evenly in the prepared pan.
- Bake the brownie layer for about 20 minutes, just until it begins to set. Remove the pan from the oven while the center is still soft enough to support the toppings.
- Sprinkle the chocolate chips, coconut, and chopped walnuts or pecans evenly over the partially baked brownie layer. Keep the ingredients in distinct, even layers and do not stir them together.
- Pour the sweetened condensed milk slowly and evenly over the entire surface. Return the pan to the oven and bake for another 15–25 minutes, until the edges are lightly browned and the center is set.
- Cool the bars completely for at least 1 hour before cutting. For especially clean slices, chill the cooled pan before lifting the bars from the parchment and cutting them.
Notes
Final Thoughts
Easy Magic Brownie Bars are the kind of dessert that looks special without demanding complicated pastry skills. With a boxed brownie base, a few pantry-friendly toppings, and one can of sweetened condensed milk, you get a generous pan of layered treats with fudgy, chewy, crunchy, and chocolate-rich textures.
For the best results, follow the brownie mix directions on your particular package, bake the base before adding the toppings, and avoid judging doneness with a toothpick alone. Most importantly, give the bars at least 1 hour to cool before slicing so the layers have time to set.
Make the recipe with walnuts or pecans, choose semisweet chips for a balanced flavor, and chill the finished bars for especially clean cuts. Once you taste that golden coconut-and-condensed-milk topping over a fudgy brownie, this easy dessert is likely to become a regular favorite.