To make homemade pita bread, mix warm water with active dry yeast and sugar, then add flour, salt, and olive oil to form a soft dough. Knead it until smooth, let it rise for 60–90 minutes, divide it into eight balls, roll each one thin, and bake on a thoroughly heated surface at 475–500°F for 2–4 minutes.
This easy pita bread recipe produces soft, fluffy rounds with dramatic pockets that are perfect for hummus, falafel, grilled meats, salads, and sandwiches. The secret is a hot baking stone, steel, or heavy baking sheet, plus evenly rolled dough that stays covered so it does not dry out.
Jump to RecipeWhy You’ll Love This Recipe
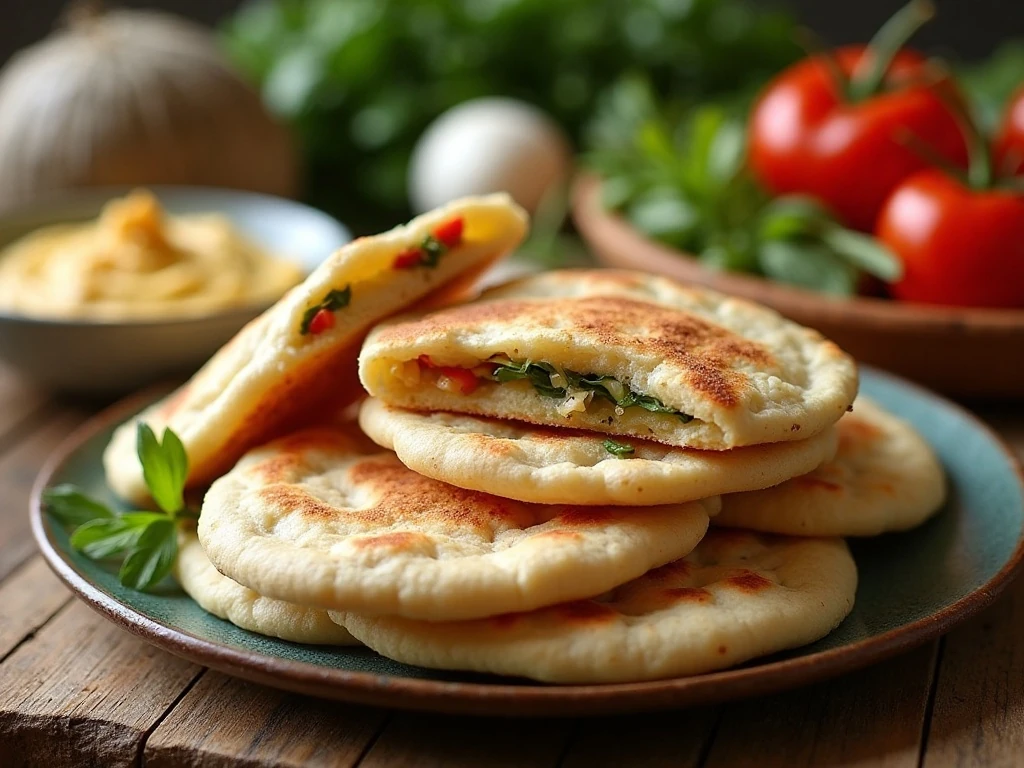
Homemade pita bread tastes fresher and softer than most packaged versions, and the ingredient list is refreshingly simple. You need warm water, yeast, a little sugar or honey, flour, salt, and olive oil to create bread with a tender crumb and a wonderfully chewy edge.
The finished pitas are flexible enough to fold around roasted vegetables, chicken, or falafel, yet sturdy enough to scoop up dips. When the dough puffs in the oven, it creates a natural pocket that turns every pita into a ready-made sandwich.
This recipe makes eight pita breads, making it useful for a family meal or a weekend baking session. If you enjoy working with yeast dough, you may also like this versatile yeast dough for other homemade breads.
Ingredients You’ll Need
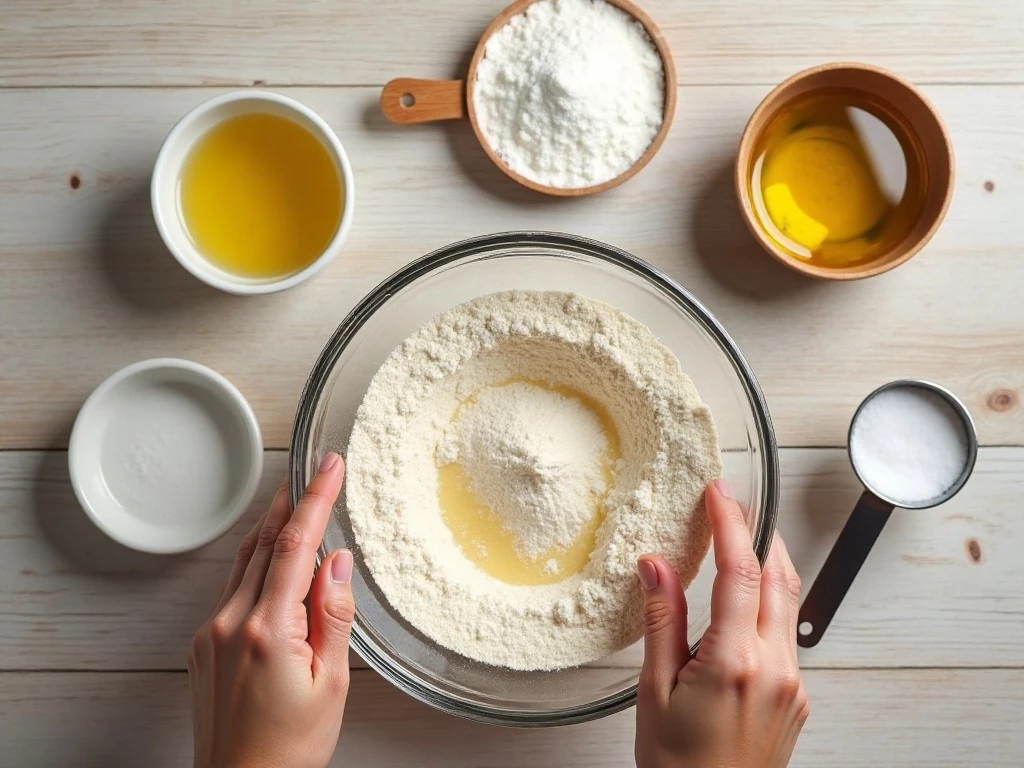
Each ingredient has a practical role in the dough. Warm water activates the yeast, sugar or honey gives it a little food to begin working, and olive oil adds tenderness without making the bread heavy.
- Warm water: Use water between 105–110°F (40–43°C). It should feel warm, not hot, when touched.
- Active dry yeast: This gives the pitas their rise and light texture.
- Sugar or honey: One teaspoon helps support yeast activity and adds a very subtle note of sweetness.
- Flour: All-purpose flour works well, while bread flour can provide a slightly chewier bite. Use 3 1/2 cups, approximately 420–450 grams.
- Kosher salt: Salt balances the flavor and strengthens the dough.
- Olive oil: Two tablespoons enrich the dough, with a little extra needed to coat the rising bowl.
Measure the flour carefully, especially if using cups. The dough should be slightly tacky after kneading, but it should not be wet or impossible to handle.
For another comforting loaf with a touch of sweetness, visit our buttermilk bread with honey.
How to Make It Step-by-Step
Step 1: Stir the warm water, yeast, and sugar together in a large mixing bowl. Let the mixture stand for 5–10 minutes, until a foamy layer forms on top; this shows that the active dry yeast is ready to work.
Step 2: Add the flour, kosher salt, and olive oil to the yeast mixture. Stir with a wooden spoon or sturdy spatula until the ingredients come together into a shaggy dough with no large pockets of dry flour.
Step 3: Knead the dough by hand for 8–10 minutes on a lightly floured surface, or knead it in a stand mixer for 5–6 minutes. It should become smooth, elastic, and slightly tacky, with enough strength to spring back gently when pressed.
Step 4: Place the dough in a lightly oiled bowl and turn it once so the surface is coated. Cover the bowl and let the dough rise in a warm place for 60–90 minutes, until it has doubled in size.
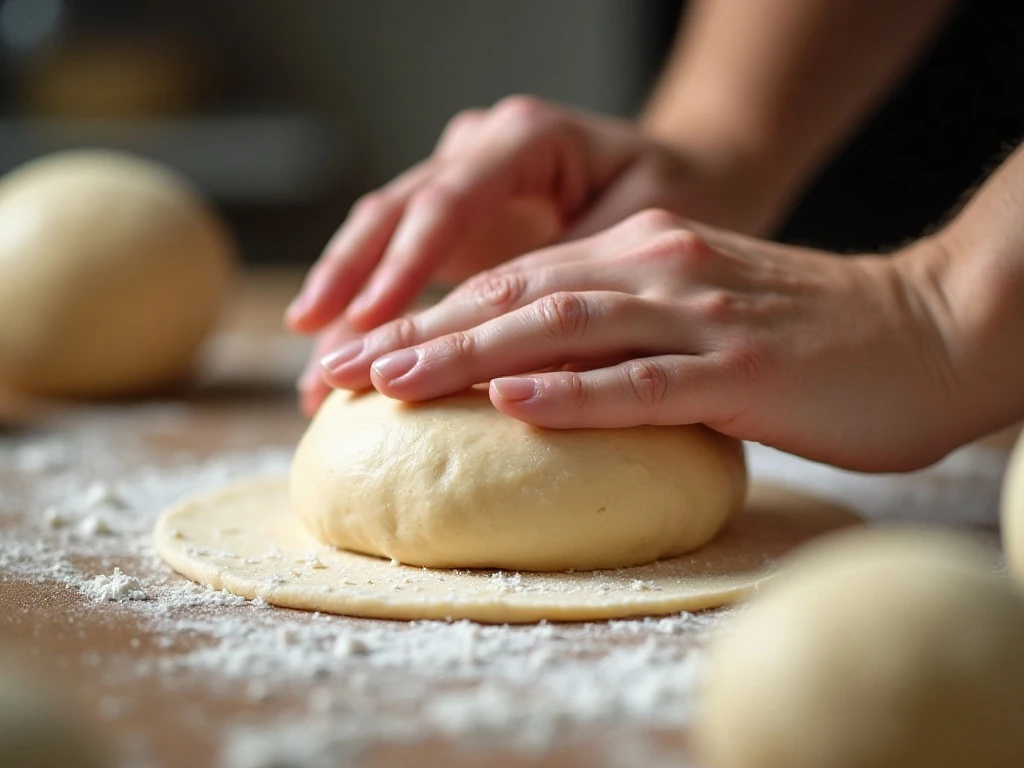
Step 5: Gently press down the risen dough to release excess air, then divide it into eight equal pieces. Shape each piece into a smooth ball by tucking the edges underneath, cover the balls with a towel or plastic wrap, and let them rest for 15–20 minutes.
Step 6: Roll one dough ball into a round approximately 6–7 inches wide and 1/8 inch thick. Use even pressure and turn the dough as you roll, then keep the round covered while shaping the remaining pieces so the surface does not dry.
Step 7: Place a baking stone, baking steel, or inverted heavy baking sheet in the oven and preheat it at 475–500°F for at least 30 minutes. A fully heated surface gives the dough the sudden burst of heat needed to form a pocket.
Step 8: Carefully place the rolled dough onto the hot surface and bake in batches for about 2–4 minutes. The pita should puff dramatically and develop a few light brown spots; turn it over only if needed.
Step 9: Remove each pita as soon as it has puffed and wrap it immediately in a clean towel. Continue baking the remaining rounds, keeping the finished bread covered so it stays supple.
Pro Tips for Perfect Pita Pockets
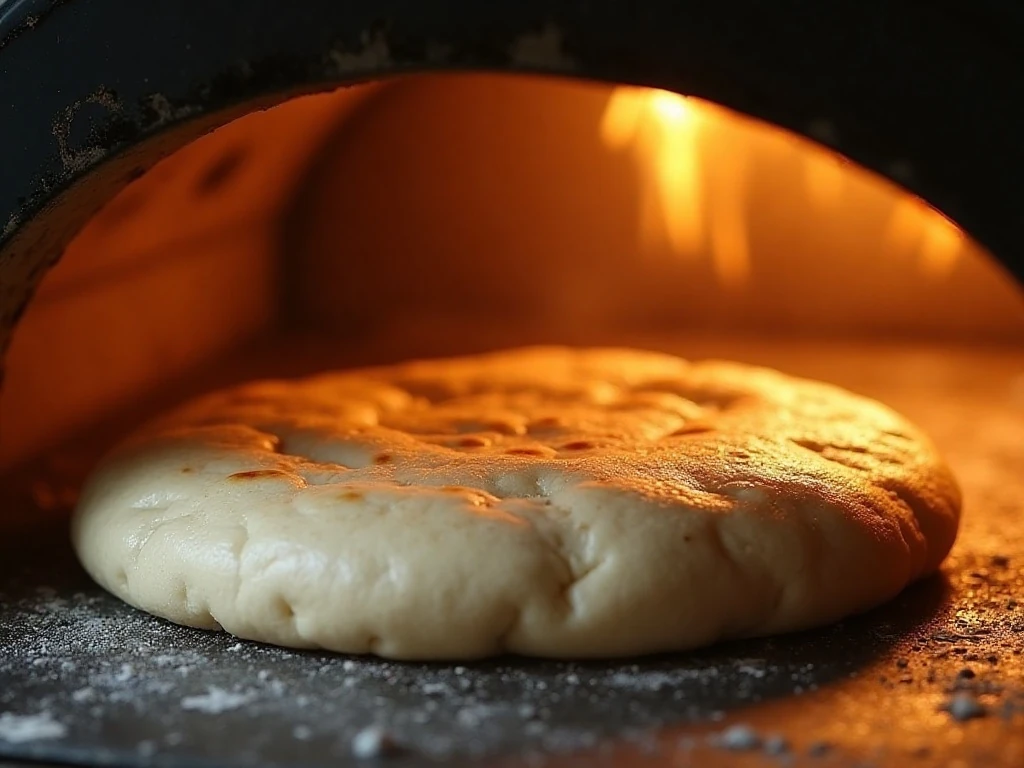
The most common reason pita does not puff is an oven surface that is not hot enough. Give the stone, steel, or inverted baking sheet a full 30 minutes of preheating, and avoid opening the oven repeatedly while the bread bakes.
Even thickness matters just as much as oven temperature. A thin spot or small tear can let steam escape, preventing the two layers from separating into a pocket.
- Keep every dough ball covered during the resting and rolling stages.
- Roll gently but firmly, aiming for a consistent 1/8-inch thickness.
- Do not use excessive flour while rolling, since it can make the surface dry.
- Bake only until puffed with a few light brown spots for the softest texture.
- Wrap hot pitas in a clean towel immediately after they come out of the oven.
If your first pita does not puff perfectly, check the surface temperature and thickness before changing the recipe. Yeast dough can also benefit from a warm, draft-free rising area, especially on a cool day.
Serving Ideas and Pairings
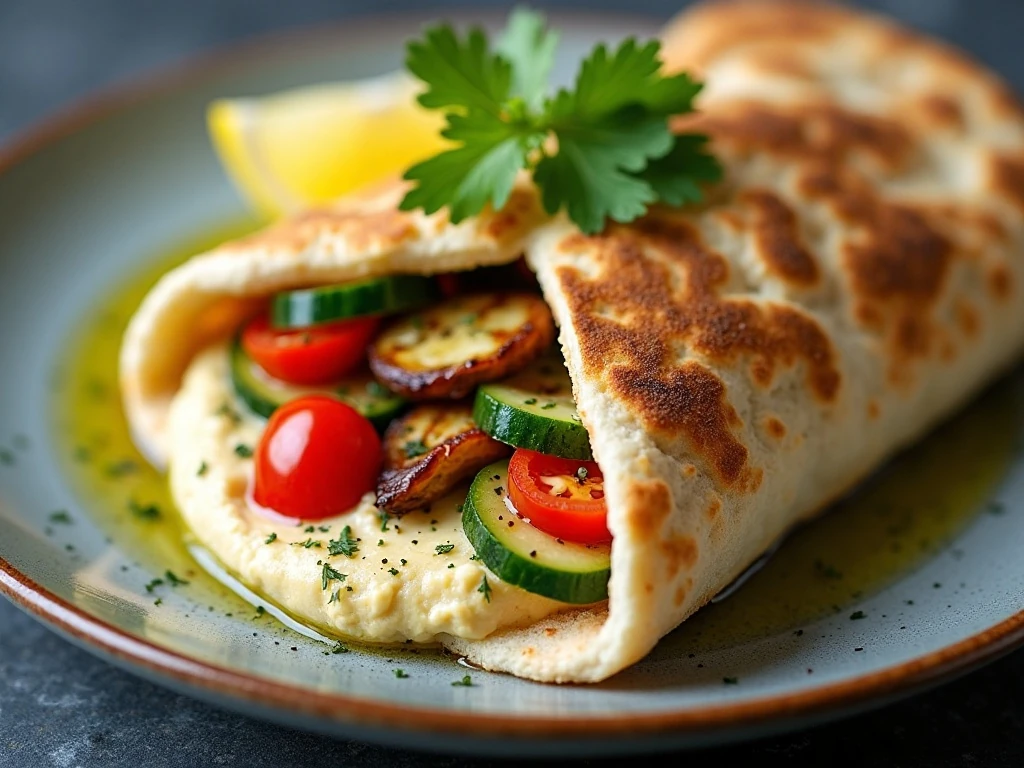
Serve homemade pita warm with hummus, baba ganoush, labneh, or a simple bowl of olive oil seasoned with herbs. The soft pocket is also ideal for falafel, shawarma-style chicken, grilled vegetables, or crisp salad with a creamy dressing.
For a casual lunch, fill each pita with sliced cucumber, tomato, greens, and your favorite protein. Pita wedges also make a delicious scoop for dips and spreads at a party, especially alongside the ideas in this snack board guide.
Leftover pita can become the base for quick pizzas or crisp chips. For a seafood-inspired filling, try pairing the bread with easy salmon patties, lettuce, and a lemony yogurt sauce.
For a no-yeast alternative to keep in your baking collection, see this easy beer bread, which has a different texture but the same cozy homemade appeal.
Storage and Reheating
Keep freshly baked pitas wrapped in a clean towel while they cool. Once fully cool, store them in an airtight bag or container at room temperature for a short period, or freeze them for longer storage.
To freeze, place sheets of parchment between the pitas, seal them well, and freeze them flat. Thaw at room temperature, then warm them briefly in a skillet or oven until soft and flexible.
Avoid overbaking during reheating, since extra heat can dry the bread. A short warming time is enough to refresh the texture and bring back the pleasant chew.
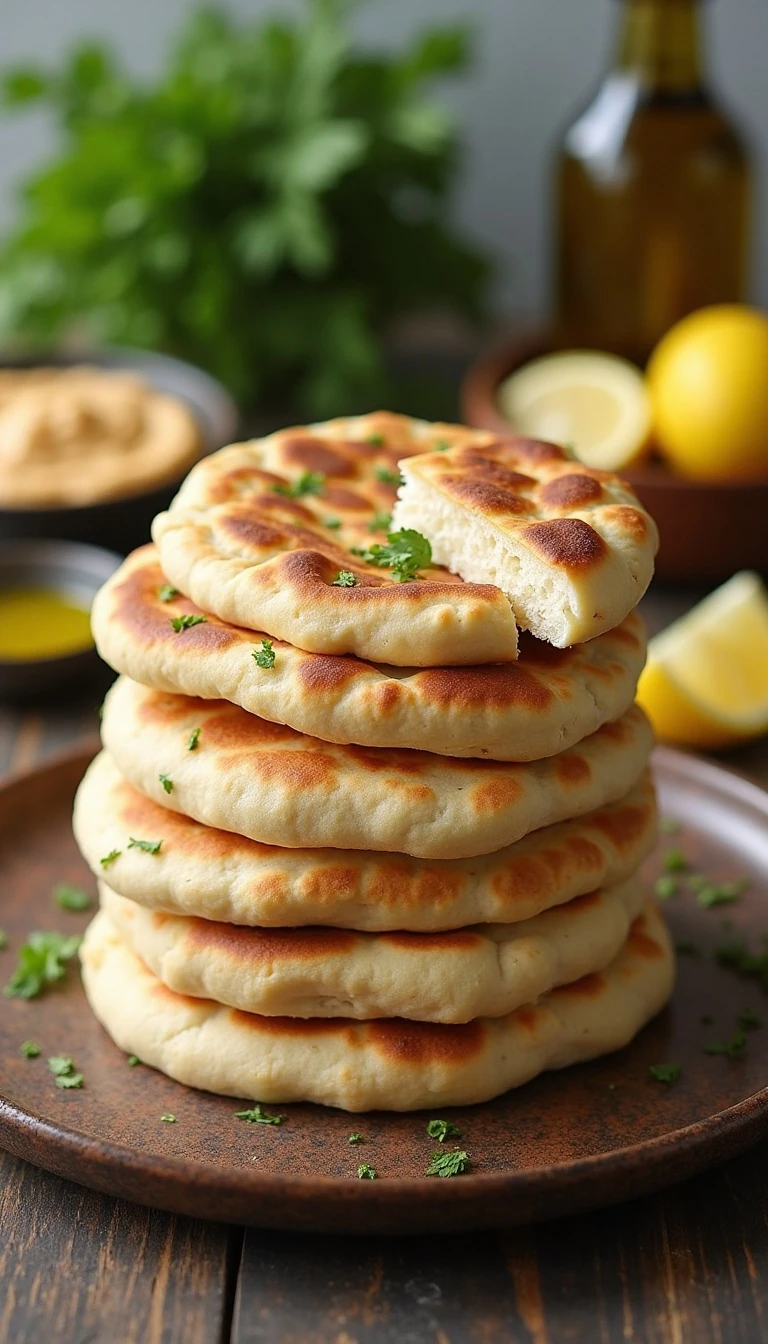
Homemade Pita Bread
Ingredients
Method
- Stir the warm water, active dry yeast, and sugar together in a large bowl. Let the mixture stand for 5–10 minutes, until it looks foamy.
- Add the flour, kosher salt, and olive oil. Mix until a shaggy dough forms and no large dry patches remain.
- Knead the dough by hand for 8–10 minutes, or use a stand mixer for 5–6 minutes. The finished dough should be smooth, elastic, and slightly tacky.
- Place the dough in a lightly oiled bowl, cover it, and let it rise in a warm place for 60–90 minutes, or until doubled in size.
- Divide the risen dough into eight equal pieces and shape each piece into a ball. Cover the balls and let them rest for 15–20 minutes.
- Roll each ball into a round approximately 6–7 inches wide and 1/8 inch thick. Keep the shaped rounds covered while you roll the remaining dough.
- Heat a baking stone, baking steel, or inverted heavy baking sheet in a 475–500°F oven for at least 30 minutes. The surface must be thoroughly hot before the first pita goes in.
- Bake the pitas in batches for about 2–4 minutes, watching for dramatic puffing and a few light brown spots. Turn them over only if needed, since many pitas bake well without flipping.
- Wrap each hot pita in a clean towel immediately after baking. This traps a little steam and helps keep the bread soft.
Notes
Final Thoughts
Once you know how to make homemade pita bread, fresh pockets are only a little mixing, rising, rolling, and baking away. The dough is forgiving, the ingredients are everyday staples, and the reward is bread that puffs beautifully while staying soft enough to fold.
Remember the three essentials: keep the dough covered, roll each round evenly without tears, and use a thoroughly preheated baking surface. Remove the pitas as soon as they puff and show a few light brown spots, then wrap them in a towel and serve them warm.
Fill them with savory meats, vegetables, falafel, or salmon patties, or simply tear one open and dip it into hummus. This easy recipe is worth repeating whenever you want warm, fluffy bread with a fresh-from-the-oven taste.