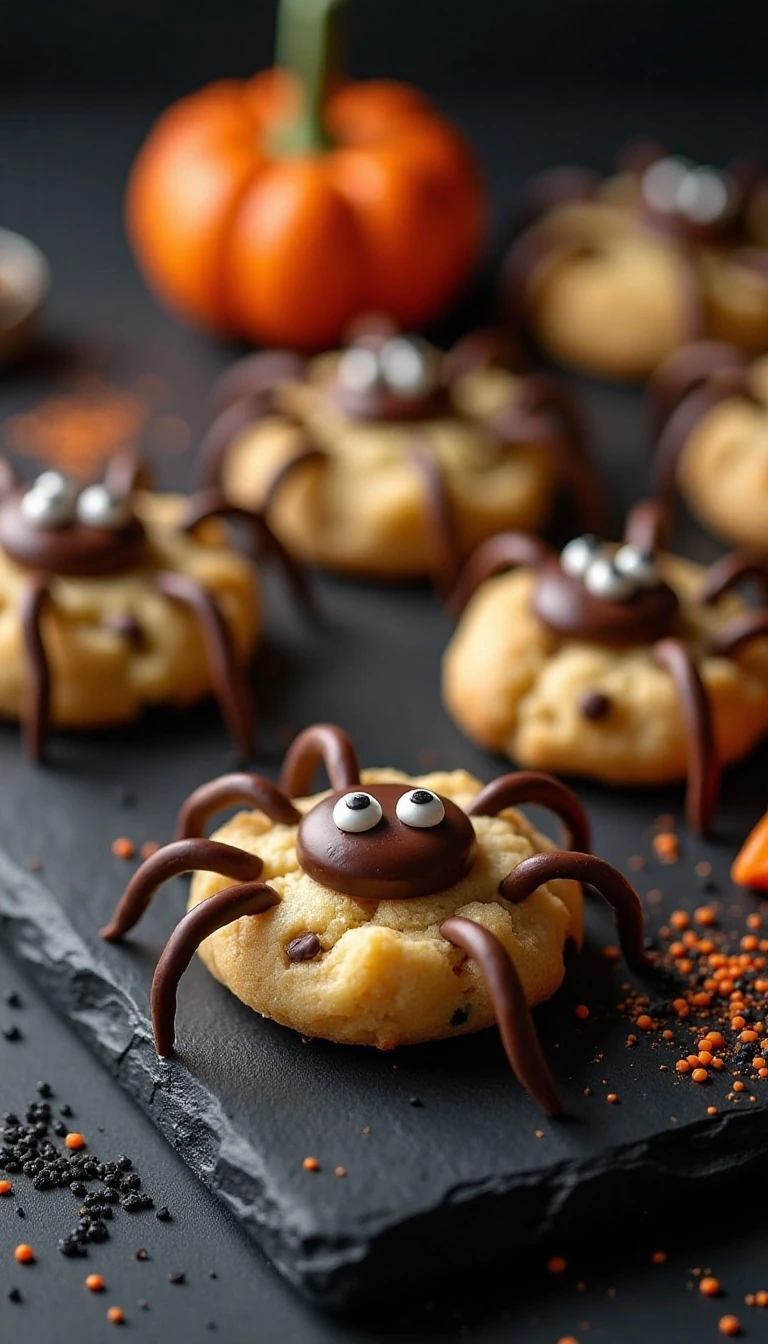
These spooky and easy Halloween spider cookies are soft chocolate-chip cookies topped with a small chocolate candy body, candy eyes, and four piped legs on each side. They take about 20–25 minutes to prepare, bake in 10–12 minutes, and make approximately 18–24 playful cookies for Halloween parties, school treats, or a fun family baking project.
Every bite combines buttery cookie dough, melty semisweet chocolate chips, and a rich chocolate candy center. The cookies look delightfully creepy but taste familiar and comforting, making them an easy Halloween dessert that children and adults will both enjoy.
Jump to RecipeWhy You’ll Love This Recipe
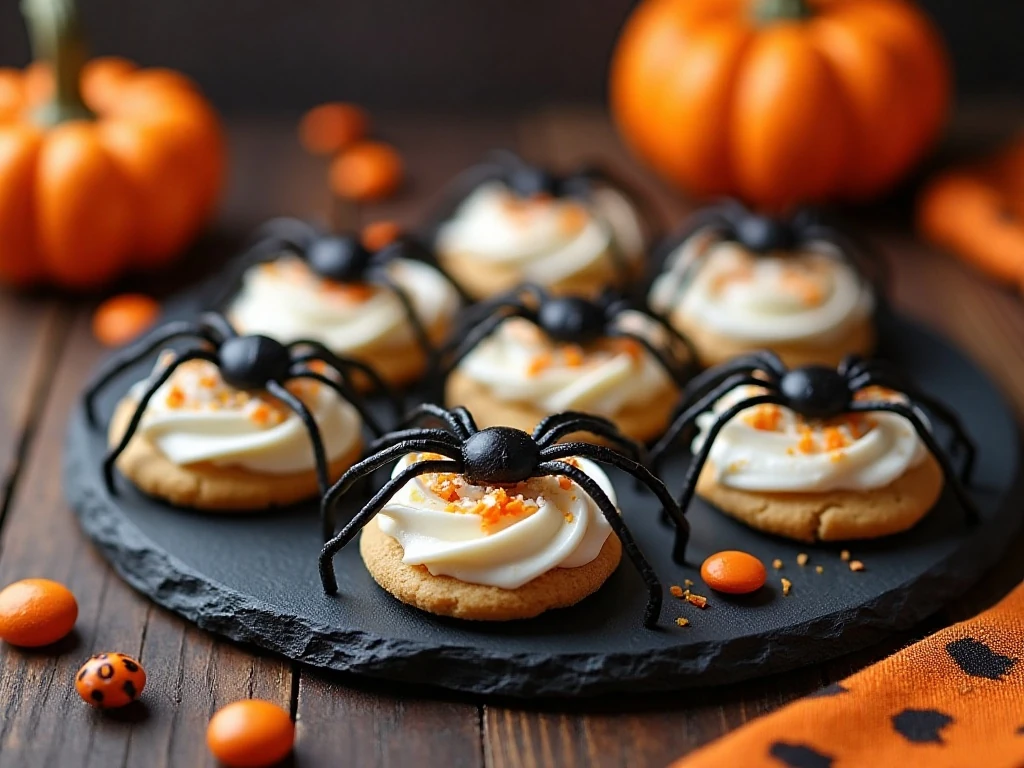
Halloween baking does not need to be complicated, and these spider cookies prove it. The base is a straightforward chocolate-chip cookie dough made with butter, two kinds of sugar, vanilla, and pantry-friendly ingredients.
The decoration is where the magic happens. A single chocolate candy becomes the spider’s body, two candy eyes create instant personality, and a few lines of melted chocolate form the legs.
They are also wonderfully adaptable. Use Rolos, Maltesers, or miniature peanut-butter cups for the body, depending on the flavor and shape you prefer. If you enjoy nutty cookie combinations, you can also try this peanut butter cookie variation for another festive baking idea.
Ingredients You’ll Need

The cookie dough uses 115 g of softened unsalted butter, 100 g of granulated sugar, and 100 g of packed light brown sugar. Together, these ingredients create a buttery cookie with crisp-set edges and soft centers.
You will also need one large egg, one teaspoon of vanilla extract, 190 g of plain or all-purpose flour, ½ teaspoon of baking soda, and ½ teaspoon of fine salt. Finally, stir in 150 g of semisweet chocolate chips for chocolate flavor in every bite.
For decorating, gather 18–24 small chocolate candies, 50 g of melted semisweet or dark chocolate, and 36–48 candy eyes. Having all the decorations ready before baking makes it easy to press the candy bodies into the hot cookies at exactly the right moment.
- Chocolate bodies: Rolos, Maltesers, or miniature peanut-butter cups all work well.
- Chocolate legs: Semisweet or dark chocolate gives enough contrast to show clearly.
- Candy eyes: Plan on two eyes for each cookie, plus a few extras in case any are damaged.
For another soft, sweet cookie idea to keep on your seasonal baking list, take a look at these soft cream cheese cookies.
How to Make It Step-by-Step

Step 1: Heat the oven to 180°C/350°F and line two baking sheets with parchment paper. The parchment keeps the cookies from sticking and makes cleanup much easier after decorating.
Step 2: Add the softened butter, granulated sugar, and light brown sugar to a large mixing bowl. Beat for about 2 minutes, until the mixture looks creamy and the sugars are evenly blended.
Step 3: Beat in the large egg and vanilla extract. Scrape down the sides of the bowl if needed so the egg is fully mixed into the buttery base.
Step 4: In a separate bowl, whisk together the flour, baking soda, and salt. Add this dry mixture to the butter mixture and mix just until combined, avoiding excess mixing that can make the cookies firm.
Step 5: Stir in the semisweet chocolate chips until they are distributed throughout the dough. Portion the dough into roughly 1½-tablespoon balls and place them several centimeters apart on the prepared baking sheets.
Step 6: Look at the dough before baking. If it is very soft or has begun to spread, chill the shaped portions for about 30 minutes; this helps the cookies hold a rounded shape in the oven.
Step 7: Bake the cookies for 10–12 minutes. Remove them when the edges are set but the centers still look slightly soft, since they will continue to firm as they cool.
Step 8: Immediately press one chocolate candy into the center of each hot cookie. Work gently but promptly, because the warm cookie surface is easier to press into and is less likely to crack than a cooled cookie.
Step 9: Leave the cookies on the baking tray for 5 minutes, then transfer them to a wire rack. Wait until the chocolate candy is stable and the cookies are cool enough before adding the eyes.
Step 10: Attach two candy eyes to each spider body with tiny dots of melted chocolate. Melted chocolate acts as edible glue and keeps the eyes in place once it sets.
Step 11: Spoon the melted chocolate into a piping bag or a small zip-top bag with the corner snipped off. Pipe four legs on each side of every candy body, then leave the cookies undisturbed until the legs are set.
Pro Tips for Perfect Spider Cookies

The most important decorating tip is timing. Press each candy body into the cookie immediately after baking, while the cookie is hot and soft. Waiting until later can make the surface more likely to crack.
Do not overbake the cookies. The edges should be set, but the centers should still look a little soft when the trays leave the oven. This produces the tender texture that makes the chocolate decorations especially enjoyable.
If your cookies spread too much, chill the shaped dough for 30 minutes before baking. Also check that your butter is softened rather than melted, since melted butter can make the dough loose.
For tidy spider legs, let the melted chocolate cool slightly before piping. Very warm chocolate may run, while slightly thickened chocolate gives you better control over short, curved, or straight legs.
- Use parchment paper for easy release.
- Keep the candy bodies centered so the legs have room on both sides.
- Pipe a small test line before decorating the cookies.
- Let the chocolate set fully before stacking or packaging.
Fun Variations and Serving Ideas
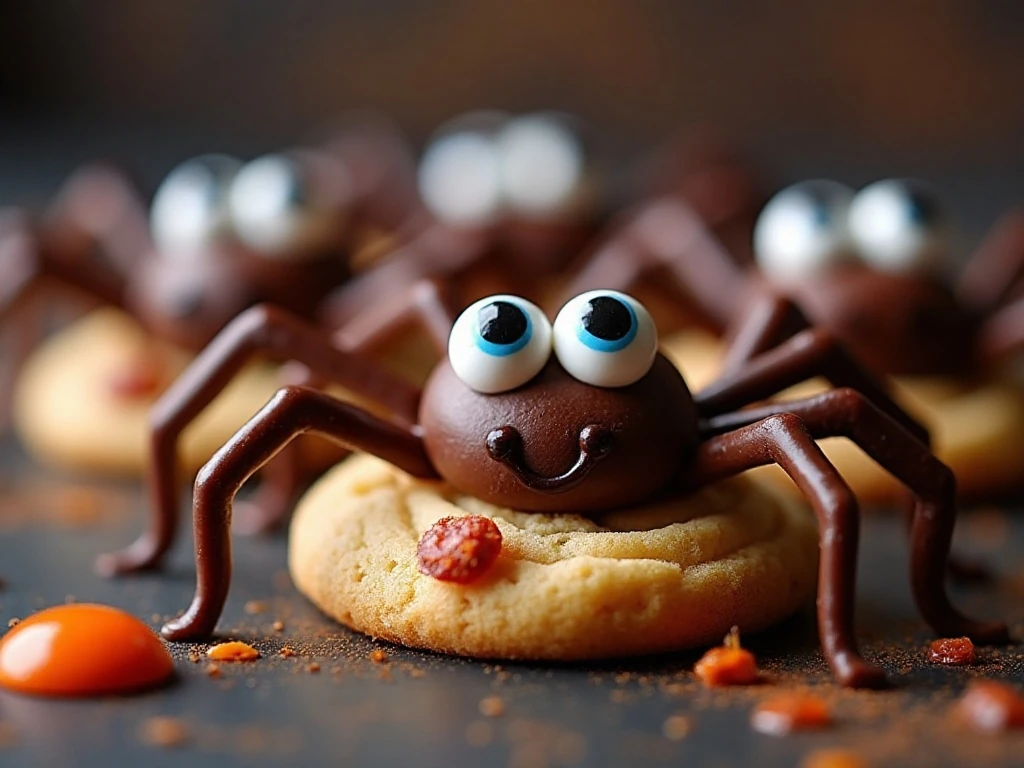
Different candy bodies can change both the look and flavor of these Halloween treats. Round Maltesers create classic little spiders, Rolos add a caramel center, and miniature peanut-butter cups bring a rich peanut and chocolate combination.
You can make the spiders look cute, surprised, or mischievous by changing the position of the candy eyes. Place them close together for a sweet expression, or angle them slightly for a playful Halloween character.
Serve the cookies on a black platter with orange napkins, or arrange them in a single layer inside clear treat bags. They are ideal for classroom parties, bake sales, dessert tables, and Halloween movie nights.
For a seasonal dessert spread, pair these cookies with an easy apple Danish or a slice of fruit cake. The combination of buttery pastries, soft cookies, and chocolate decorations creates a welcoming party table.
Storage and Make-Ahead Advice
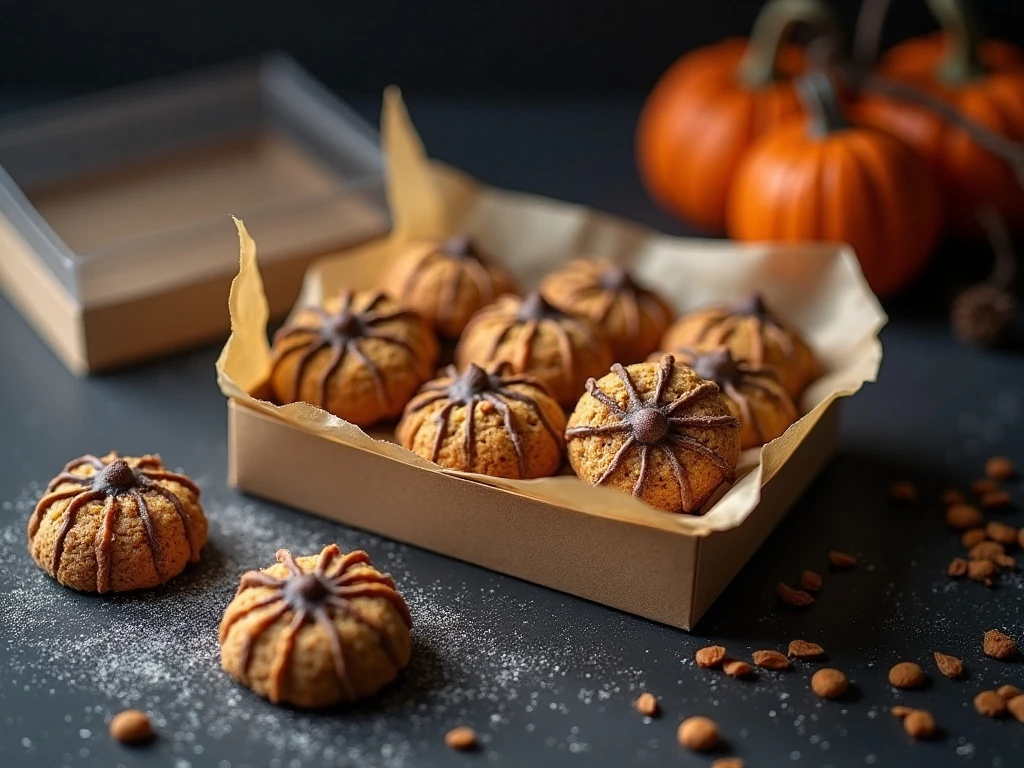
Allow the chocolate legs and candy eyes to set completely before storing the cookies. Place the finished spiders in an airtight container and keep them at room temperature.
Arrange the cookies in a single layer when possible, especially if the piped legs are still delicate. If you need to stack them, place parchment paper between the layers and avoid pressing down on the candy bodies.
The dough can be portioned into balls before the optional chilling period, which makes baking easier when preparing for a party. Bake the cookies according to the recipe timing, decorate them after cooling, and store them only after the chocolate has firmed.
When planning a larger Halloween dessert table, these cookies can sit beside a simple peach cake for a contrast of chocolate richness and fruity sweetness.
Common Questions
Can I use different chocolate candies? Yes. Rolos, Maltesers, and miniature peanut-butter cups are all suitable small chocolate bodies, provided they fit comfortably in the center of each cookie.
Why did my spider legs spread? The melted chocolate was probably too warm. Let it cool slightly before piping so it thickens enough to hold clean lines.
When should I add the candy eyes? Add them after the cookies have cooled enough that the candy body will not slide. Small dots of melted chocolate will help secure each eye.
Can I skip chilling? Yes, if the dough is firm and holds its shape. Chilling for about 30 minutes is optional, but it is useful when the dough is very soft or the cookies spread during baking.
For a savory recipe to balance all the Halloween sweets, you can also plan an easy dinner such as this creamy salmon pasta before serving dessert.
Spooky and Easy Halloween Spider Cookies
Ingredients
Method
- Heat the oven to 180°C/350°F and line two baking sheets with parchment paper.
- Beat the softened butter, granulated sugar, and packed light brown sugar until creamy, about 2 minutes. Add the egg and vanilla extract, then beat until incorporated.
- Whisk the flour, baking soda, and fine salt in a separate bowl. Add the dry ingredients to the butter mixture and mix just until no obvious streaks of flour remain.
- Stir in the semisweet chocolate chips. Portion the dough into roughly 1½-tablespoon balls and place them several centimeters apart on the prepared baking sheets.
- If the dough feels very soft or tends to spread, chill the shaped dough for about 30 minutes. Bake for 10–12 minutes, until the edges are set while the centers still look slightly soft.
- Immediately press one small chocolate candy into the center of each hot cookie. Let the cookies cool on the baking tray for 5 minutes, then move them to a wire rack.
- Once the cookies are cool enough that the candy will not slide, attach two candy eyes to each chocolate body using small dots of melted chocolate.
- Transfer the remaining melted chocolate to a piping bag or small zip-top bag with the corner snipped off. Pipe four legs on each side of every candy body, then allow the chocolate to set before serving.
Notes
Final Thoughts
These spooky and easy Halloween spider cookies deliver maximum Halloween charm with very little decorating experience required. A soft chocolate-chip cookie, a small candy body, candy eyes, and piped chocolate legs are all it takes to create a tray of irresistible edible spiders.
Remember the key details: chill the dough if it spreads, bake until the edges are set and the centers remain slightly soft, and press the chocolate bodies into the cookies while they are hot. Once the decorations set, your cookies are ready to delight party guests of every age.
Make a batch for your next Halloween gathering, package a few as homemade gifts, or let children decorate their own spiders with different eye positions and candy choices. They are simple, festive, and deliciously fun from the first bite to the last crumb.
1 thought on “Spooky and Easy Halloween Spider Cookies Recipe”