Easy cookies and cream bark is a quick no-bake dessert made with white chocolate, bittersweet or semisweet chocolate, and chopped chocolate sandwich cookies. The chocolate melts in just a few minutes, the bark chills for about 1 hour, and the finished recipe makes approximately 1 1/2 to 2 pounds, enough for about 20 to 30 snackable pieces.
Every bite has a creamy white chocolate base, ribbons of rich dark chocolate, and crisp cookie crunch. It looks festive enough for a holiday dessert tray but is simple enough for a last-minute sweet treat, making it a reliable favorite for parties, cookie exchanges, gifts, and family movie nights.
Jump to RecipeWhy You’ll Love This Recipe
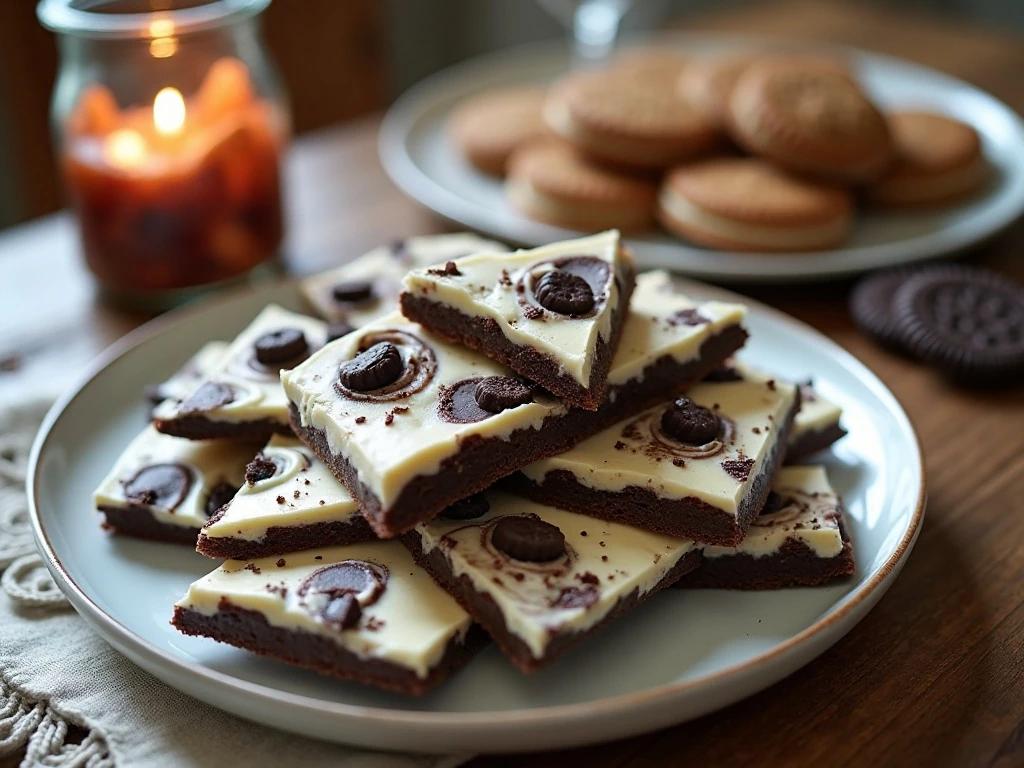
This cookies and cream bark delivers maximum dessert appeal with very little preparation. There is no dough to mix, no oven to preheat, and no complicated decorating required; just melt, swirl, top, chill, and break.
The contrast is especially satisfying. Smooth white chocolate tastes sweet and creamy, semisweet or bittersweet chocolate brings depth, and chocolate sandwich cookies add a crisp, familiar crunch that makes every piece taste like a favorite cookie in candy form.
It is also wonderfully flexible for entertaining. Arrange the bark on a dessert board, tuck pieces into treat bags, or serve it beside coffee after dinner. If you enjoy making themed sweets, you may also like these festive Valentine cookie ideas for another celebration-ready option.
- Fast preparation: Prep takes about 10 to 15 minutes.
- Party-friendly yield: One batch serves approximately 20 to 30 people when broken into pieces.
- Make-ahead convenience: The bark stores well in an airtight container.
- Pretty presentation: Chocolate swirls and cookie chunks make each piece look unique.
Ingredients You’ll Need
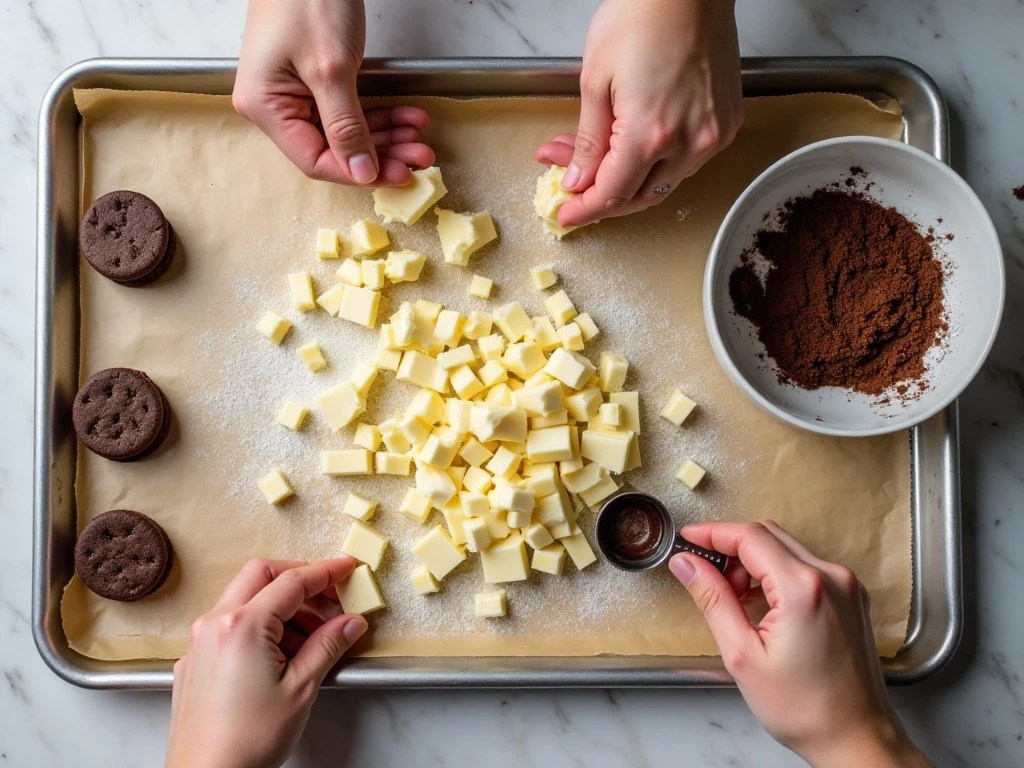
The ingredient list is short, but choosing good-quality chocolate makes a noticeable difference because chocolate is the main flavor. You will need 1 pound, or 16 ounces, of white chocolate and 1 pound, or 16 ounces, of bittersweet or semisweet chocolate.
Use white chocolate that melts smoothly, whether it comes as a finely chopped bar or chips. For the darker layer, choose bittersweet chocolate for a more pronounced cocoa flavor or semisweet chocolate for a slightly sweeter result.
Twenty to 24 chocolate sandwich cookies provide the signature cookies-and-cream character. Chop some into generous pieces and others more finely; the mixture creates a better texture and gives the surface a homemade, bakery-style appearance.
- 1 pound white chocolate, finely chopped or white chocolate chips
- 1 pound bittersweet or semisweet chocolate, finely chopped
- 20 to 24 chocolate sandwich cookies, roughly chopped
A rimmed baking sheet, parchment paper, two heatproof bowls, a spatula, and a skewer or butter knife are all you need for the process. For a more forgiving shortcut, replace the white chocolate with 24 ounces of vanilla candy coating and use 18 to 24 chopped sandwich cookies.
How to Make It Step-by-Step
Step 1: Line a rimmed baking sheet with parchment paper, smoothing it flat so the bark will release easily later. Roughly chop the cookies before melting the chocolate, keeping larger pieces for visible crunch and finer crumbs to fill small spaces.
Step 2: Place the white chocolate in a heatproof bowl over a saucepan of barely simmering water. Stir slowly and often until it is glossy and smooth, making sure the bottom of the bowl does not touch the water and that no steam or droplets reach the chocolate.
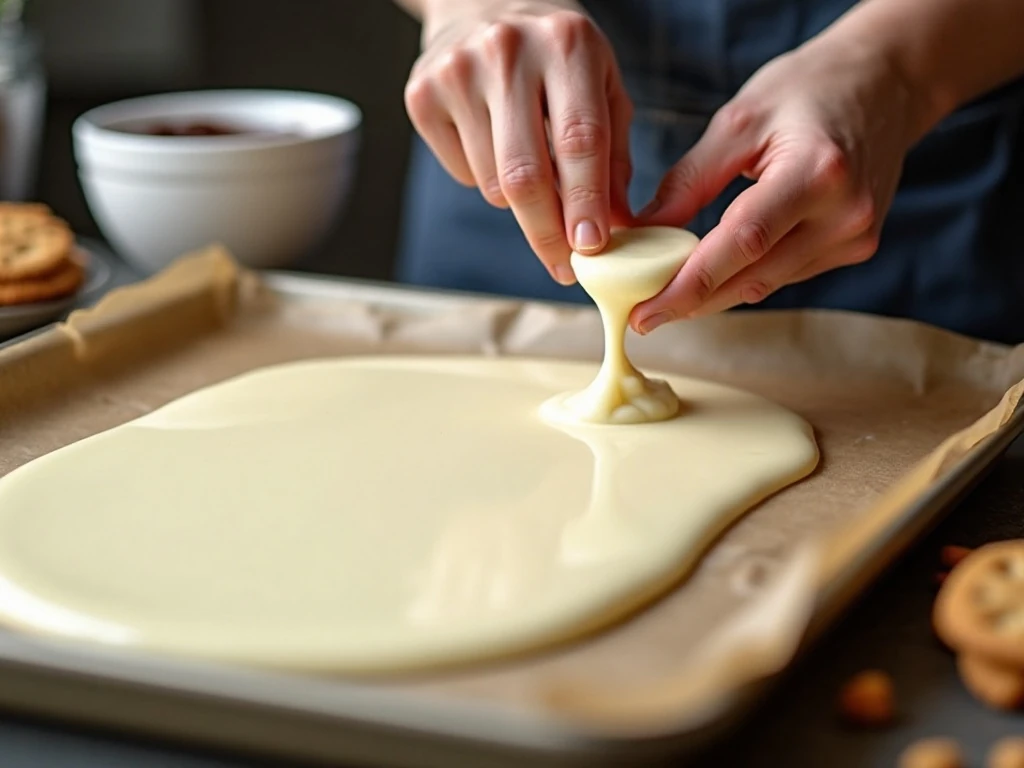
Step 3: Pour the melted white chocolate onto the parchment-lined baking sheet. Use an offset spatula or the back of a spoon to spread it into an even layer approximately 1/4 inch thick, working gently so the surface remains smooth.
Step 4: Melt the bittersweet or semisweet chocolate separately using the same low, gentle heat. Once smooth, spoon or drizzle it over the white chocolate in ribbons, dots, or loose zigzags.
Step 5: Drag a skewer or the tip of a knife lightly through both chocolates to create soft swirls. Do not overmix, because distinct white and dark ribbons give the bark its striking marbled look.
Step 6: Scatter the chopped cookies evenly over the chocolate while the surface is still soft. Press the pieces down gently with clean fingertips or the flat side of a spatula so they adhere without disappearing into the layers.
Step 7: Refrigerate the tray for about 1 hour, or until the bark is completely firm from edge to center. Once chilled, let it stand at room temperature for a few minutes before cutting or breaking it into irregular pieces.
Chocolate-Melting Tips for Smooth Bark
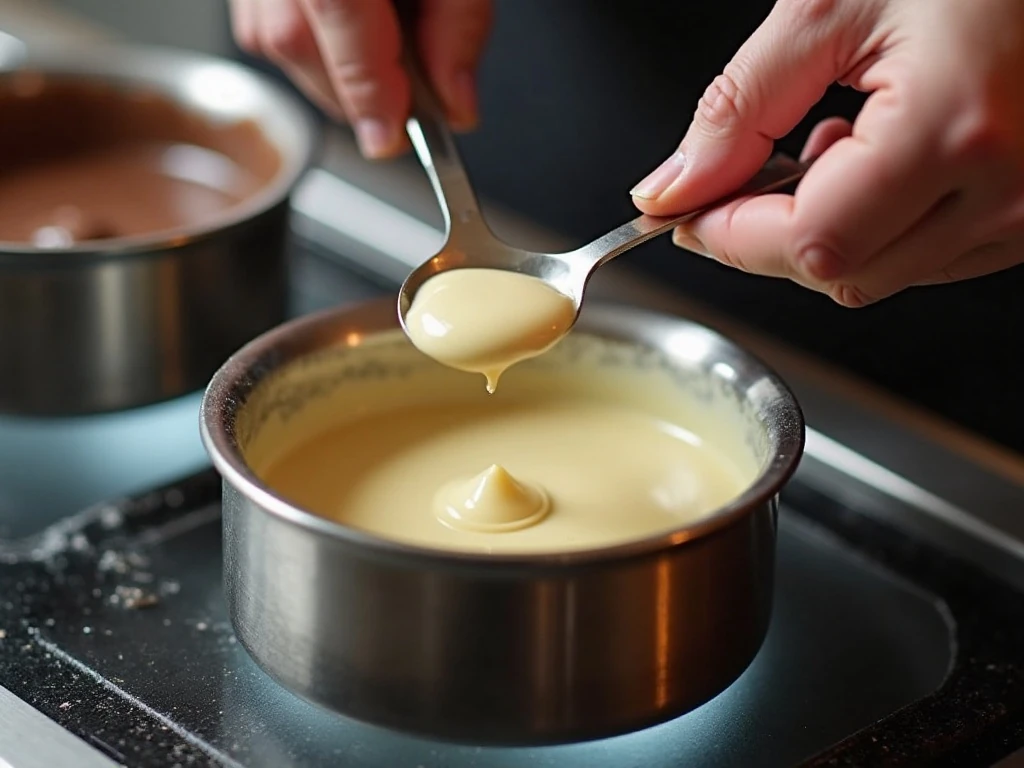
Chocolate rewards patience, so keep the heat low and the water barely simmering. White chocolate is especially sensitive to overheating, and excessive heat can make it thick, dull, or difficult to spread.
Moisture is the biggest problem to avoid. Make sure bowls, utensils, and the work surface are dry, and never allow boiling water or rising steam to contact the chocolate. Even a small amount of water can cause chocolate to seize into a grainy, stiff mass.
If using a double-boiler setup, remove the bowl from the heat as soon as most pieces have melted and continue stirring until the remaining bits dissolve. This gentle method helps preserve a smooth texture without rushing the process.
For beginners, vanilla candy coating is a dependable alternative for the white layer. It is more forgiving than real white chocolate and sets reliably, which is helpful when you need attractive bark without worrying about tempering.
For another almond-forward dessert to serve on the same table, try this simple amaretti cookie recipe. Its chewy texture offers a pleasant contrast to the crisp chocolate bark.
How to Create the Best Texture and Swirl

The thickness of the bark affects the eating experience. Aim for approximately 1/4 inch so each piece is substantial enough to hold its toppings but still snaps pleasantly when broken.
Spread the white chocolate in a fairly even layer, but do not worry about achieving perfect edges. Rustic borders make the finished pieces look intentional, especially when the bark is broken rather than cut into identical squares.
Add the dark chocolate while the white chocolate is still fluid. If the base begins to set before the drizzle is ready, the swirl will not move as easily and the two layers may not bond as well.
Use only a few light passes with the skewer. A gentle figure-eight motion produces attractive ribbons, while too much swirling can turn the colors muddy and remove the visual contrast.
Press the cookies in just enough to anchor them. Large chunks should remain visible on top, while the smaller crumbs settle into the chocolate and add extra cookie flavor throughout each bite.
Serving Ideas for Every Occasion
Once firm, place the bark on a serving platter and let guests choose their favorite pieces. The irregular shapes make it ideal for casual gatherings because nobody expects precise portions.
For gifts, arrange the bark in a small food-safe box or clear treat bag lined with parchment. A simple ribbon and a handwritten label make the homemade candy feel thoughtful without requiring elaborate decoration.
At a holiday party, combine the bark with other cookies and candies on a dessert board. It pairs particularly well with crisp sugar cookies, buttery shortbread, and warm drinks such as coffee, hot cocoa, or peppermint tea.
You can also make the presentation seasonal by choosing a serving platter that matches the occasion. For a playful Halloween spread, place it beside these fun spider-shaped cookies; for a winter celebration, pair it with charming gingerbread cookies for a memorable cookie table.
Storage and Make-Ahead Advice
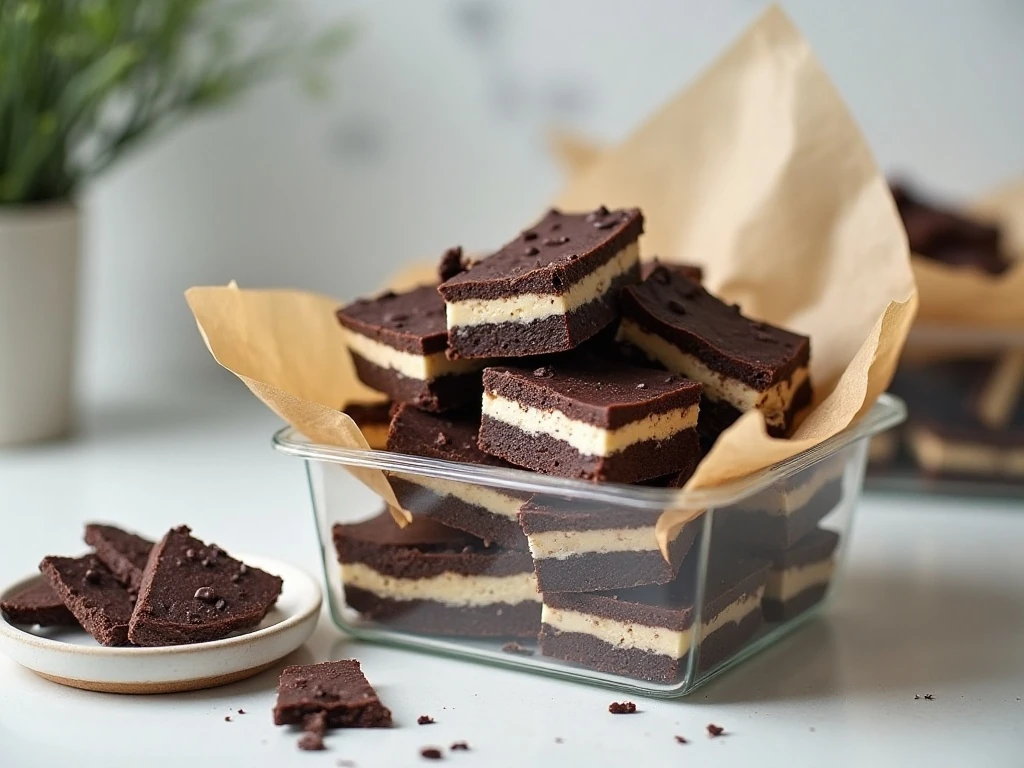
Store completely firm bark in an airtight container with parchment between layers if the pieces are stacked. Keep it in a cool, dry place, away from direct sunlight and heat, so the chocolate remains firm and attractive.
The refrigerator is useful for setting the bark, but long-term storage in a humid refrigerator can sometimes cause condensation or surface changes. If your kitchen is comfortably cool, room-temperature storage in an airtight container is usually the better choice.
For cleaner pieces, avoid cutting immediately after removing the tray from the refrigerator. Let the bark rest at room temperature for a few minutes, then use a sharp knife for straighter pieces or your hands for naturally rustic shards.
This recipe is well suited to making ahead for parties and cookie exchanges. Prepare it the day before, store it securely, and arrange the pieces shortly before serving. For a dessert spread with a softer, fruitier centerpiece, consider adding this blueberry almond cream tart alongside the chocolate treats.
Easy Variations to Try
The classic combination is hard to beat, but the bark can be adjusted while keeping its simple method. Try using only white chocolate or vanilla candy coating, then cover the surface with 18 to 24 chopped sandwich cookies for a lighter, one-chocolate version.
You can also change the cookie texture by chopping half of the cookies into fine crumbs and the rest into larger pieces. The crumbs flavor the chocolate, while the larger pieces create a satisfying crunch and make the topping easy to recognize.
For a stronger cocoa profile, choose bittersweet chocolate. If you prefer a sweeter candy-shop flavor, semisweet chocolate provides enough contrast to balance the white chocolate without becoming too intense.
Keep additions modest so the bark sets firmly and breaks cleanly. The best part of this recipe is its uncomplicated combination of creamy chocolate and cookies, so let those ingredients remain the focus.
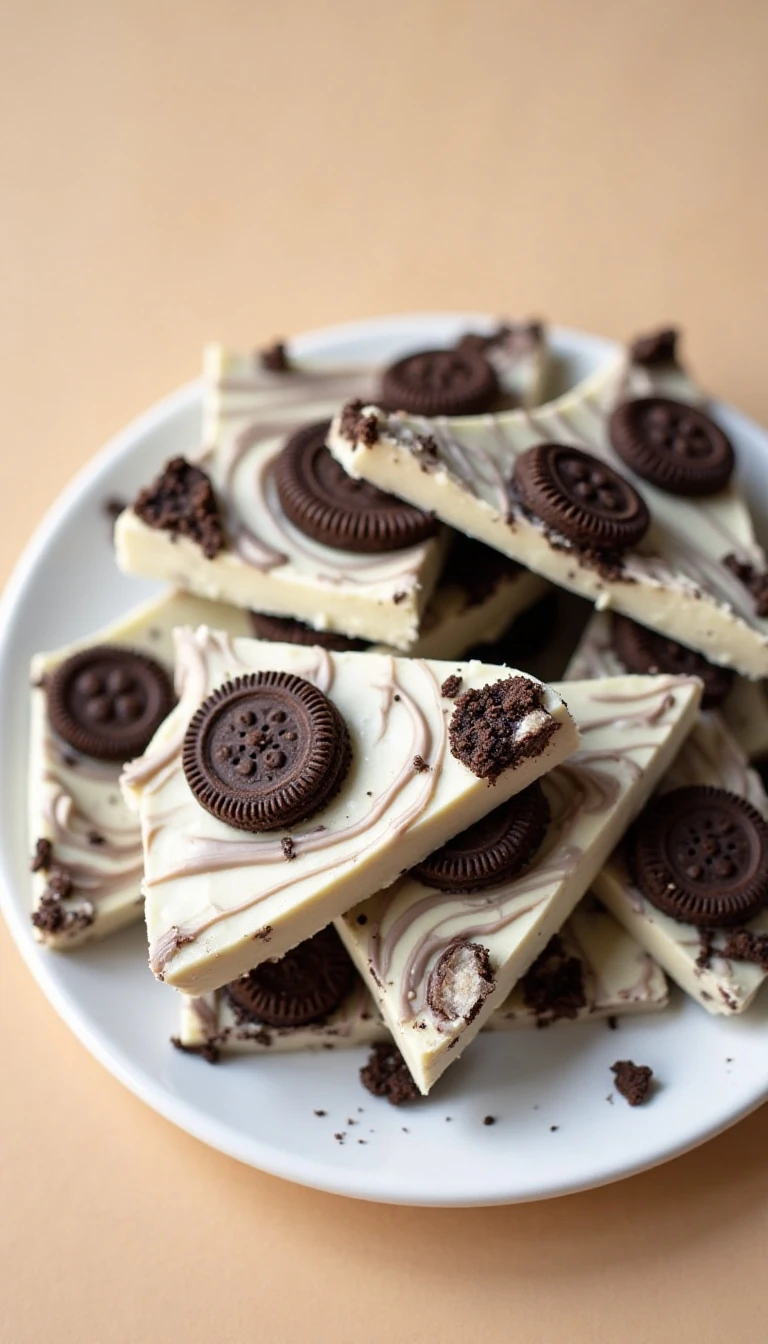
Easy Cookies and Cream Bark
Ingredients
Method
- Line a rimmed baking sheet with parchment paper. Roughly chop the sandwich cookies, keeping a mixture of larger chunks and finer crumbs.
- Melt the white chocolate gently in a heatproof bowl set over barely simmering water, stirring until smooth. Keep water and steam away from the chocolate.
- Pour the white chocolate onto the prepared baking sheet and spread it into an even layer approximately 1/4 inch thick.
- Melt the bittersweet or semisweet chocolate separately until smooth. Spoon or drizzle it over the white chocolate.
- Use a skewer or the tip of a knife to lightly swirl the two chocolates together. Scatter the chopped sandwich cookies over the surface and press them in gently.
- Refrigerate the bark for about 1 hour, or until completely firm. Let it sit at room temperature for a few minutes, then break or cut it into irregular pieces.
Notes
Final Thoughts
Easy cookies and cream bark is the kind of dessert that looks special while asking very little from the cook. With 1 pound each of white and bittersweet or semisweet chocolate, 20 to 24 chopped sandwich cookies, and about 1 hour of chilling time, you can create a generous batch for sharing.
Remember the essentials: melt slowly, keep moisture away, spread the base to approximately 1/4 inch, swirl lightly, and press the cookies in before chilling. Once firm, break the slab into rustic pieces and store them in an airtight container.
Make a batch for your next party, package it as an edible gift, or keep a few pieces ready for an afternoon chocolate craving. The creamy layers, crisp cookie pieces, and easy preparation make this bark a dessert everyone will be happy to find on the table.