This easy 3-ingredient no-churn ice cream recipe makes rich, creamy homemade ice cream with just cold heavy whipping cream, sweetened condensed milk, and vanilla extract. You do not need an ice cream machine, stovetop cooking, eggs, or complicated preparation; simply whip, fold, freeze, and scoop.
Prep takes about 10–15 minutes, and the ice cream needs at least 6 hours in the freezer, although overnight chilling gives the firmest texture. Each batch makes approximately 1½ quarts, or 8–10 servings, with a sweet vanilla flavor, a soft creamy mouthfeel, and the nostalgic taste of classic vanilla ice cream.
Jump to RecipeWhy You’ll Love This Recipe
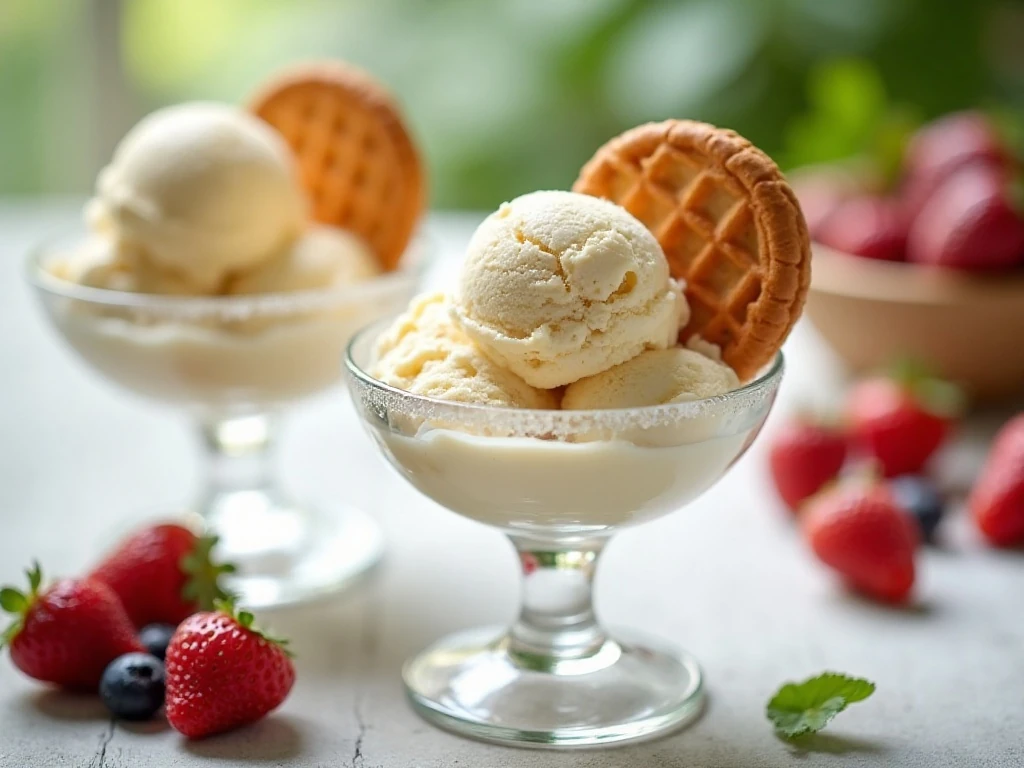
This no-churn ice cream is one of the simplest ways to make a homemade frozen dessert. The whipped cream supplies a light, airy structure, while sweetened condensed milk brings sweetness and a silky texture without requiring a custard base.
There is no need to temper eggs, cook dairy, or monitor an ice cream machine. Once the ingredients are folded together, the freezer does the remaining work while you prepare toppings, plan a party, or simply wait for dessert.
The finished ice cream tastes rich without being fussy. Its classic vanilla profile pairs beautifully with fresh berries, chocolate sauce, toasted nuts, caramel, crushed cookies, or a warm fruit dessert such as our blueberry cream cheese pastry.
It also makes an excellent make-ahead dessert because the batch yields approximately 1½ quarts. Serve it at a family dinner, a summer gathering, or as a simple weeknight treat when you want something cold and creamy.
Ingredients You’ll Need
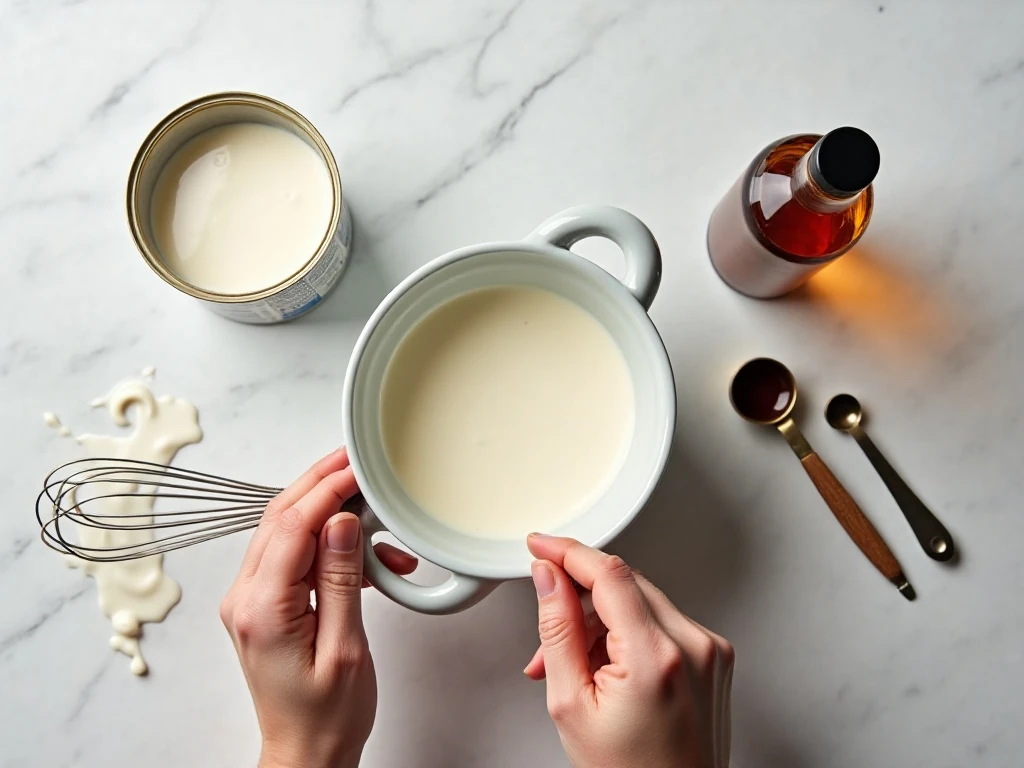
This recipe keeps the shopping list short, but each ingredient matters. Choose full-fat dairy and use the measurements below for the best balance of sweetness, richness, and scoopable texture.
- 2 cups (480 ml) cold heavy whipping cream or double cream: Very cold cream whips more quickly and forms a stronger foam. Full-fat cream gives the ice cream its rich, creamy body.
- 1 can sweetened condensed milk, 14 ounces (397 g): This thick, sweet dairy ingredient provides sweetness and helps create a smooth frozen texture. Do not replace it with evaporated milk, which is unsweetened and much thinner.
- 1 teaspoon vanilla extract: This is the most common amount and gives the ice cream a gentle vanilla flavor. You may use up to 2 teaspoons for a more pronounced vanilla taste.
Before beginning, chill your mixing bowl and beaters if you have time. A cold bowl helps the heavy cream whip efficiently, especially in a warm kitchen.
How to Make It Step-by-Step
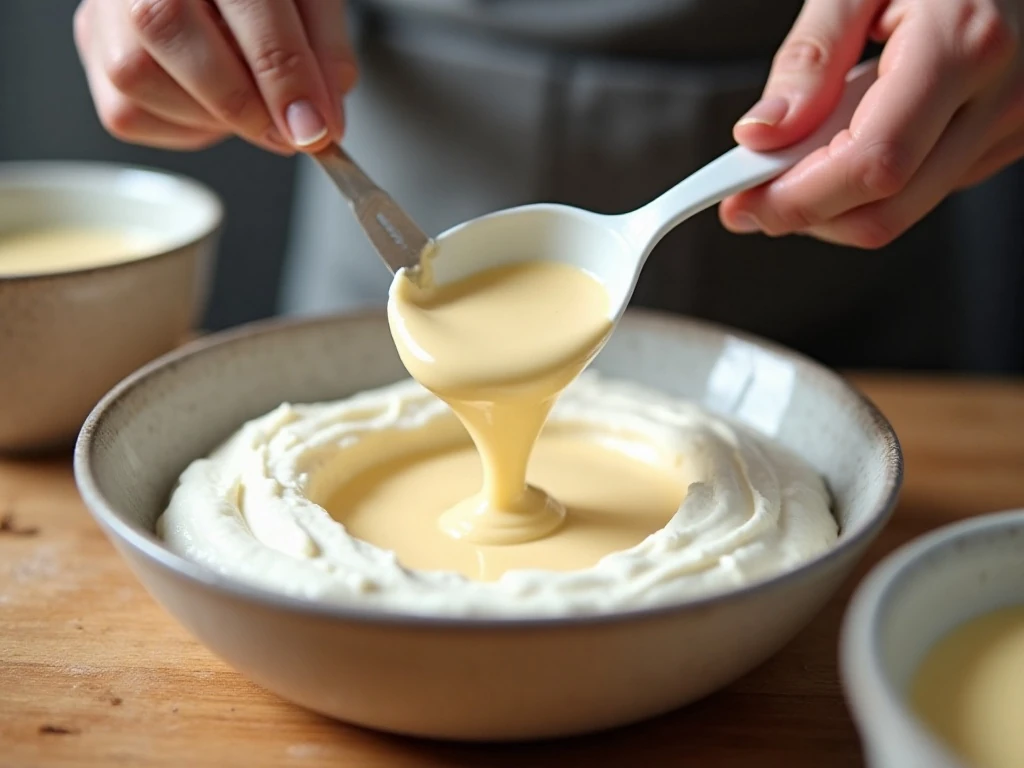
Step 1: Chill your equipment and whip the cream.
Place the mixing bowl and beaters in the refrigerator for a short while if possible, then pour in the cold heavy cream. Beat it until firm peaks form, meaning the cream holds its shape when the beaters are lifted; stop promptly because over-whipping can make the mixture grainy.
Step 2: Mix the sweetened condensed milk and vanilla.
In a separate bowl, stir the sweetened condensed milk with 1 teaspoon of vanilla extract until smooth and evenly blended. For a stronger vanilla flavor, use 2 teaspoons, but keep the amount within that 1–2 teaspoon range so the mixture remains balanced.
Step 3: Fold the mixtures together gently.
Add the condensed-milk mixture to the whipped cream in two or three additions rather than pouring it all in at once. Fold with a spatula using slow, broad motions, scraping from the bottom of the bowl and turning the mixture over so you preserve as much air as possible.
Step 4: Transfer and cover the ice cream.
Spoon the mixture into a loaf pan or freezer-safe container and smooth the top. Press plastic wrap directly against the surface, then cover the container tightly with a lid or additional wrap to help limit ice crystals and freezer burn.
Step 5: Freeze until firm.
Place the covered container in the freezer for at least 6 hours. Overnight freezing gives the firmest texture, and if the ice cream is difficult to scoop, allow it to stand at room temperature for about 5–10 minutes before serving.
Pro Tips for Creamy No-Churn Ice Cream

The colder your cream, bowl, and beaters are, the easier it is to achieve firm peaks. Keep the cream refrigerated until the moment you are ready to whip it, and avoid leaving the bowl on a warm counter while you gather the remaining ingredients.
Watch the whipped cream carefully as it thickens. Firm peaks are the target: the cream should stand up and hold its form, but it should still look smooth and glossy. If you continue beating after this point, the texture can become grainy and may begin moving toward butter.
Fold in stages rather than stirring vigorously. The air trapped in the whipped cream helps create a lighter finished dessert, so gentle folding is more important than speed.
Use a shallow container when possible. A broad loaf pan gives the mixture more surface area, encourages more even freezing, and makes scooping easier than a very deep container.
For the smoothest storage, press plastic wrap directly against the surface before adding a lid. This simple barrier reduces contact with air, which helps protect the ice cream from freezer burn and unwanted ice crystals.
For a tropical dessert spread, serve scoops beside our pina colada bars. The creamy vanilla ice cream also pairs well with fruit-forward bakes and breakfast-style treats, including these bakery-style blueberry muffins.
Serving Ideas and Flavor Pairings

Vanilla no-churn ice cream is a blank canvas for toppings. Add sliced strawberries, blueberries, peaches, or bananas just before serving, or spoon over warm chocolate, caramel, berry sauce, or honey.
For crunch, scatter on toasted almonds, chopped pecans, granola, crushed waffle cones, or chocolate sandwich cookies. A pinch of flaky salt over caramel-topped scoops brings out the dairy’s richness without making the dessert taste salty.
You can also turn each serving into a sundae bar. Set out small bowls of sauces, sprinkles, chopped fruit, and cookies so guests can build their own combinations.
Although ice cream is the star here, a complete menu can include both sweet and savory dishes. If you are planning a casual gathering, balance dessert with our spicy salmon poke for a fresh, colorful main course.
Storage, Scooping, and Make-Ahead Advice
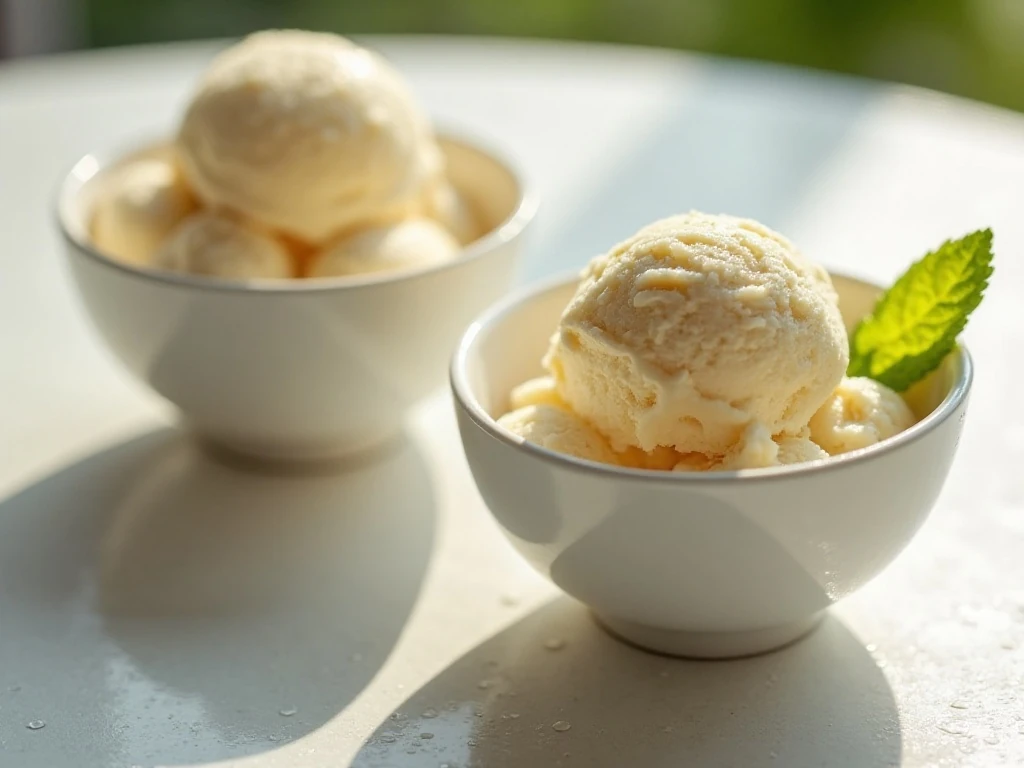
Keep the ice cream tightly covered in the freezer. A shallow container covered with plastic wrap pressed directly on the surface and then sealed with a lid is ideal for maintaining quality.
Freeze the batch for at least 6 hours before serving. The texture will be soft and easy to scoop after a shorter freeze, but the required minimum gives it time to become properly firm; overnight freezing produces the firmest result.
When ready to serve, remove the container from the freezer and let it stand at room temperature for approximately 5–10 minutes if needed. Use a sturdy scoop and wipe it between scoops for neat, rounded portions.
This recipe makes approximately 8–10 servings, depending on scoop size. It is especially convenient for entertaining because you can prepare it the day before and focus on your guests when dessert time arrives.
Common Questions
Can I use evaporated milk? No. Evaporated milk is not the same as sweetened condensed milk and will not provide the required sweetness or thick consistency for this recipe.
Can I use double cream? Yes. Double cream can be used in the same quantity as heavy whipping cream: 2 cups, or 480 ml.
Why did my ice cream turn icy? The most common causes are lower-fat dairy, a container that is too deep, loose covering, or repeated exposure to warm air. Full-fat ingredients, a shallow container, and tight wrapping help produce a creamier result.
Can I make the vanilla flavor stronger? Yes. The recipe uses 1 teaspoon as the standard amount, but you may use up to 2 teaspoons of vanilla extract for a more noticeable flavor.
For a cozy dinner menu that ends with this frozen dessert, pair it with a bowl of our easy tortellini soup before bringing out the ice cream. The warm, savory soup and cold, creamy dessert make a satisfying contrast.
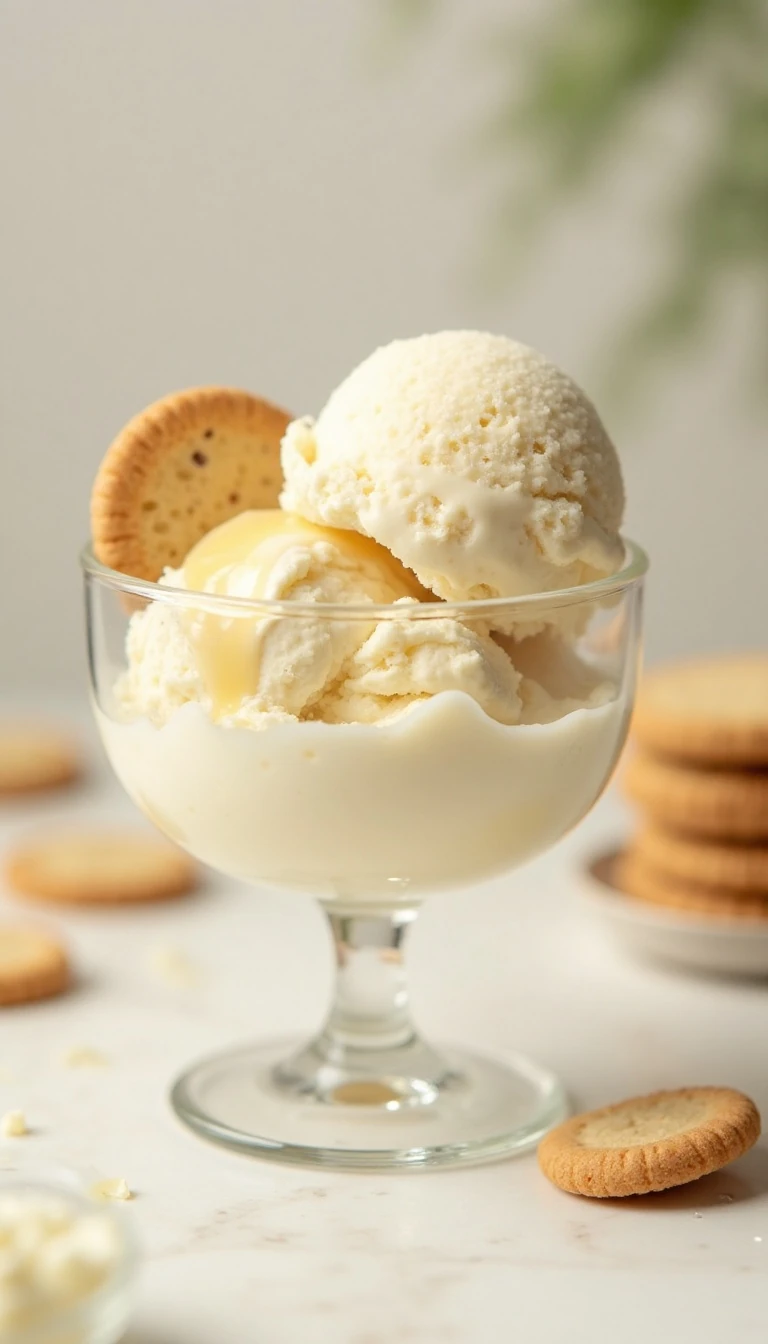
Easy 3-Ingredient No-Churn Ice Cream
Ingredients
Method
- Chill a mixing bowl and the beaters if possible. Pour the cold heavy cream into the bowl and beat until firm peaks form, stopping as soon as the cream holds its shape so it does not become grainy.
- In a separate bowl, stir together the sweetened condensed milk and vanilla extract until evenly combined. If you prefer a stronger vanilla note, you may use up to 2 teaspoons of vanilla extract.
- Add the condensed-milk mixture to the whipped cream in two or three additions. Fold gently after each addition, using a spatula and taking care not to deflate the airy whipped cream.
- Transfer the mixture to a loaf pan or another freezer-safe container. Smooth the surface, press plastic wrap directly against the ice cream, and cover the container tightly with a lid or additional wrap.
- Freeze for at least 6 hours, or leave it overnight for the firmest texture. If the ice cream is too firm to scoop, let it stand at room temperature for about 5–10 minutes before serving.
Notes
Final Thoughts
This easy 3-ingredient no-churn ice cream proves that homemade dessert does not need specialized equipment or a long ingredient list. With 2 cups of cold heavy cream, one 14-ounce can of sweetened condensed milk, and 1–2 teaspoons of vanilla, you can create a rich, smooth treat with very little hands-on work.
Remember the key details: whip the cream only to firm peaks, fold gently in two or three additions, cover the surface tightly, and freeze for at least 6 hours. Let the container rest for 5–10 minutes before scooping if necessary, then add your favorite toppings and enjoy.
Once you try the classic vanilla version, keep the recipe in your dessert rotation for birthdays, weekend dinners, and warm-weather celebrations. It is simple enough for beginners, dependable enough for entertaining, and delicious enough to satisfy any ice cream craving.
4 thoughts on “Easy 3-Ingredient No-Churn Ice Cream Recipe”