To make a stunning gazing ball, cover an old 10–12-inch bowling ball with flat-backed glass gems, mirror tiles, ceramic pieces, or sea glass. Secure the decorations with outdoor-rated construction adhesive, allow the adhesive to cure for 24–48 hours, fill the gaps with exterior sanded grout, and seal the grout after it cures for approximately 48–72 hours.
This easy garden craft creates a shimmering mosaic sphere that catches sunlight, reflects foliage, and adds color to a flower bed, patio, or entryway. The project requires no cooking and no edible ingredients, but it does reward careful preparation, consistent grout lines, and patient drying time.
Jump to RecipeWhy You’ll Love This Garden Project
A homemade gazing ball gives an ordinary garden corner a bright focal point without requiring advanced crafting skills. The rounded bowling ball provides a sturdy base, while reflective glass and mirror pieces create flashes of blue, green, silver, or rainbow color whenever sunlight moves across the garden.
This project is also a wonderful way to reuse an old bowling ball that might otherwise sit forgotten in a garage. You can choose a calm monochromatic pattern, a cheerful rainbow arrangement, or a mixed mosaic made from leftover tiles and sea glass.
Although the hands-on work takes only a few hours, the full project lasts several days because the adhesive and grout need time to cure. Planning for those pauses is the key to a strong, weather-ready finish.
For another creative way to reuse household supplies, you may also enjoy this simple homemade laundry soap project.
Materials You’ll Need
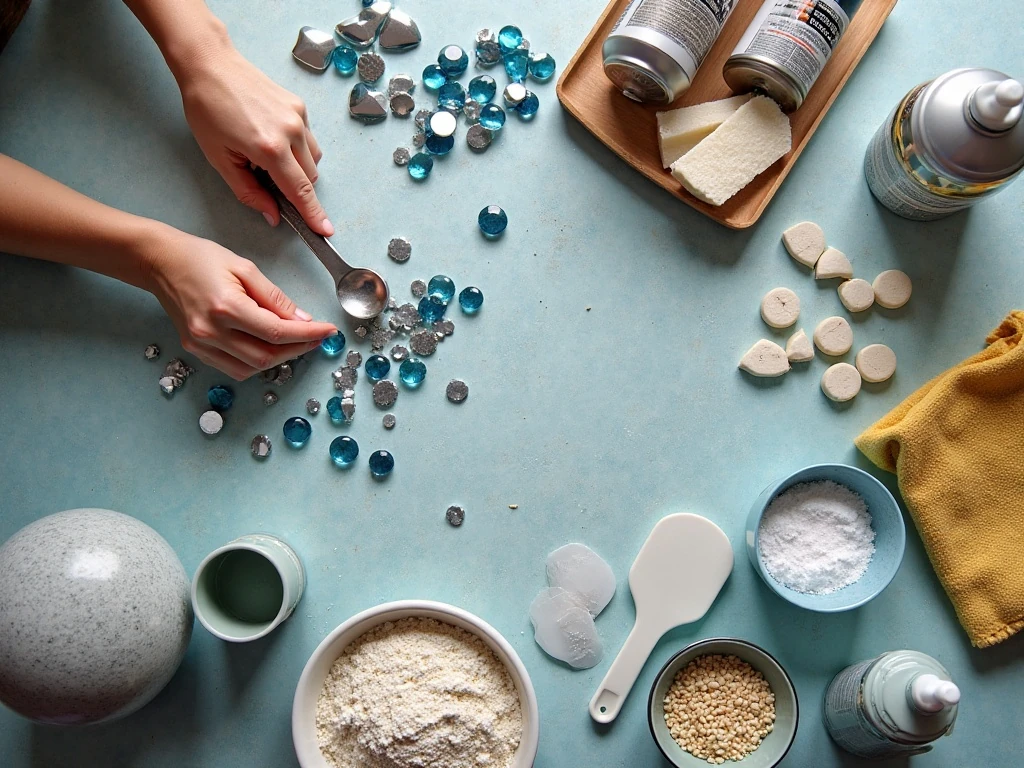
For one 10–12-inch gazing ball, gather an old bowling ball weighing approximately 8–16 pounds and 2–3 pounds of flat-backed glass gems, mirror tiles, ceramic pieces, or sea glass. Flat-backed pieces are generally easier to position and more secure than fully rounded marbles.
- One tube of outdoor-rated construction adhesive, approximately 10 ounces
- One quart of exterior sanded grout
- One to two tablespoons of dishwashing liquid
- Warm water as needed for cleaning and grout work
- One pair of disposable gloves
- One sponge, grout float, or rubber scraper
- One sturdy stand, planter, or pedestal
- Optional exterior spray paint or primer
- Optional small container of exterior grout sealer
The adhesive is the most important supply to choose carefully. Ordinary craft glue often fails when repeatedly exposed to moisture, sunlight, and temperature changes, so select a product labeled for outdoor construction use or use an appropriate thin-set mortar.
When selecting decorations, look for pieces with a flat back and no sharp edges that could make handling difficult. Sort them by color and size before you begin so the design process stays organized.
If you enjoy making colorful party food while you craft, save these festive green skewer ideas for a separate occasion.
How to Make It Step-by-Step
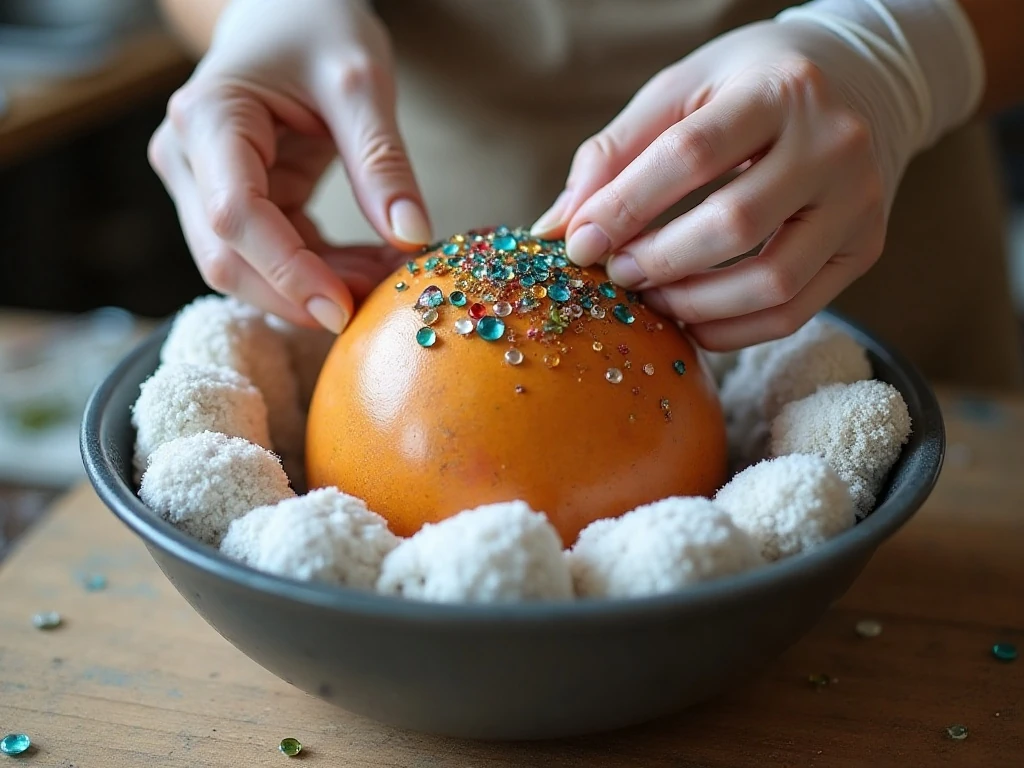
Step 1: Wash and degrease the bowling ball with warm water and dishwashing liquid. Rinse away all soap, then dry the surface completely with a clean towel; adhesive will not bond reliably to dust, grease, or moisture.
Step 2: Inspect the finger holes and decide whether you want to keep them visible or disguise them. If you prefer a smooth mosaic surface, fill the holes with exterior patching compound or body filler, let the filler cure, and sand it smooth.
Step 3: Consider painting the ball before adding decorations. Exterior spray primer or paint is optional, but it can improve the appearance when the original finish is badly worn or when small spaces between the mosaic pieces may reveal the base.
Step 4: Plan the design on a table before applying glue. Start with the largest glass gems, mirror tiles, ceramic pieces, or sea glass, and then arrange smaller pieces around them while leaving narrow, fairly even gaps for grout.
Step 5: Rest the ball in a bowl, bucket, or ring of towels so it stays steady. Apply a small amount of outdoor construction adhesive to the back of each decoration, press it firmly onto the ball, and work in manageable sections to prevent sliding.
Step 6: Continue around the ball until the surface is covered according to your design. Avoid squeezing out large amounts of adhesive, since excess glue can crowd the grout lines and make cleanup more difficult.
Step 7: Allow the adhesive to cure fully for 24–48 hours, or follow the exact time listed on the product label. The pieces should feel firmly attached before you turn the ball or begin grouting.
Step 8: Mix the exterior sanded grout with water until it becomes thick and spreadable. Add water cautiously, because runny grout can slide down the curved ball instead of staying packed between the decorations.
Step 9: Put on disposable gloves and press grout into every gap with a gloved hand, grout float, or rubber scraper. Work carefully around the decorative pieces, checking the underside and edges so no open channels remain.
Step 10: Use a damp sponge to remove excess grout from the glass, mirrors, and tiles before it hardens. Rinse and wring the sponge often, using gentle passes that do not pull grout out of the joints.
Step 11: Once the grout firms up, polish any cloudy haze from the decorations with a clean, dry cloth. Let the finished ball remain undisturbed while the grout cures for approximately 48–72 hours.
Step 12: Apply an exterior grout sealer after the curing period if the ball will be exposed to rain, frost, or sprinklers. Place it on a sturdy pedestal, in a stable planter, or partially buried so it cannot roll or blow over.
While this is not an edible recipe, the same patience used for long curing projects is useful when preparing a sourdough culture. If you enjoy hands-on projects in the kitchen too, see this guide to starting sourdough.
Design Ideas for a Stunning Finish
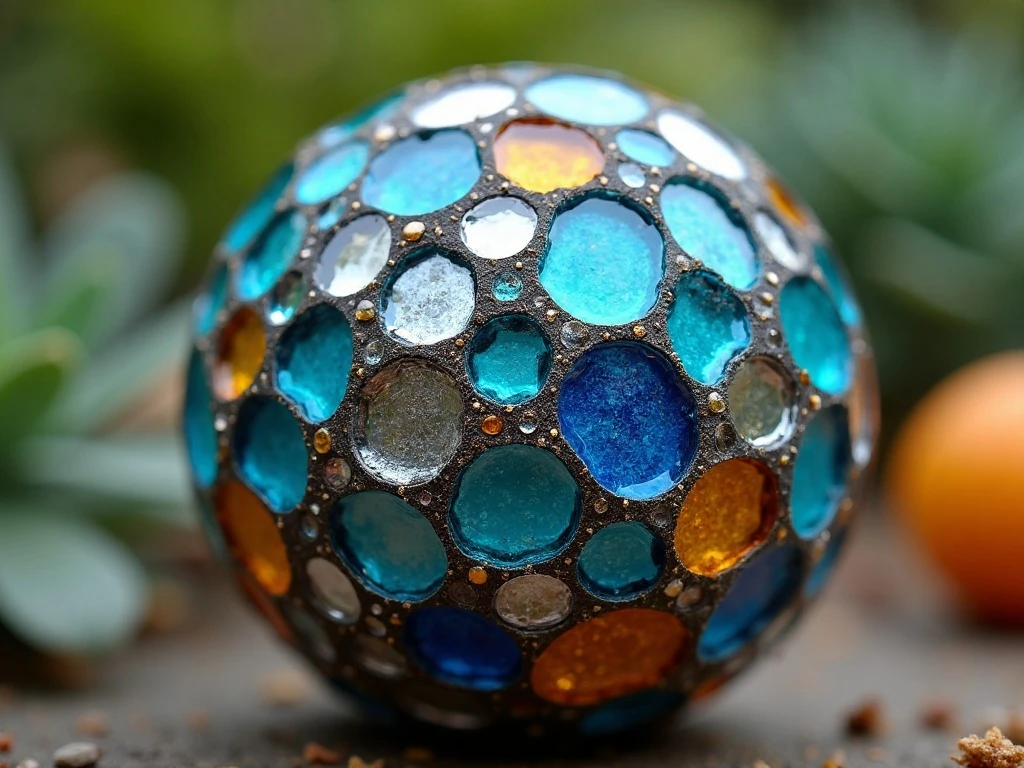
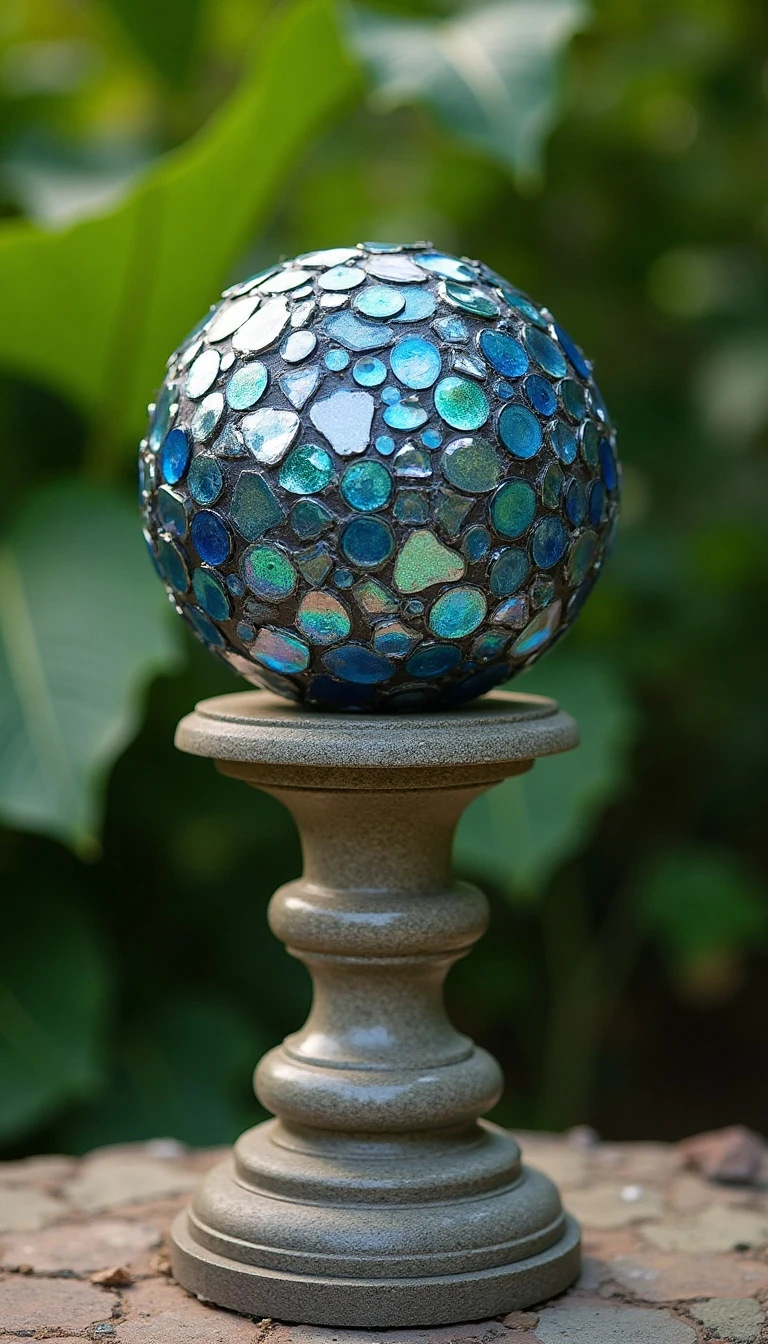
For a classic garden look, combine silver mirror tiles with deep blue and turquoise glass gems. The cool colors look especially lovely beside herbs, white flowers, ornamental grasses, and gray-green foliage.
A warm design can use amber, copper, gold, and cream ceramic pieces. For a playful ball, arrange colors in loose bands, spirals, sunbursts, or irregular clusters rather than trying to make every section identical.
Keep the largest pieces balanced around the sphere instead of placing them all on one side. Smaller gems are excellent for filling awkward curves and creating a tidy transition between larger decorations.
Consistent grout lines make even a mixed collection of materials look intentional. Leave enough space for grout to grip, but avoid very wide gaps that could make the ball look unfinished or allow more water to collect.
For a garden gathering, pair the finished outdoor display with a colorful appetizer such as quick classic bruschetta served safely indoors or on a covered patio.
Pro Tips for Weather-Ready Results
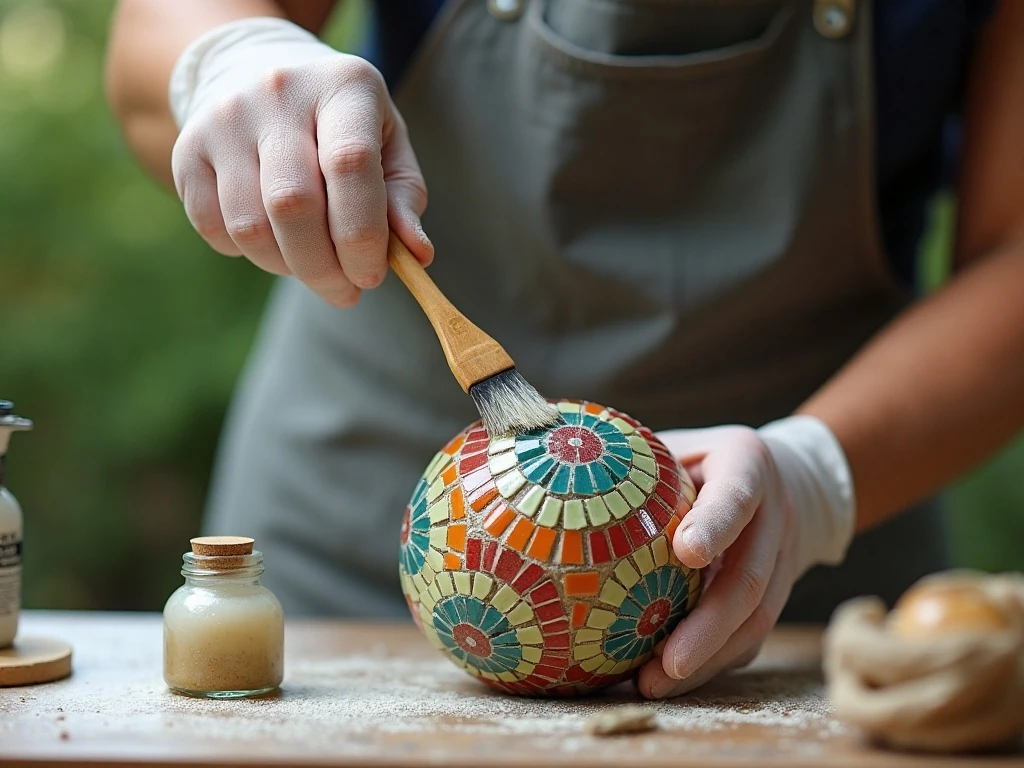
Cleanliness matters from the beginning. A completely dry, degreased bowling ball gives the adhesive a much better surface than one that still has polish, soil, or soap residue.
Use outdoor-rated adhesive or thin-set mortar, and do not rush the curing stage. Even if the decorations feel attached after a few hours, waiting at least 24 hours helps prevent pieces from shifting when grout is pressed into the joints.
Seal the cured grout to help reduce staining and water absorption. Sealer is particularly important in climates with repeated freeze-thaw conditions, although it cannot make fragile glass or exposed grout completely immune to severe weather.
Wear gloves while handling adhesive, grout, and sharp-edged materials, and follow the ventilation and safety directions printed on each product. Work on a protected surface so spilled grout or adhesive does not damage a table, deck, or patio.
During severe freezes, bring the ball indoors if possible, especially when it contains fragile glass pieces or has exposed grout. Moving it onto a covered, stable area can also reduce damage from sprinklers and heavy rain.
Placement, Care, and Maintenance
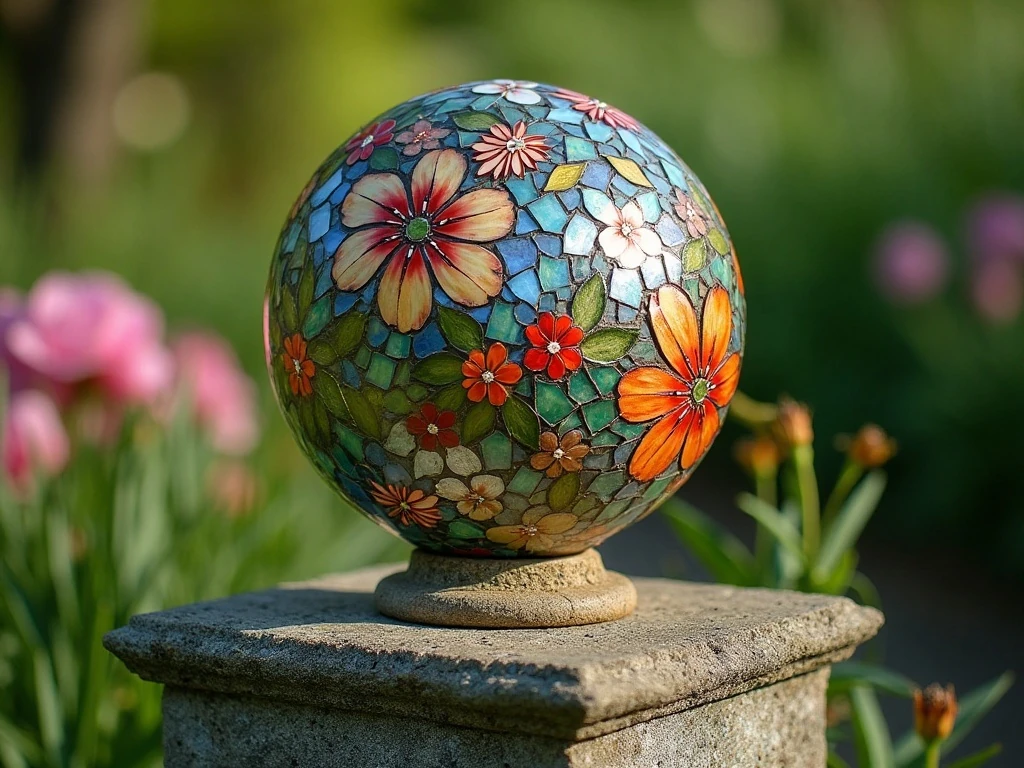
A gazing ball is safest when it sits on a broad, sturdy pedestal that supports its weight. A partially buried base can work well in a flower bed, but check that the ball is level and cannot roll into a walkway.
Keep the display away from spots where children, pets, lawn equipment, or strong wind could knock it down. A shaded position protects bright colors, while a sunny position creates the strongest reflections.
Clean the surface gently with water and a soft cloth when dust or pollen builds up. Avoid aggressive scraping, which can chip grout or scratch mirror pieces.
Inspect the grout periodically for cracks, loose decorations, or areas where water may enter. Repair small problems early with compatible exterior materials, and reseal according to the sealer manufacturer’s guidance.
Unlike food projects such as a refreshing ham and pineapple salad, this garden craft does not need refrigeration or reheating; it simply needs a protected, stable outdoor home.
DIY Garden Gazing Ball
Ingredients
Method
- Wash and degrease the bowling ball with warm water and 1–2 tablespoons of dishwashing liquid. Rinse it well and dry it completely before adding adhesive.
- If desired, fill the finger holes with exterior patching compound or body filler. Let the filler cure according to its product directions, then sand it smooth.
- Apply exterior spray primer or paint if the original ball surface is badly worn or if you want the background color to show through the spaces between decorations.
- Plan the mosaic design before gluing. Place the largest pieces first, then use smaller gems or tiles to fill the remaining spaces while leaving narrow, fairly even gaps for grout.
- Apply a small amount of outdoor construction adhesive to each gem or tile and press it firmly onto the ball. Work in sections, resting the ball in a bowl, bucket, or ring of towels so the decorations do not slide.
- Allow the adhesive to cure fully for at least 24 hours, or follow the product label if it calls for a longer period. Do not grout while pieces can still shift.
- Mix the exterior sanded grout with water until it reaches a thick, spreadable consistency. Avoid making it runny, because thin grout can slump away from the curved surface.
- Press the grout into the gaps with a gloved hand, grout float, or rubber scraper. Remove excess grout from the glass and tiles with a damp sponge before it hardens.
- After the grout firms up, polish haze from the decorative surfaces with a clean, dry cloth. Let the grout cure for approximately 48–72 hours before moving the ball outdoors.
- Apply an exterior grout sealer once the grout has cured, especially if the ball will face rain, frost, or sprinklers. Set it on a stable pedestal or partially bury it so it cannot roll or blow over.
Notes
Final Thoughts
Making a gazing ball from an old bowling ball is an approachable garden project with a beautiful payoff. With 2–3 pounds of reflective decorations, outdoor adhesive, exterior sanded grout, and a little patience, you can create a custom mosaic sphere that looks polished and personal.
Remember the essential sequence: clean and dry the ball, plan the design, glue the decorations, wait 24–48 hours for the adhesive, grout the gaps, polish away haze, and allow another 48–72 hours for the grout to cure. Finish with exterior grout sealer and place the ball where a sturdy stand or partially buried base will keep it secure.
Choose colors that echo your flowers, foliage, or patio furnishings, and do not worry about making every piece identical. The charm comes from the way the finished surface catches changing daylight and brings a little sparkle to the garden in every season.