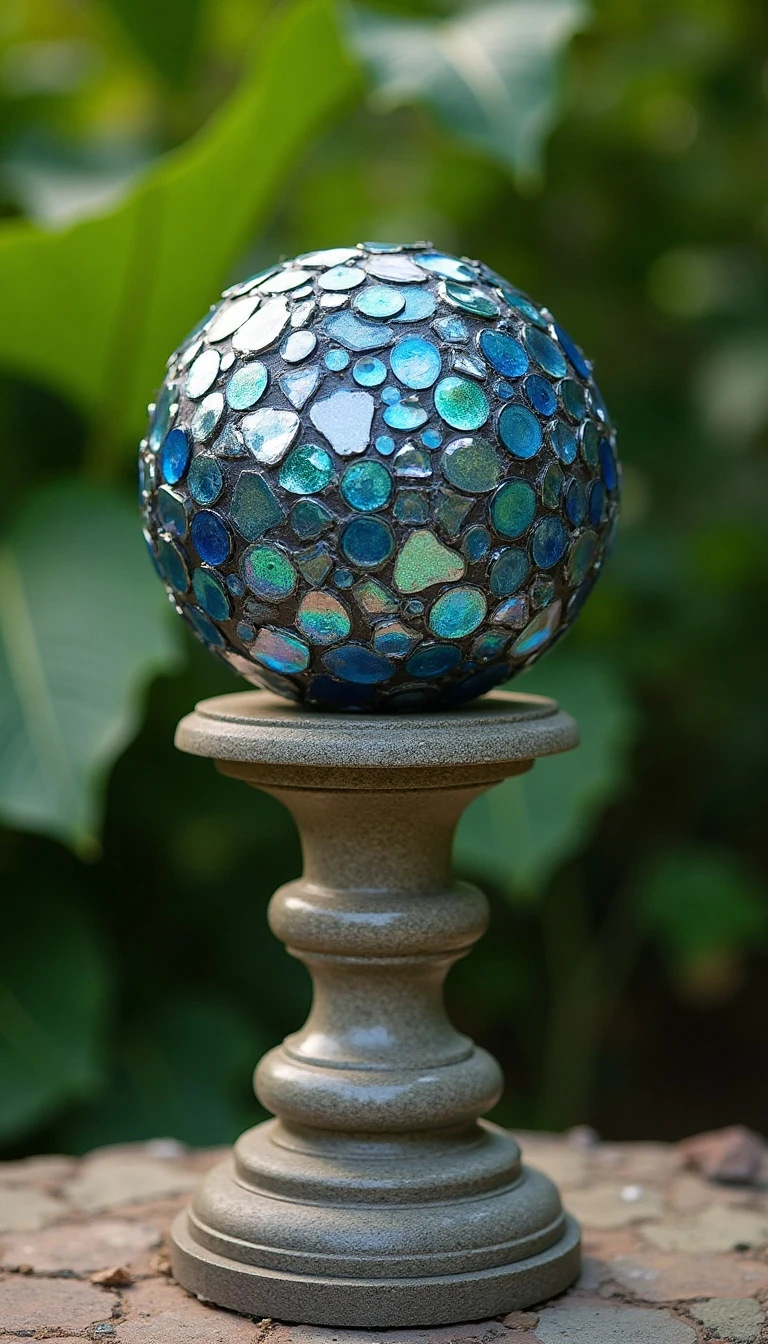
Ingredients
Method
Step-by-Step
- Wash and degrease the bowling ball with warm water and 1–2 tablespoons of dishwashing liquid. Rinse it well and dry it completely before adding adhesive.
- If desired, fill the finger holes with exterior patching compound or body filler. Let the filler cure according to its product directions, then sand it smooth.
- Apply exterior spray primer or paint if the original ball surface is badly worn or if you want the background color to show through the spaces between decorations.
- Plan the mosaic design before gluing. Place the largest pieces first, then use smaller gems or tiles to fill the remaining spaces while leaving narrow, fairly even gaps for grout.
- Apply a small amount of outdoor construction adhesive to each gem or tile and press it firmly onto the ball. Work in sections, resting the ball in a bowl, bucket, or ring of towels so the decorations do not slide.
- Allow the adhesive to cure fully for at least 24 hours, or follow the product label if it calls for a longer period. Do not grout while pieces can still shift.
- Mix the exterior sanded grout with water until it reaches a thick, spreadable consistency. Avoid making it runny, because thin grout can slump away from the curved surface.
- Press the grout into the gaps with a gloved hand, grout float, or rubber scraper. Remove excess grout from the glass and tiles with a damp sponge before it hardens.
- After the grout firms up, polish haze from the decorative surfaces with a clean, dry cloth. Let the grout cure for approximately 48–72 hours before moving the ball outdoors.
- Apply an exterior grout sealer once the grout has cured, especially if the ball will face rain, frost, or sprinklers. Set it on a stable pedestal or partially bury it so it cannot roll or blow over.
Notes
Exact material quantities vary with the size of the bowling ball and decorative pieces. Use outdoor-rated construction adhesive or thin-set mortar rather than ordinary craft glue. Bring the finished ball indoors during severe freezes if it has exposed grout or fragile glass pieces.