This easy 6-minute microwave caramels recipe makes rich, buttery homemade candy with only six ingredients and six minutes of microwave cooking. Combine butter, granulated sugar, brown sugar, light corn syrup, and sweetened condensed milk in a large microwave-safe bowl, microwave on HIGH for six minutes while stirring every two minutes, then add vanilla and let the caramel set.
The finished caramels are soft, chewy, glossy, and wonderfully creamy, with a deep brown-sugar flavor and a buttery finish. Preparation takes about five minutes, active cooking takes six minutes, and the candy needs one to two hours to cool and become firm enough to cut and wrap.
Jump to RecipeWhy You’ll Love This Recipe
These microwave caramels deliver the flavor of old-fashioned stovetop candy without requiring a candy pot, constant stirring, or a long cooking session. The microwave does the heavy work while the short ingredient list keeps preparation wonderfully simple.
Butter gives the candy a silky richness, brown sugar adds warm molasses notes, and sweetened condensed milk creates a smooth, creamy bite. Light corn syrup helps the sugar mixture stay glossy and chewy instead of turning grainy.
This recipe is especially useful during the holidays, when you want homemade treats for cookie trays, gift tins, party favors, or dessert tables. Since the pieces can be wrapped individually, they are easy to store, share, and transport.
If you enjoy quick homemade treats, you may also like this easy microwave jam for toast, biscuits, or a thoughtful edible gift basket.
Ingredients You’ll Need
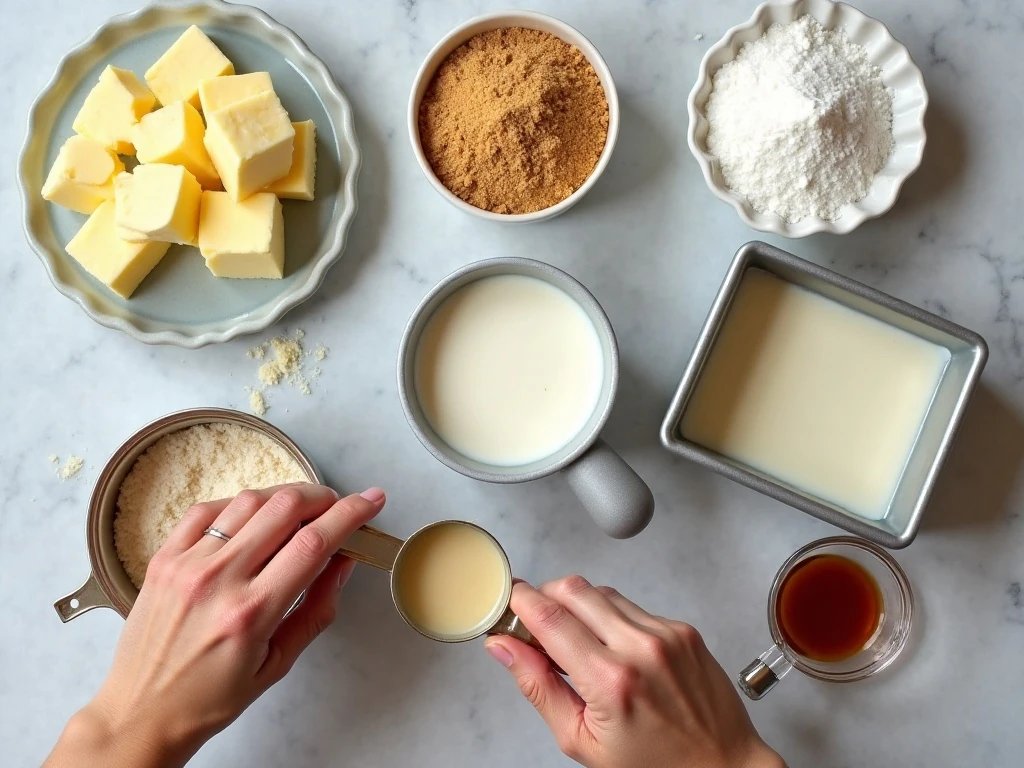
The recipe uses six everyday ingredients, but each one has an important job in creating the final texture. Measure everything before you begin because the caramel becomes very hot and the process moves quickly once the microwave starts.
- Butter: Use 1 cup of butter cut into cubes so it melts evenly with the sugars.
- Granulated sugar: One cup provides clean sweetness and helps form the candy structure.
- Light brown sugar: One packed cup contributes moisture, color, and a pleasant molasses flavor.
- Light corn syrup: One cup helps prevent unwanted crystallization and supports a smooth, chewy texture.
- Sweetened condensed milk: A 14-ounce can supplies creamy dairy richness and concentrated sweetness.
- Vanilla extract: One teaspoon rounds out the buttery caramel flavor and should be added after cooking.
For the pan, use a 9-inch square baking pan and either butter it lightly or line it with buttered parchment paper. Parchment creates a sling that makes the firm caramel much easier to lift out before cutting.
How to Make It Step-by-Step
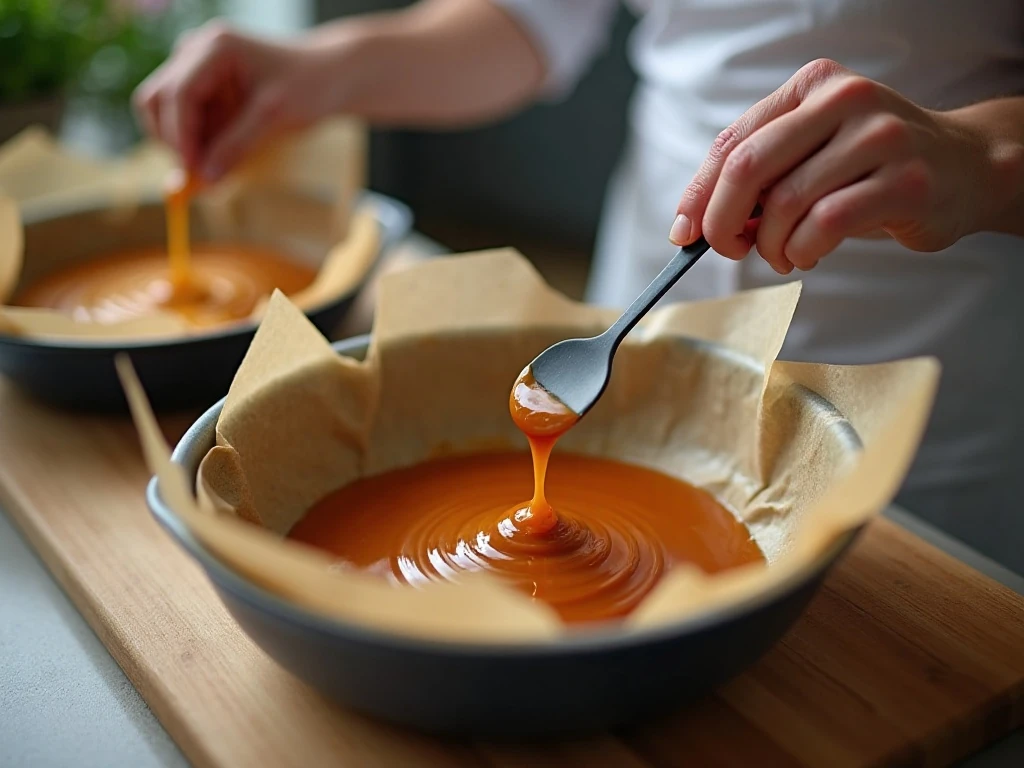
Step 1: Prepare the pan before mixing the candy ingredients. Lightly butter a 9-inch square pan, or fit it with parchment paper and butter the parchment, including the sides that will touch the caramel.
Step 2: Add the cubed butter, granulated sugar, packed light brown sugar, light corn syrup, and sweetened condensed milk to a large microwave-safe bowl. Choose a bowl with plenty of extra room because the mixture becomes extremely hot and may foam as it cooks.
Step 3: Microwave the bowl uncovered on HIGH for 2 minutes. Carefully remove it and stir thoroughly, scraping the bottom and sides so the butter and sugars combine evenly.
Step 4: Return the bowl to the microwave and cook for another 2 minutes on HIGH. Stir again with care, making sure no thicker mixture remains around the edges or underneath the bubbling surface.
Step 5: Microwave for the final 2 minutes on HIGH, bringing the total microwave cooking time to 6 minutes. Stir the caramel very thoroughly immediately after cooking, and use a candy thermometer if desired to confirm a temperature of approximately 238–242°F, the soft-ball stage.
Step 6: Add the vanilla extract immediately after microwaving and stir until it is completely incorporated. The mixture will be intensely hot, so keep your face and hands away from rising steam and avoid tasting it until it has cooled.
Step 7: Pour the caramel into the prepared square pan, using a heat-safe spatula to guide it into the corners. Let it cool completely at room temperature until firm, which generally takes 1–2 hours.
Step 8: Lift the set caramel from the pan using the parchment sling, then cut it into small squares with a sharp, lightly buttered knife. Wrap each piece individually in wax paper or parchment, twisting the ends to keep the candy protected.
Temperature and Texture Tips
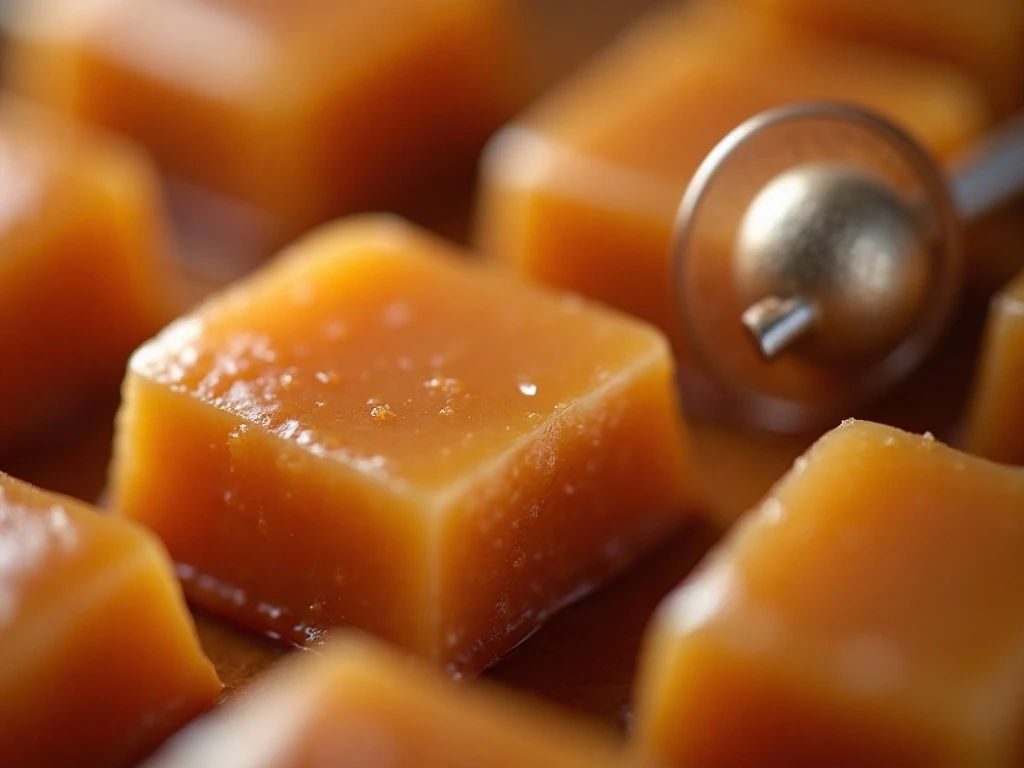
Microwave wattages differ, so the six-minute timing is a practical guide rather than a guarantee for every appliance. A candy thermometer provides the most reliable texture check, with approximately 238–242°F indicating the soft-ball stage.
If the caramel is undercooked, it may remain very soft or runny after cooling. If it is cooked beyond the ideal range, the finished candy can become hard, so watch the temperature closely when using a more powerful microwave.
Stirring every two minutes is essential rather than optional. Scrape the sides and bottom of the bowl at each interval to distribute heat and prevent concentrated sugar from sticking or cooking unevenly.
Never use a small bowl for this recipe. The caramel expands and may foam, and a generously sized microwave-safe bowl gives the bubbling mixture room while helping protect you from splashes.
For another comforting homemade dessert to serve beside a candy platter, try this creamy pineapple dessert with its cool, soft texture.
Cooling, Cutting, and Wrapping
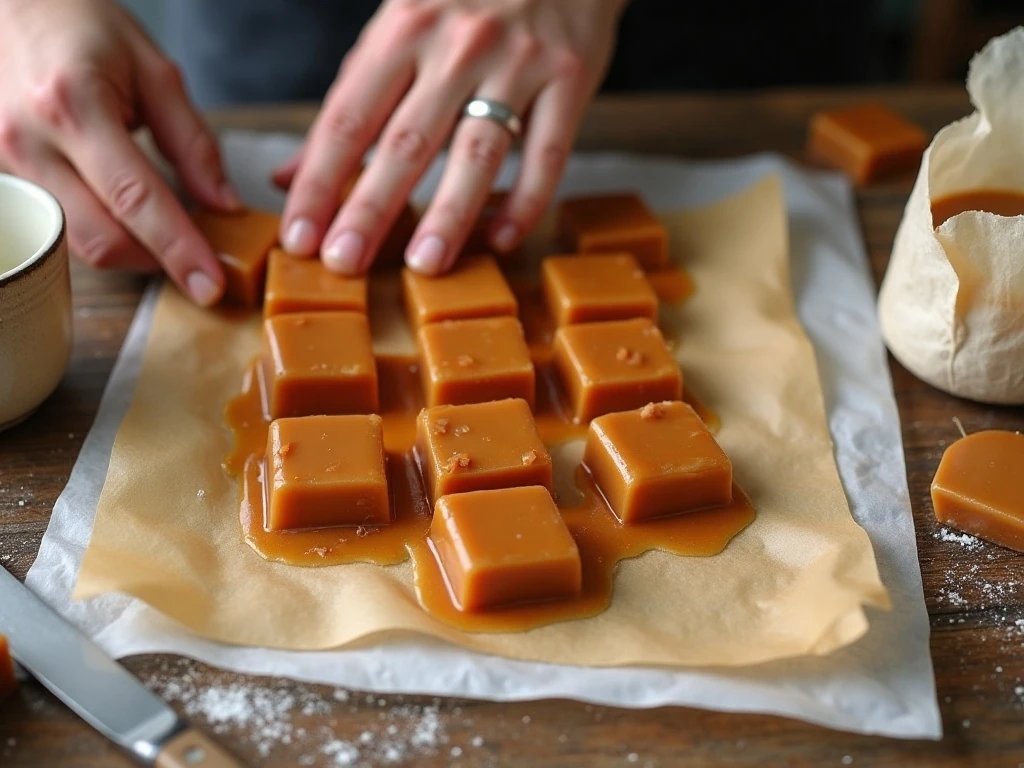
Pour the caramel into the pan as soon as the vanilla has been mixed in. Delaying too long can allow the mixture to thicken in the bowl, making it harder to spread into an even layer.
Allow the candy to cool completely before cutting. The surface may look firm before the center has set, so give it the full one to two hours when needed for clean squares.
Use buttered parchment whenever possible because it makes removal much simpler. A sharp knife will create the neatest pieces, and lightly buttering the blade between cuts can reduce sticking.
Small squares are ideal because these caramels are rich and chewy. Wrap each piece in wax paper or parchment to keep pieces from sticking together and to make them ready for gifting.
Serving and Storage Ideas
Serve the caramels at room temperature when you want their softest, chewiest texture. They are delicious alongside coffee, tea, hot chocolate, or a scoop of vanilla ice cream.
Store the individually wrapped pieces in an airtight container at room temperature in a cool, dry place. Keep layers separated if necessary, especially in warm conditions where the candy may become softer.
These caramels make a lovely homemade gift when packed in a small box or cellophane bag with a simple ribbon. Add them to a larger dessert assortment with this apple cream cheese Danish for a breakfast-inspired gift spread.
For a seasonal dessert table, pair the rich candy with fruit-forward bakes such as this simple peach cake. The soft fruit flavor provides a refreshing contrast to the buttery caramel.
Common Questions About Microwave Caramels
Can I use a smaller bowl? It is best not to. The mixture can foam and rise dramatically, so a large microwave-safe bowl is an important safety precaution.
Why did my caramels stay runny? The mixture may not have reached the soft-ball stage, especially if your microwave has lower wattage. Check for approximately 238–242°F when possible, and remember that the candy firms as it cools.
Why did my caramels turn hard? Overcooking can push the sugar mixture beyond the soft-ball stage. Microwave wattage, bowl shape, and small timing differences can all affect the final temperature.
When should I add the vanilla? Stir it in immediately after the six-minute microwave cycle. Adding it at the end preserves its fragrant flavor and keeps the cooking instructions simple.
Can I cut the recipe while it is warm? Wait until the caramel is completely firm. Cutting too early can create misshapen pieces and a sticky texture that is difficult to wrap.
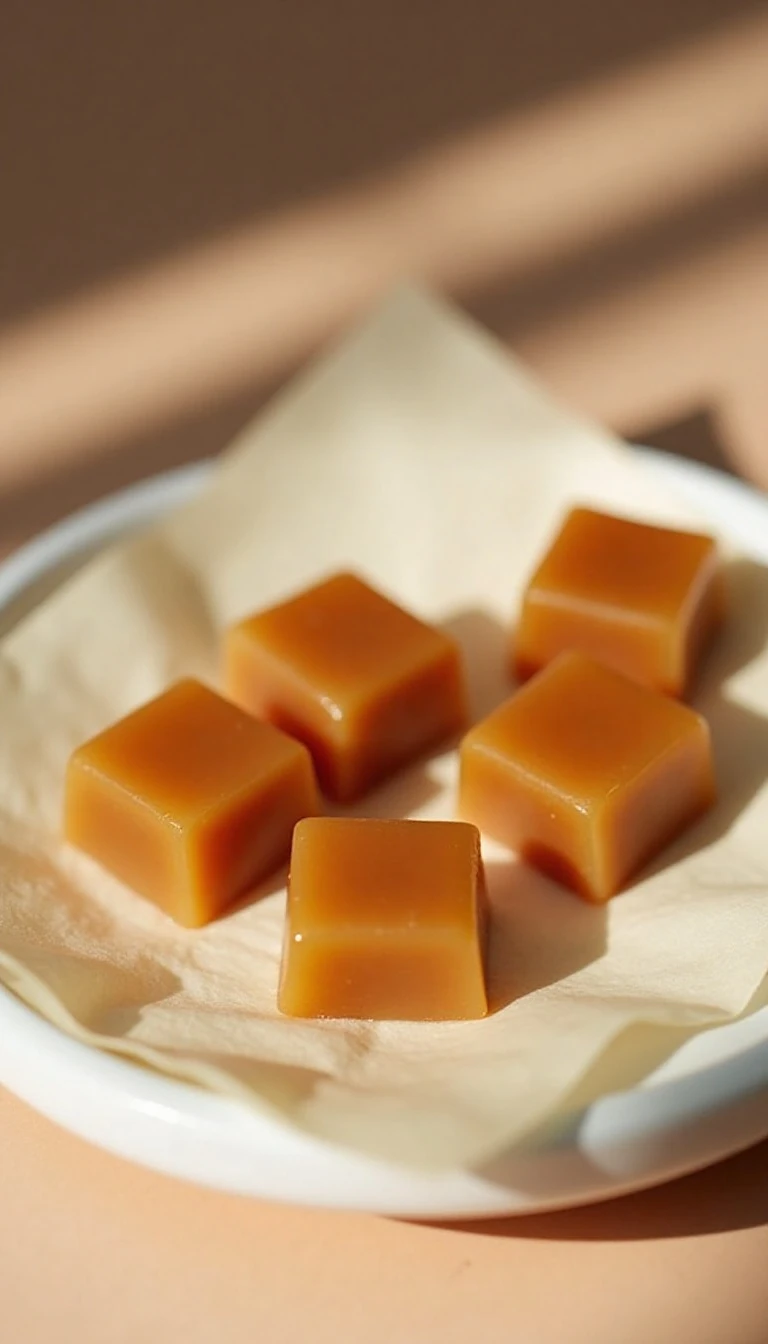
Easy 6-Minute Microwave Caramels
Ingredients
Method
- Lightly butter a 9-inch square pan, or line it with buttered parchment paper for easier removal.
- Place the butter, granulated sugar, brown sugar, light corn syrup, and sweetened condensed milk in a large microwave-safe bowl.
- Microwave the mixture uncovered on HIGH for 6 minutes, stirring thoroughly every 2 minutes and scraping the sides and bottom of the bowl.
- Immediately stir in the vanilla extract after removing the bowl from the microwave.
- Pour the hot caramel into the prepared pan and allow it to cool completely until firm, approximately 1 to 2 hours.
- Cut the set caramel into small squares and wrap each piece individually in wax paper or parchment.
Notes
Final Thoughts
This easy 6-minute microwave caramels recipe is proof that homemade candy can be simple, quick, and deeply satisfying. With five minutes of preparation, six minutes in the microwave, and one to two hours of cooling, you can make a pan of buttery, chewy caramels without standing over the stove.
Use a large bowl, stir thoroughly every two minutes, and check for approximately 238–242°F when you want the most dependable texture. Once the candy is firm, cut it into small squares, wrap each piece, and enjoy a polished homemade treat that is perfect for sharing.