Santa Cheesecake Ball is an easy no-bake Christmas dessert made with softened cream cheese, butter, powdered sugar, vanilla, and mini chocolate chips. Chill the mixture for at least 1 hour, shape it into a Santa face or hat, then decorate with red sanding sugar, coconut, marshmallows, and chocolate chips for a festive centerpiece that takes about 1 1/2 to 2 1/2 hours from start to serving.
Every bite is creamy, sweet, and lightly tangy, with little bursts of chocolate throughout. Served with graham crackers, vanilla wafers, pretzels, shortbread cookies, or fruit, this playful cheesecake dip gives a holiday dessert table plenty of charm without turning on the oven.
Jump to RecipeWhy You’ll Love This Recipe
This Santa Cheesecake Ball brings the rich flavor of cheesecake to the table in a dip that requires no baking. The method is straightforward: mix the creamy base, fold in chocolate chips, chill until firm, shape, and decorate.
It is also a wonderful make-ahead option for cookie exchanges, school celebrations, Christmas brunches, and family parties. Children can help arrange the coconut beard, marshmallow trim, and chocolate-chip eyes, while adults handle the shaping and refrigeration.
The finished dessert has a soft, spoonable texture that sits somewhere between cheesecake filling and a sweet cream-cheese spread. For another fruit-forward cheesecake-inspired option, try this cherry cheesecake dip alongside your holiday tray.
The design can be as simple or detailed as you like. A round face is easiest for beginners, while a cone-shaped hat makes a striking centerpiece when you want the red sanding sugar to be the main feature.
Ingredients You’ll Need
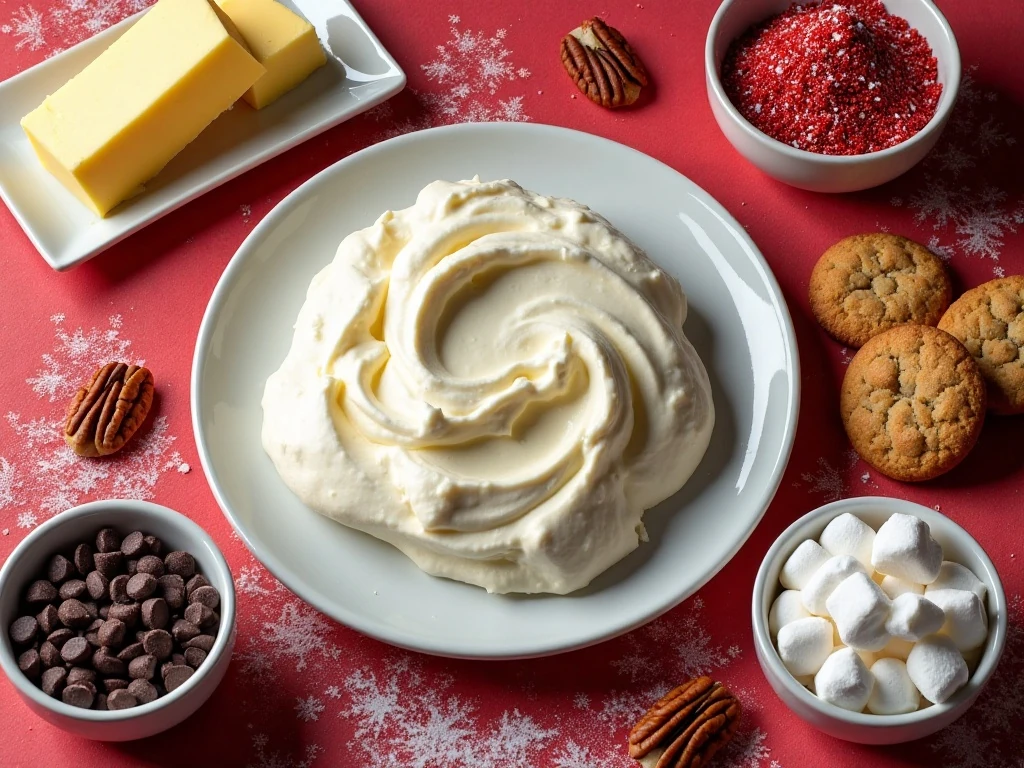
The foundation is made from two 8-ounce packages of full-fat cream cheese and one stick of unsalted butter. Both must be softened completely, because cold dairy will leave lumps and make the finished mixture difficult to shape.
- Cream cheese and butter: These create the smooth, rich base and help the ball hold its shape after chilling.
- Powdered sugar: It dissolves more easily than granulated sugar and gives the cheesecake mixture a soft, silky texture.
- Vanilla extract: A teaspoon adds warm dessert flavor and rounds out the tangy cream cheese.
- Mini chocolate chips: One cup adds texture and chocolate flavor throughout every scoop.
- Pecans or walnuts: These are optional and bring a pleasant crunch. Leave them out for a simpler, more broadly allergy-friendly version.
- Decorations: Red sanding sugar, shredded coconut, mini marshmallows, and chocolate chips transform the plain cheesecake ball into Santa.
A large strawberry or several strawberries are optional if you prefer to create a Santa-hat design with red fruit. You can also swap in white chocolate chips, crushed peppermint candies, or holiday sprinkles for a different seasonal flavor.
If you enjoy small cheesecake treats, these three-ingredient cheesecake bites are another easy recipe to keep in your dessert collection.
How to Make It Step-by-Step
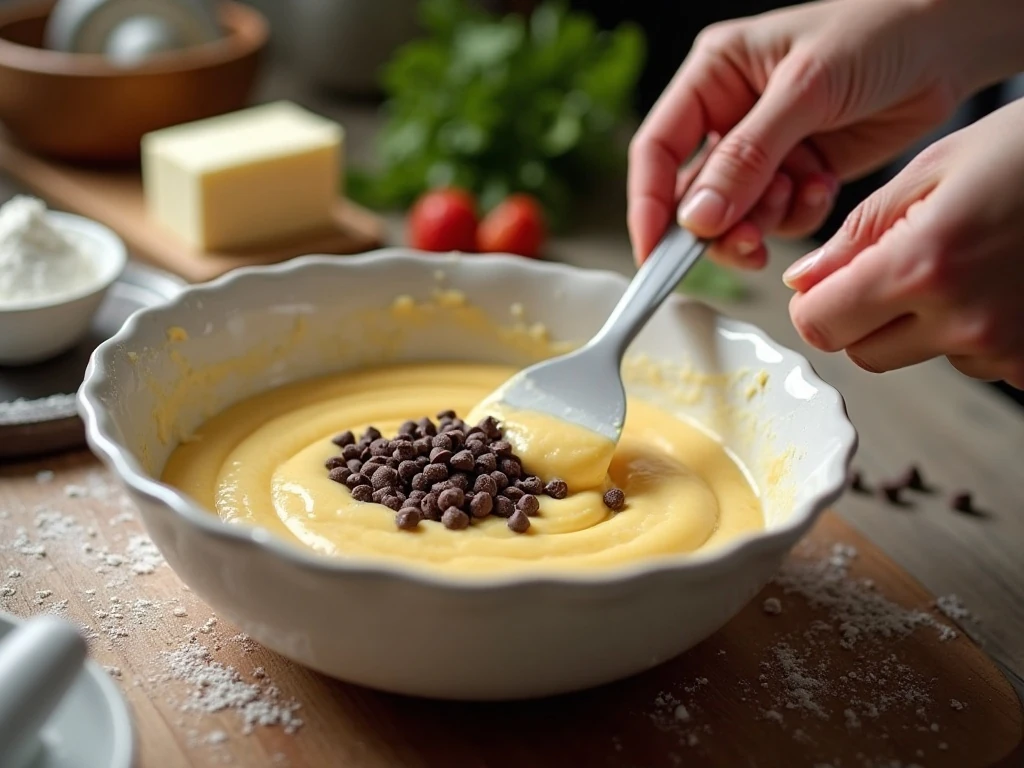
Step 1: Set the cream cheese and butter on the counter until both are fully softened. This usually takes some planning, but it makes the mixing process much smoother and prevents firm pieces from hiding in the finished dip.
Step 2: Place the softened cream cheese and butter in a large mixing bowl. Beat them together until the mixture is smooth, creamy, and free of visible streaks, scraping down the sides of the bowl as needed.
Step 3: Add the powdered sugar gradually rather than all at once. Mix in the vanilla extract, then beat until the mixture looks light, fluffy, and completely combined.
Step 4: Fold in the mini chocolate chips with a sturdy spatula. If using pecans or walnuts, add them now and stir gently so the chips and nuts are distributed without overmixing the base.
Step 5: Cover the bowl and refrigerate the cheesecake mixture for at least 1 hour. It needs to become firm enough to handle; if it is still soft or sticky, chill it for another 15-20 minutes before shaping.
Step 6: Lay a sheet of plastic wrap on your work surface and place the chilled mixture in the center. Use the wrap to shape it into a round ball, oval face, or cone-like Santa hat, pressing gently rather than compacting it too firmly.
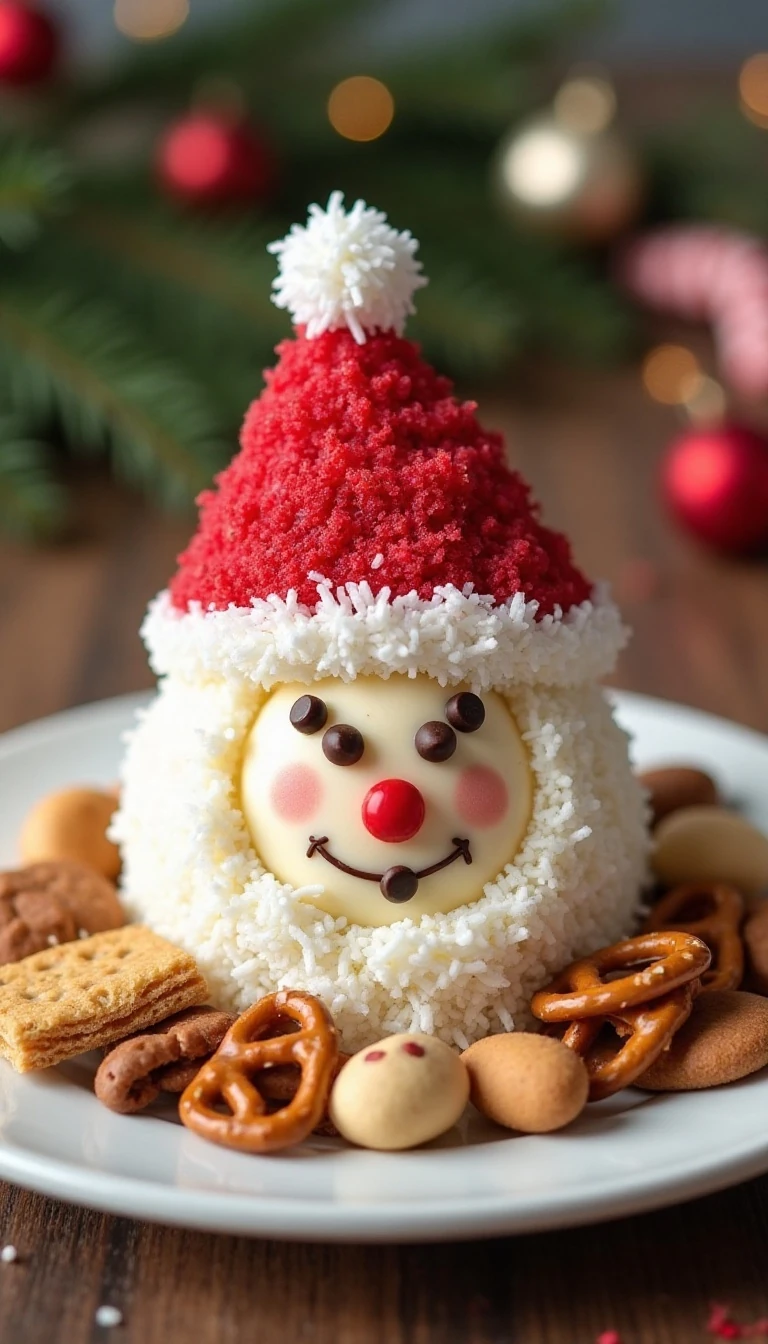
Step 7: Transfer the shaped cheesecake to a serving platter or board. For a Santa face, cover the hat area with red sanding sugar or sprinkles, leaving room below for the beard; for a hat, coat the cone with red decoration and reserve the bottom edge for coconut trim.
Step 8: Add sweetened shredded coconut to create Santa’s fluffy beard and hat trim. Place a mini marshmallow at the tip of the hat as the pom-pom, and use additional marshmallows along the trim if desired.
Step 9: Finish the face with chocolate chips or small candy pieces for the eyes and other details. If using strawberries, arrange the red fruit as a hat accent, then refrigerate the completed design until it is time to serve.
Santa Decorating Ideas
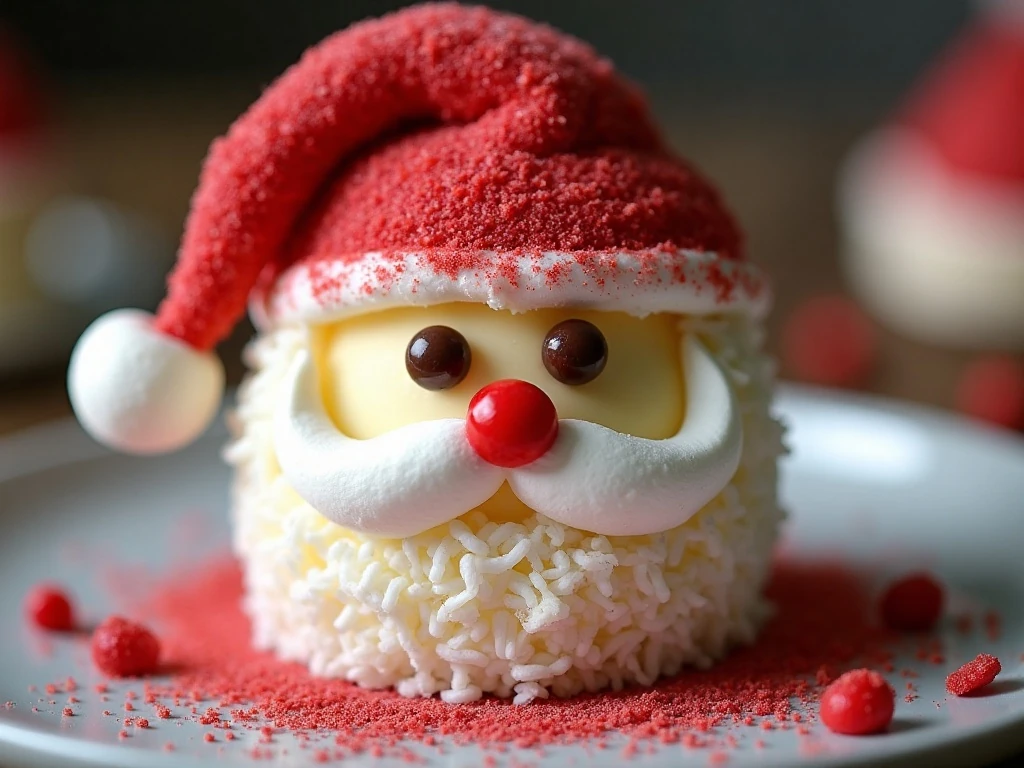
For the simplest design, form a round ball and cover the upper third with red sanding sugar. Add a curved line of coconut beneath the red section, place a marshmallow at the top, and use two chocolate chips for eyes.
An oval Santa face gives you more space for details. Build a wide coconut beard across the lower half, then add a small chocolate-chip nose, two eyes, and a red-sprinkle hat across the top.
To make a Santa hat, shape the chilled mixture into a cone with a slightly rounded tip. Cover the cone in red sprinkles, press coconut around the bottom edge, and finish with a mini marshmallow pom-pom.
Keep the decorations light enough that the cheesecake ball remains easy to scoop. A few well-placed details often look cleaner than covering every inch with candy.
For a cookie tray with a coordinated theme, pair this dessert with colorful holiday pinwheel cookies. Their crisp texture contrasts nicely with the creamy cheesecake dip.
Pro Tips for the Best Cheesecake Ball
- Soften dairy completely: Room-temperature cream cheese and butter blend into a smooth base, while cold ingredients can create lumps.
- Chill before shaping: The refrigerator is what changes the mixture from a soft dip into a formable cheesecake ball.
- Use a barrier: Plastic wrap keeps the mixture from sticking heavily to your hands while you form the face or hat.
- Handle stickiness quickly: Lightly dampened or gloved hands can help, but an extra 15-20 minutes of chilling is usually the best solution.
- Decorate near serving time: Coconut and sanding sugar look freshest when added shortly before the dessert reaches the table.
- Keep the presentation cold: Because the recipe contains cream cheese and butter, return it to the refrigerator whenever it is not being served.
Do not worry about making a perfectly symmetrical Santa. The handmade look is part of the appeal, and small variations in the beard or hat can make the character feel even more cheerful.
For a strawberry-centered variation, look at these cheesecake-stuffed strawberries and use the same flavor pairing as inspiration for your optional red fruit decoration.
What to Serve With Santa Cheesecake Ball
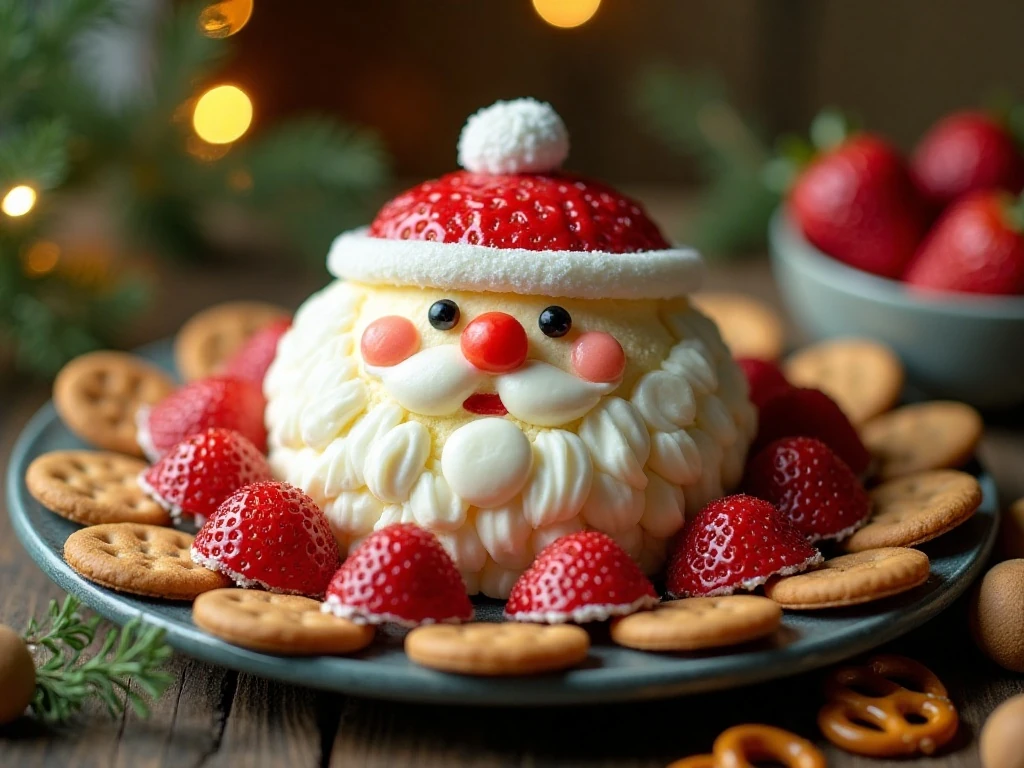
Arrange several dipping choices around the platter so guests can choose between crisp, buttery, salty, and fresh textures. Graham crackers and vanilla wafers are classic, while pretzels add a pleasant salty contrast to the sweet cheesecake.
- Graham crackers
- Vanilla wafers
- Pretzels
- Shortbread cookies
- Apple slices or strawberries
- Other firm fresh fruit for dipping
For a larger holiday dessert board, place the Santa ball in the center and surround it with cookies in alternating colors. Keep a small spreading knife or serving spoon nearby so guests can scoop the dip without disturbing the decorations.
A cheesecake dessert table can also include this festive cheesecake pie for a different presentation style. Although its colors suit another celebration, its creamy profile fits naturally beside this Christmas treat.
Storage and Serving Tips
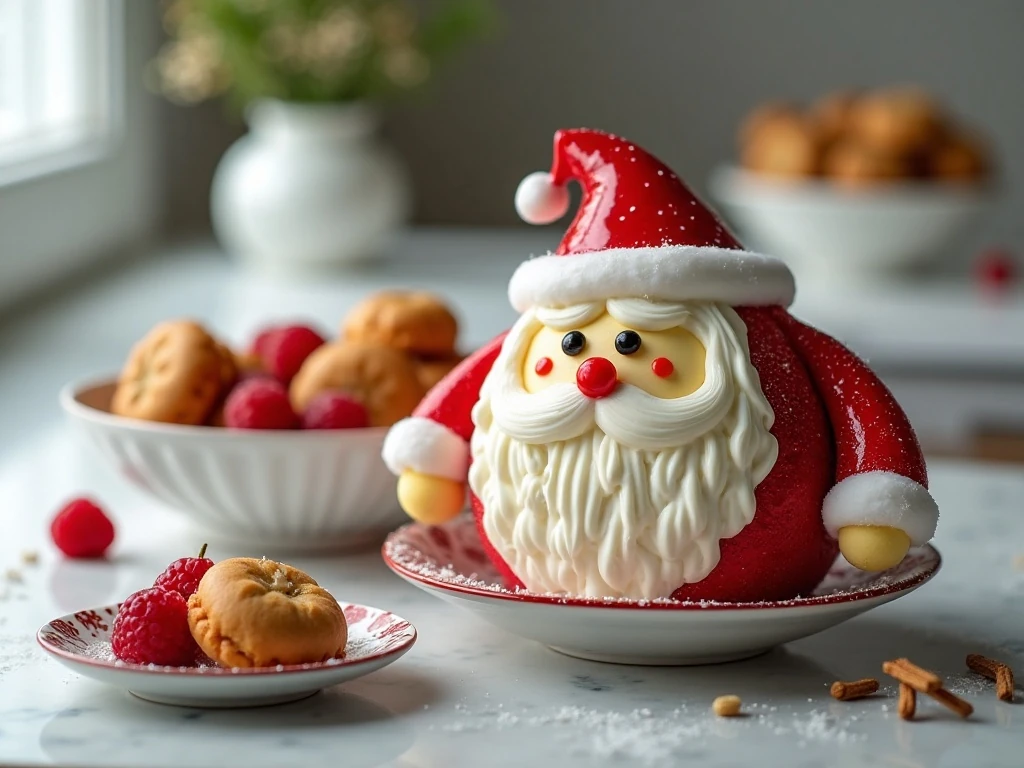
Keep the Santa Cheesecake Ball covered and refrigerated for up to 3-4 days. A lidded container is ideal, but a loose tent of plastic wrap can work if it does not press against the coconut, marshmallows, or other decorations.
Do not leave the dessert at room temperature for more than about 2 hours. If the party will last longer, serve it in smaller portions and return the remaining cheesecake ball to the refrigerator between servings.
For the cleanest appearance, decorate shortly before serving. If you need to prepare ahead, mix and chill the cheesecake base, shape it once firm, and wait to add the coconut and red sanding sugar until the day of the gathering.
Santa Cheesecake Ball
Ingredients
Method
- Beat the softened cream cheese and butter together until smooth and creamy. Gradually add the powdered sugar and vanilla, then continue beating until the mixture is light and fully combined.
- Fold in the mini chocolate chips and the optional chopped pecans or walnuts. Cover the bowl and refrigerate for at least 1 hour, or until the mixture is firm enough to shape.
- Place the chilled mixture on plastic wrap and shape it into a round Santa face, an oval face, or a cone-like Santa hat. If the mixture feels sticky, chill it for another 15-20 minutes and use lightly dampened or gloved hands.
- Decorate the appropriate areas with red sanding sugar or sprinkles for Santa's hat. Add shredded coconut for the beard and hat trim, then use mini marshmallows for the pom-pom and additional trim.
- Add chocolate chips or candy pieces for the eyes and other facial details. Refrigerate the decorated cheesecake ball until serving, and present it with graham crackers, vanilla wafers, pretzels, shortbread cookies, or fruit.
Notes
Final Thoughts
Santa Cheesecake Ball is the kind of holiday dessert that earns attention before anyone takes the first bite. Its creamy vanilla cheesecake flavor, mini chocolate chips, fluffy coconut, and bright red hat make it both a crowd-pleasing dip and a memorable Christmas centerpiece.
Prepare the base, give it enough time to chill, and decorate with a light hand for the best texture and presentation. Whether you choose a friendly Santa face or a simple Santa hat, serve it cold with plenty of cookies, crackers, pretzels, and fruit for easy holiday dipping.
Most importantly, have fun with the character. The recipe is forgiving, the decorations are flexible, and the finished treat brings a playful touch to dessert tables of every size.