Festive Holiday Pinwheel Cookies are buttery red-and-green Christmas cookies made by layering two thin sheets of tinted sugar-cookie dough, rolling them into a log, chilling, slicing, and baking. The recipe yields about 30–36 cookies and takes approximately 2 1/2–3 hours from start to finish, including 35–45 minutes of preparation, 1–2 hours of chilling, and 10–12 minutes of baking per sheet.
Each cookie has a crisp, tender edge, a delicate vanilla-butter flavor, and a cheerful spiral that looks beautiful on a holiday platter. Gel food coloring keeps the dough bright without adding excess moisture, while a properly chilled log makes the red and green pattern clean, distinct, and ready for cookie exchanges.
Jump to RecipeWhy You’ll Love This Recipe
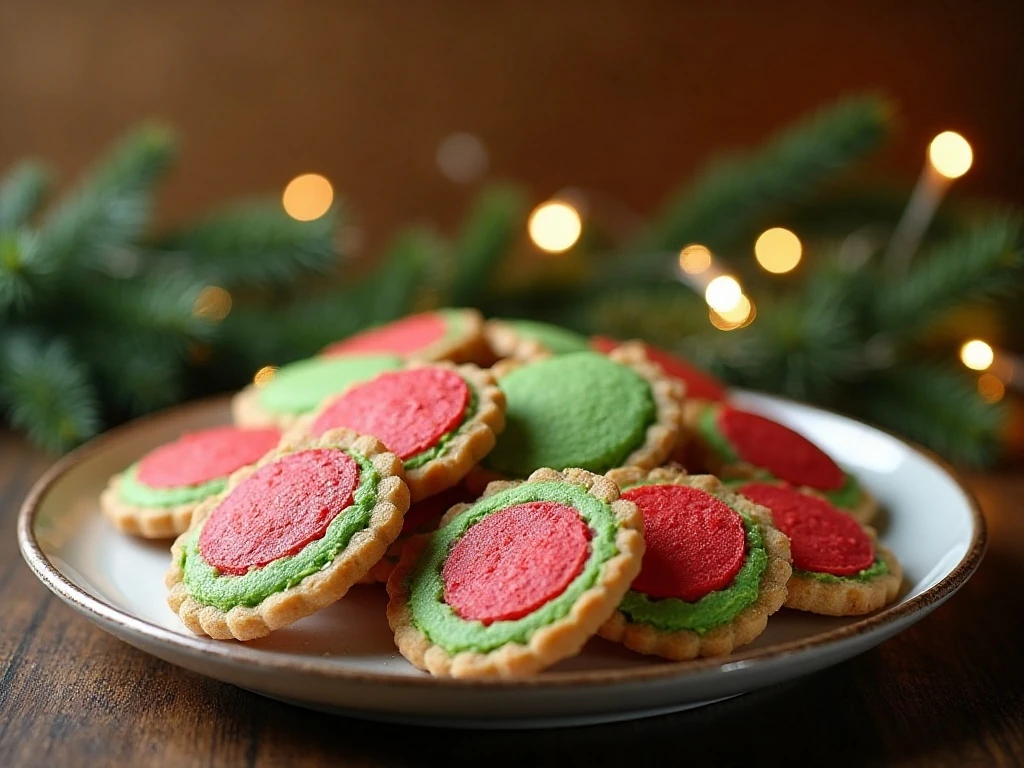
These cookies bring the look of a classic holiday bakery cookie to your own kitchen with a straightforward butter-cookie dough. The red and green layers create a natural spiral, so there is no need for frosting, sprinkles, or complicated decorating after baking.
The flavor is familiar and comforting: rich unsalted butter, granulated sugar, and pure vanilla create a delicate cookie that is sweet without tasting heavy. The centers remain tender while the edges become lightly crisp, giving every bite a pleasant contrast.
Pinwheel cookies are also practical for holiday baking. The dough can be shaped ahead, chilled, and sliced when you are ready to bake, making it easier to fit a batch into a busy seasonal schedule.
If you enjoy tender, rich cookies with a soft texture, you may also like our cream cheese cookie recipe for another festive dessert tray option.
Ingredients You’ll Need
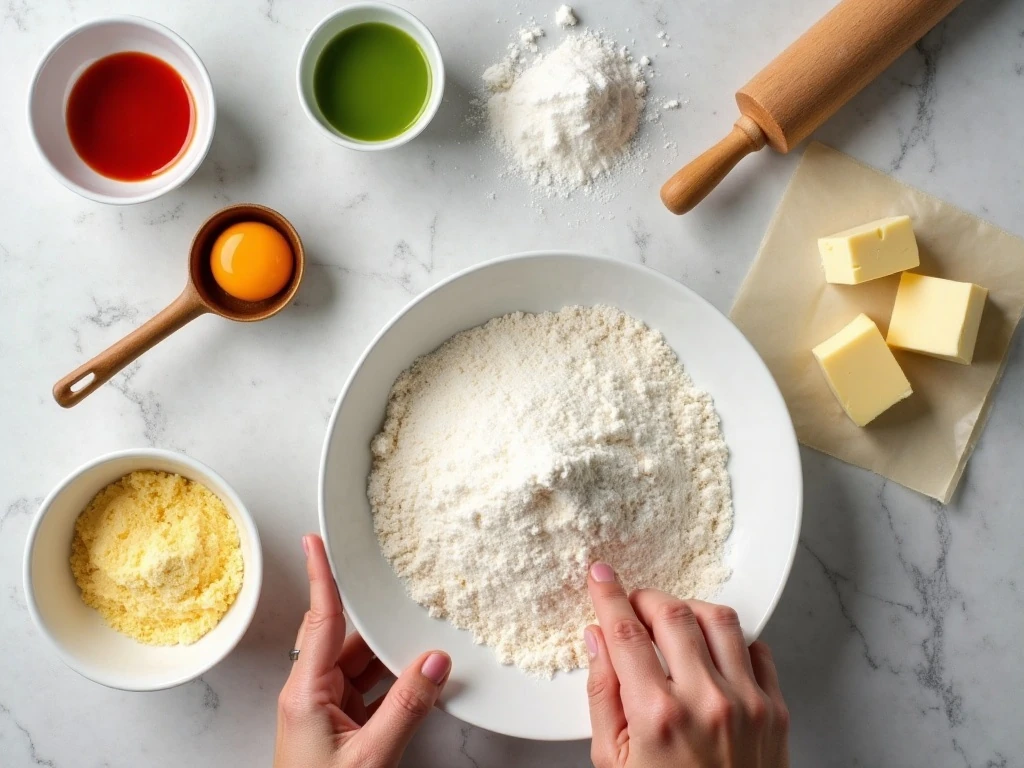
The ingredient list is short, but each component has an important role in the finished cookie. Measure the flour carefully, and use softened butter rather than melted butter so the dough creams properly and holds its shape.
- Unsalted butter: Supplies the rich flavor and tender texture. Softened butter should be pliable but not greasy or liquid.
- Granulated sugar: Sweetens the dough and helps create lightly crisp edges.
- Egg: Binds the ingredients and adds structure to the cookies.
- Vanilla extract: Gives the butter-cookie base its warm, classic flavor.
- All-purpose flour: Builds the dough. The specified 2 1/4 cups, or 281 grams, gives the cookies enough structure for rolling.
- Baking powder and salt: Baking powder provides gentle lift, while salt balances the sweetness.
- Red and green gel food coloring: Creates bright holiday colors without adding the extra liquid associated with liquid food dye.
Have parchment paper, plastic wrap, a rolling pin, a sharp knife, mixing bowls, baking sheets, and a wire rack ready before you begin. Preparing the equipment first helps keep the dough from sitting at room temperature longer than necessary.
How to Make It Step-by-Step
Step 1: Bring the butter to a cool room temperature so it is soft enough to press with a fingertip but still holds its shape. Beat the butter and sugar together for about 2–3 minutes, until the mixture looks pale, light, and creamy.
Step 2: Add the large egg and pure vanilla extract to the creamed butter mixture. Beat until smooth, pausing to scrape the sides and bottom of the bowl so the ingredients are evenly distributed.
Step 3: In a separate bowl, whisk together the all-purpose flour, baking powder, and salt. Add this dry mixture to the butter mixture in portions, mixing only until a soft dough forms; overmixing can make the cookies less tender.
Step 4: Divide the dough into two equal portions using a kitchen scale if you want especially even layers. Tint one portion red and the other green, adding gel coloring gradually and mixing until each portion has a consistent shade.
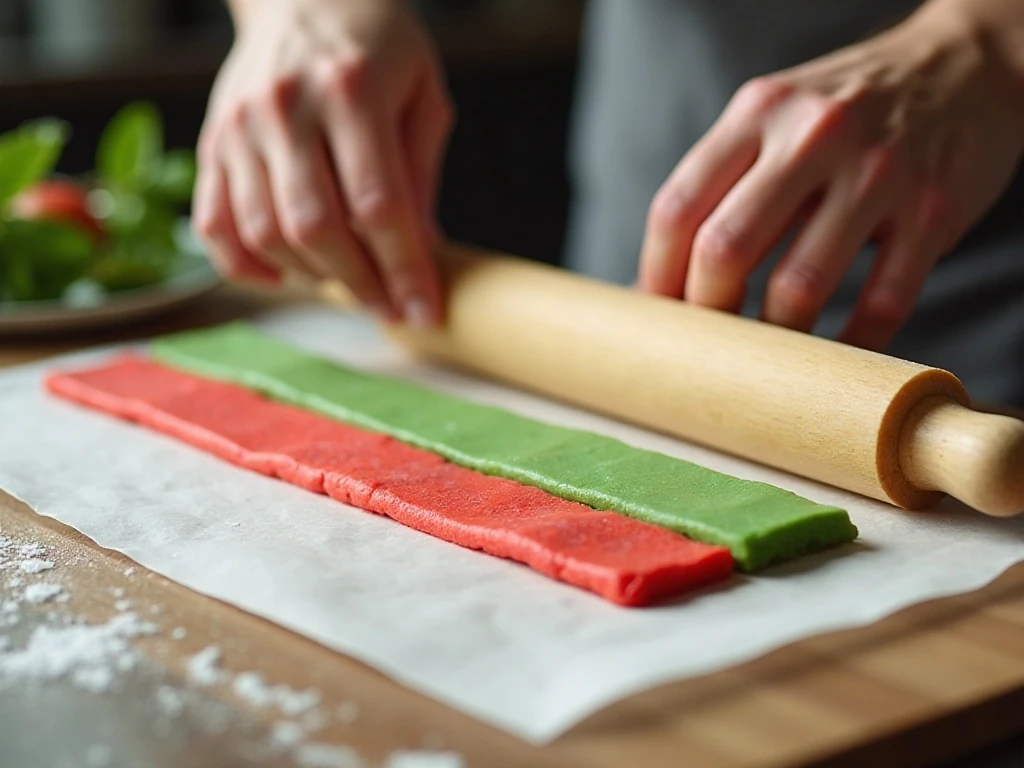
Step 5: Place one colored dough portion between two sheets of parchment paper. Roll it into a rectangle approximately 8 x 10 inches and about 1/8 inch thick, then repeat with the second portion so the rectangles match as closely as possible.
Step 6: Remove the top parchment from one dough rectangle and carefully place the second rectangle on top. Trim uneven edges if necessary, since straight edges make the final log easier to roll and produce more consistent spirals.
Step 7: Starting at a long edge, roll the layered dough into a log with steady, even pressure. Roll it firmly enough to prevent gaps but do not compress it so hard that the colored layers flatten or distort.
Step 8: Wrap the log securely in plastic wrap and chill it until firm for at least 1 hour. If your refrigerator is crowded or the log still feels soft, give it additional chilling time; cold dough slices more cleanly and keeps the colors from smearing.
Step 9: Heat the oven to 350°F (175°C), then unwrap the chilled log and use a sharp knife to cut rounds about 1/4 inch thick. Rotate the log slightly after each cut to help maintain its round shape, and briefly chill the log again if it begins to soften.
Step 10: Place the cookie rounds on parchment-lined baking sheets, leaving about 2 inches between them for modest spreading. Bake for 10–12 minutes per sheet, watching closely so the edges set while the cookies remain only lightly colored.
Step 11: Let the cookies cool on the baking sheet for several minutes after they leave the oven. Transfer them to a wire rack and cool completely before stacking, packaging, or adding them to a holiday platter.
Pro Tips for Clean Spirals
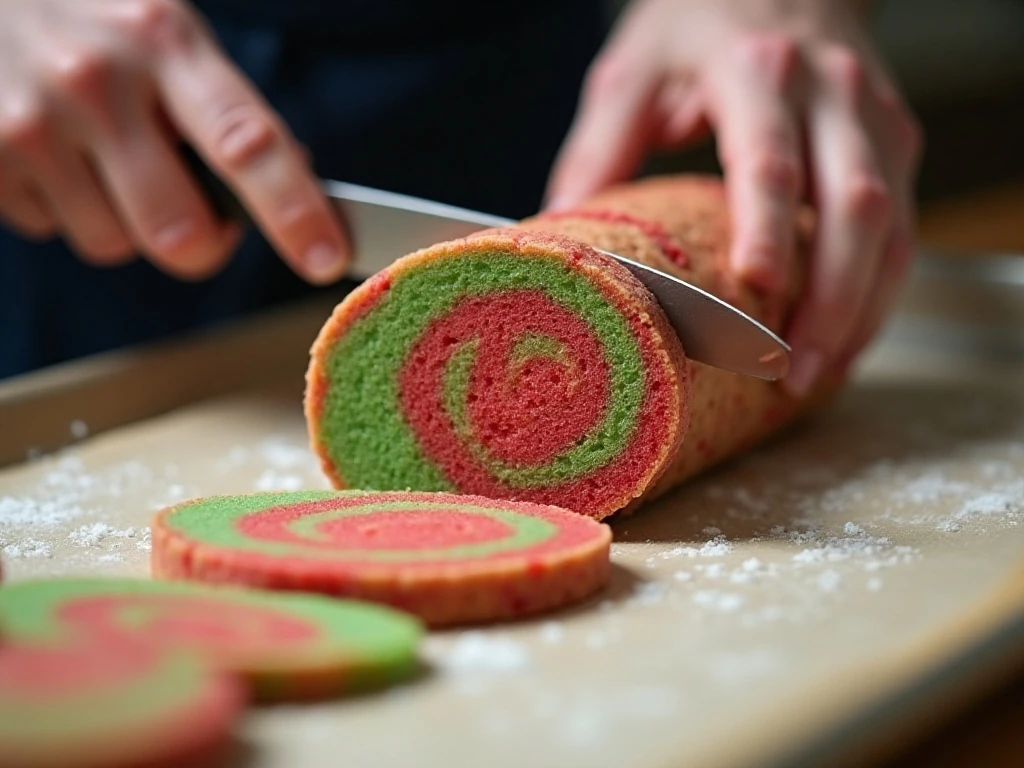
Temperature is the most important detail in this recipe. Soft dough can stick to parchment, smear the colors, and lose its shape, while firm dough rolls and slices with much greater control.
- Soften butter correctly: Leave it at room temperature until pliable, but avoid microwaving it until melted.
- Use gel coloring: Gel colors provide a strong red and green appearance without making the dough wet or sticky.
- Match the rectangles: Similar thickness and dimensions help the spiral remain balanced from the center to the outer edge.
- Roll steadily: Keep the roll even from one end to the other. Gaps can form when the first turn is loose, while excessive pressure can squash the pattern.
- Chill whenever needed: If either dough sheet becomes difficult to handle, refrigerate it briefly before layering.
- Use a sharp knife: A clean slicing motion is less likely to drag the layers than a dull blade.
- Rotate the log: Turning it slightly after each cut helps prevent one side from flattening.
For the neatest presentation, chill or briefly freeze the wrapped log until it is very firm before slicing. Do not leave it frozen for so long that it becomes impossible to cut without cracking.
Keep an eye on the first baking sheet because ovens vary. The cookies should look set around the edges and remain pale overall; darker edges usually mean the batch has baked too long.
Serving, Storage, and Holiday Pairings
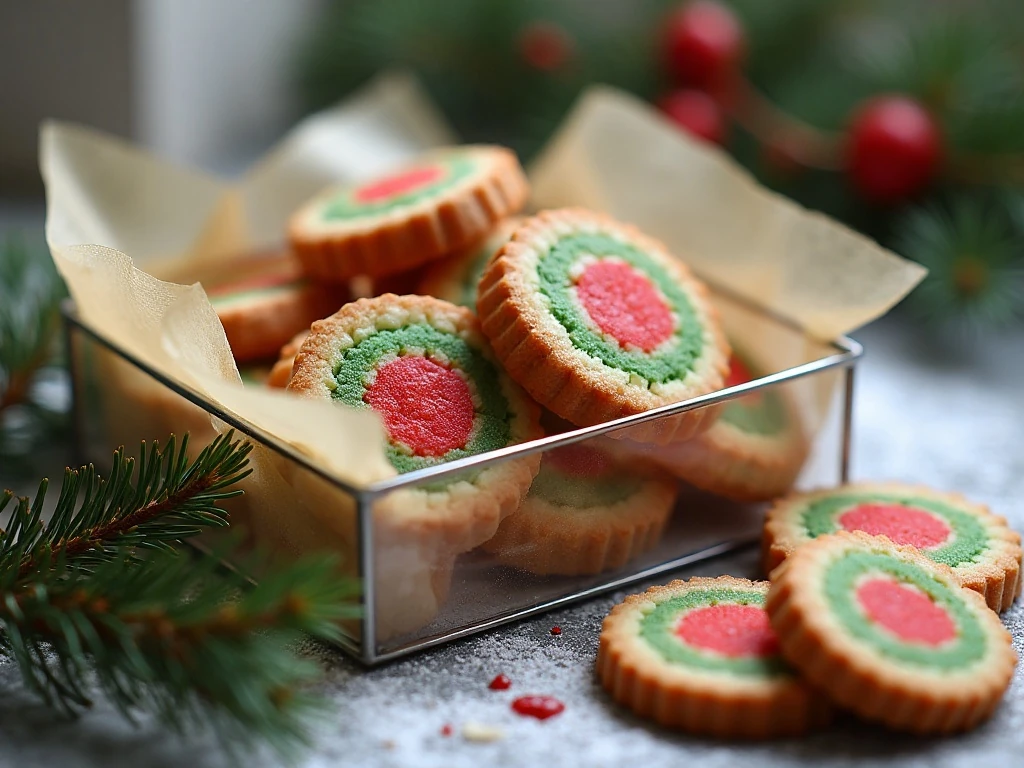
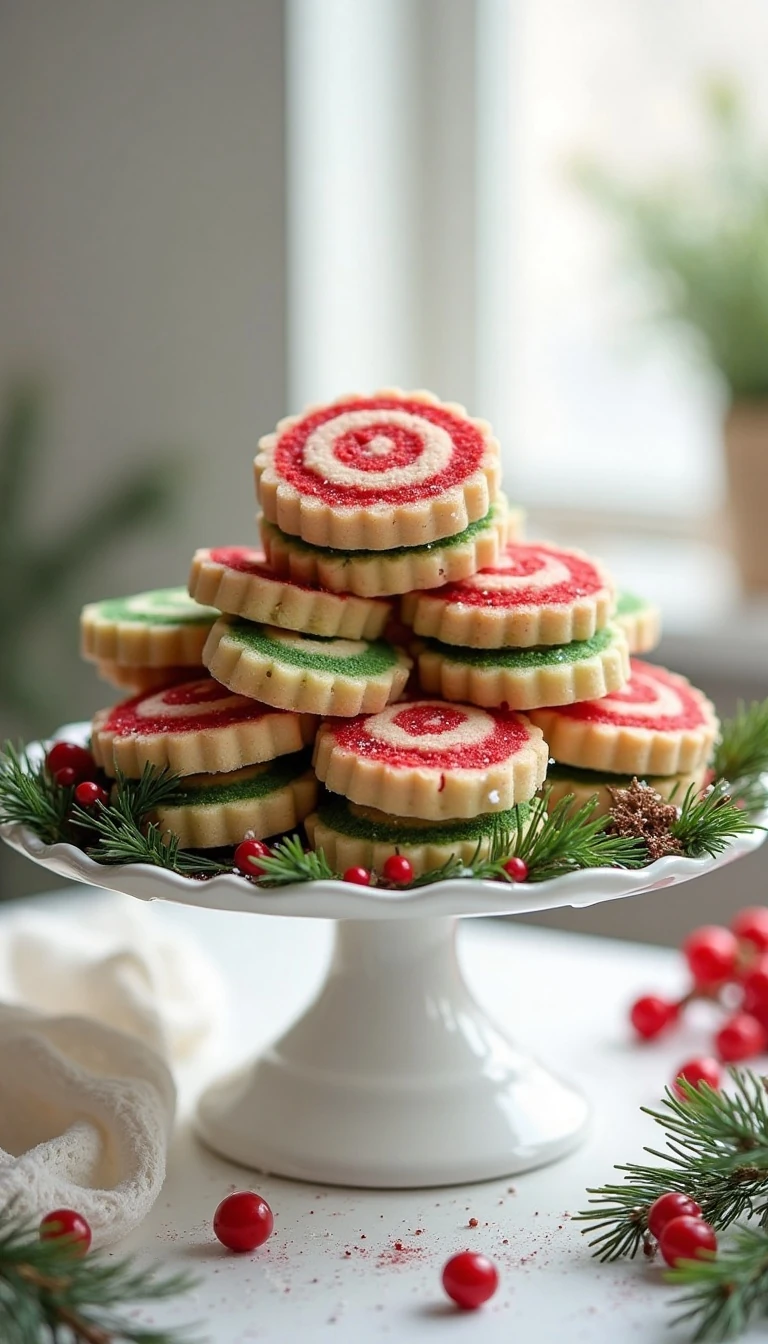
Serve these pinwheels at room temperature with coffee, tea, hot chocolate, or a glass of cold milk. Their bright spiral pattern makes them especially attractive when arranged in concentric circles on a white platter or layered in a clear cookie tin.
For gifting, allow the cookies to cool completely before packaging. Place parchment between layers so the spirals stay visible and the cookies do not rub against one another during transport.
These cookies are a lovely part of a larger holiday spread. For a savory centerpiece, pair the dessert table with our Rudolph appetizer, then offer a hearty meal such as this Coney Island hotdog recipe for casual holiday gatherings.
When planning a buffet with many flavors, balance the sweet cookies with a vegetable dish such as stir-fry vegetables with black bean sauce. Guests who prefer especially rich treats can also enjoy our jumbo peanut butter cup cookies alongside these lighter vanilla pinwheels.
Store completely cooled cookies in an airtight container at room temperature. For the best texture and color, keep them protected from humidity and avoid placing warm cookies into a sealed container.
Make-Ahead Baking Plan
The shaped dough log is ideal for make-ahead preparation because the chilling stage already forms part of the recipe. Once the layers are rolled and the log is wrapped, keep it cold until firm before slicing and baking.
If the dough becomes soft while you work, stop and chill it instead of adding extra flour. Additional flour can change the tender butter-cookie texture, while cooling restores the firmness needed for clean handling.
On baking day, slice only as many rounds as you need for the next sheet and return the remaining log to the refrigerator. This keeps the pattern defined and helps each batch bake from equally firm dough.
Festive Holiday Pinwheel Cookies
Ingredients
Method
- Beat the softened butter and granulated sugar together for 2–3 minutes, until the mixture is light and creamy.
- Beat in the egg and vanilla extract until fully incorporated, scraping down the bowl as needed.
- Whisk the flour, baking powder, and salt in a separate bowl. Add the dry mixture to the butter mixture and mix just until a soft dough forms.
- Divide the dough into two equal portions. Tint one portion red and the other green with gel food coloring, mixing carefully until each color is even.
- Roll each colored dough portion between sheets of parchment into matching rectangles approximately 8 x 10 inches and about 1/8 inch thick.
- Remove the top parchment from one rectangle and place the second dough sheet on top. Trim the edges if needed, then roll the stacked dough tightly from a long edge into a log.
- Wrap the dough log in plastic wrap and chill until firm for at least 1 hour. If the dough softens during shaping, chill it before continuing.
- Heat the oven to 350°F (175°C). Slice the chilled log into rounds about 1/4 inch thick, rotating the log slightly after each cut for more even slices.
- Arrange the slices on parchment-lined baking sheets, leaving about 2 inches between cookies. Bake for 10–12 minutes per sheet, until the edges are set and only lightly colored.
- Cool the cookies on the baking sheet for several minutes, then transfer them to a wire rack to cool completely before serving or storing.
Notes
Final Thoughts
Festive Holiday Pinwheel Cookies are a charming Christmas bake with a simple ingredient list and impressive visual payoff. The key is to keep the dough cool, roll the layers evenly, and bake just until the edges are set and lightly colored.
Make a batch for cookie exchanges, school celebrations, family dessert tables, or edible gifts. With buttery vanilla flavor and bright red-and-green spirals in every slice, these cookies bring a cheerful finish to any holiday gathering.