No-knead olive bread is one of the easiest ways to bake a bakery-style loaf at home. Stir together flour, water, salt, a tiny amount of yeast, and chopped olives, let the sticky dough rise for 12–18 hours, then bake it in a preheated Dutch oven at 450°F for a deeply golden, crisp crust.
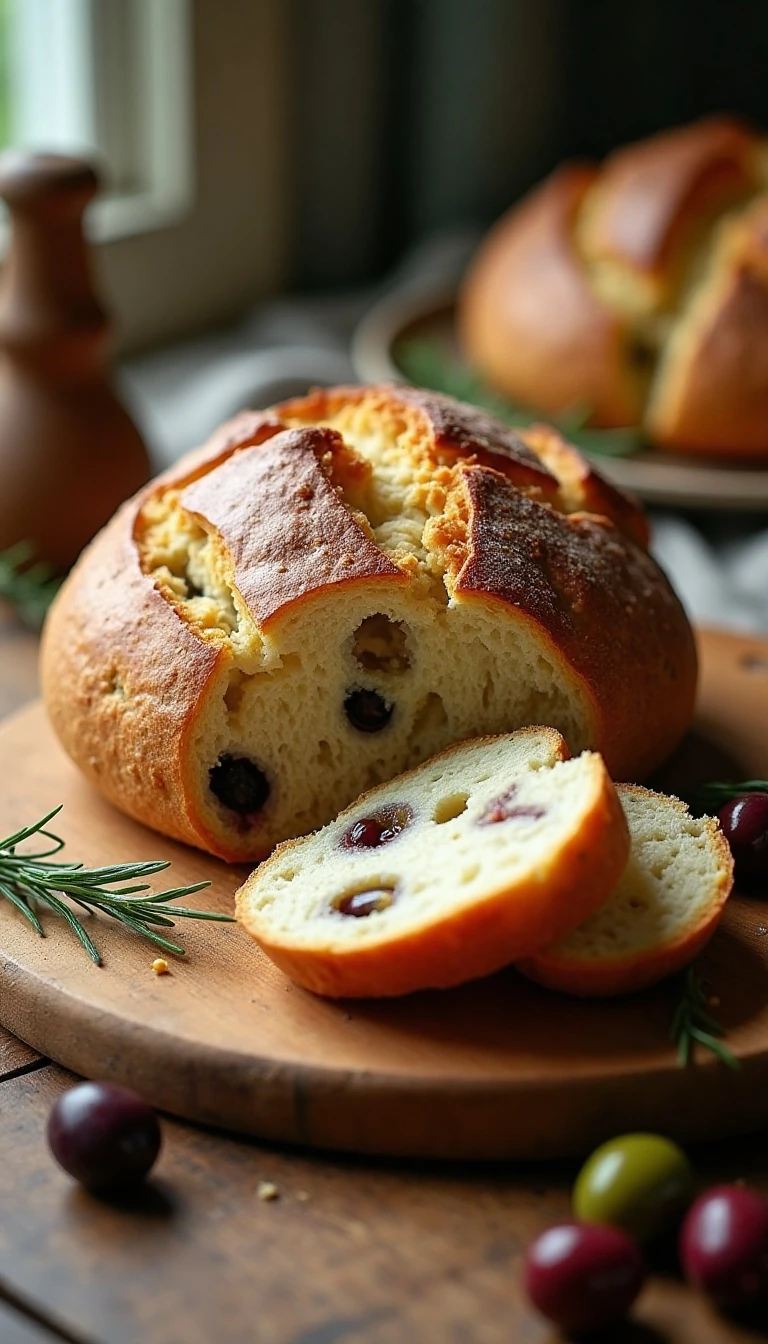
The finished loaf has a thin crackly crust, a tender open crumb, and savory bites of briny olive throughout. It requires only 10–15 minutes of active preparation, making it an excellent make-ahead bread for soups, salads, sandwiches, snack boards, or a leisurely weekend breakfast.
Jump to RecipeWhy You’ll Love This Recipe
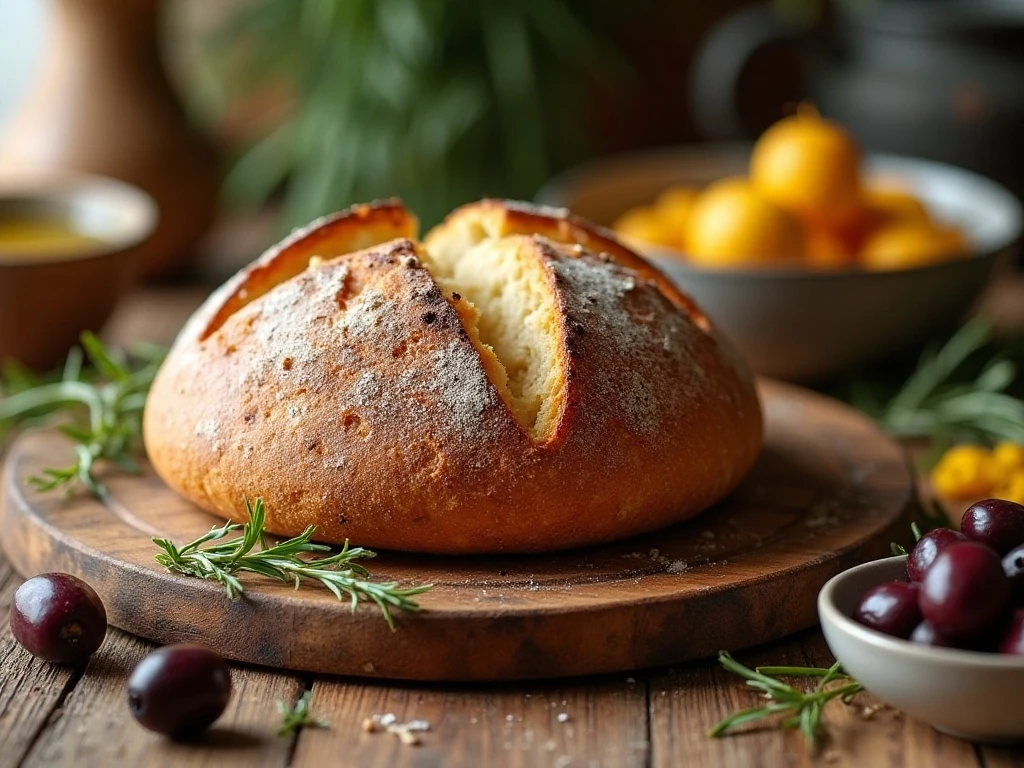
This olive bread delivers the rustic appearance and satisfying crust of an artisan loaf without a stand mixer, dough hook, or lengthy kneading session. The dough comes together in one bowl, and the long first rise does most of the work while you sleep.
A Dutch oven supplies the enclosed, steamy environment that helps the loaf expand in the oven. Once the lid comes off, the remaining bake time dries and browns the crust, creating a beautiful contrast with the moist, airy center.
The flavor is wonderfully adaptable. Kalamata olives bring a rich, fruity character, green olives add a bright savory bite, and Castelvetrano olives offer a mild, buttery taste. A combination gives every slice a little variety.
If you enjoy savory loaves with hearty add-ins, you may also like this olive, bacon, and cheese bread for another delicious option.
Ingredients You’ll Need
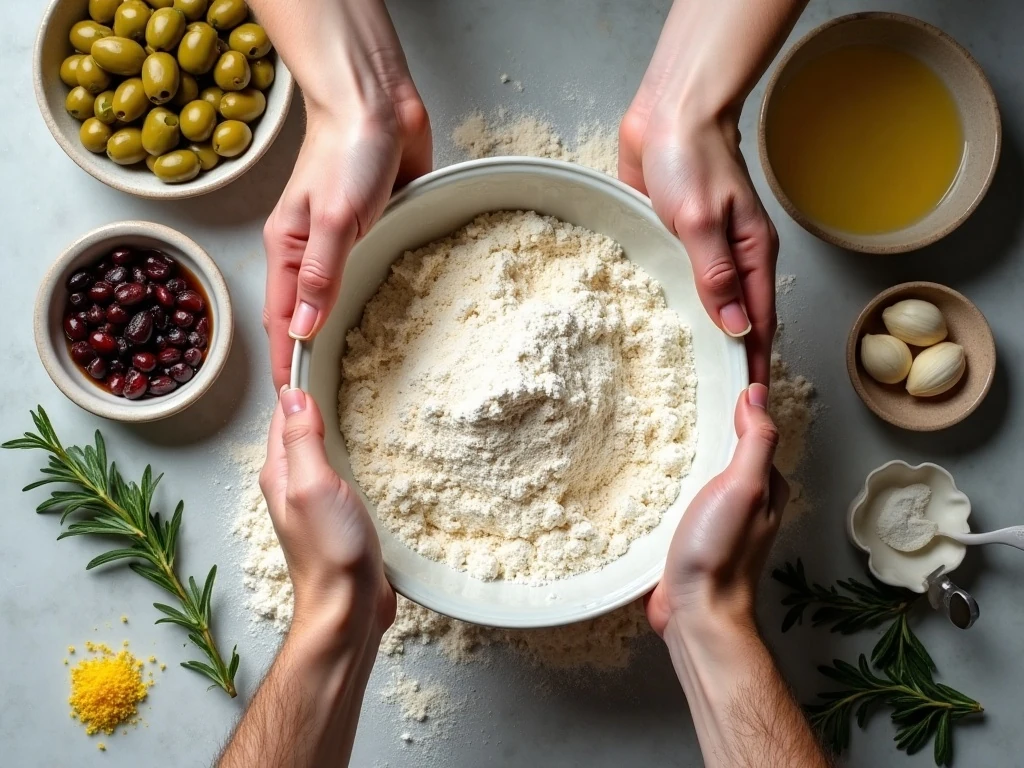
The ingredient list is short, so each component matters. Bread flour provides a pleasantly chewy structure, while unbleached all-purpose flour also works well for a slightly softer loaf.
- Flour: Use 3 cups, or 390–400 grams, of bread flour or unbleached all-purpose flour.
- Water: Measure 1 5/8 cups, or 385 grams, of room-temperature water for this high-hydration dough.
- Salt: Fine salt seasons the crumb and supports the dough’s structure. Because olives can be salty, keep the amount at 1 1/4 teaspoons.
- Yeast: Only 1/4 teaspoon of instant or active dry yeast is needed because the dough ferments for many hours.
- Olives: Use 1 cup, or approximately 140–160 grams, of pitted olives. Kalamata, green, Castelvetrano, or a mixture are all suitable.
Optional rosemary or thyme adds an earthy aroma, minced garlic gives the loaf extra savory depth, and a little grated lemon zest brings a fresh note. These additions are not required, so the bread remains excellent with olives alone.
For a sweet finish after your bread-baking session, keep our easy coconut macaroons in mind. Their chewy texture makes a pleasant contrast to the crisp bread.
How to Make It Step-by-Step
Step 1: Combine the flour, salt, and yeast in a large mixing bowl. Stir briefly so the yeast and salt are distributed throughout the flour before adding the water.
Step 2: Pour in the room-temperature water and stir until the mixture becomes shaggy and sticky. Scrape around the bottom and sides of the bowl to make sure no pockets of dry flour remain.
Step 3: Add the roughly chopped olives and any optional herbs, garlic, or lemon zest. Fold them through the dough with a spoon or flexible spatula, but do not knead; the long rise will develop the dough naturally.
Step 4: Cover the bowl tightly with a lid, reusable cover, or plastic wrap. Leave it at room temperature for 12–18 hours, until the dough is expanded, bubbly, and somewhat loose.
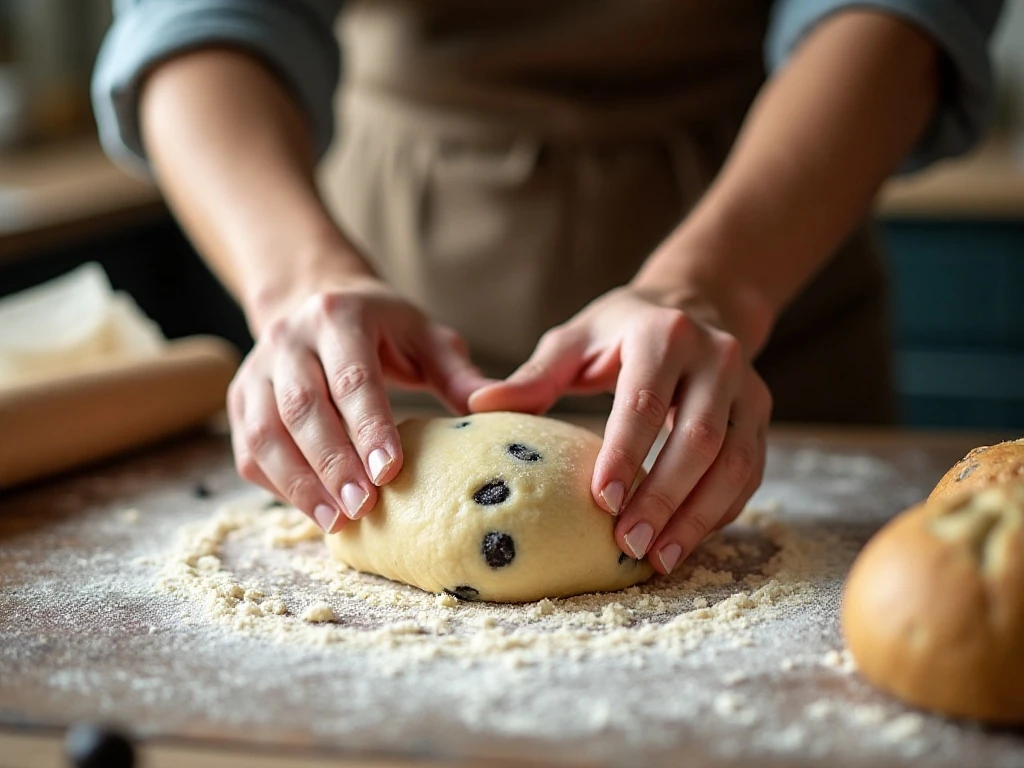
Step 5: Flour your work surface generously and turn out the risen dough. With floured hands, fold the outer edges toward the center, then gently shape the dough into a round without pressing out too much of its accumulated air.
Step 6: Place the shaped dough seam-side down on parchment or a heavily floured kitchen towel. Cover it and let it rest for 30–60 minutes, giving the gluten time to relax while you heat the oven.
Step 7: Put a 4- to 6-quart cast-iron Dutch oven, including its lid, into the oven. Preheat to 450°F (230°C) for at least 30 minutes so the pot is fully hot when the dough goes in.
Step 8: Carefully lift the dough using the parchment as a sling and lower it into the hot Dutch oven. Put on the lid immediately and bake for 30 minutes; the covered pot will trap steam around the loaf.
Step 9: Remove the lid and bake for another 15–20 minutes. The loaf should be deeply golden brown, and its center should be approximately 205–210°F (96–99°C) when tested with an instant-read thermometer.
Step 10: Move the bread to a wire rack and wait at least 1 hour before slicing. Cutting too soon can compress the crumb and release moisture before the interior has finished setting.
Choosing and Preparing the Olives
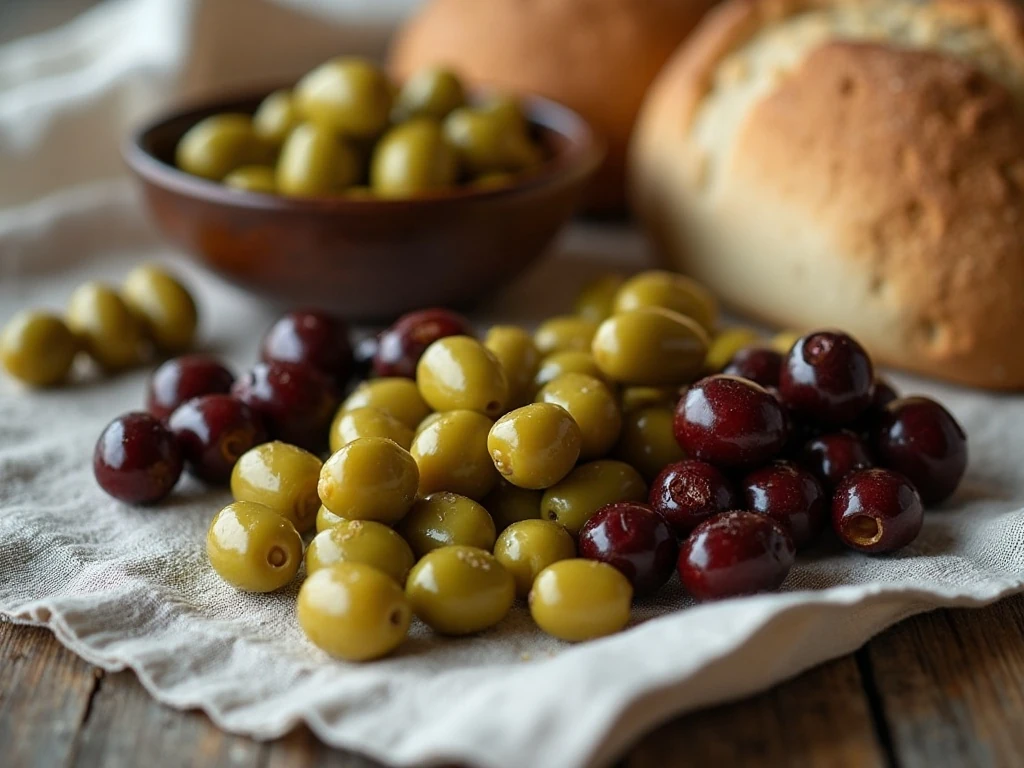
Olive variety changes the personality of this loaf, but the preparation is the same for all of them. Drain the olives thoroughly, pat them dry with paper towels, and then chop them into rough pieces rather than tiny bits.
Drying is especially important because excess brine or oil can add unplanned liquid to an already wet dough. Too much moisture may make shaping difficult and can reduce the loaf’s rise.
Before adding salt, taste one of the olives. If they are strongly brined, the listed salt amount is still sufficient; do not add extra salt to compensate for a perceived lack of seasoning in the raw dough.
Pro Tips for a Crisp, Open Loaf
- Use a large bowl: The dough needs room to expand substantially during its long first rise.
- Keep the dough covered: A tight cover prevents a dry skin from forming on the surface overnight.
- Flour generously: A well-floured work surface, towel, or parchment makes the loose dough easier to handle.
- Protect the oven rise: Shape gently and avoid deflating every bubble that formed during fermentation.
- Preheat completely: Give the Dutch oven and lid at least 30 minutes at 450°F. A partially heated pot will not create the same burst of steam.
- Use parchment safely: The parchment acts as a sling, allowing you to transfer the soft dough without placing your hands near the hot pot.
- Cool patiently: One hour on a rack may feel long, but it produces cleaner slices and a better-set crumb.
If you are planning a full brunch or dessert table, a savory loaf pairs well with a classic bread and butter pudding served later as a comforting sweet course.
Serving Suggestions

Serve thick slices slightly warm or at room temperature with salted butter, olive oil, or a soft cheese. The bread is especially good alongside tomato soup, lentil soup, roasted vegetables, or a crisp green salad.
For an easy appetizer, toast thin slices and top them with whipped ricotta, roasted peppers, or a spoonful of tapenade. The olive-studded crumb also makes a flavorful base for open-faced sandwiches with turkey, provolone, roasted vegetables, or grilled chicken.
For breakfast, toast the bread and top it with a fried egg. The crisp edges and savory olives also work beautifully with avocado, fresh tomatoes, or a little crumbled feta.
Storage and Reheating
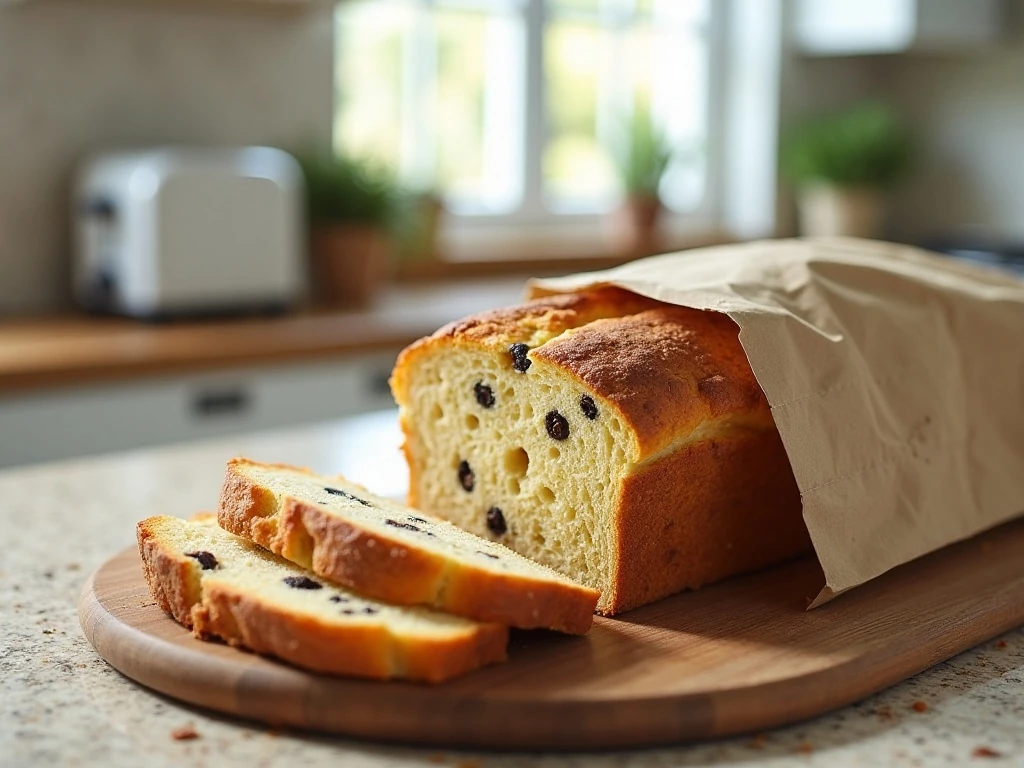
Once completely cool, store the loaf at room temperature in a paper bag or loosely wrapped kitchen towel for up to 2 days. Avoid sealing warm bread in plastic because trapped steam can soften the crust.
For longer storage, slice the cooled bread and freeze it in an airtight freezer bag. Toast slices directly from frozen, or warm the whole loaf in a 350°F oven until heated through and crisp on the outside.
Do not refrigerate the bread unless necessary, since refrigerator temperatures can make bread stale more quickly. If the crust softens, a few minutes in a hot oven or toaster will restore much of its crisp texture.
After enjoying the savory bread, finish with a fruit-based treat such as this easy blueberry crisp. It is a simple way to round out a relaxed meal.
No-Knead Olive Bread
Ingredients
Method
- In a large bowl, stir together the flour, salt, and yeast. Add the room-temperature water and mix with a sturdy spoon until no dry flour remains and a shaggy, sticky dough forms.
- Fold in the patted-dry chopped olives and any optional rosemary, thyme, garlic, or lemon zest. Mix just enough to distribute everything; there is no kneading required.
- Cover the bowl tightly and leave it at room temperature for 12–18 hours. The dough is ready when it looks expanded, bubbly, and loose.
- Turn the dough onto a well-floured surface. Fold the edges toward the center and gently shape the dough into a round, taking care not to press out all of its air.
- Set the dough seam-side down on parchment or a heavily floured towel. Cover and let it rest for 30–60 minutes while the oven and Dutch oven preheat.
- Place a 4- to 6-quart cast-iron Dutch oven and its lid in the oven. Preheat to 450°F (230°C) for at least 30 minutes.
- Use the parchment as a sling to carefully lower the dough into the hot Dutch oven. Cover immediately and bake for 30 minutes.
- Remove the lid and continue baking for 15–20 minutes, until the loaf is deeply golden brown. If checked with an instant-read thermometer, the center should register approximately 205–210°F (96–99°C).
- Transfer the loaf to a wire rack and cool for at least 1 hour before slicing. This resting time allows the crumb to finish setting and keeps the slices from becoming gummy.
Notes
Final Thoughts
This no-knead olive bread proves that impressive homemade bread does not require complicated technique. A quick stir, a long 12–18 hour rise, gentle shaping, and a properly heated Dutch oven are enough to create a beautifully crusty round loaf.
Remember the details that make the biggest difference: pat the olives dry, keep the dough covered, avoid overhandling it, preheat the pot for at least 30 minutes, and let the baked loaf cool for a full hour. Those small choices help produce a crisp crust and a light, flavorful crumb.
Slice it for dinner, toast it for breakfast, or place it on a grazing board with cheese and vegetables. Once you taste the salty olive pockets and crackly crust, this simple bread is likely to become a regular part of your baking routine.
For another creamy dessert idea to serve after your meal, consider this easy banana cream pie. Its cool, silky filling is a lovely finale after warm slices of olive bread.