This easy no-bake vanilla cake pops recipe makes approximately 20 to 24 adorable dessert pops with just 36 vanilla sandwich cookies, softened full-fat cream cheese, vanilla candy melts or white chocolate melting wafers, and lollipop sticks. Because the cookie mixture does not require an oven, the active preparation takes about 25 to 30 minutes, followed by 30 to 60 minutes of chilling and 15 to 20 minutes for coating and decorating.
Every bite tastes like creamy vanilla cheesecake wrapped in a sweet, crisp candy shell. The finely crushed cookies create a smooth truffle-like center, while optional sprinkles add a festive finish for birthdays, showers, holidays, bake sales, or an easy weekend treat.
Jump to RecipeWhy You’ll Love This Recipe

These vanilla cake pops deliver the charm of a bakery treat without baking, cooling, trimming, or frosting a cake. The cookie-ball method is especially helpful when you need a pretty dessert on a busy day, because the mixture comes together in one bowl after the cookies are crushed.
The finished texture is rich and creamy rather than cakey. Vanilla sandwich cookies provide sweetness and fine crumb, cream cheese gives the center a soft cheesecake quality, and the vanilla coating creates a delicate shell that snaps gently when you bite into it.
They are also wonderfully adaptable. Use rainbow sprinkles for a birthday table, pale pink or blue decorations for a shower, or a simple white coating for an elegant dessert tray.
For another chilled dessert that works beautifully for celebrations, you can also try this strawberry crunch cheesecake when you want bright fruit flavor.
Ingredients You’ll Need
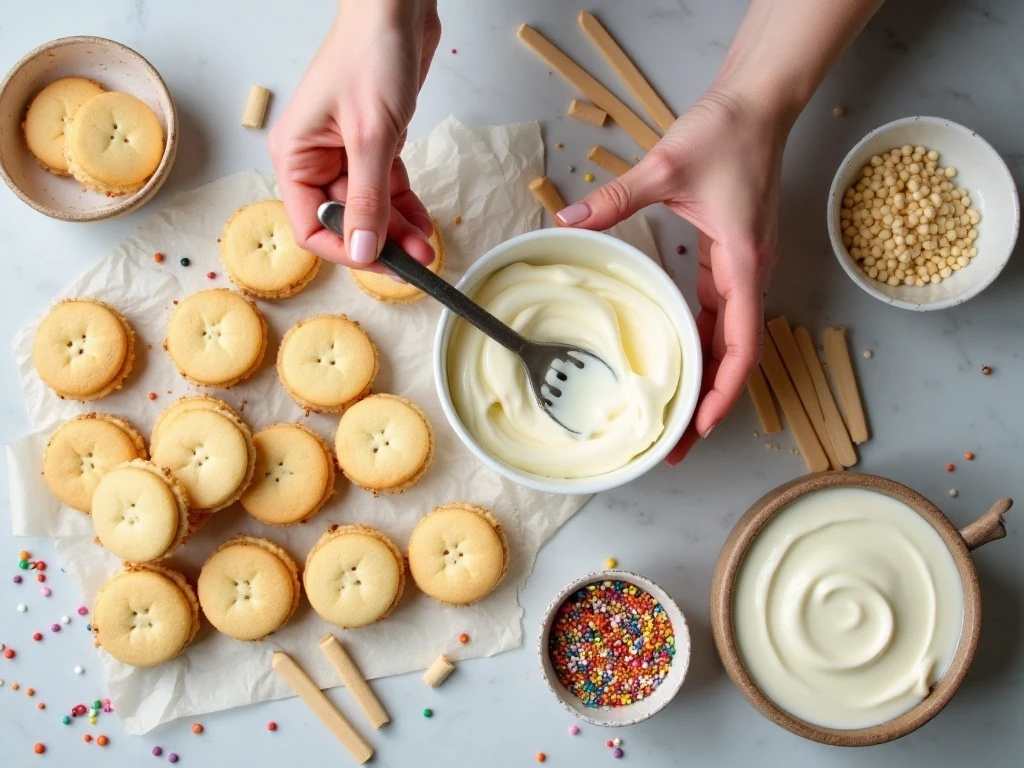
The ingredient list is short, but each item has an important job. Choose full-fat cream cheese and allow it to soften before mixing so it blends evenly with the cookie crumbs.
- Vanilla sandwich cookies: Use 36 cookies, including their cream filling. Golden OREO cookies or another comparable vanilla sandwich cookie both work well.
- Full-fat cream cheese: Eight ounces create the creamy binder that transforms the crumbs into a rollable dough.
- Vanilla extract: One teaspoon is optional, but it adds another layer of vanilla aroma.
- Vanilla coating: Use 12 to 16 ounces of vanilla candy melts or white chocolate melting wafers, depending on how thickly you coat the pops.
- Sticks and decorations: Prepare 20 to 24 lollipop sticks plus sprinkles or other decorations if desired.
Have parchment paper ready for the baking sheet and a cake-pop stand or Styrofoam block for the dipping stage. A deep, narrow microwave-safe bowl can make coating the round pops easier.
How to Make It Step-by-Step

Step 1: Crush the cookies into fine crumbs, keeping the cream filling in the mixture. A food processor is the fastest option, but a sealed bag and rolling pin work well when you crush patiently and check for larger pieces.
Step 2: Add softened cream cheese and the optional vanilla extract. Stir or process until the crumbs and cream cheese form a smooth, thick dough that holds together when pressed.
Step 3: Portion the mixture with about 1 tablespoon per cake pop. Roll each portion between clean palms, applying gentle pressure until the surface looks smooth and there are no deep cracks.
Step 4: Place the balls on a parchment-lined baking sheet and chill them for 30 to 60 minutes. They should feel firm before you insert the sticks, since a cold center is less likely to slide or break.
Step 5: Melt the vanilla candy melts or white chocolate wafers according to the package directions. Stir often and use short heating intervals when working in a microwave, stopping when the coating is fluid but not hot.
Step 6: Dip the tip of each stick into a small amount of melted coating. Push that coated end about halfway into a chilled ball, taking care not to push it through the opposite side.
Step 7: Dip each pop into the remaining coating and gently rotate it as you lift it out. Let the excess drip back into the bowl, then add sprinkles right away so they adhere to the wet shell.
Step 8: Stand the pops upright in a cake-pop stand or Styrofoam block. Refrigerate them until the coating is firm, then transfer them to a serving platter or covered container.
Pro Tips for Smooth, Sturdy Cake Pops

Softened cream cheese is one of the most important details in this recipe. Cold cream cheese can leave small lumps and make the dough difficult to mix, while reduced-fat cream cheese may produce a softer mixture that is harder to roll.
If the mixture feels too soft or sticky, refrigerate it for 15 to 20 minutes before shaping. If it seems too dry to hold together, mix in cream cheese 1 teaspoon at a time until the dough becomes cohesive.
Do not skip the chill before adding the sticks. Firm balls are easier to handle, and the brief rest helps prevent them from sliding off the sticks or causing the coating to crack as you dip.
For a neat finish, tap the stick gently against the edge of the bowl after dipping rather than shaking the pop. Rotate the pop slowly while the excess coating falls away, then place it upright immediately.
White coating needs a little patience. Overheating can make it thick, grainy, or seized, so stir frequently and stop heating as soon as the mixture flows from the spoon.
Decorating Ideas for Every Occasion

Sprinkles are the easiest decoration, but you can create several different looks with the same vanilla base. Try tiny pearl sprinkles for a wedding or shower, bright confetti for a birthday, or seasonal colors for a holiday dessert table.
You can also drizzle a small amount of contrasting melted coating over the set shells. A thin pink, gold, or chocolate-colored drizzle adds visual interest without changing the simple vanilla flavor.
For a dessert spread, pair these pops with a chilled fruit dessert such as this easy berry ice box cake. The creamy berry layers and vanilla cookie centers make a colorful combination.
Storage and Serving Suggestions
Because the cake-pop mixture contains cream cheese, store the finished pops in the refrigerator. Keep them in a covered container, preferably in a single layer or with parchment between layers, until you are ready to serve them.
These pops are delicious straight from the refrigerator, when the center is pleasantly firm and the coating is crisp. Letting them sit briefly before serving can make the middle slightly softer, but do not leave them unrefrigerated for extended periods.
Prepare the pops ahead for parties by chilling the formed balls before coating, or finish the entire recipe and refrigerate the decorated pops. Arrange them upright in a stand just before guests arrive for an attractive display.
More Recipes for a Complete Menu
If you are building a full party menu, balance the sweet tray with savory dishes. A warm casserole such as this white chicken ravioli bake can serve a crowd, while easy Mexican chicken tortilla soup brings a comforting option for a casual gathering.
For another simple party-friendly dish, add slow cooker meatballs to the buffet. Their savory flavor gives guests a welcome contrast to these sweet vanilla pops.
Troubleshooting Common Problems
If a ball cracks while dipping, it may be too cold, too dry, or under-mixed. Let it rest for a few minutes, check that the center is smooth, and make sure the coating is fluid rather than thick.
If a pop slides down the stick, the ball may be too warm or the stick may not have enough coating acting as glue. Chill the shaped balls thoroughly and dip each stick tip before inserting it halfway into the center.
If the coating seems too thick, stir it gently and warm it according to the package directions without overheating. A fluid coating should cover the pop easily while still forming a smooth shell as it sets.
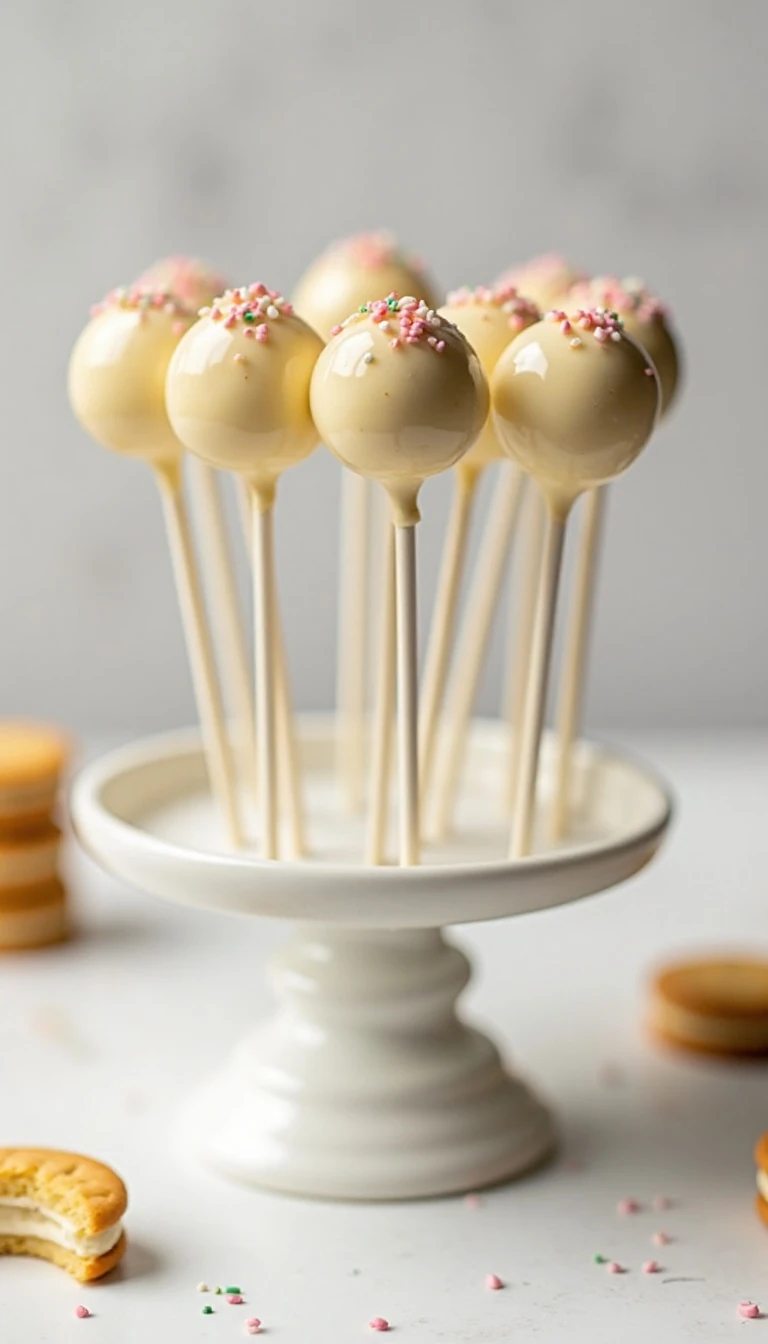
Easy No-Bake Vanilla Cake Pops
Ingredients
Method
- Crush the 36 vanilla sandwich cookies, including the cream filling, in a food processor until they become fine crumbs. If you do not have a food processor, place the cookies in a sealed bag and crush them thoroughly with a rolling pin.
- Add the softened full-fat cream cheese and the optional vanilla extract to the crumbs. Mix until the ingredients come together into a smooth, thick dough with no dry pockets.
- Scoop about 1 tablespoon of mixture for each pop and roll each portion between your palms until smooth. Arrange the balls on a parchment-lined baking sheet.
- Chill the formed balls for 30 to 60 minutes, or until firm. This short chill helps the pops stay securely on their sticks and reduces the chance of cracking during dipping.
- Melt the vanilla candy melts or white chocolate melting wafers according to the package directions. Stir frequently and stop heating as soon as the coating is fluid, since overheated white coating can become thick or seize.
- Dip the end of each lollipop stick into a little melted coating, then insert it about halfway into a chilled cake-pop ball. Let the small amount of coating act as edible glue.
- Dip each pop into the remaining melted coating, turning gently so the entire ball is covered. Allow excess coating to drip off, then add sprinkles immediately before the shell begins to set.
- Stand the finished pops upright in a cake-pop stand or a block of Styrofoam. Refrigerate until the coating is set, then serve chilled or keep refrigerated until ready to enjoy.
Notes
Final Thoughts
This easy no-bake vanilla cake pops recipe is a reliable way to make a charming dessert with minimal equipment and no oven time. The combination of crushed vanilla cookies, full-fat cream cheese, and vanilla coating produces a creamy, sweet center that looks festive with even the simplest sprinkle finish.
Remember the key points: soften the cream cheese, chill the shaped balls for 30 to 60 minutes, use about 1 tablespoon of mixture per pop, and keep the melted coating fluid but not hot. With those steps in place, you can make approximately 20 to 24 polished cake pops for parties, gifts, or an anytime vanilla treat.
4 thoughts on “Easy No-Bake Vanilla Cake Pops Recipe”