Easy No-Bake Chocolate Peanut Butter Cup Bars are a simple, oven-free dessert made with a buttery graham-cracker peanut butter base and a smooth chocolate peanut butter topping. The bars take about 15 minutes of active preparation, require only 1 to 2 minutes of microwave melting, and chill for approximately 1 hour before slicing.
Each square tastes like a homemade peanut butter cup with extra texture from finely crushed graham crackers. The base is sweet, creamy, and slightly crumbly, while the semisweet chocolate topping sets into a glossy, rich layer that balances the peanut butter beautifully.
Jump to RecipeWhy You’ll Love This Recipe

These chocolate peanut butter cup bars deliver the familiar flavor of a favorite candy in a generous homemade dessert. There is no conventional oven cooking, no eggs to whisk, and no complicated pastry technique, making this a dependable recipe for busy afternoons, holiday trays, and last-minute gatherings.
The ingredient list is short, but the result feels wonderfully indulgent. Melted butter binds the graham crumbs and sugar into a sturdy base, creamy peanut butter supplies its signature richness, and the chocolate topping adds a soft snap when chilled.
Because the recipe makes about 24 bars in a 9 x 13-inch pan, it is especially useful when you need dessert for a crowd. For another peanut butter treat with a baked-cookie format, try these oversized peanut butter cup cookies.
These bars are also easy to customize at serving time without changing the trusted formula. Cut them into small squares for a dessert platter, or make larger pieces when you want the full chocolate-and-peanut-butter experience in every bite.
Ingredients You’ll Need
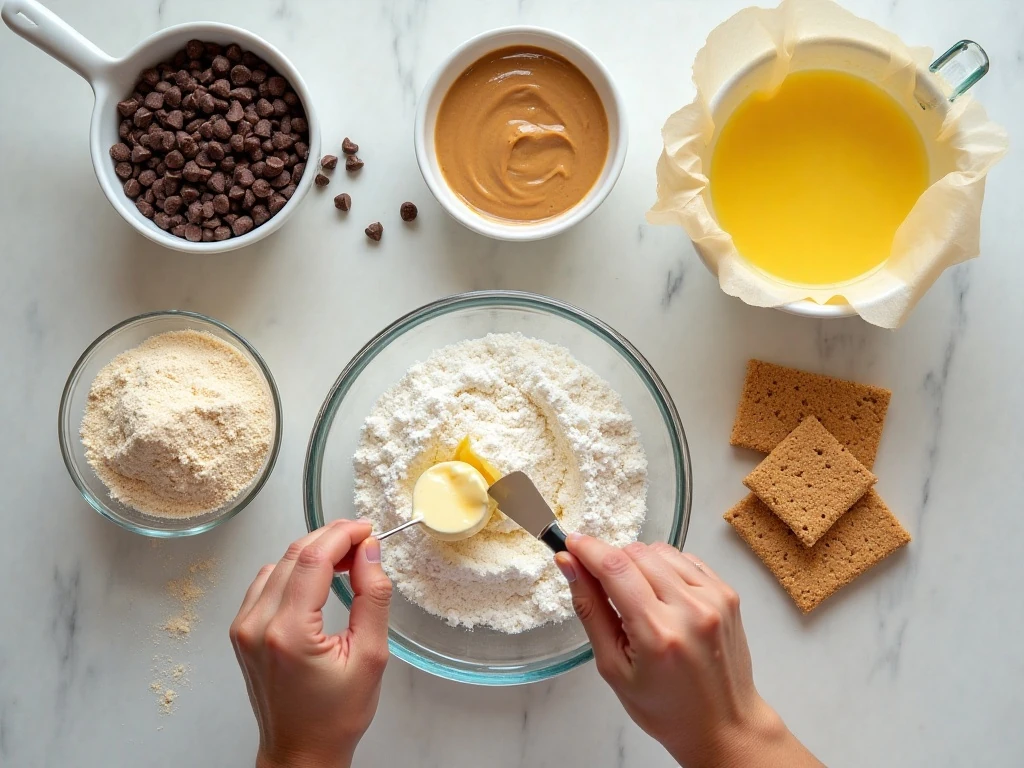
The base begins with 1 cup, or 226 grams, of melted unsalted butter. Unsalted butter gives you control over the overall flavor and makes the mixture smooth enough to stir with the graham crumbs and peanut butter.
- Graham-cracker crumbs: Use 2 cups, about 200 grams, crushed very finely for a compact, even base.
- Powdered sugar: Two cups, about 240 grams, dissolve more readily than granulated sugar and create a sweet, tender texture.
- Creamy peanut butter: You will need 1 cup, about 255 grams, for the base and 4 tablespoons, about 65 grams, for the topping.
- Semisweet chocolate chips: Use 1 1/2 cups, about 255 grams, for a balanced chocolate layer that is rich without becoming overwhelmingly sweet.
If you are crushing whole graham crackers, process them until they resemble fine sand rather than coarse crumbs. Fine crumbs make it easier to press the base into a solid slab and help each bar hold its shape when lifted from the pan.
Set out all ingredients before beginning, especially the two portions of peanut butter. Since the preparation moves quickly, measuring first keeps the melted butter and chocolate from sitting longer than necessary.
How to Make It Step-by-Step
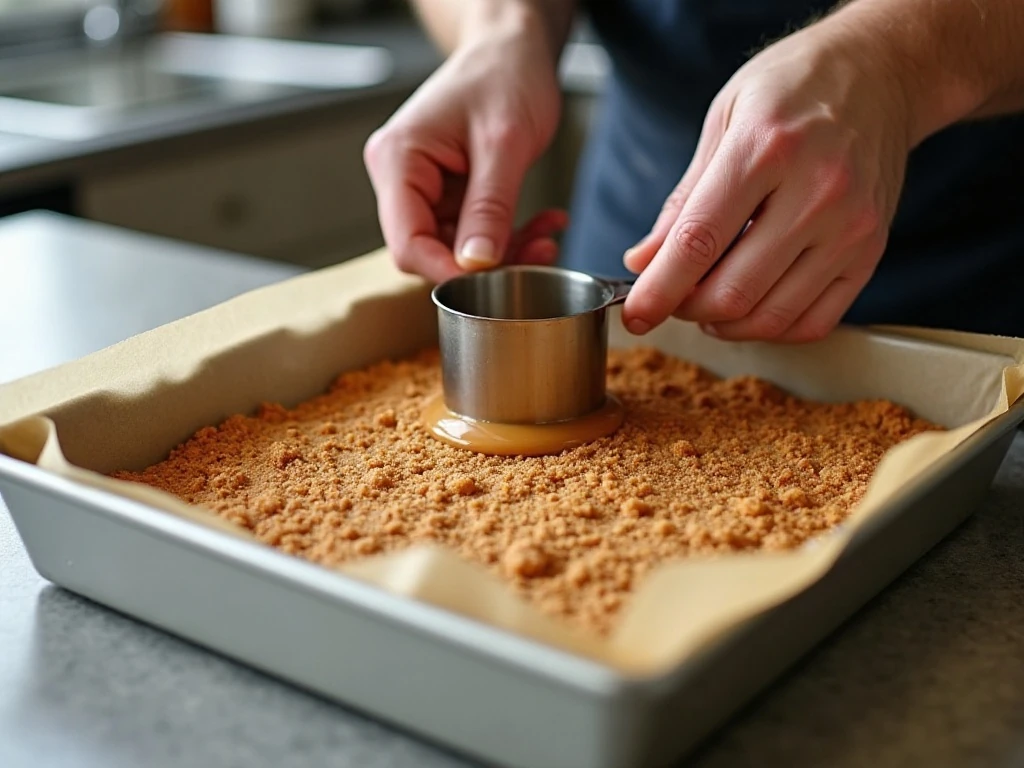
Step 1: Line a 9 x 13-inch, or 23 x 33 cm, baking pan with parchment paper. Leave paper extending over two sides so you can lift the chilled dessert out in one piece later. Press the parchment into the corners as neatly as possible, but do not worry if it folds slightly.
Step 2: Melt the 1 cup of unsalted butter until fluid, then place it in a large mixing bowl. Add the graham-cracker crumbs, powdered sugar, and 1 cup of creamy peanut butter, stirring patiently until there are no obvious streaks of butter or peanut butter remaining.
Step 3: Transfer the mixture to the lined pan and distribute it toward all four corners. Press it firmly and evenly with a spatula, the back of a spoon, or a flat-bottomed measuring cup. Pay particular attention to the edges, since a well-compacted base is less likely to crumble.
Step 4: Combine the 1 1/2 cups semisweet chocolate chips and 4 tablespoons peanut butter in a microwave-safe bowl. Heat in 20- to 30-second intervals, stirring thoroughly after every interval, until the mixture is smooth and glossy. The residual heat in the bowl will continue melting small chocolate pieces, so gentle heating is preferable to a long blast.
Step 5: Pour the melted chocolate mixture over the peanut butter base. Spread it carefully with a spatula into an even layer, working from the center toward the edges. If the topping seems slightly thick, smooth it with slow strokes rather than pressing hard against the soft base.
Step 6: Refrigerate the pan for approximately 1 hour, or until the base and topping are firm. Use the parchment overhang to lift the slab onto a cutting board, let it stand at room temperature for a few minutes, and slice into about 24 squares with a sharp knife.
For especially tidy edges, wipe the knife between cuts. The brief rest before slicing is useful because a completely cold bar can resist the blade, while a slightly rested bar cuts more cleanly without losing its firm structure.
Pro Tips for Firm, Glossy Bars
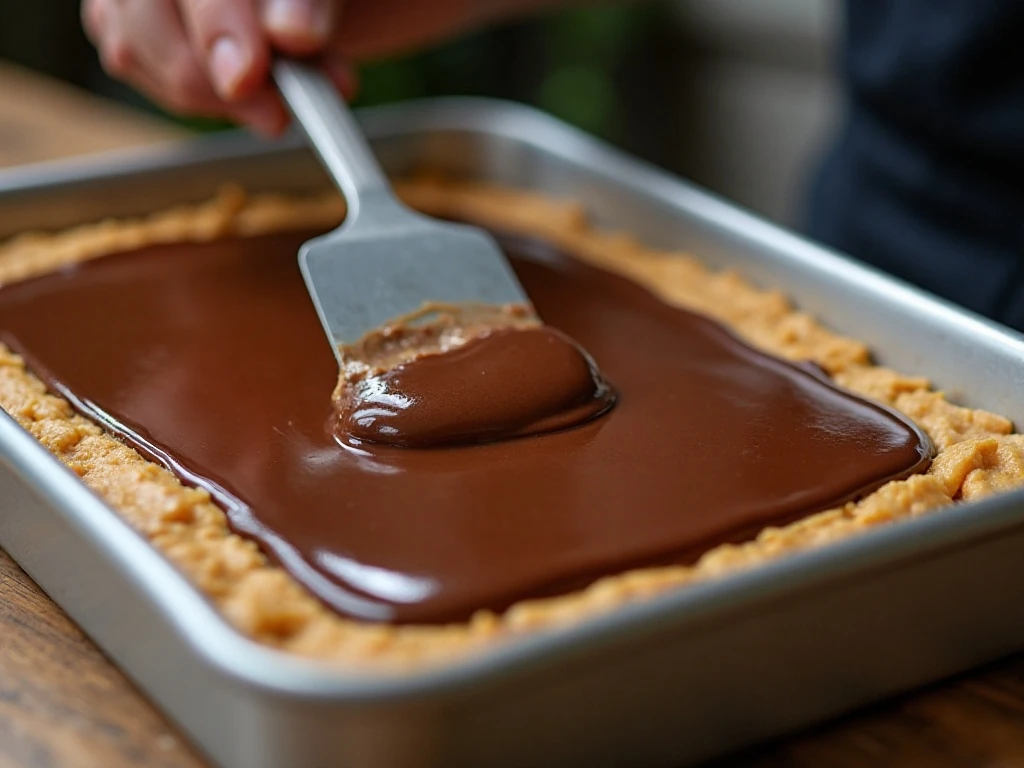
The most important texture tip is to crush the graham crackers finely and compact the base with confidence. Loose crumbs create weak spots, while an even, firmly pressed layer gives the chocolate topping a stable foundation.
Chocolate needs gentle treatment. Short microwave intervals with frequent stirring prevent overheating, which can cause the chocolate to seize or become grainy. Stop heating when only a few small pieces remain and stir until the mixture finishes melting.
If the chocolate topping appears too thick for spreading, stir in a small additional amount of peanut butter. Add it gradually so the topping remains rich and sets properly after chilling.
For a dessert table with several peanut butter options, these chocolate peanut butter rice cereal cups make a fun companion. Their crisp texture contrasts nicely with the smooth, dense layers in these bars.
- Use creamy peanut butter for the smoothest base and topping.
- Press the base evenly, including the corners and edges.
- Stir the chocolate after every 20- to 30-second heating interval.
- Chill until fully firm before lifting the slab from the pan.
- Let the bars sit for a few minutes before cutting for cleaner squares.
Storage, Serving, and Make-Ahead Advice

Keep the finished bars refrigerated in an airtight container so the chocolate topping stays firm and the base retains its structure. Place parchment between layers if you stack them, particularly when transporting them to a party or bake sale.
These bars are convenient to prepare ahead because chilling is part of the recipe rather than an extra task. Make them earlier in the day, chill for approximately 1 hour, and cut them shortly before serving for the neatest presentation.
Serve the squares cold for a firm candy-bar texture, or let them rest at room temperature for a few minutes for a softer bite. A small, sharp knife works best, and wiping the blade after each cut keeps the chocolate line clean.
If you want more no-bake inspiration after making this recipe, this light pumpkin cheesecake mousse offers a completely different, airy finish. For a baked chocolate dessert on another day, consider this gooey chocolate butter cake.
Easy Variations and Pairing Ideas
The classic version is delicious exactly as written, but the bars can fit many dessert spreads. Cut them into smaller bites for cookie exchanges, or use a ruler to create uniform squares when presentation matters.
A dusting of finely crushed graham crackers over the wet chocolate topping can echo the base and add a subtle visual contrast. Add the crumbs immediately after spreading the topping so they adhere before chilling.
For a broader dessert assortment, place these bars beside fruit, coffee, or cold milk. Their deep chocolate flavor also pairs well with a lightly sweetened hot drink, while the peanut butter base keeps each serving satisfying.
When you want a simple cake without dairy ingredients in the recipe itself, you can also explore this egg-free vanilla crazy cake. It makes a useful alternative for guests seeking a different style of treat.

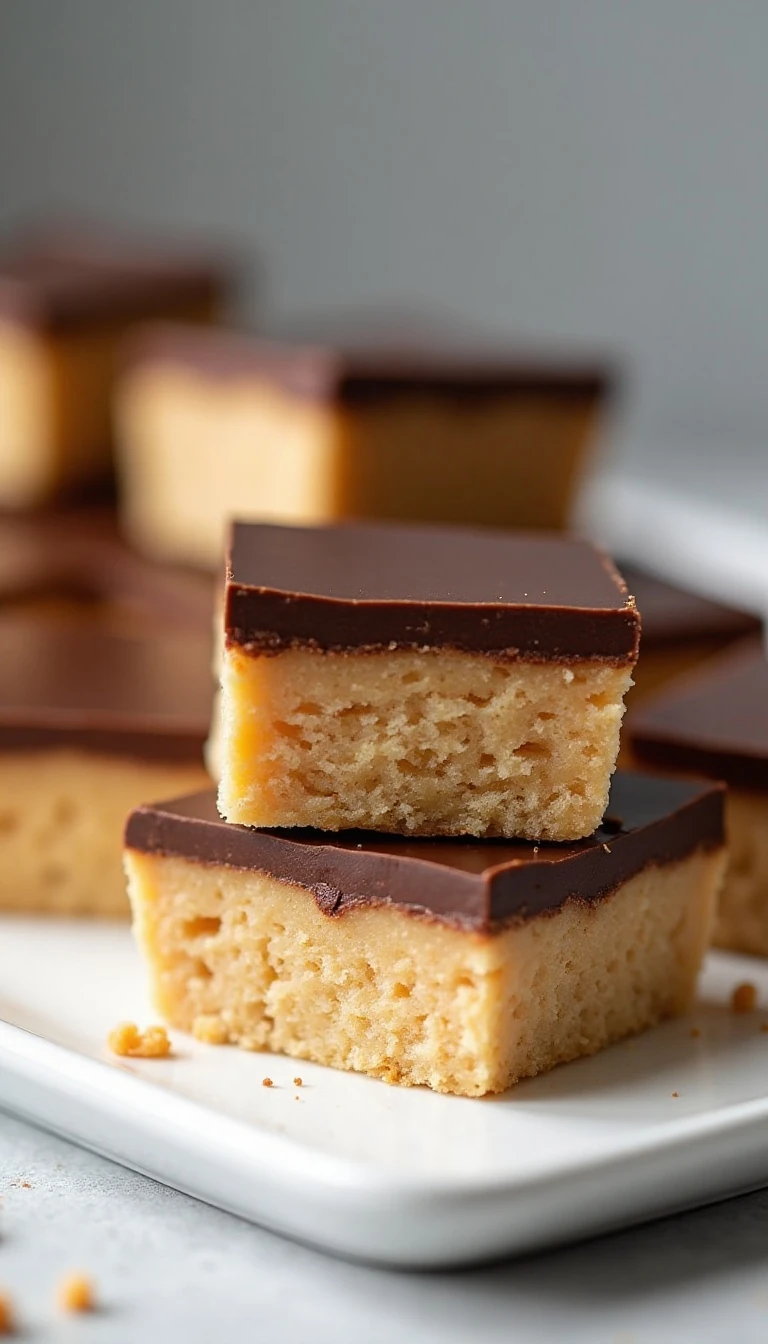
Easy No-Bake Chocolate Peanut Butter Cup Bars
Ingredients
Method
- Line a 9 x 13-inch / 23 x 33 cm baking pan with parchment paper, leaving some paper hanging over the sides for lifting out the chilled bars.
- Combine the melted unsalted butter, finely crushed graham-cracker crumbs, powdered sugar, and 1 cup creamy peanut butter in a bowl. Stir until the mixture is evenly blended.
- Press the base mixture firmly and evenly into the parchment-lined pan. A flat-bottomed measuring cup helps compact the mixture and prevents crumbly bars.
- Melt the semisweet chocolate chips and 4 tablespoons peanut butter together in the microwave in 20- to 30-second intervals, stirring after each interval, until smooth.
- Spread the chocolate mixture over the peanut butter base, taking it close to the edges and smoothing the top.
- Refrigerate for approximately 1 hour, or until both the base and chocolate topping are firm. Lift the slab out with the parchment, let it sit at room temperature for a few minutes, and cut it into squares.
Notes
Final Thoughts
Easy No-Bake Chocolate Peanut Butter Cup Bars are the kind of dessert that earns a permanent place in a recipe box. With six straightforward ingredients, 15 minutes of active preparation, and about 1 hour in the refrigerator, you get approximately 24 rich, attractive squares without turning on the oven.
Remember the three details that matter most: finely crush the graham crackers, press the base firmly, and melt the chocolate in short intervals with frequent stirring. Once the topping is smooth and the chilled slab is firm, clean slicing is all that remains.
Make a pan for holidays, lunchbox treats, potlucks, or an easy weekend dessert. The combination of creamy peanut butter, buttery crumbs, and semisweet chocolate is familiar, generous, and wonderfully satisfying from the very first bite.