This Mini Chicken Pot Pies Recipe makes 12 individual savory pies in about 35–40 minutes. Creamy condensed chicken soup, milk, thyme, frozen mixed vegetables, and bite-size cooked chicken are tucked into refrigerated pie crust and baked in a standard 12-cup muffin pan until the tops are golden and the filling is bubbling.
Although this recipe may appear under a Desserts category, mini chicken pot pies are a savory main dish or appetizer, not a sweet treat. Each little pie has a crisp, buttery crust, tender chicken, colorful vegetables, and a comforting creamy center that makes it perfect for family dinners, parties, lunch boxes, or casual entertaining.
Jump to RecipeWhy You’ll Love This Recipe
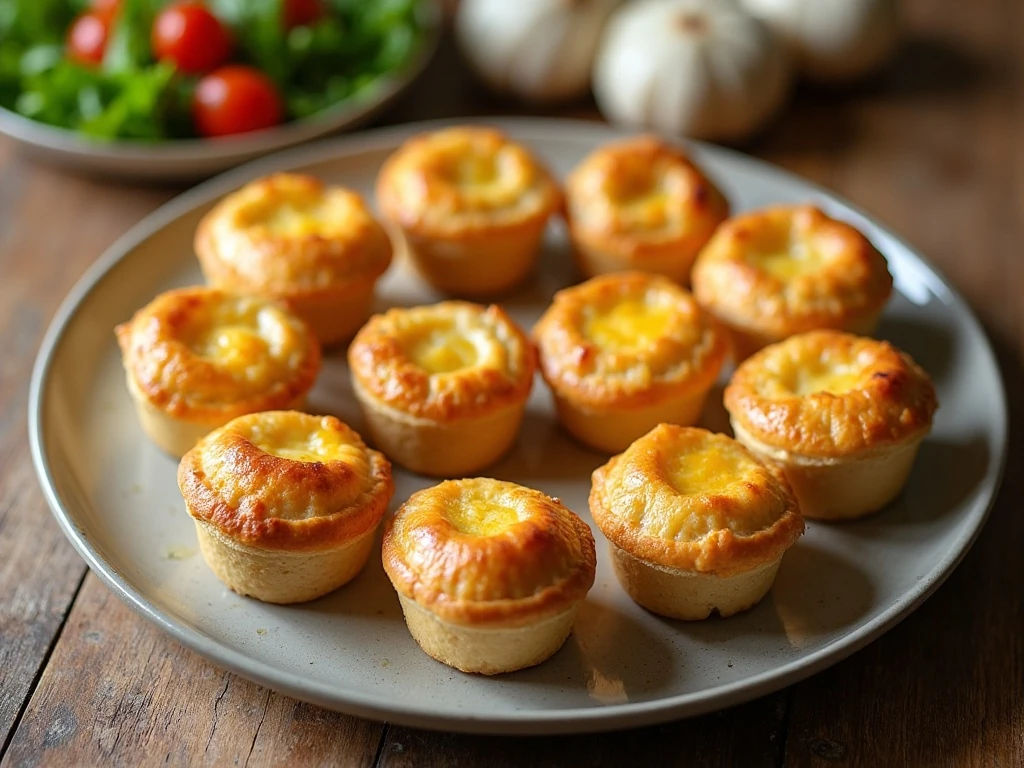
Mini chicken pot pies deliver the cozy flavor of a classic pot pie in a small, easy-to-serve format. Instead of slicing one large pie, you can hand everyone an individual portion with a crisp pastry shell and creamy filling in every bite.
The recipe relies on practical ingredients that are easy to keep on hand. Refrigerated pie crust removes the need to make dough from scratch, condensed cream of chicken soup creates a rich sauce quickly, and frozen mixed vegetables add color and texture without chopping a long list of produce.
These pies are especially useful when you have leftover cooked chicken in the refrigerator. They also work beautifully with a store-bought rotisserie chicken, provided the meat is not overly wet. For another comforting chicken dinner idea, you can also try this chicken noodle soup recipe when you want something warm and spoonable.
Serve the pies as a family-friendly main dish with a green salad, or arrange them on a platter as a savory appetizer. Their individual size makes portioning simple, and the golden tops look inviting enough for both weeknight meals and informal gatherings.
Ingredients You’ll Need
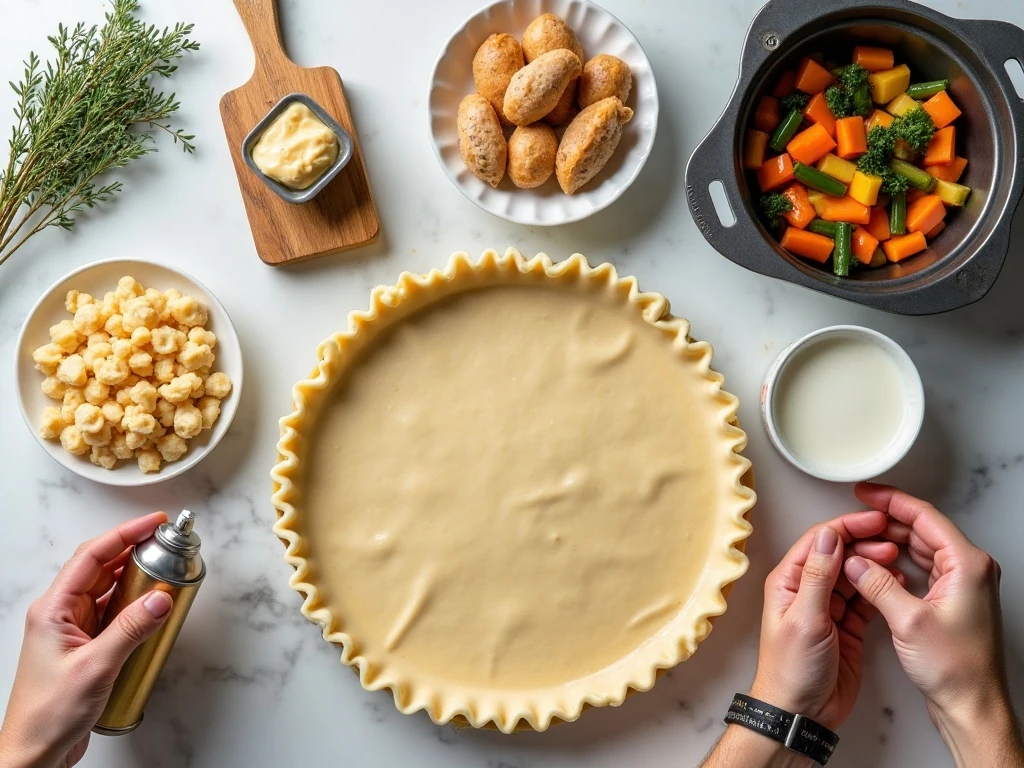
The filling begins with one 10 1/2-ounce can of condensed cream of chicken soup and 1/2 cup of milk. Together, they create the creamy base that coats the chicken and vegetables while baking.
- Condensed cream of chicken soup: Provides body, savory flavor, and a quick sauce.
- Milk: Loosens the condensed soup to a spoonable consistency.
- Dried thyme: Adds a gentle herb note that suits chicken and creamy sauces.
- Frozen mixed vegetables: Use 1 1/2 cups, thawed or partially thawed, for convenient color and texture.
- Cooked chicken: One cup of bite-size pieces is enough to distribute chicken throughout all 12 pies.
- Refrigerated pie crusts: One package containing two crusts provides pastry for the bottoms and tops.
- Nonstick cooking spray: Helps the baked pies release from the muffin pan.
- Optional egg wash: Brush one beaten egg mixed with 1 tablespoon of water over the tops for a glossy golden crust.
For best results, choose chicken that is fully cooked and relatively dry. If using rotisserie chicken, remove the skin and bones, cut the meat into bite-size pieces, and blot away excess moisture with a paper towel before mixing it into the filling.
Frozen vegetables can be used while partially thawed, but avoid adding large pieces of ice. A little thawing helps the filling mix evenly and prevents extra water from collecting inside the pastry.
If you enjoy comforting chicken flavors in different styles, our chicken adobo recipe offers another flavorful way to use cooked or fresh chicken in your meal planning.
How to Make It Step-by-Step

Step 1: Heat the oven to 425°F and prepare the pan. Spray all 12 cups of a standard muffin pan with nonstick cooking spray, paying attention to the sides and lower corners where the pastry will sit.
Step 2: Make the creamy filling. Add the condensed cream of chicken soup, milk, dried thyme, thawed or partially thawed mixed vegetables, and bite-size cooked chicken to a bowl, then stir until everything is evenly coated.
Step 3: Prepare the bottom crusts. Unroll the two refrigerated pie crusts and cut 12 rounds large enough to line the muffin cups, using a round cutter, bowl, or glass as a guide if helpful.
Step 4: Line the muffin pan. Press each pastry round gently into a cup, working the dough down the sides without stretching it. The pastry should reach high enough to hold the filling and meet the top crust.
Step 5: Add the filling. Spoon the chicken mixture into the pastry shells, dividing it evenly among all 12 cups. Leave a little space around the rim instead of piling the mixture above the edge.
Step 6: Add and seal the tops. Cut 12 additional pastry rounds or small shapes, place them over the filling, and pinch or crimp the edges against the bottom crust to close each pie.
Step 7: Vent and finish the pastry. Cut a small slit in each top so steam can escape during baking. For extra color, brush the tops with the optional egg wash made from one beaten egg and 1 tablespoon of water.
Step 8: Bake the pies. Place the muffin pan in the 425°F oven and bake for 15–20 minutes, until the pastry is golden brown and the filling is hot and bubbling.
Step 9: Rest before serving. Let the pies stand for about 5 minutes in the pan, then carefully remove them. The resting time allows the hot filling to settle and gives the crust a better chance of staying intact.
Pro Tips for Golden, Crisp Pot Pies

Do not skip the small steam vents. The creamy filling becomes very hot in the oven, and the vents give steam an escape route while helping the top crust bake evenly.
Resist the urge to overfill the cups. A little space around the rim makes crimping easier, reduces the chance of bubbling sauce spilling onto the pan, and helps each mini pie keep a neat shape.
Keep the refrigerated crusts cold until you are ready to cut them. Chilled pastry is easier to handle and less likely to become soft or sticky while you assemble the pies.
If the dough feels too soft, place the cut rounds in the refrigerator briefly before lining the pan. Work calmly and gently; pressing the pastry into place is better than forcing it into the corners.
For a more polished finish, use a small cookie cutter to create stars, leaves, or simple circles for the top crusts. The decorative pieces still need a vent, so include a small slit or opening in each one.
Want another chicken dish with a sweet-and-savory profile? You can pair these pot pies with ideas from our sweet fire chicken copycat recipe for a varied comfort-food menu.
Serving Suggestions

Serve the mini pot pies warm after their five-minute rest. Their creamy centers are satisfying on their own, but a simple side can round out the meal without competing with the buttery pastry.
- Pair with a crisp green salad dressed with a light vinaigrette.
- Add roasted or steamed vegetables for a fuller dinner.
- Serve with fresh fruit for a bright contrast to the savory filling.
- Arrange the pies on a platter for a party appetizer or buffet.
- Offer them alongside a bowl of soup for an especially cozy meal.
For a soup-and-pie supper, a creamy seafood option such as this creamy potato shrimp soup can provide a different flavor while keeping the meal warm and comforting. If you are serving the pot pies as appetizers, place them on a lined platter and provide small napkins because the filling will be hot.
The pies are also appealing for children because the vegetables are mixed into a familiar creamy sauce and the individual portions are easy to hold. Allow them to cool slightly longer for younger diners before serving.
Storage, Reheating, and Make-Ahead Notes
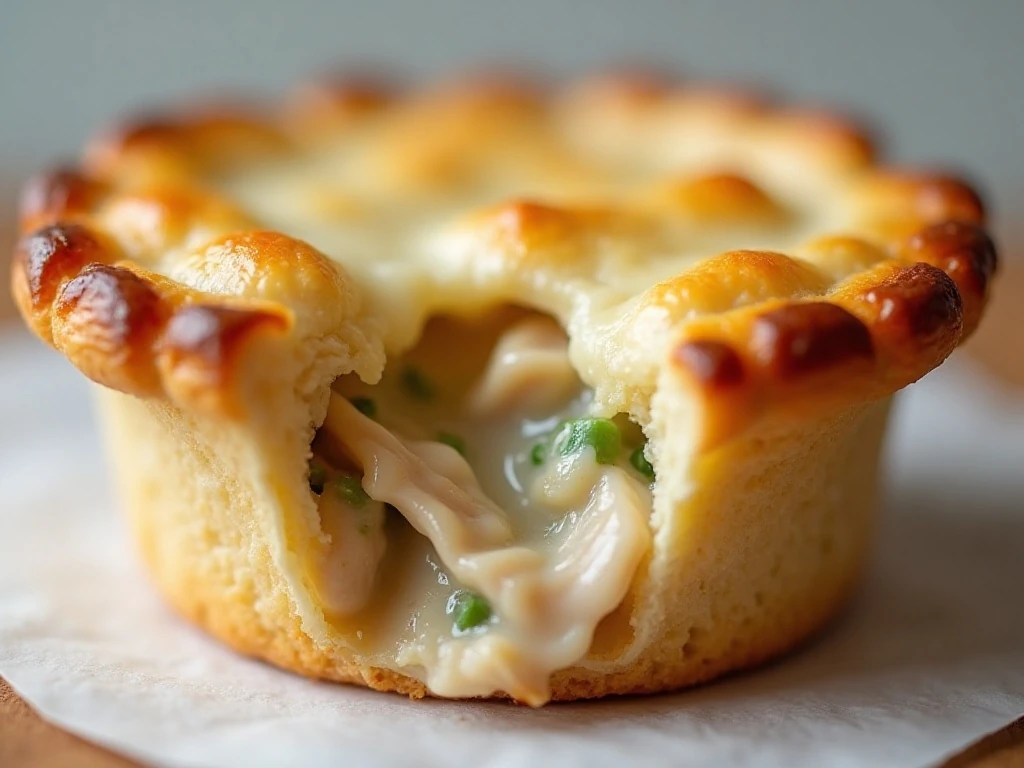
Because the pastry is crispest on the day it is baked, serve the mini pies soon after their brief resting period when possible. If you have leftovers, cool them, cover them, and refrigerate them promptly.
To reheat refrigerated pies, warm them in an oven until the centers are hot and the crust has regained some crispness. Avoid relying only on a microwave if you want to preserve the pastry texture, since microwave heating can make the crust softer.
For make-ahead preparation, assemble the pies close to baking time and keep the ingredients chilled while working. The filling should be mixed, portioned, topped, vented, and baked according to the recipe directions so the refrigerated crust does not sit filled for an extended period.
When planning a larger meal, prepare the chicken and vegetables ahead of time, then assemble the pastry shells shortly before baking. This keeps the process organized without allowing excess moisture to remain against the raw crust for too long.
Final Thoughts
These Mini Chicken Pot Pies turn a handful of convenient ingredients into a warm, golden, satisfying meal. The combination of creamy chicken filling, tender vegetables, thyme, and flaky refrigerated crust gives you classic pot-pie comfort without the extra work of preparing one large pie.
Remember the three details that make the biggest difference: use fully cooked and relatively dry chicken, leave room around the muffin cup rims, and let the baked pies rest for about 5 minutes before removing them. Follow those simple steps, and you will have 12 charming savory pies ready for dinner, snacking, or sharing.
For another special chicken centerpiece, take a look at our stuffed chicken with cheese, spinach, and tomatoes. Whether you serve these mini pies as an appetizer or main dish, they are a dependable recipe to keep ready for busy evenings and relaxed gatherings.

Mini Chicken Pot Pies
Ingredients
Method
- Heat the oven to 425°F. Coat all 12 cups of a standard muffin pan with nonstick cooking spray so the pastry shells release more easily after baking.
- In a medium bowl, combine the condensed cream of chicken soup, milk, dried thyme, frozen mixed vegetables, and cooked chicken. Stir until the chicken and vegetables are evenly distributed through the creamy mixture.
- Unroll the two refrigerated pie crusts. Cut 12 rounds large enough to line the muffin cups, then gently press each round into a cup without stretching the dough too thin.
- Spoon the chicken mixture evenly into the pastry shells. Do not overfill; leave a little space around each rim so the filling does not boil over and the tops can be sealed.
- Cut additional pastry rounds or small decorative shapes for the tops. Place one over each filled shell, pinch or crimp the edges to seal, and cut a small slit in every top to let steam escape.
- If using the optional egg wash, brush the tops lightly with the beaten egg and water. This gives the crust a glossy, golden finish as it bakes.
- Bake for 15–20 minutes, or until the pastry is golden brown and the filling is hot and bubbling. Keep an eye on the pies near the end of baking because oven temperatures and crust thickness can vary.
- Let the mini pies stand in the muffin pan for about 5 minutes before removing them. This brief rest helps the filling settle and makes the pies easier to lift without breaking the crust.
Notes
Final Thoughts
These Mini Chicken Pot Pies turn a handful of convenient ingredients into a warm, golden, satisfying meal. The combination of creamy chicken filling, tender vegetables, thyme, and flaky refrigerated crust gives you classic pot-pie comfort without the extra work of preparing one large pie.
Remember the three details that make the biggest difference: use fully cooked and relatively dry chicken, leave room around the muffin cup rims, and let the baked pies rest for about 5 minutes before removing them. Follow those simple steps, and you will have 12 charming savory pies ready for dinner, snacking, or sharing.