These easy homemade pumpkin scones are tender, warmly spiced, and ready in about 45–55 minutes from start to finish. Made with canned pumpkin purée, cold butter, an egg, and classic fall spices, the recipe yields 8 golden scones with lightly crisp edges and a soft, fully set center.
Each bite tastes like pumpkin pie crossed with a buttery bakery scone: fragrant cinnamon, ginger, nutmeg, and optional cloves meet a simple vanilla glaze. Serve them warm or cooled with coffee, tea, or a spoonful of pumpkin spice sauce for an especially cozy morning treat.
Jump to RecipeWhy You’ll Love This Recipe

These pumpkin scones bring the comfort of a fall bakery to your own kitchen without complicated techniques. The dough comes together in one main bowl, and the wedges do not need a special cutter or elaborate shaping.
The flavor is balanced rather than overly sweet. Granulated sugar gives the scones a gently sweet crumb, while cinnamon, ginger, nutmeg, and optional cloves create the familiar fragrance of pumpkin pie.
Pumpkin purée gives the interior a lovely golden color and soft texture. Cold butter keeps the crumb tender and creates little pockets of richness as it melts in the hot oven.
They are especially good for a relaxed breakfast spread. If you are planning a larger brunch, pair the sweet scones with savory favorites such as this easy pizza frittata so guests have both sweet and savory choices.
Ingredients You’ll Need
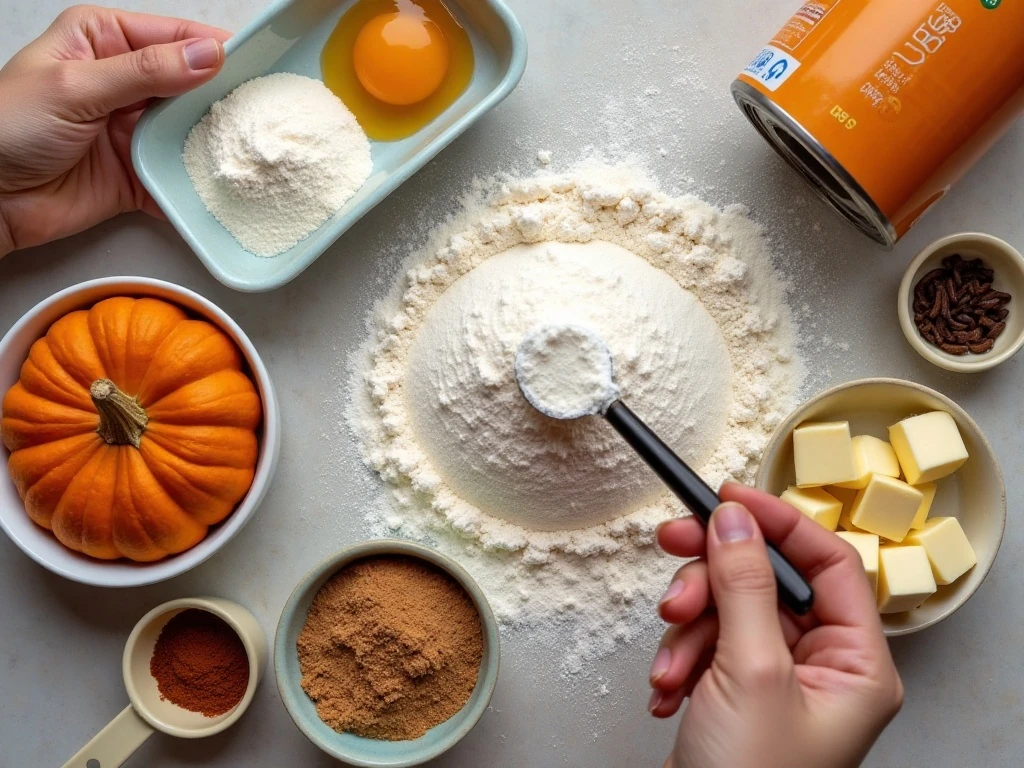
Start with 2 cups (240 g) of all-purpose flour and 1/2 cup (100 g) of granulated sugar. One tablespoon of baking powder provides the lift, while 1/2 teaspoon of fine salt sharpens the sweetness and spices.
The spice blend includes 1 teaspoon of ground cinnamon, 1/2 teaspoon of ground ginger, and 1/4 teaspoon of ground nutmeg. Add 1/8 teaspoon of ground cloves if you enjoy a deeper, more pronounced autumn flavor.
You will also need 6 tablespoons (85 g) of cold unsalted butter, cut into small cubes. Keep it refrigerated until you are ready to work it into the flour mixture.
For the wet ingredients, measure 1/2 cup (120 g) of canned pumpkin purée, then whisk it with 1 large egg and 1 teaspoon of vanilla extract. Be sure to use plain pumpkin purée rather than pumpkin pie filling, which already contains sweeteners and spices.
The optional glaze requires 1 cup (115 g) of confectioners’ sugar, 1–2 tablespoons of milk or cream, and 1/2 teaspoon of vanilla extract. Begin with the smaller amount of liquid and add more only when needed for a smooth drizzling consistency.
For another pumpkin-inspired idea, keep our air fryer pumpkin hand pies in mind for a crisp, portable dessert.
How to Make It Step-by-Step
Step 1: Heat the oven to 400°F (200°C) and line a baking sheet with parchment paper. The parchment prevents sticking and makes cleanup quick, while the fully heated oven helps the baking powder begin working immediately.
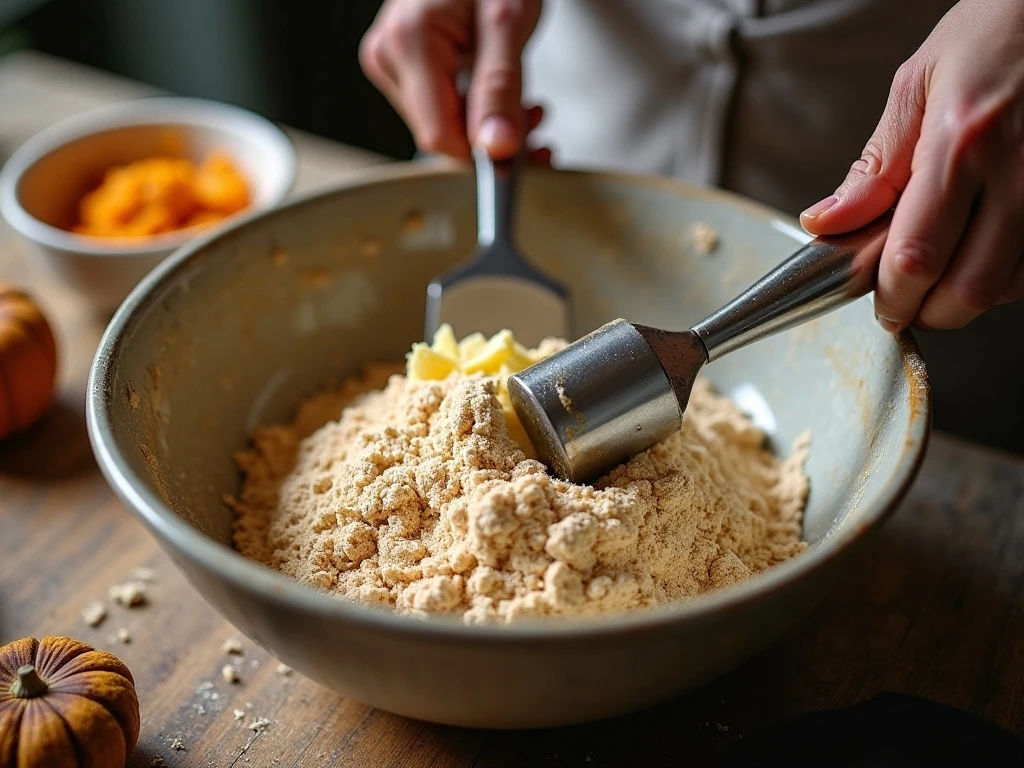
Step 2: Whisk the flour, sugar, baking powder, salt, cinnamon, ginger, nutmeg, and optional cloves in a large bowl. Take a moment to distribute the spices evenly so every wedge receives the same warm flavor.
Step 3: Add the cold cubed butter and cut it into the flour with a pastry cutter or your fingertips. Stop when the mixture resembles coarse crumbs with a few small butter pieces still visible; those pieces help create a tender texture.
Step 4: In a separate bowl, whisk together the pumpkin purée, egg, and vanilla. Mixing the wet ingredients separately allows the egg to blend evenly without requiring extra stirring later.
Step 5: Pour the pumpkin mixture into the bowl of dry ingredients and stir just until a soft dough forms. Do not knead or continue mixing once the flour disappears, because overworked dough can make scones dense.
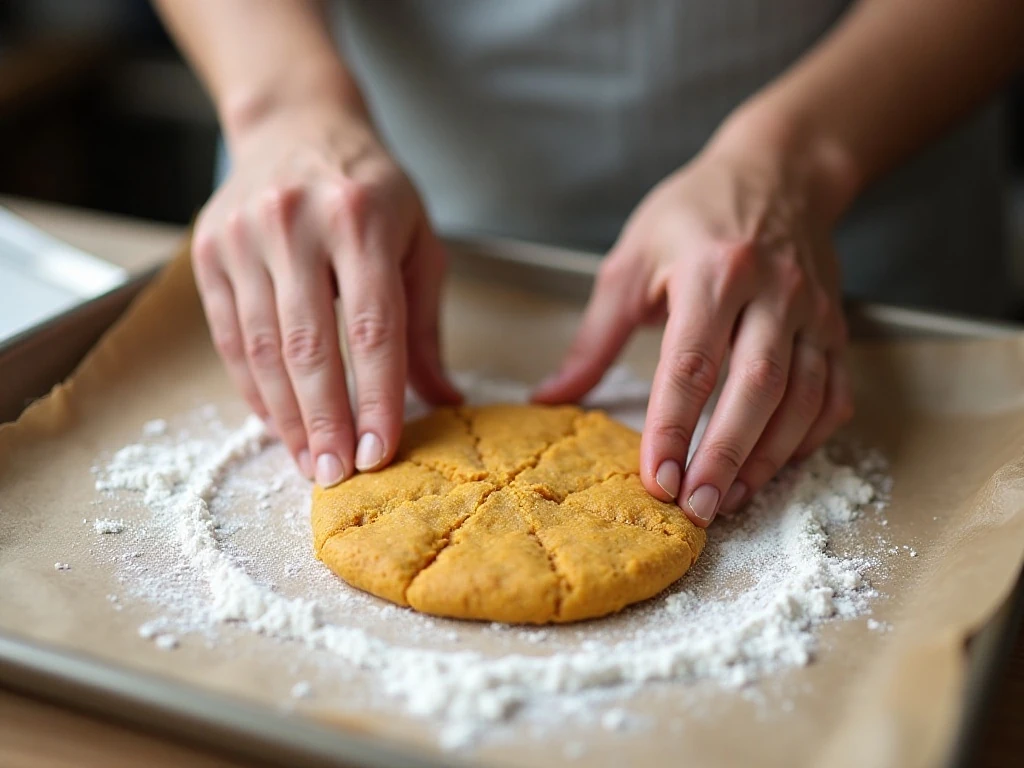
Step 6: Transfer the dough to a lightly floured surface and gently pat it into a round about 1 inch thick and 7–8 inches wide. Use light pressure rather than rolling aggressively, keeping the dough soft and airy.
Step 7: Cut the round into 8 wedges with a sharp knife or bench scraper. Place the wedges slightly apart on the parchment-lined baking sheet so the edges can brown while the centers bake through.
Step 8: Chill the shaped scones for 15–30 minutes if you have time. This optional rest firms the butter and helps the wedges keep their shape during baking.
Step 9: Bake for 15–20 minutes, until the edges are lightly browned and the center looks set. Pumpkin adds considerable moisture, so do not remove the scones while the middle still appears wet or loose.
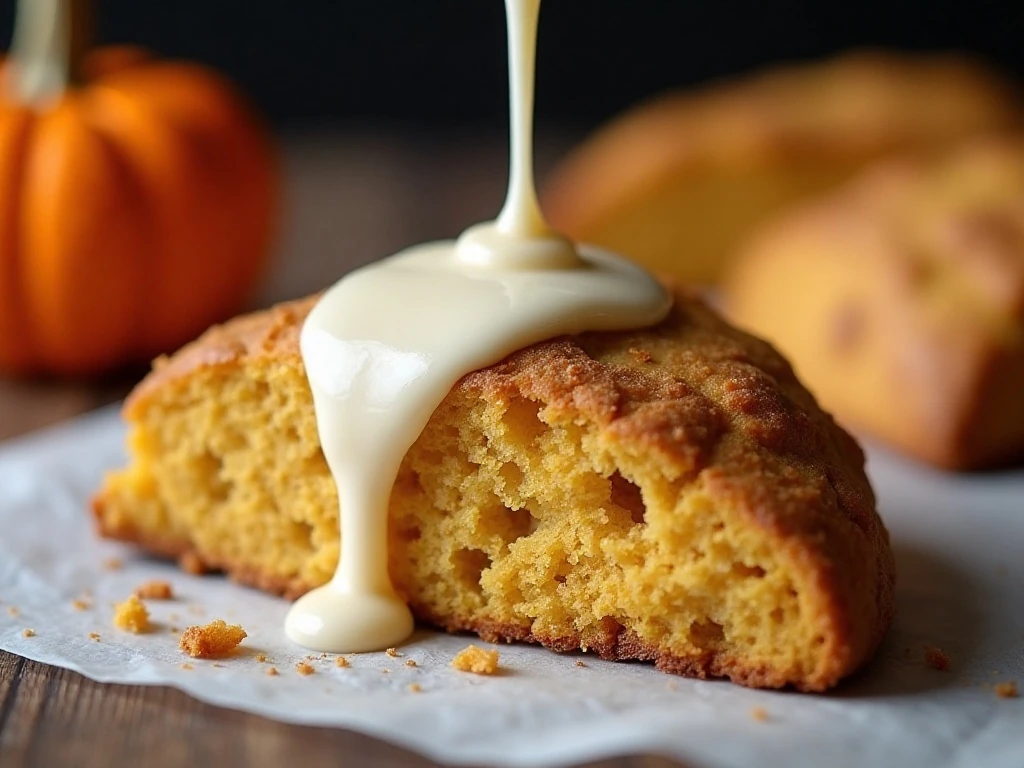
Step 10: Let the scones cool before glazing. Whisk the confectioners’ sugar, milk or cream, and vanilla until smooth, then drizzle the glaze over the tops and allow it to set briefly before serving.
Pro Tips for Tender Pumpkin Scones
Cold butter is the most important texture cue in this recipe. If your kitchen is warm or the butter begins to soften while you work, place the shaped scones in the refrigerator before baking.
Measure the pumpkin purée accurately, preferably by weight when possible. Too much pumpkin can make the dough overly wet and may leave the centers gummy even when the edges look finished.
Use a light touch from the first stir to the final shaping. A few rough-looking crumbs are preferable to a perfectly smooth dough that has been mixed too much.
If the dough feels soft, lightly flour your hands and work surface rather than adding a large amount of extra flour. Excess flour can make the finished scones dry and heavy.
For a bakery-style finish, drizzle the glaze in thin lines over completely cooled scones. A thicker glaze gives a sweeter, more visible topping, while a thinner glaze sinks into the ridges and adds a delicate vanilla sheen.
For a pumpkin dessert table, you can also serve these beside tender pumpkin pie cupcakes. The scones are best for breakfast, while the cupcakes make a charming afternoon or celebration option.
Serving, Storage & Reheating
Serve the scones at room temperature or slightly warm. Coffee, black tea, chai, and apple cider all complement the cinnamon-forward flavor, and a little butter can be added if you prefer a richer breakfast.
Store cooled, unglazed scones in an airtight container at room temperature for up to 2 days. Keep the glaze separate when possible so the tops stay neat and the scone surface does not become overly moist.
To refresh a scone, warm it gently in a low oven until just heated through. Avoid overheating, since the pumpkin-rich crumb can dry out around the edges.
These scones are also a thoughtful homemade gift. Arrange them on parchment in a bakery box, add the glaze shortly before packaging, and include a note that the best texture is enjoyed within the first day.
Easy Variations to Try
The basic recipe is delicious as written, but a few optional additions can change the personality without disturbing the core formula. Stir in pecans, white chocolate chips, or a small amount of maple extract if you want extra flavor and texture.
Keep additions modest so the dough remains easy to shape. A crowded dough can break apart when cut, and large pieces may prevent the wedges from baking evenly.
For a more coffeehouse-inspired topping, use a thin powdered-sugar glaze followed by a second drizzle flavored with warm spices. Let the first layer set slightly before adding the second so the lines remain distinct.
When serving a mixed brunch, balance these sweet wedges with something savory such as easy deviled eggs. That combination gives the table contrasting flavors and makes the meal feel complete.

Easy Homemade Pumpkin Scones
Ingredients
Method
- Heat the oven to 400°F (200°C) and line a baking sheet with parchment. Whisk the flour, sugar, baking powder, salt, cinnamon, ginger, nutmeg, and optional cloves in a large bowl.
- Cut the cold butter into the dry ingredients with a pastry cutter or your fingertips until coarse crumbs form. In another bowl, whisk the pumpkin purée, egg, and vanilla.
- Add the pumpkin mixture to the dry ingredients and stir just until a soft dough forms. Turn it onto a lightly floured surface and avoid mixing more than necessary.
- Pat the dough into a round about 1 inch thick and 7–8 inches wide. Cut the round into 8 wedges and arrange them slightly apart on the lined baking sheet.
- Chill the shaped scones for 15–30 minutes if possible, which helps them keep their definition. Bake for 15–20 minutes, until lightly browned at the edges and set in the center.
- Cool the scones before glazing. Whisk the confectioners’ sugar, milk or cream, and vanilla until smooth, then drizzle over the cooled scones.
Notes
Final Thoughts
These easy homemade pumpkin scones are a dependable way to make an ordinary morning feel special. With cold butter, accurately measured pumpkin, gentle mixing, and enough baking time to set the center, you will have eight tender, warmly spiced wedges with golden edges.
Make the dough the night before only if you keep the shaped wedges chilled and bake them while cold, or prepare the full recipe in one relaxed session. Finish with vanilla glaze, pour a fresh cup of coffee, and enjoy a cozy homemade breakfast that tastes like the best part of autumn.