This homemade KIND Bars recipe makes 10–12 chewy, crunchy nut bars with almonds, peanuts, walnuts, puffed rice, honey, and brown rice syrup. The bars take about 15–20 minutes to prepare, 5–10 minutes to heat the syrup, and 1–2 hours to chill, with an optional 12–15 minute bake for a firmer finish.
Each bar has the satisfying crunch of a store-bought nut bar, but you control the ingredients, sweetness, salt, and optional chocolate topping. The combination of toasted-tasting nuts, crisp puffed rice, vanilla, and golden syrup makes these homemade snack bars delicious for lunch boxes, hikes, afternoon cravings, or a quick breakfast.
Jump to RecipeWhy You’ll Love This Recipe
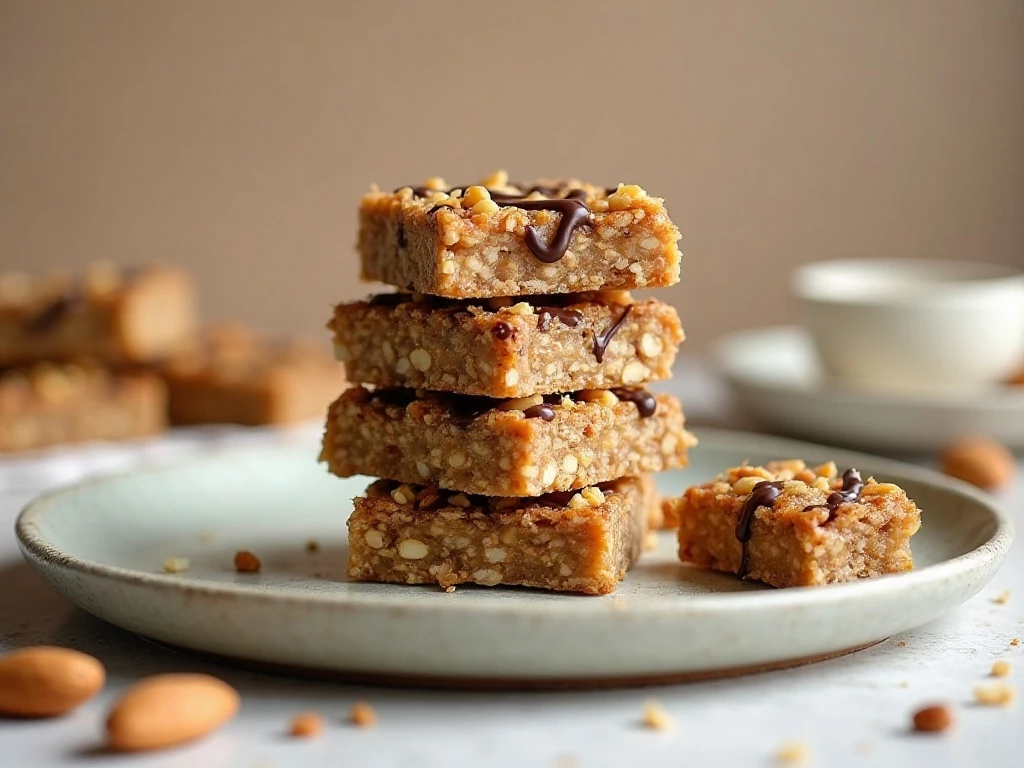
These homemade KIND-style bars are a practical pantry snack with a wonderful contrast of textures. The almonds and peanuts provide hearty crunch, walnuts add a buttery bite, and puffed rice keeps the bars light enough to enjoy without feeling overly dense.
The syrup mixture binds everything together while adding a gentle honeyed sweetness. Brown rice syrup brings dependable stickiness, while vanilla and sea salt make the nut flavor taste fuller and more balanced.
This recipe is also flexible without being complicated. Make the bars plain for an everyday snack, or finish them with dark or semisweet chocolate for a dessert-like treat.
For another homemade comfort-food project, try this easy beer bread alongside a savory meal, then save a nut bar for later.
Ingredients You’ll Need
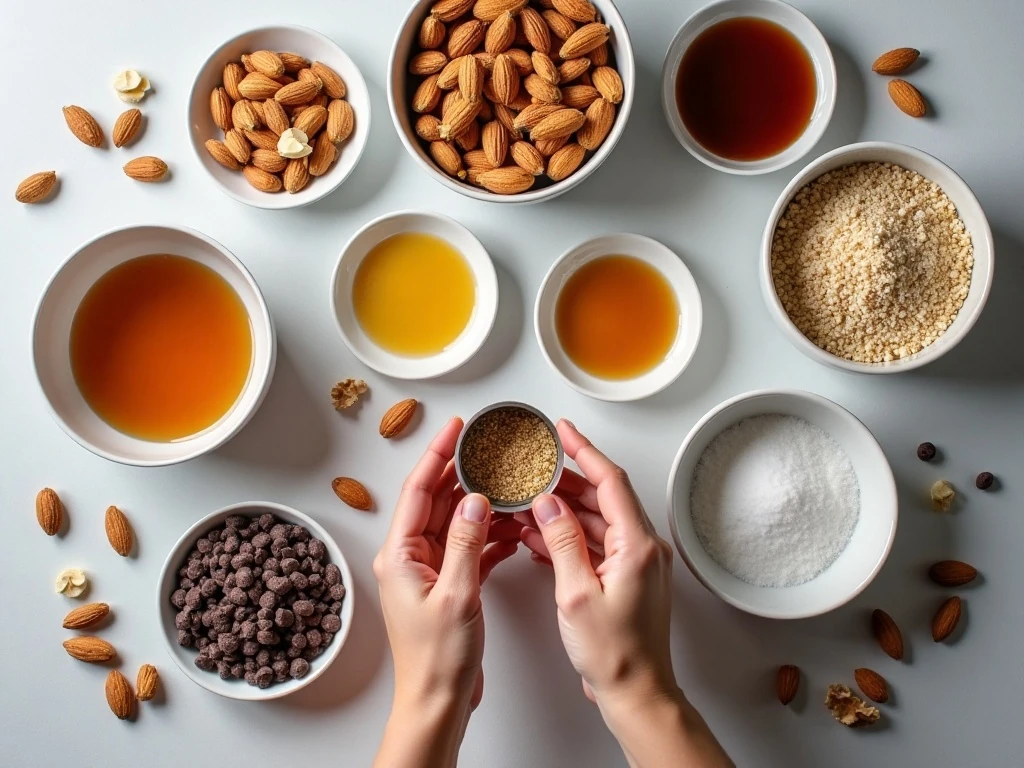
Use the ingredient list as written for a balanced, crunchy bar. Whole almonds give the finished bars their familiar substantial bite, while roasted or raw peanuts work equally well depending on the flavor you prefer.
- 1 cup whole almonds: Keep them whole for a chunky texture.
- 1 cup roasted or raw peanuts: Roasted peanuts add deeper flavor, while raw peanuts taste milder.
- 1/2 cup walnut pieces: Their rich, tender texture contrasts with the firmer nuts.
- 1/2 cup puffed rice cereal: This adds crispness and makes the bars lighter.
- 1/3 cup honey and 1/3 cup brown rice syrup: Together they create the sticky binder.
- 1 tablespoon refined coconut oil or neutral vegetable oil: This helps the syrup stay smooth.
- 1 teaspoon vanilla and 1/2 teaspoon fine sea salt: These sharpen and balance the flavor.
- 1/2 cup chocolate chips and 1 teaspoon coconut oil: Use these only if you want a chocolate topping.
Choose refined coconut oil if you want a neutral taste. If your kitchen is warm, chilling the ingredients and pan before beginning can make handling the sticky mixture easier.
How to Make It Step-by-Step
Step 1: Line an 8-inch square baking pan with parchment paper, leaving generous overhang on two opposite sides. The parchment makes it possible to lift the cooled slab out cleanly, so do not skip this preparation.
Step 2: Add the almonds, peanuts, walnut pieces, and puffed rice cereal to a large mixing bowl. Stir gently so the puffed rice remains intact and the nuts are evenly distributed before the syrup is added.
Step 3: Place the honey, brown rice syrup, coconut oil, vanilla extract, and sea salt in a small saucepan over medium heat. Stir until the mixture is smooth and bubbling, taking care because hot syrup can cause burns.
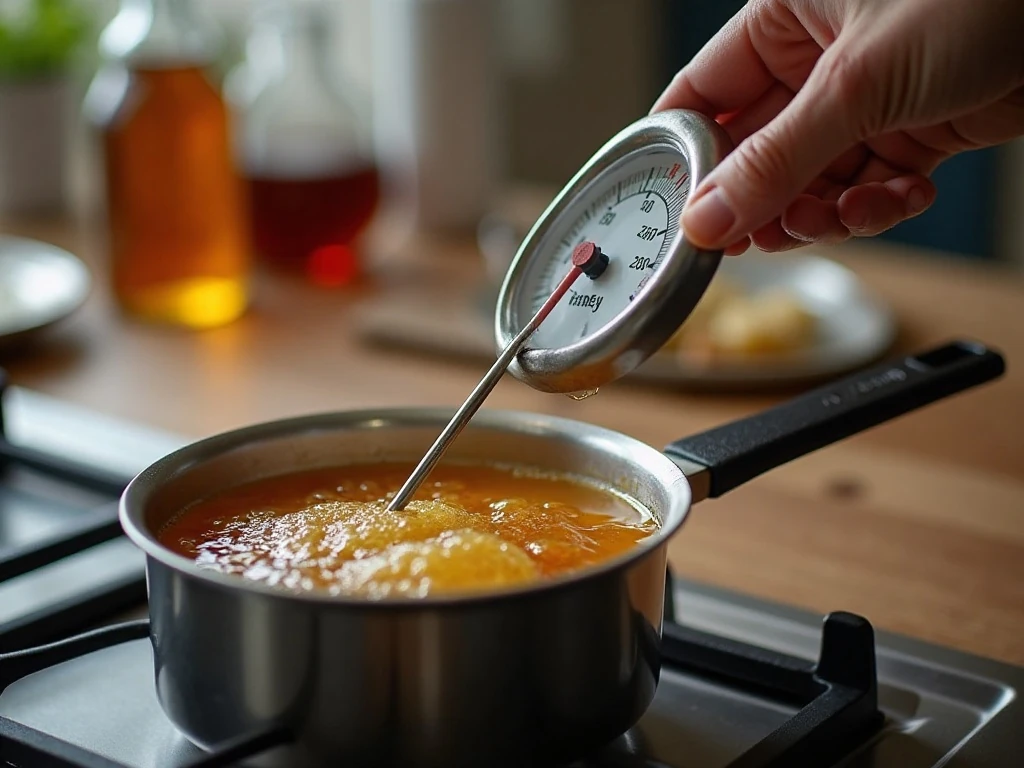
Step 4: If you have a candy thermometer, continue cooking until the syrup reaches approximately 250–260°F. This hard-ball-stage temperature produces a firmer, more stable bar; a simple 2–3 minute simmer can work, but the result may be softer.
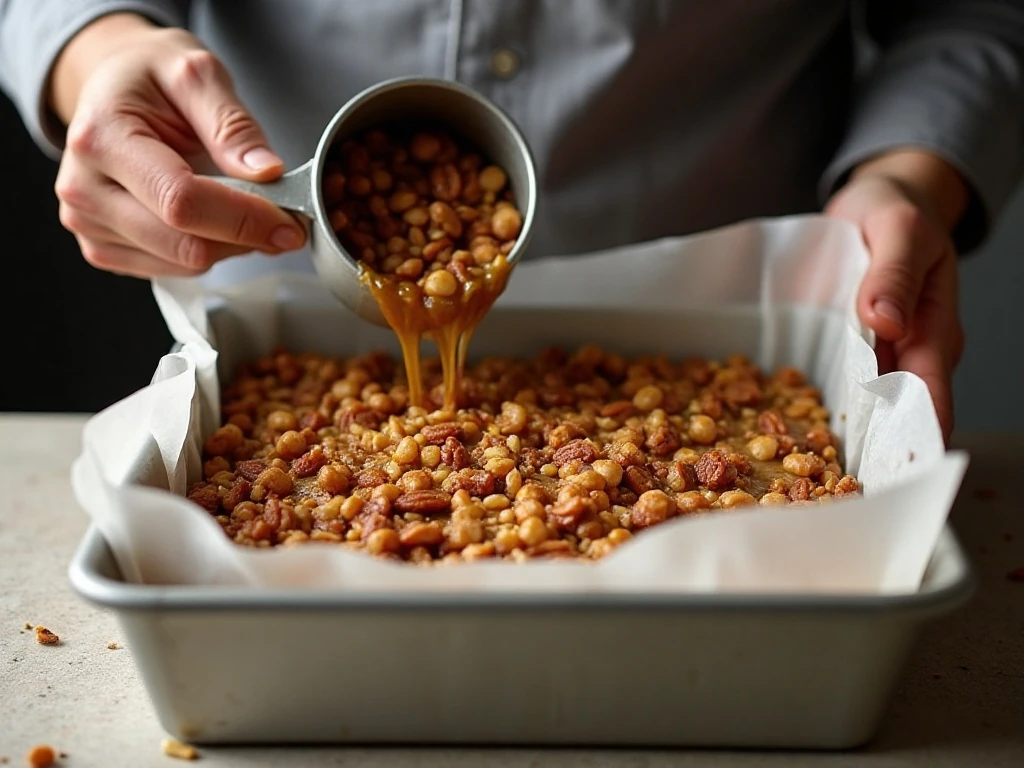
Step 5: Pour the hot syrup over the nut mixture immediately. Stir thoroughly with a heat-resistant spatula until the syrup coats the almonds, peanuts, walnuts, and cereal from top to bottom.
Step 6: Scrape the sticky mixture into the lined pan and spread it into an even layer. Cover the surface with another sheet of parchment and press exceptionally firmly with the bottom of a measuring cup, a flat spatula, or your hands over the parchment.
Step 7: Choose your setting method. Refrigerate the pan until firm, or bake it at 325°F for approximately 12–15 minutes, then cool completely before chilling; the baked option is useful when you want extra stability.
Step 8: Once the slab is completely cool and firm, use the parchment overhang to lift it from the pan. Cut into 10–12 bars with a sharp knife, wiping the blade between cuts for cleaner edges.
Step 9: For the optional topping, melt the chocolate chips with 1 teaspoon coconut oil until smooth, using short bursts in the microwave or gentle heat over a double boiler. Drizzle or spread the chocolate over the bars, then let it set before storing.
How to Get Firm, Chewy Bars
The most important technique is pressing. While the mixture is still warm, compact it with steady, even pressure so there are no loose pockets between the nuts and cereal.
Temperature also matters. Heating the honey and brown rice syrup to approximately 250–260°F gives the binder enough structure to hold the bars together after cooling.
If you use the shorter simmer method, expect a softer texture and chill the bars thoroughly before cutting. A brief bake at 325°F for 12–15 minutes can help the slab set, but it should still cool completely before refrigeration.
Do not cut the bars while they are warm. Warm syrup remains flexible and may pull the nuts apart, while a fully chilled slab produces neater portions.
Flavor Ideas and Serving Suggestions
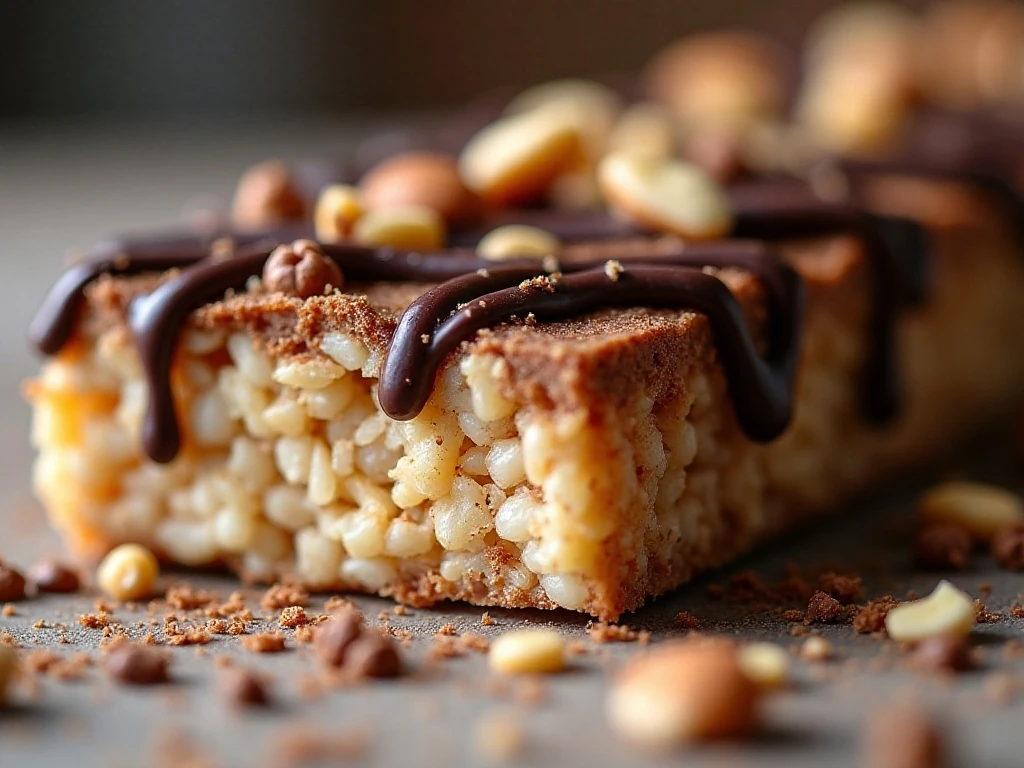
The chocolate topping is optional, but it adds a pleasant bittersweet finish that works especially well with peanuts and walnuts. For a thinner finish, drizzle the melted chocolate in narrow lines; for a richer bar, spread it across the entire surface.
Serve one with coffee, tea, or a glass of milk. They also pack well for road trips, school snacks, office drawers, and pre-walk energy.
For a sweet finish after lunch, pair a bar with our pineapple banana dessert. If you are planning a savory snack spread, our Buffalo chicken marinade idea can help with the main dish.
Storage and Make-Ahead Tips
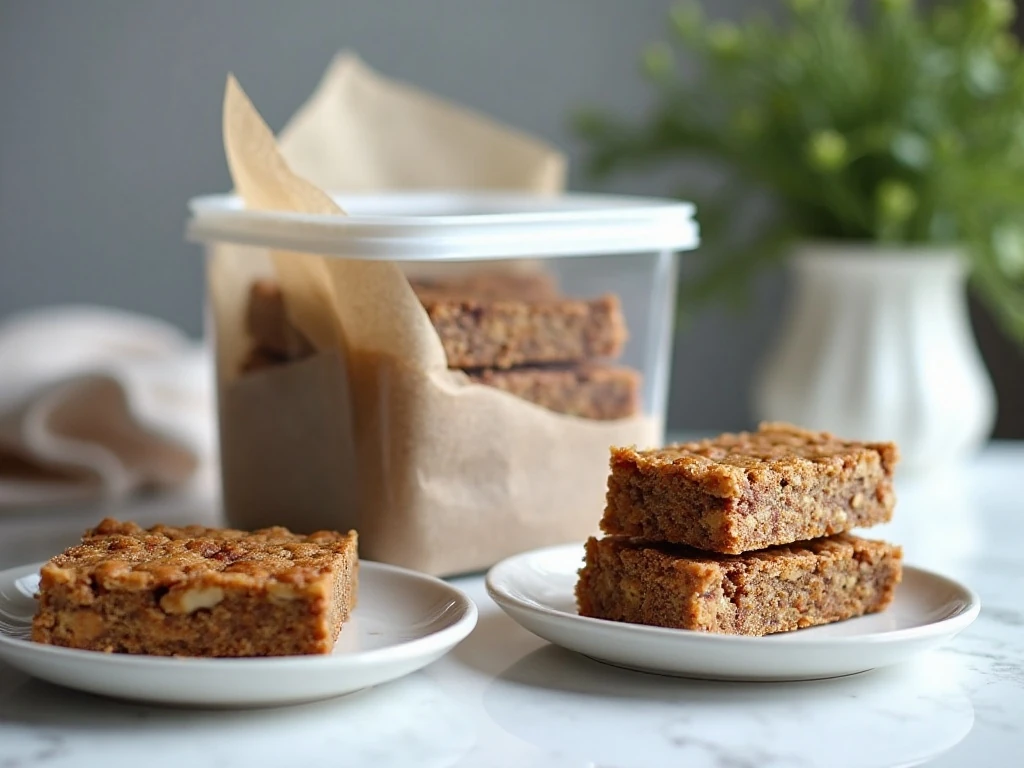
Store the finished bars in an airtight container at room temperature for several days. Separate layers with parchment paper so the bars do not stick to one another or transfer chocolate across the container.
For longer storage, refrigerate the bars for up to 1–2 weeks. Chilled bars are firmer and especially easy to pack, though you can let one sit at room temperature briefly if you prefer a softer chew.
Prepare the slab a day ahead when convenient. Allow the chocolate to set fully before stacking, and keep the parchment overhang in place until the mixture has cooled enough to lift without bending.
For another savory meal to balance your snack planning, see this vegetarian ramen with rich broth. You can also use our all-purpose Buffalo chicken marinade for an easy dinner centerpiece.
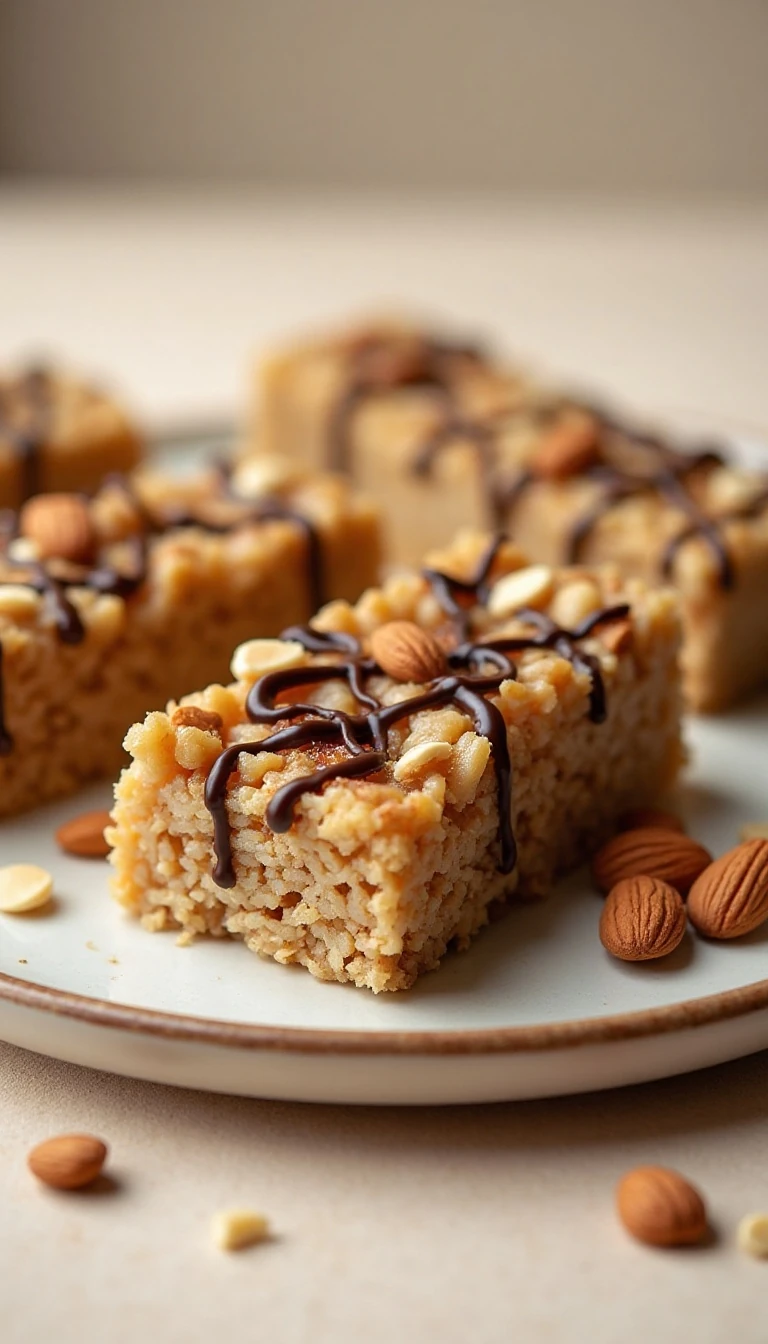
Homemade KIND Bars
Ingredients
Method
- Line an 8-inch square baking pan with parchment paper, leaving enough overhang to lift out the finished bars.
- Combine the almonds, peanuts, walnut pieces, and puffed rice cereal in a large bowl.
- Heat the honey, brown rice syrup, coconut oil, vanilla extract, and sea salt in a small saucepan over medium heat until smooth and bubbling.
- For firm bars, cook the syrup to approximately 250–260°F on a candy thermometer. If you do not have a thermometer, simmer the mixture for 2–3 minutes, understanding that the bars may be softer.
- Immediately pour the hot syrup over the nut and cereal mixture, then stir thoroughly until every piece is coated.
- Transfer the mixture to the prepared pan and press it down exceptionally firmly with parchment, the bottom of a measuring cup, or a flat spatula.
- Refrigerate until firm, or bake at 325°F for approximately 12–15 minutes before cooling. Cool completely, then chill until firm.
- Lift the slab from the pan, cut it into 10–12 bars, and optionally drizzle or spread with chocolate melted with 1 teaspoon coconut oil.
Notes
Final Thoughts
Homemade KIND bars are simple to make, wonderfully crunchy, and easy to customize with an optional chocolate finish. The recipe depends on just a few key techniques: cook the syrup to approximately 250–260°F when possible, coat the nut mixture quickly, and press it firmly while warm.
Once chilled, the bars slice into portable portions that are ready for breakfast, lunch boxes, hikes, or an afternoon sweet bite. Keep a batch in an airtight container, and you will have a satisfying homemade snack with a texture and flavor that rival packaged nut bars.
Start with the classic almond, peanut, walnut, and puffed rice combination, then make the method your own through the setting option and chocolate topping. This is the kind of reliable recipe worth returning to whenever the pantry calls for something crunchy, chewy, and delicious.