This crunchy and easy home-canned pickles recipe makes approximately 7 to 9 pint jars of classic whole dill pickles using a tested 5% acidity vinegar brine and a boiling-water canner. The key to shelf-stable, crisp pickles is using small, fresh 3- to 4-inch cucumbers, trimming away the blossom ends, maintaining the vinegar-to-water ratio, and processing the filled jars for 10 minutes at elevations up to 1,000 feet.
Each pickle is bright, tangy, salty, and fragrant with dill, with optional garlic and mustard seed adding extra savory character. The jars need 12 to 24 hours to cool and seal, then the flavor improves after at least 1 to 2 weeks; for the fullest dill flavor, wait about 3 to 4 weeks before opening a jar.
Jump to RecipeWhy You’ll Love This Recipe

These home-canned dill pickles deliver the satisfying snap people look for in a good pickle without requiring complicated ingredients. The balanced brine combines equal parts 5% acidity white vinegar and water with canning salt, a small amount of sugar, and dill seed for a clean, traditional flavor.
Whole cucumbers also make a beautiful pantry gift. Open a jar alongside burgers, sandwiches, grilled sausages, or a simple lunch plate, and you will have an instant crisp, tangy side.
The recipe is especially useful during cucumber season, when a garden or farmers market basket can produce more cucumbers than the refrigerator can handle. For another comforting meal idea to serve with pickles, try our easy burger-inspired casserole.
Ingredients You’ll Need

The foundation is 8 pounds of small pickling cucumbers, preferably 3 to 4 inches long. Smaller cucumbers pack neatly into pint jars and generally remain firmer than large, seedy, or overripe cucumbers.
- 4 cups white vinegar labeled 5% acidity
- 4 cups water
- 1/2 cup canning or pickling salt
- 3 tablespoons granulated sugar
- 2 tablespoons dill seed
- 14 to 16 fresh dill heads
- Optional: 1 to 2 garlic cloves per pint jar
- Optional: 1 teaspoon mustard seed per pint jar
If fresh dill is unavailable, about 2 to 3 tablespoons of dill seed may be used as a substitute. Keep the vinegar, water, and salt quantities unchanged because the tested ratio is important for safe shelf storage.
Gather pint jars, prepared lids and bands, a jar lifter, a canning funnel, a large pot, and a boiling-water canner. Clean equipment makes the packing process calmer and helps prevent spills around the jar rims.
How to Make It Step-by-Step
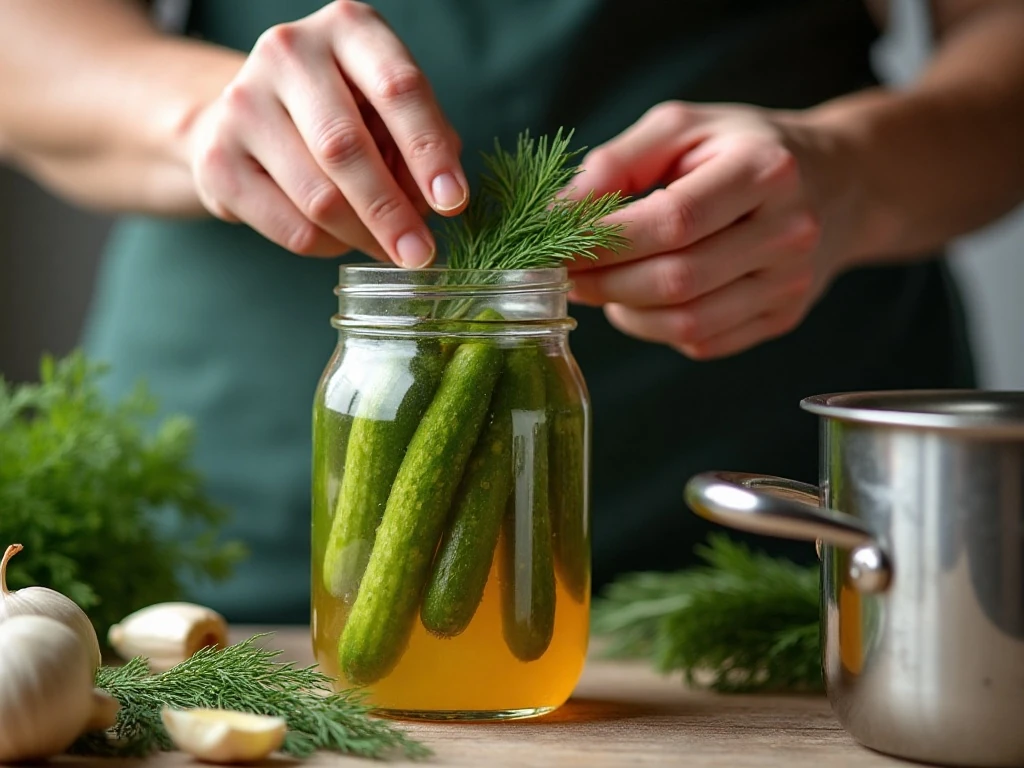
Step 1: Select firm, fresh cucumbers without soft spots, shriveled skin, or signs of spoilage. Wash them thoroughly under cool running water, then trim at least 1/16 inch from each end, removing the blossom end in particular because natural enzymes there may soften the finished pickles.
Step 2: Place the trimmed cucumbers in a large container of ice water for 2 to 4 hours if you want the crunchiest texture. Drain them thoroughly afterward, since excess water clinging to the cucumbers can dilute the hot brine during packing.
Step 3: Prepare the canning setup while the cucumbers chill. Wash the pint jars, keep them hot, and prepare the lids according to the manufacturer’s directions; have the boiling-water canner ready with enough water to cover the filled jars.
Step 4: Add the vinegar, water, canning or pickling salt, sugar, and dill seed to a large pot. Bring the mixture to a boil over medium-high heat, stirring until the salt dissolves completely, then keep the brine hot while you fill the jars.
Step 5: Place fresh dill heads in the hot, sterilized pint jars, adding 1 to 2 garlic cloves and 1 teaspoon of mustard seed to each jar if desired. Pack the cucumbers upright and snugly, but do not force them into the jars or crush their skins.
Step 6: Ladle the hot brine over the cucumbers, leaving exactly 1/2 inch of headspace at the top of every jar. Slide a plastic bubble remover or clean utensil around the inside edge to release trapped air, then add more brine if necessary.
Step 7: Wipe each jar rim with a clean, damp cloth so the lid can seal properly. Apply the prepared lid and screw band, tightening the band until it is fingertip tight rather than forcing it down aggressively.
Step 8: Lower the jars into the boiling-water canner, making sure the water covers them. Process for 10 minutes at elevations from 0 to 1,000 feet; if you live higher than 1,000 feet, use the USDA altitude chart to increase the processing time.
Step 9: Turn off the heat and carefully remove the jars with a jar lifter, keeping them upright. Set them on a towel with space between them and leave them undisturbed for 12 to 24 hours while the seals form.
Step 10: Press the center of each cooled lid to check that it is firm and does not flex. Label sealed jars with the date, refrigerate any unsealed jar, and let the pickles rest for at least 1 to 2 weeks before tasting.
Pro Tips for Extra Crunch
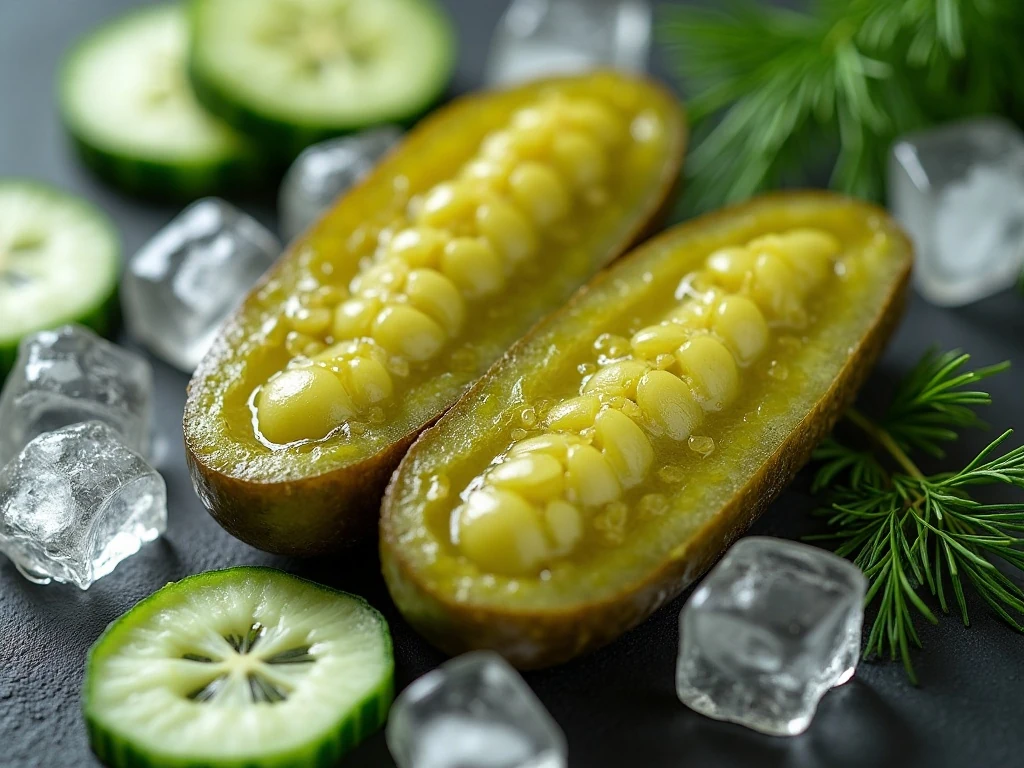
Freshness matters more than any secret ingredient. Process cucumbers as soon after harvest as possible, and refrigerate them briefly before canning if there will be a delay.
Never reduce the vinegar or add extra water. Use white vinegar marked 5% acidity, and do not make large changes to the amount of fresh dill or spices because those changes can affect the tested brine balance.
Pickle Crisp calcium chloride can be used according to the manufacturer’s label when you want additional firmness. Alum is generally unnecessary when you start with high-quality cucumbers, remove the blossom ends, and follow the tested process.
For a pleasant dinner pairing, serve these pickles with a savory slice of easy taco pie. Their sharp vinegar bite cuts through rich cheese, seasoned meat, and pastry beautifully.
Water-Bath Canning and Safety
For shelf-stable pickles, use pint jars, the stated vinegar ratio, and the boiling-water process. The 10-minute processing time applies at elevations up to 1,000 feet, so higher elevations require the appropriate adjustment from a current USDA altitude chart.
Keep the jars covered with boiling water during processing, and start timing only once the water has returned to a full boil. If the water stops boiling for an extended period, consult current home-canning guidance before deciding how to continue.
After cooling, inspect every seal. A properly sealed lid should not flex when pressed in the center; any jar that fails to seal belongs in the refrigerator and should be used promptly rather than stored at room temperature.
Once opened, refrigerate the jar. Always discard pickles that develop an unusual odor, color, mold, leaking liquid, or other signs of spoilage.
Storage, Timing, and Serving Ideas
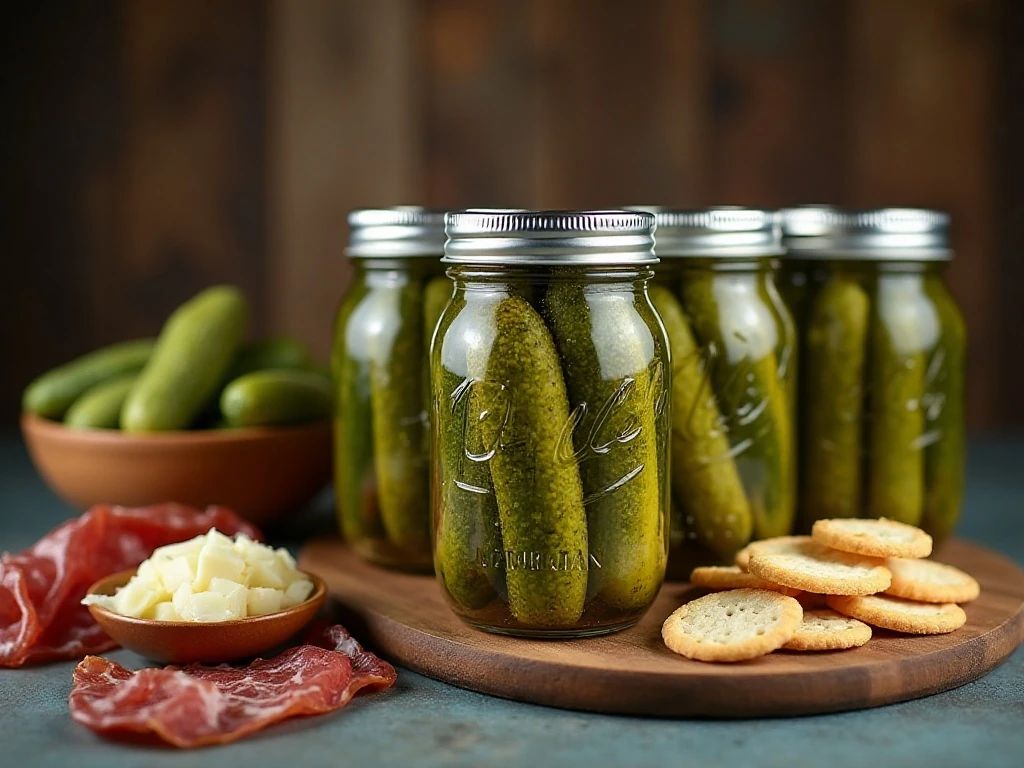
Store sealed jars in a cool, dark, dry place away from direct sunlight and temperature swings. Labeling each jar helps you use the oldest batch first and makes it easy to track how long the pickles have rested.
The pickles are safe to taste after at least 1 to 2 weeks of resting, but patience pays off. At 3 to 4 weeks, the vinegar, dill, garlic, mustard seed, and cucumber flavors become more rounded and satisfying.
Serve whole pickles beside sandwiches, chop them into tuna or egg salad, or slice them for burgers and hot dogs. They also make a bright contrast to creamy desserts, such as this rich butterscotch pie, when you want a sharp bite between sweet courses.
For a fun snack spread, set out a jar with cheese, crackers, olives, and cured meats. After dinner, follow it with blueberry cake with lemon frosting for a menu that moves from crisp and savory to fresh and sweet.
Common Questions
Can I use large slicing cucumbers? Small pickling cucumbers are the best choice because they have a firmer texture and fewer large seeds. Large or overripe cucumbers soften more readily and may not pack well into pint jars.
Why trim the blossom end? The blossom end contains enzymes that can break down the cucumber’s structure. Removing at least 1/16 inch from each end helps protect the crisp texture.
Can I skip the sugar? The sugar adds a gentle balance to the vinegar, salt, and dill. For the most consistent flavor, follow the stated amount rather than removing or substantially changing it.
Can I replace fresh dill with dill seed? Yes. Use about 2 to 3 tablespoons of dill seed as the substitute, while keeping the vinegar-to-water ratio unchanged.
What can I serve at brunch with pickles? A chilled pickle is excellent with savory breakfast foods, while a homemade coffee drink such as whipped coffee can round out a relaxed brunch menu.
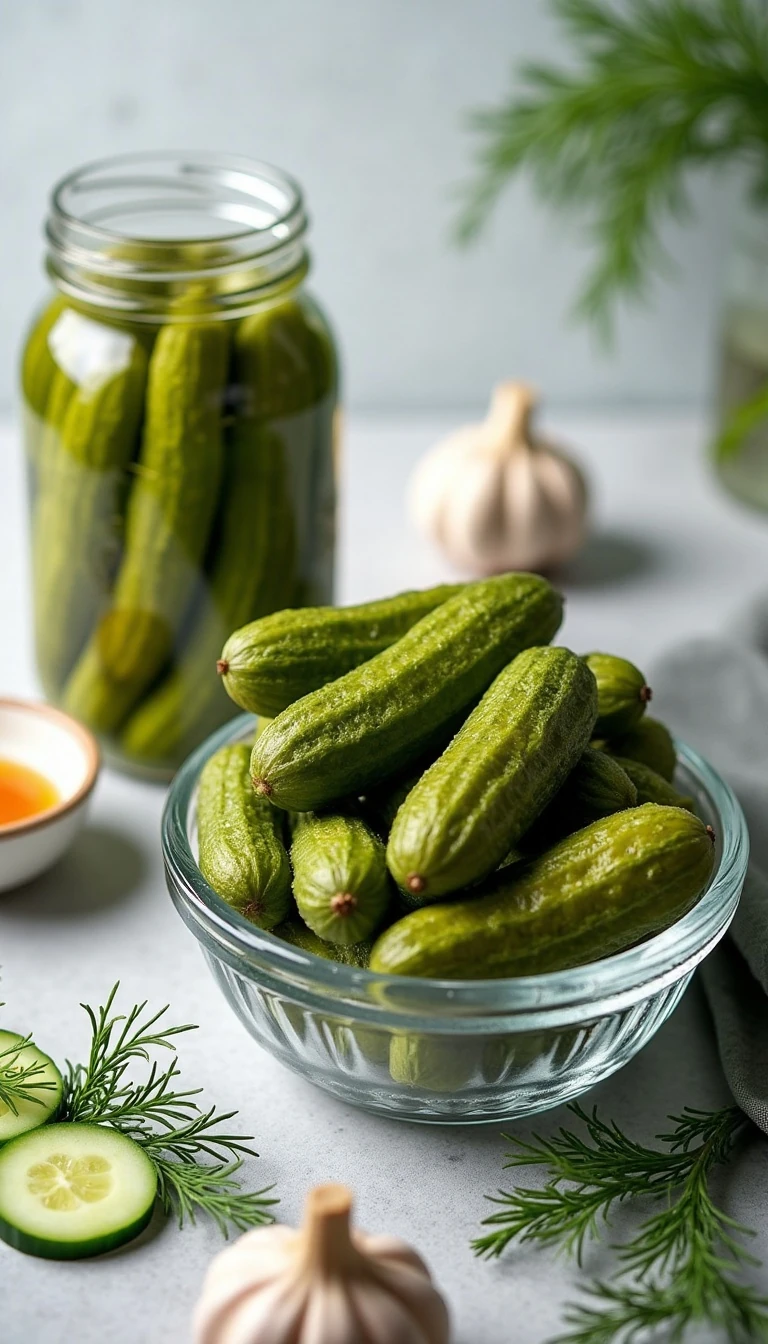
Crunchy and Easy Home-Canned Pickles
Ingredients
Method
- Select firm, fresh cucumbers and wash them thoroughly. Trim at least 1/16 inch from both ends, taking special care to remove the blossom end because its enzymes can soften pickles.
- For extra crunch, place the trimmed cucumbers in ice water for 2 to 4 hours. Drain them well before packing so excess water does not weaken the brine.
- Combine the 5% acidity vinegar, water, canning salt, sugar, and dill seed in a pot. Bring the mixture to a boil, stirring until the salt dissolves.
- Pack hot, sterilized pint jars with fresh dill heads and optional garlic or mustard seed. Arrange the cucumbers upright, leaving 1/2 inch of headspace.
- Ladle the hot brine over the cucumbers while maintaining 1/2 inch of headspace. Remove air bubbles, wipe the rims clean, and apply prepared lids and bands.
- Place the jars in a boiling-water canner and process for 10 minutes at elevations from 0 to 1,000 feet. At higher elevations, increase the processing time according to the USDA altitude chart.
- Remove the jars carefully and cool them undisturbed for 12 to 24 hours. Check each seal, label the jars, and store them in a cool, dark place.
Notes
Final Thoughts
This crunchy and easy home-canned pickles recipe turns fresh cucumbers into bright, classic dill pickles with a dependable vinegar brine and straightforward water-bath method. Small cucumbers, careful blossom-end trimming, ice-water soaking, correct headspace, and patient resting are the details that make every jar worth opening.
Prepare a batch when cucumbers are at their freshest, label the jars, and give them time to develop their full flavor. After 3 to 4 weeks, you will have crisp, tangy pickles ready for sandwiches, cookouts, snack boards, and homemade meals all season long.