This easy white chocolate peanut butter fudge recipe needs just peanut butter chips, white chocolate chips, sweetened condensed milk, and vanilla. The mixture takes about 5 to 8 minutes to melt, then chills for at least 2 hours in an 8-inch square pan for thick, creamy squares.
Every bite is soft, rich, and wonderfully smooth, with the familiar roasted flavor of peanut butter balanced by sweet white chocolate. Cut it into 16 to 25 small squares for a holiday candy tray, edible gift, dessert table, or simple after-dinner treat.
Jump to RecipeWhy You’ll Love This Recipe
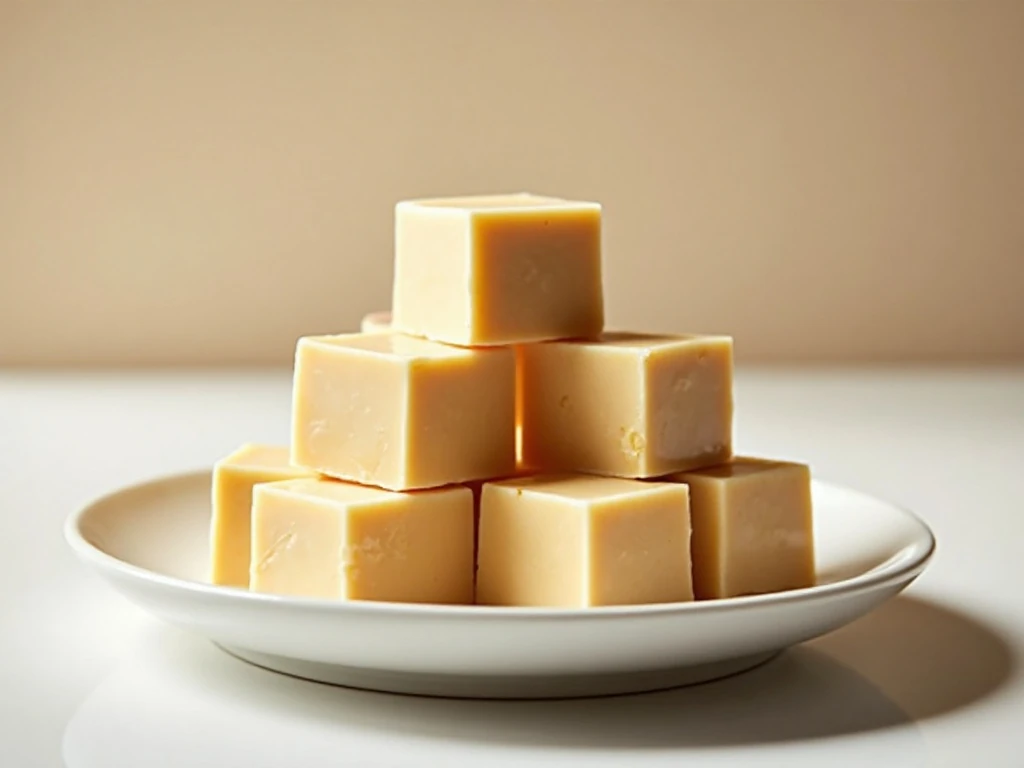
This is the kind of candy recipe that looks special but asks very little from the cook. There is no candy thermometer, complicated sugar syrup, or long list of ingredients; the fudge comes together in one saucepan and firms up in the refrigerator.
The texture is dense yet creamy, with a pleasant melt-in-your-mouth finish. Peanut butter chips provide a deep, nutty taste, while white chocolate chips add sweetness, body, and a delicate vanilla-like richness.
An 8-inch square pan creates thick pieces that feel generous even when cut into small squares. Depending on your preferred size, the batch makes about 16 to 25 pieces, so it works equally well for sharing or keeping a few treats tucked away for yourself.
If you are planning a cozy comfort-food spread, this candy pairs nicely with savory favorites such as our easy chicken potpie. The sweet, creamy fudge makes a lovely bite-sized dessert after a warm meal.
Ingredients You’ll Need
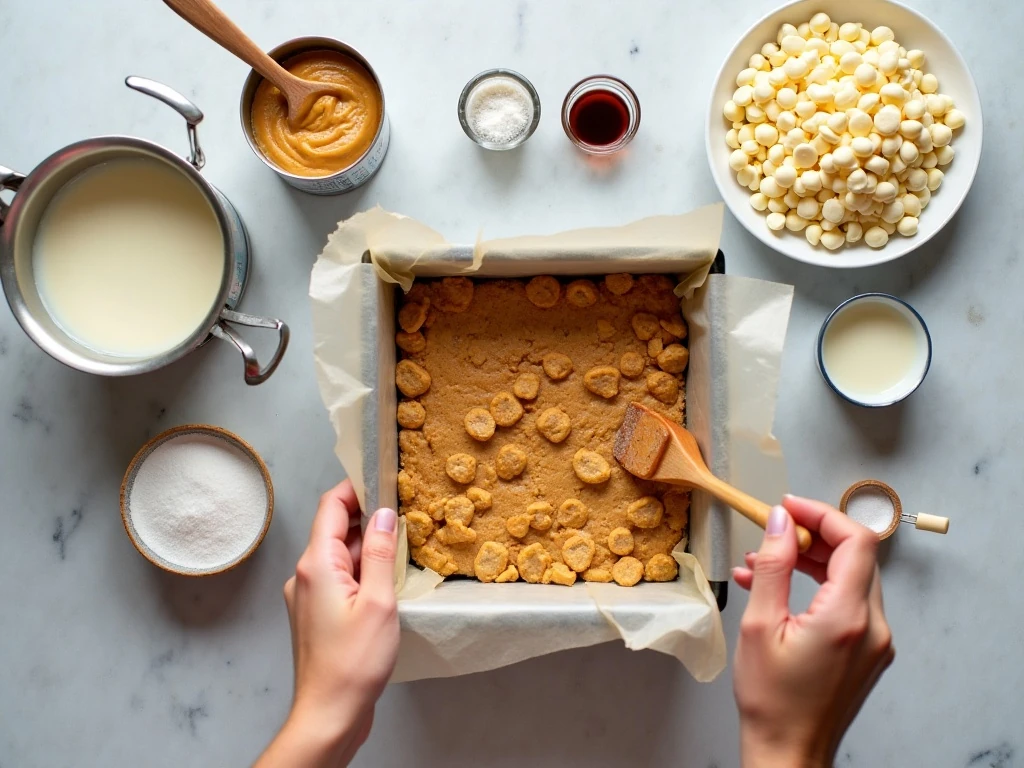
The ingredient list is short, but each item has an important job. For the best result, measure everything before turning on the stove because the melted mixture thickens quickly once it is ready.
- 10 ounces peanut butter chips: These provide the primary peanut butter flavor and help the fudge set with a smooth, sliceable texture.
- 10 ounces white chocolate chips: White chocolate adds sweetness and creamy richness. Use chips that melt smoothly and avoid overheating them.
- One 14-ounce can sweetened condensed milk: This supplies sweetness and moisture while helping bind the chips into a thick fudge base.
- One teaspoon vanilla extract: Vanilla rounds out the peanut butter and white chocolate flavors.
- One-quarter teaspoon salt, optional: Add it especially when using unsalted peanut butter or low-salt chips. It helps balance the sweetness without making the fudge taste salty.
Have an 8-inch square pan, parchment paper or foil, a medium saucepan, a heatproof spatula, and a sharp knife ready. The parchment or foil overhang is especially useful because it lets you lift the entire chilled slab from the pan before cutting.
How to Make It Step-by-Step

Step 1: Line an 8-inch square pan with parchment paper or foil, pressing it into the corners as neatly as possible. Leave an overhang on two opposite sides so the finished fudge can be lifted out easily after chilling.
Step 2: Add the peanut butter chips, white chocolate chips, and sweetened condensed milk to a saucepan. Set the pan over low heat rather than medium or high heat, since white chocolate and peanut butter chips can scorch or seize when exposed to excessive heat.
Step 3: Stir the mixture continuously with a heatproof spatula as the chips begin to soften. Continue for about 5 to 8 minutes, scraping the bottom and sides, until the mixture is fully melted, glossy, and smooth; do not let it boil.
Step 4: Remove the saucepan from the heat as soon as no chips remain visible. Stir in the vanilla extract and the optional salt, mixing just until both are distributed throughout the thick fudge base.
Step 5: Immediately scrape the mixture into the lined pan. Spread it into an even layer with the spatula, paying attention to the corners because the fudge begins to set as it cools.
Step 6: Place the pan in the refrigerator for at least 2 hours, or until the center feels firm when lightly pressed. Do not rush this stage, because thoroughly chilled fudge cuts more neatly and holds its shape better.
Step 7: Use the parchment or foil handles to lift the solid fudge from the pan and place it on a cutting board. Warm a large sharp knife, wipe it completely dry, and cut the slab into small squares, repeating the warming and drying process between cuts.
Pro Tips for Smooth Fudge
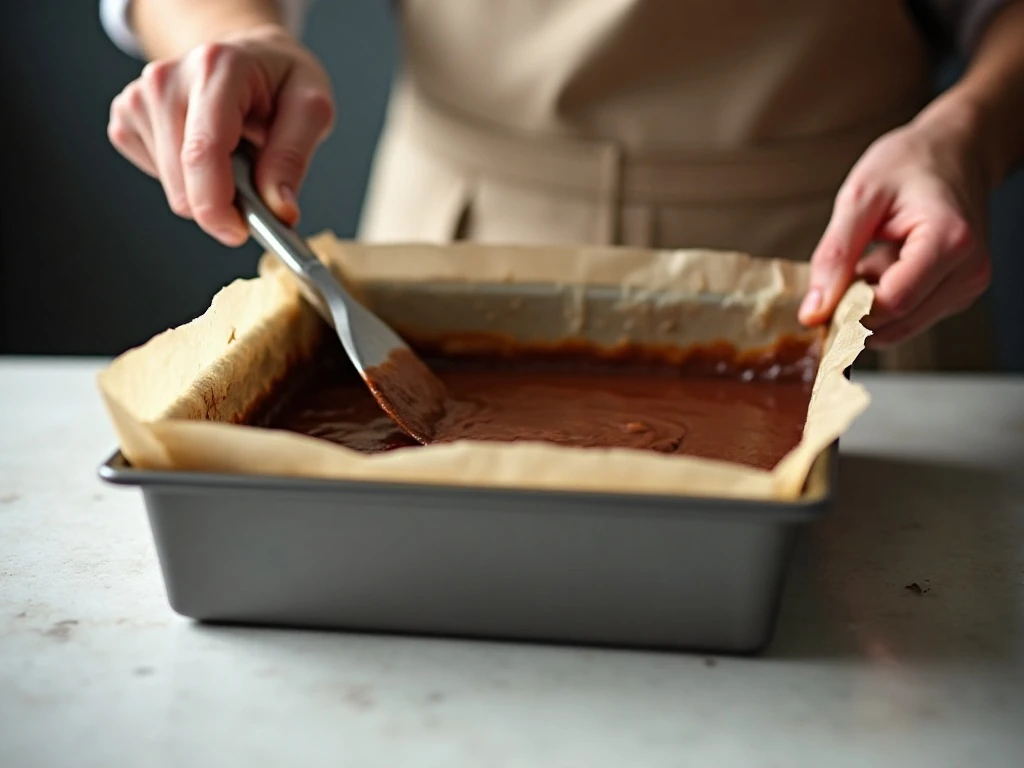
Low, steady heat is the most important detail in this recipe. White chocolate has a delicate texture and can become thick, grainy, or scorched if overheated, while peanut butter chips can also lose their smooth consistency.
Keep stirring from the moment the ingredients enter the saucepan. Continuous movement distributes heat evenly and prevents the condensed milk from sticking to the bottom of the pan.
Remove the pan from the stove as soon as the mixture is smooth. Residual heat will keep the fudge fluid for the short time needed to add vanilla and salt, so there is no benefit to cooking it longer.
Spread the mixture right away. If it sits in the saucepan for several minutes, it may become difficult to press into an even layer, leaving a thicker center and thin edges.
For the cleanest presentation, chill the fudge thoroughly before slicing. A warm, dry knife glides through the candy, while moisture on the blade can cause sticking and make the edges look less polished.
Easy Serving and Gift Ideas
These squares are ideal for cookie exchanges, holiday tins, bake sales, and dessert platters. Arrange them in mini paper candy cups or place them on a small platter with space between each piece so the creamy white-and-golden color is easy to see.
For a simple finish, leave the surface plain and let the two-tone peanut butter and white chocolate flavor speak for itself. You can also cut smaller pieces for a candy tray, since the fudge is rich and satisfying in just a few bites.
Serve the squares chilled for a firm, clean bite, or let them sit at room temperature briefly for a softer texture. After a winter dinner, pair them with a warm mug of our Italian hot chocolate for an especially indulgent dessert pairing.
Storage and Make-Ahead Advice
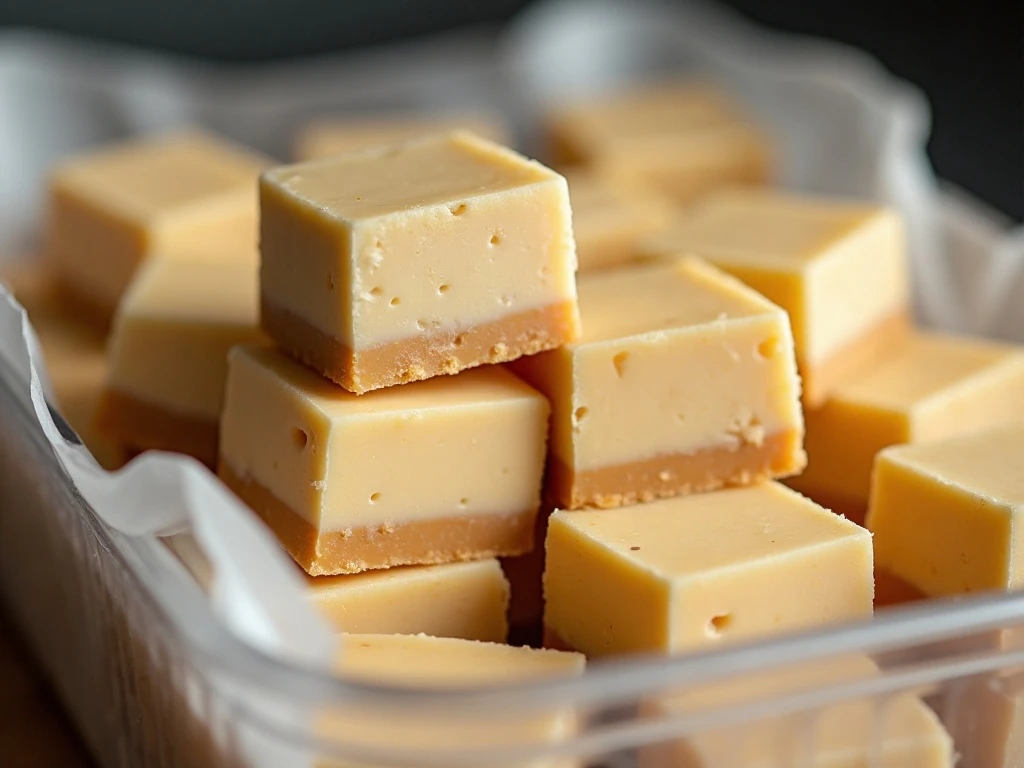
Store the fudge in an airtight container in the refrigerator for up to about 2 weeks. If stacking pieces, place parchment paper between the layers to prevent them from sticking together.
This recipe is convenient to make ahead because the fudge needs a minimum of 2 hours to become firm. Prepare it the day before serving, keep it covered and chilled, and cut it shortly before arranging it on a platter or packing it as a gift.
Keep the container tightly sealed so the fudge does not absorb refrigerator odors or lose moisture. Before serving, take out only the amount you need and return the rest to the refrigerator.
For a balanced meal followed by this sweet treat, consider serving it after a bowl of healthy white chicken chili. The contrast between a savory, hearty main dish and creamy peanut butter candy makes the dessert feel especially welcome.
Common Questions
Can I use a larger pan? You can, but an 8-inch square pan is the best choice for thick fudge. A larger pan will spread the mixture more thinly, which may change the proportions and produce flatter squares.
Can I substitute creamy peanut butter? Other popular versions replace the peanut butter chips with approximately three-quarters to one cup of creamy peanut butter while retaining the white chocolate chips and sweetened condensed milk. This recipe uses peanut butter chips as its stated base, so substitutions may change the texture and flavor.
Why should the mixture not boil? Boiling can overheat the white chocolate and cause the mixture to scorch or seize. Gentle melting over low heat produces the smooth consistency that makes this fudge so appealing.
How small should I cut the pieces? Cut 16 pieces for generous squares or up to 25 for smaller candy-shop portions. Because the fudge is rich, small squares are often the perfect serving size.
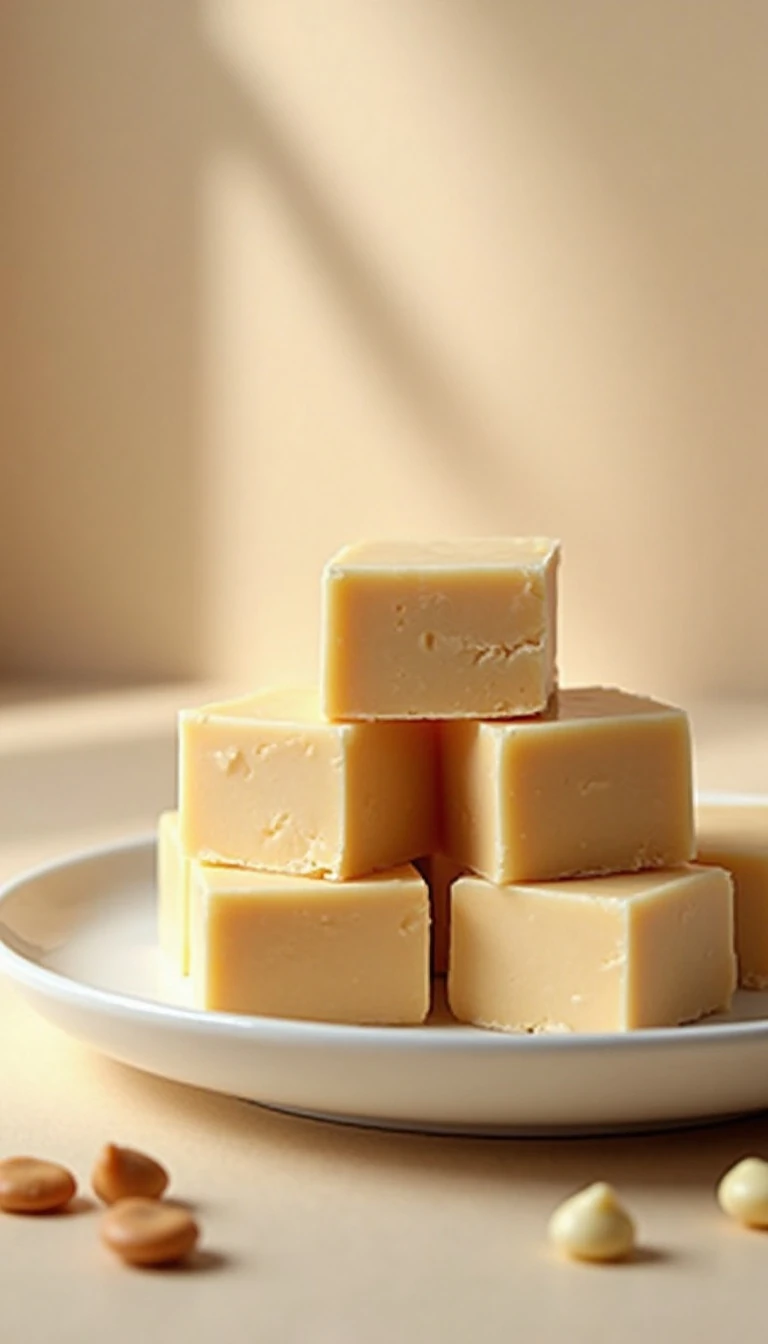
Easy White Chocolate Peanut Butter Fudge
Ingredients
Method
- Line an 8-inch square pan with parchment paper or foil, leaving enough overhang on two sides to lift out the chilled fudge.
- Place the peanut butter chips, white chocolate chips, and sweetened condensed milk in a saucepan over low heat. Stir constantly for 5 to 8 minutes, until completely melted and smooth, without allowing the mixture to boil.
- Remove the saucepan from the heat and stir in the vanilla extract and optional salt.
- Immediately spread the hot fudge mixture evenly into the prepared pan.
- Refrigerate the pan for at least 2 hours, or until the fudge is firm.
- Lift the fudge from the pan using the parchment or foil overhang. Cut into small squares with a large sharp knife, warming and wiping the knife dry between cuts for clean edges.
Notes
Final Thoughts
This easy white chocolate peanut butter fudge delivers maximum comfort with minimal effort. In roughly 10 minutes of preparation and 5 to 8 minutes of gentle melting, you can create a smooth candy that only needs time to chill and set.
Remember the essentials: use an 8-inch square pan, keep the heat low, stir constantly, avoid boiling, and chill the fudge for at least 2 hours. Once it is firm, a warm, dry knife will give you neat squares with creamy centers and tidy edges.
Whether you are filling a holiday tin, preparing a dessert tray, or simply craving a sweet peanut butter treat, this dependable candy recipe belongs in your collection. Keep the batch refrigerated in an airtight container, and you will have rich homemade fudge ready for up to about 2 weeks.