These fluffy bread machine rolls are an easy homemade bread recipe made with one dough cycle, simple pantry ingredients, and a short final rise. Add warm water, egg, butter, sugar, salt, bread flour, and active dry yeast to your bread machine, let it mix and knead, then shape the finished dough into 12 rolls and bake them at 350°F for 12–15 minutes.
The result is a pan of soft, tender rolls with lightly golden tops, a buttery aroma, and a delicate pull-apart texture. They take about 10 minutes of hands-on preparation, approximately 1½ hours in the machine, 30–45 minutes to rise, and about 2¼–2¾ hours from start to finish.
Jump to RecipeWhy You’ll Love This Recipe
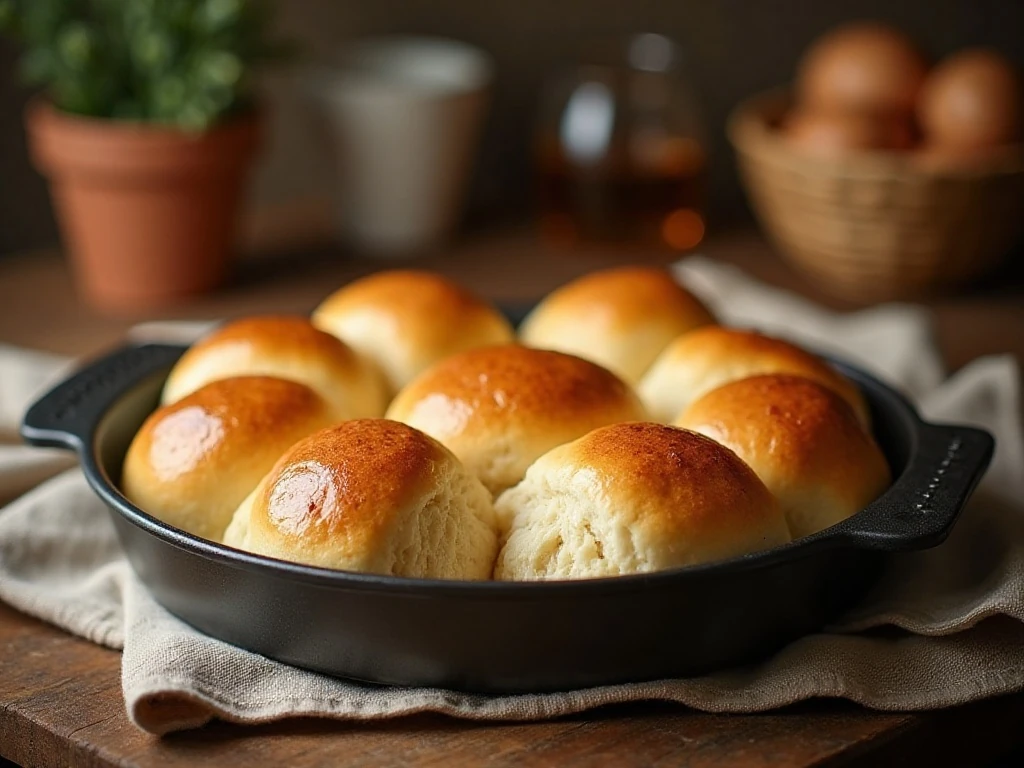
Making yeast rolls from scratch can sound intimidating, but the bread machine handles the most demanding part: mixing, kneading, and the first rise. Once the cycle finishes, all you need to do is divide, shape, proof, and bake.
These rolls are especially useful for holidays, Sunday dinners, family suppers, and casual gatherings. The dough is rich enough to taste special because it includes egg and butter, while the modest amount of sugar gives the crumb a gentle sweetness without turning the rolls into dessert bread.
For another homemade bread project with a sweet, cinnamon-scented profile, you can also try this cinnamon bread when you have extra baking time.
Ingredients You’ll Need
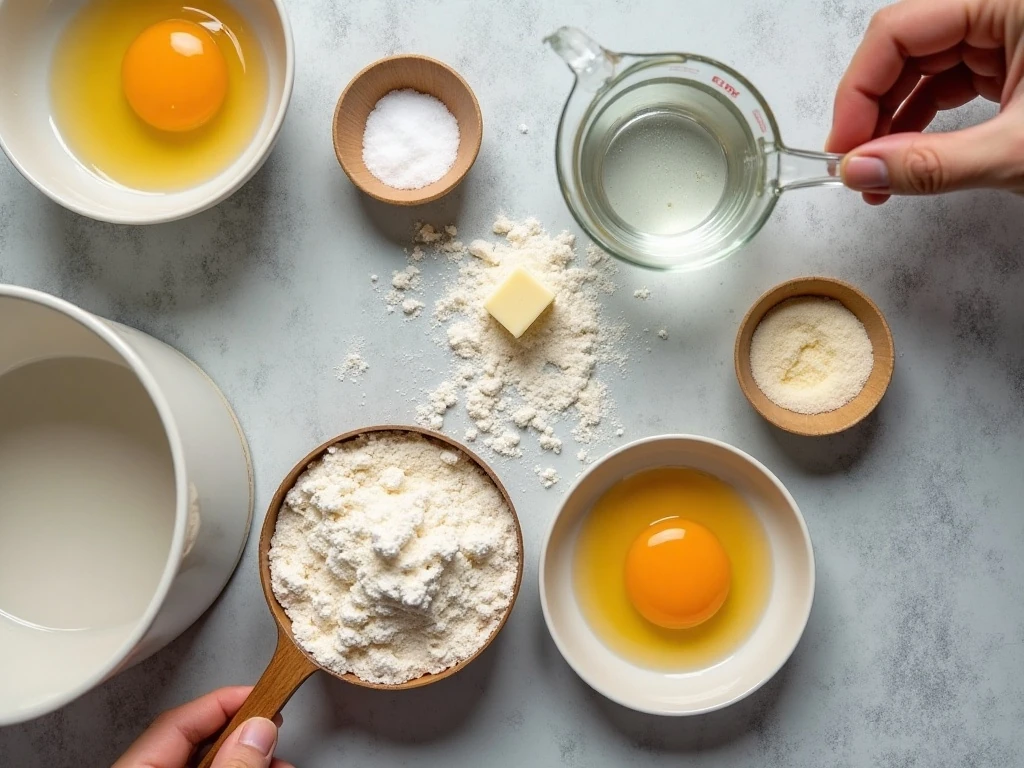
Every ingredient has a clear job in this recipe, and accurate measuring helps create a predictable dough. Use bread flour for its higher protein content, which supports a pleasantly springy and airy texture.
- Warm water: Aim for 105–110°F (40–43°C), warm but not hot. Water that is too hot can damage the yeast.
- Egg: One large egg adds richness, color, and tenderness.
- Butter: Softened butter blends into the dough more easily and gives the rolls a buttery flavor.
- Sugar and salt: Sugar supports flavor and browning, while salt balances the sweetness and seasons the bread.
- Bread flour: Three cups provide the structure needed for twelve soft rolls.
- Active dry yeast: Use 2¼ teaspoons, equal to one standard ¼-ounce packet.
Grease a 9-by-13-inch baking pan before shaping the dough. Keep melted butter ready for brushing over the baked rolls; this simple finish softens the crust and adds a glossy, savory touch.
How to Make It Step-by-Step
Step 1: Begin by checking your bread machine manual for its preferred ingredient order. A common sequence is warm water, egg, softened butter, sugar, salt, bread flour, and yeast added last, but the manufacturer’s instructions should take priority.
Step 2: Select the Dough cycle and let the machine begin mixing and kneading. Stay nearby during the first few minutes because this is the best time to judge whether the dough needs a small adjustment.
Step 3: Watch for a soft, slightly tacky dough ball during the first 5–10 minutes. If it appears wet and fails to hold its shape, add flour 1 tablespoon at a time; if it looks firm and dry, add water 1 teaspoon at a time.
Step 4: Allow the full Dough cycle to finish, which usually takes about 1½ hours depending on the machine. The dough should be smooth, supple, and expanded when you remove it from the pan.
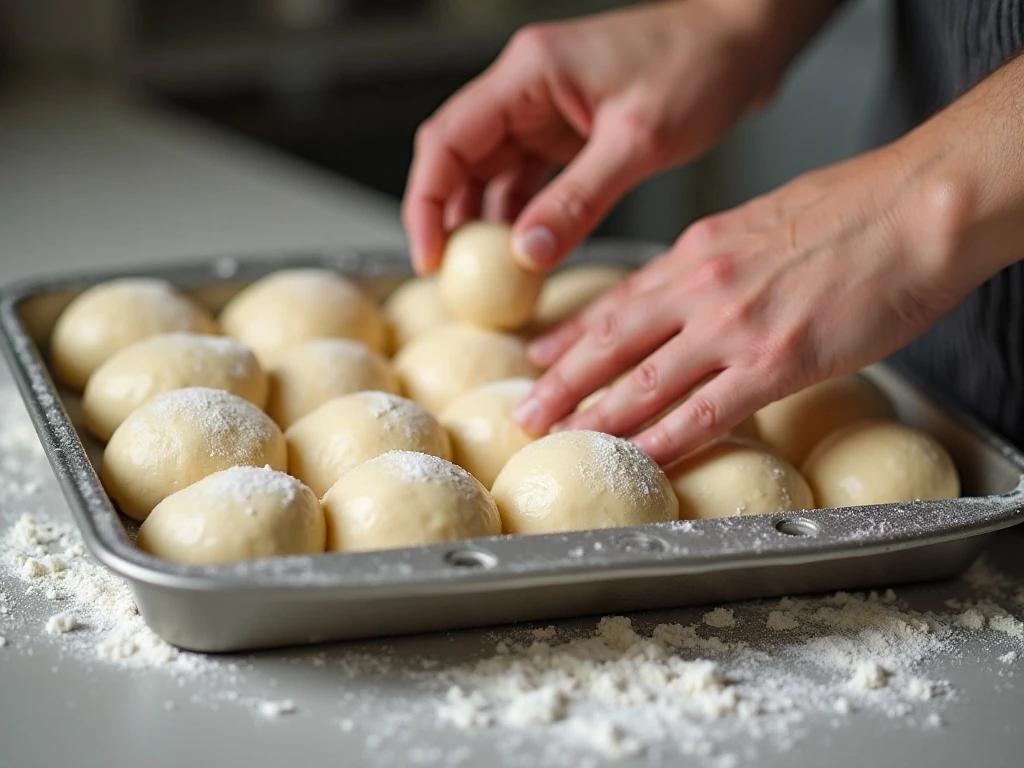
Step 5: Turn the dough onto a lightly floured surface and divide it into 12 equal pieces. For more uniform rolls, cut the dough in half, divide each half into six pieces, and adjust the portions by sight as needed.
Step 6: Shape each piece into a smooth ball by folding the edges toward the underside and gently rolling it beneath your cupped hand. Arrange the balls in a greased 9-by-13-inch pan with a little space between them so they can expand.
Step 7: Cover the pan with a clean towel or lightly greased plastic wrap. Set it in a warm, draft-free place for 30–45 minutes, and wait until the rolls are noticeably puffy or nearly doubled.
Step 8: Bake the risen rolls at 350°F (175°C) for 12–15 minutes. Pull them from the oven when the tops are lightly golden rather than deeply browned, because overbaking can make the crumb dry.
Step 9: Brush the hot rolls with melted butter immediately after baking. Serve them warm, or let them cool briefly in the pan before transferring them to a serving basket.
How to Get the Fluffiest Texture
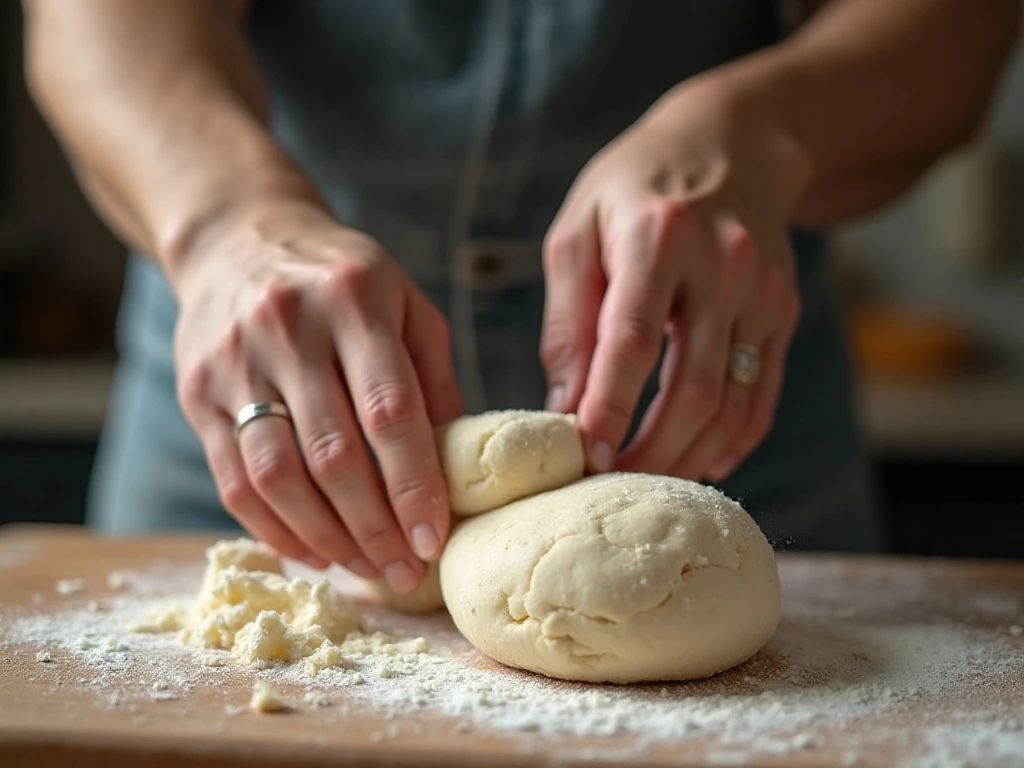
The dough should feel soft and a little tacky, not sticky enough to coat your fingers heavily and not stiff like pasta dough. Flour absorbs moisture differently from one kitchen to another, so the early dough check is more reliable than blindly adding extra flour at the beginning.
Add adjustments slowly. One tablespoon of flour or one teaspoon of water can change the dough noticeably, while adding a large amount all at once may leave you with dense rolls.
Proofing is another important part of the texture. A cool kitchen may require more time than 30 minutes, while a very warm spot can make the dough rise quickly; use the dough’s puffiness as your guide rather than relying only on the clock.
Do not skip the butter brush after baking. It helps keep the surface soft and gives every roll a richer aroma without requiring extra butter inside the dough.
Serving Ideas for Bread Machine Rolls
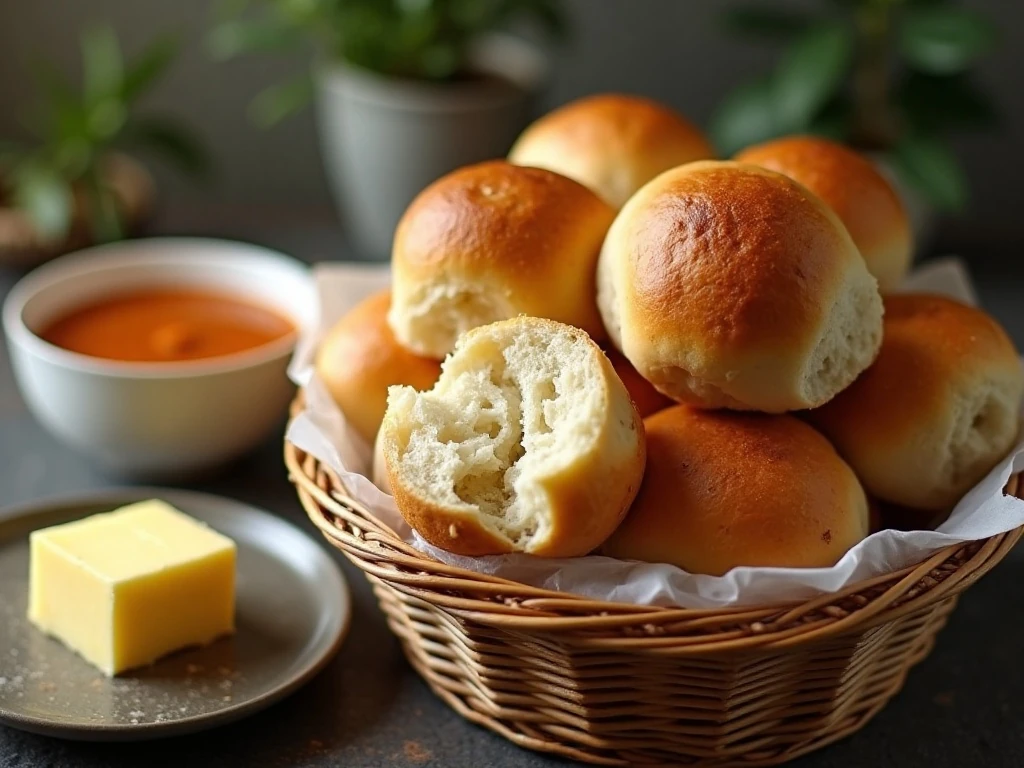
Serve these rolls alongside roasted chicken, soup, chili, glazed ham, or a holiday turkey. Their mild buttery flavor works with both savory sauces and sweet spreads, making them useful from breakfast through dinner.
Split warm rolls and fill them with leftover meat, cheese, or vegetables for quick little sandwiches. For more inspiration when you have bread on hand, browse these sliced bread ideas and adapt the fillings to your favorite leftovers.
If you enjoy soft, slightly sweet breads, these homemade Hawaiian-style rolls are another inviting option for a dinner table or party spread.
Storage, Freezing, and Reheating
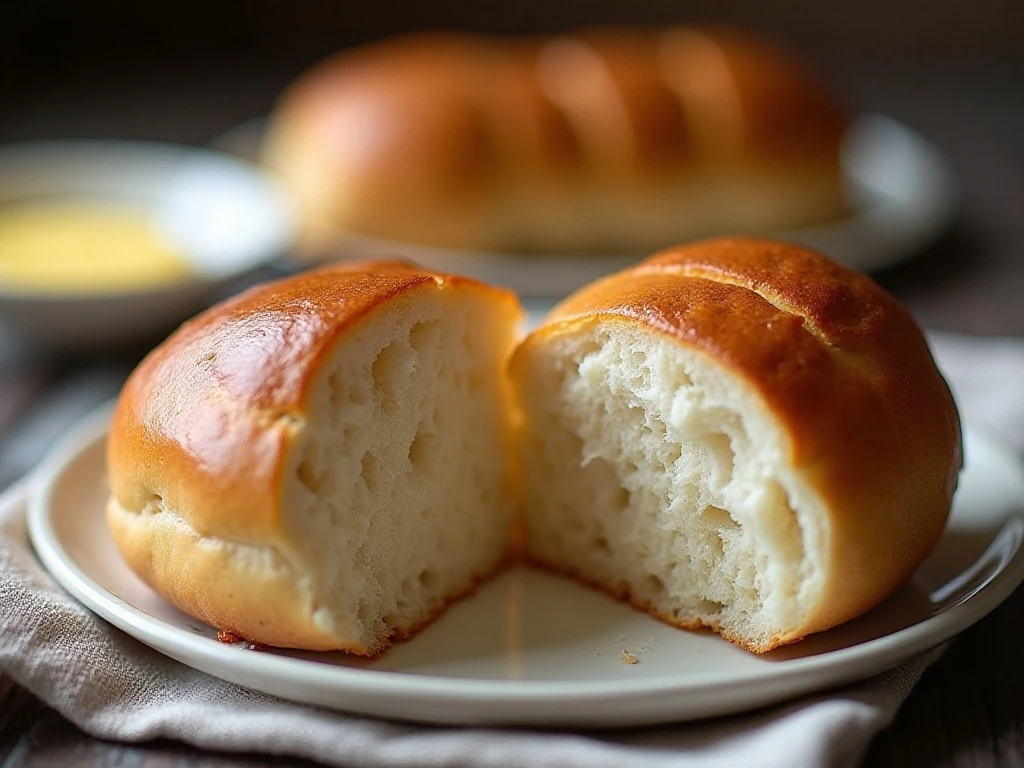
Let the rolls cool completely before storing them so trapped steam does not make the crust soggy. Place them in an airtight container or tightly sealed bag and keep them at room temperature for short-term storage.
For longer storage, freeze the cooled rolls in a freezer-safe bag, pressing out excess air before sealing. Thaw them at room temperature, then warm them gently in a low oven until soft and fragrant.
Reheat only what you plan to serve. A brief warming is preferable to prolonged heat, which can dry the crumb and make the tender rolls lose their fresh-baked quality.
These rolls can also accompany a dessert-style brunch spread. If you are planning a seasonal menu, pair them with a slice of pumpkin chocolate chip banana bread for a table filled with comforting baked flavors.
Common Questions
Can I use all-purpose flour? Bread flour is the specified choice because it helps create the intended structure and chew. All-purpose flour may behave differently, so if you substitute it, pay especially close attention to the dough consistency during kneading.
Why did my rolls not rise? The yeast may be old, the water may have been too hot or too cool, or the room may have been chilly. Give the shaped rolls enough time in a warm, draft-free location to become noticeably puffy.
Why are my rolls dense? Dense rolls often result from adding too much flour, underproofing, or overbaking. Measure carefully, make small dough adjustments, and remove the pan when the tops are only lightly golden.
Can I make the dough ahead? This recipe is designed around completing the Dough cycle, shaping, rising, and baking in one session. If you need to pause the process, keep the dough covered and cool, and allow extra time for it to become puffy before baking.
For a more savory variation to try another day, compare these garlic Parmesan dinner rolls, which bring a bold cheese-and-garlic finish to the table.
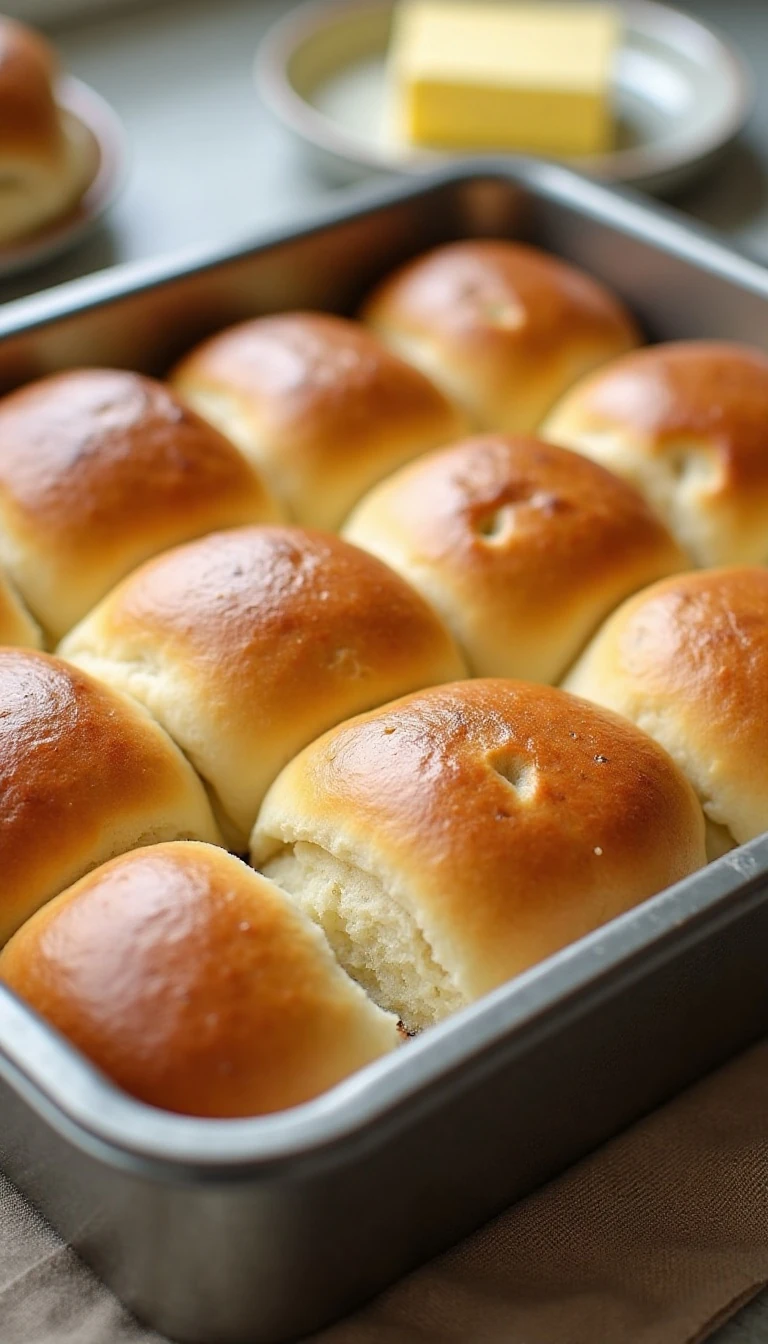
Fluffy Bread Machine Rolls Made Easy
Ingredients
Method
- Add the water, egg, softened butter, sugar, salt, bread flour, and active dry yeast to the bread-machine pan in the order recommended by your machine manufacturer. A common order is liquids first, followed by butter, sugar, salt, flour, and yeast last.
- Select the Dough cycle and start the machine. During the first 5–10 minutes of kneading, check the dough; it should become a soft, slightly tacky ball.
- If the dough looks wet and loose, add flour 1 tablespoon at a time. If it seems stiff or dry, add water 1 teaspoon at a time, allowing the machine a moment to incorporate each adjustment.
- When the dough cycle ends, turn the dough onto a lightly floured surface. Divide it into 12 equal pieces so the finished rolls bake at a similar rate.
- Shape each piece into a smooth ball by gently pulling the edges underneath and pinching the seam closed. Arrange the balls in a greased 9-by-13-inch baking pan, leaving a little space between them.
- Cover the pan and let the rolls rise in a warm, draft-free place for 30–45 minutes. They should look noticeably puffy and close to doubled in size before baking.
- Bake at 350°F (175°C) for 12–15 minutes, watching for lightly golden tops. Avoid overbaking, since the rolls are at their softest when just cooked through and lightly colored.
- Brush the hot rolls with melted butter as soon as they come out of the oven. Let them cool briefly before serving so the crumb can finish setting while the crust stays tender.
Notes
Final Thoughts
Fluffy bread machine rolls are one of the easiest ways to bring homemade bread to the dinner table without spending the day kneading dough. The machine creates the foundation, while shaping the twelve portions and watching the final rise gives you the fresh-baked result everyone loves.
Remember the three details that matter most: check the dough early, let the rolls rise until puffy, and avoid overbaking. Finish the hot rolls with melted butter, serve them warm, and enjoy their tender centers with every meal.
Once you make this recipe, it is easy to see why a bread machine earns a regular place in the kitchen. A simple ingredient list and a little patience produce soft, golden rolls that are perfect for sharing.