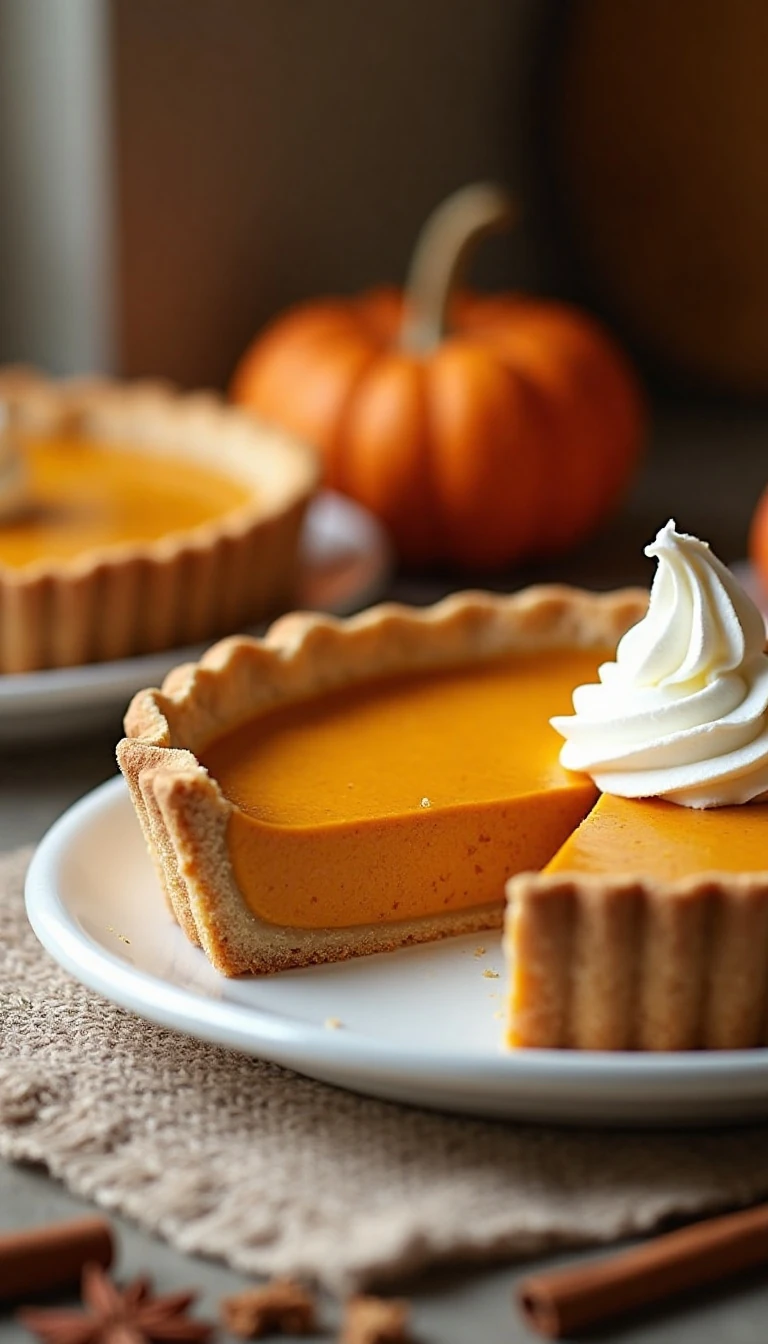
This easy self-crust pumpkin pie recipe combines pumpkin purée, evaporated milk, eggs, sugar, butter, vanilla, pumpkin pie spice, and Original Bisquick baking mix in one bowl or blender. There is no separate pastry crust to roll or chill: the baking mix settles as the pie bakes, creating a light crust-like layer beneath the smooth pumpkin filling.
With only 10 minutes of prep and 50–55 minutes in a 350°F (175°C) oven, this pie is a simple dessert for Thanksgiving, Sunday dinner, or any chilly afternoon. The finished pie is warmly spiced, creamy in the center, lightly buttery around the edges, and especially delicious with whipped cream.
Jump to RecipeWhy You’ll Love This Pie
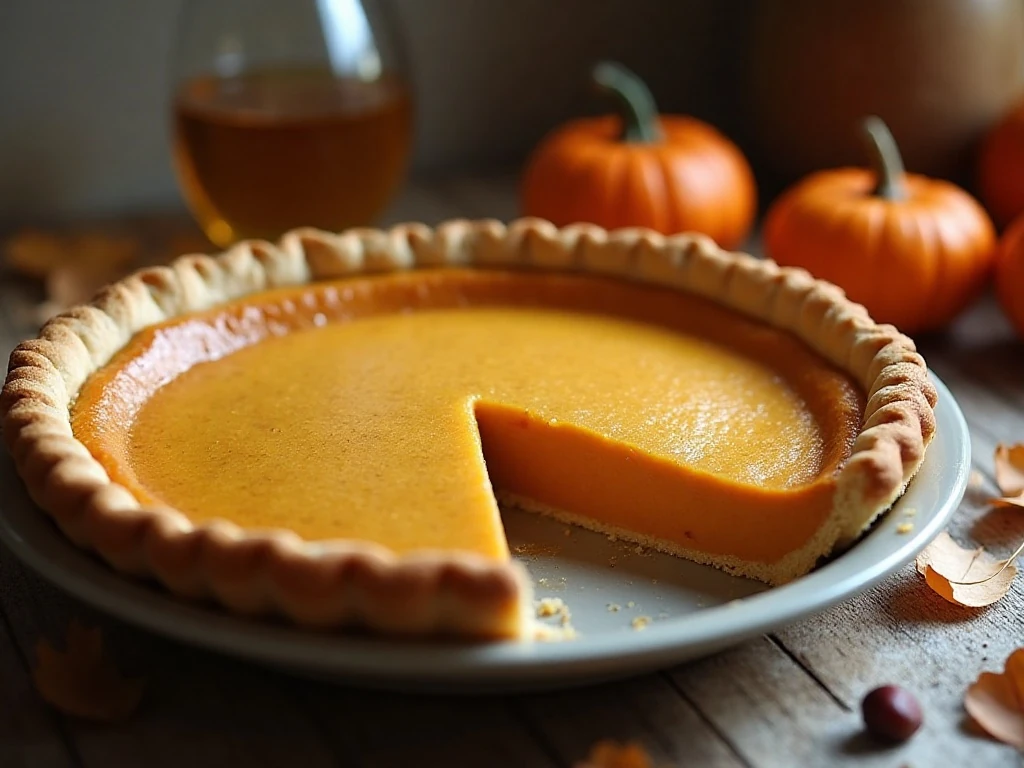
This self-crust pumpkin pie is made for bakers who want the comfort of homemade pie without handling pastry dough. The batter comes together in one blender or large bowl, and the baking mix takes care of the crust-like base while the pumpkin mixture becomes a softly set custard.
The texture is different from a traditional pastry-crust pie in a wonderful way. The middle is creamy and gently firm, while the bottom and outer edges develop a tender, lightly golden layer with a mild buttery flavor.
It is also a practical dessert when the holiday kitchen is busy. You can mix everything in about a minute, pour it directly into a greased pie plate, and let the oven do the work while you prepare coffee, whipped cream, or dinner.
If you enjoy simple pies with a classic filling, you may also like our easy banana cream pie for another comforting dessert option.
Ingredients You’ll Need
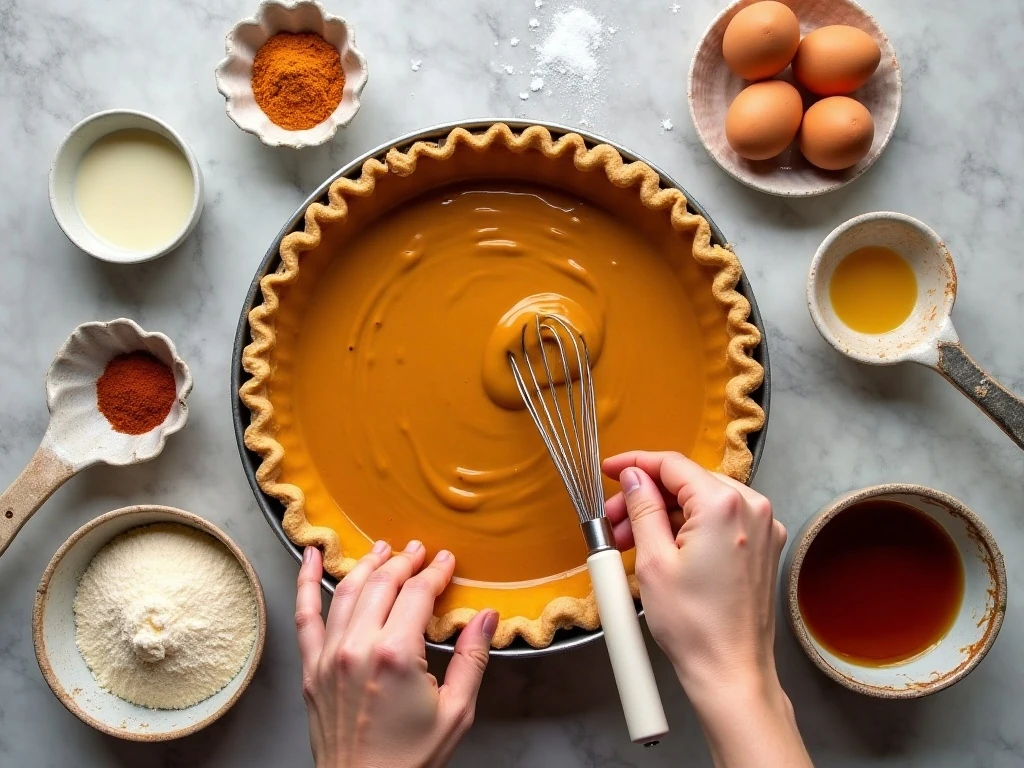
The ingredient list is short, but each item contributes to the pie’s smooth texture and familiar autumn flavor. Measure the ingredients carefully, especially the baking mix and spices, so the filling remains balanced.
- Pumpkin purée: Use one 15-ounce can of plain pumpkin purée. Do not use pumpkin pie filling, which already contains sugar and spices.
- Evaporated milk: One 12-fluid-ounce can gives the filling its rich, creamy consistency without making it watery.
- Eggs: Two large eggs help the pumpkin mixture set as it bakes.
- Sugar: Three-quarters of a cup provides the sweetness expected in pumpkin pie.
- Original Bisquick baking mix: One-half cup creates the light crust-like layer during baking.
- Butter and vanilla: Melted butter adds a gentle richness, while vanilla rounds out the spices.
- Pumpkin pie spice: Use 2 to 2 1/2 teaspoons, depending on how warmly spiced you like your pie.
- Whipped cream: This is optional, but a spoonful or swirl makes a lovely finishing touch.
Set the melted butter aside for a few minutes if it is very hot. Slightly cooled butter is easier to add without warming the eggs.
For another pumpkin-season bake, keep our pumpkin cookie recipe in mind when you want a smaller treat to serve alongside the pie.
How to Make It Step-by-Step
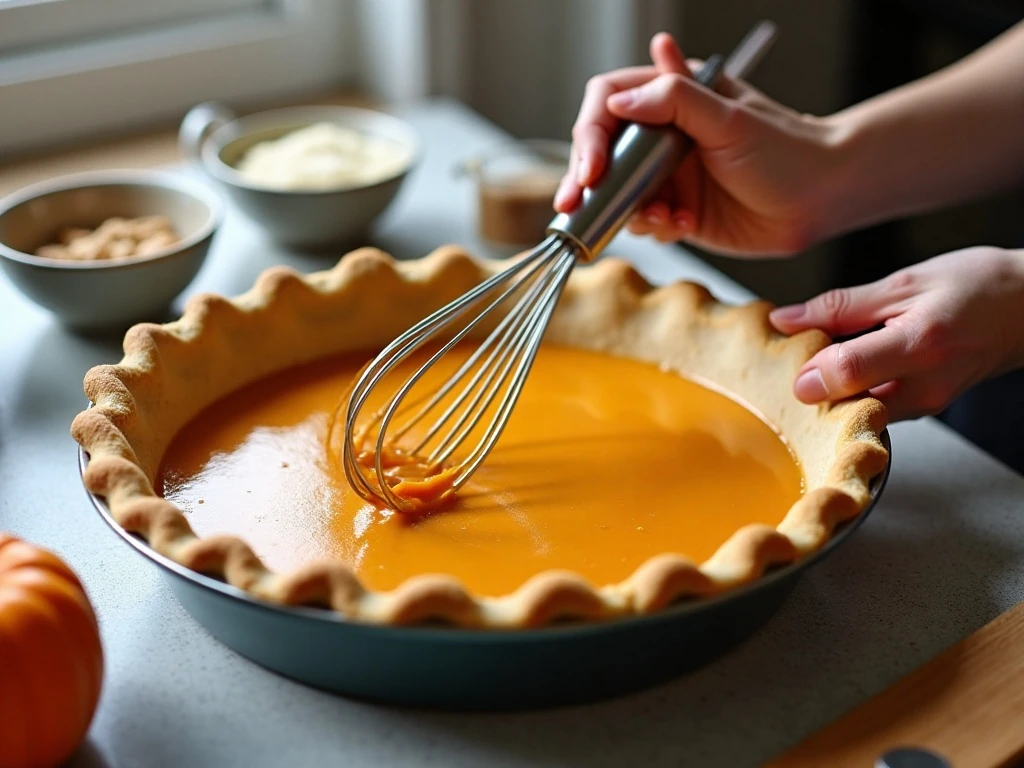
Step 1: Heat the oven to 350°F (175°C), then grease a 9-inch pie plate thoroughly, including the sides. A well-greased plate helps the slices release more easily after the pie has cooled.
Step 2: Add the pumpkin purée, evaporated milk, two large eggs, granulated sugar, Original Bisquick baking mix, melted butter, vanilla extract, and pumpkin pie spice to a blender or large bowl. Add every ingredient before mixing so the batter can be combined evenly in one pass.
Step 3: Blend or whisk for about 1 minute, stopping when the mixture looks smooth and evenly colored. A few small lumps are acceptable, and mixing only until combined helps prevent excess air from being incorporated into the batter.
Step 4: Pour the pumpkin mixture into the prepared pie plate. The batter will look thin compared with a traditional pie filling, but the baking mix settles as the pie cooks and forms a light crust-like layer underneath.
Step 5: Place the pie carefully in the 350°F oven and bake for 50–55 minutes. It is ready when the center is set and a knife inserted near the center comes out mostly clean; the pie may still have a slight, gentle movement while hot.
Step 6: Transfer the pie to a cooling rack and let it cool for at least 30 minutes before slicing. For especially clean pieces, allow it to cool fully and refrigerate it for several hours, then add whipped cream just before serving.
Pro Tips for a Better Pie

Choose the correct canned pumpkin. The label should say pumpkin purée, not pumpkin pie filling. Pumpkin pie filling is pre-sweetened and seasoned, so using it here would change the sweetness and spice level because this recipe adds sugar and pumpkin pie spice separately.
Mix gently and briefly. A blender makes quick work of the batter, but one minute is enough. Excessive blending can add air, and air bubbles may contribute to puffing during baking or cracks as the pie cools.
Use the center as your guide. The edges may look firm before the center is ready. Check near the center with a knife at the end of the 50–55 minute baking window; the blade should come out mostly clean rather than coated with loose liquid filling.
Give it time to settle. Cooling is part of the recipe, not an afterthought. The filling continues to firm as it cools, and refrigeration for several hours gives the pie a neater cut and a pleasantly chilled custard texture.
Adjust the spice within the stated range. Use 2 teaspoons for a gentle pumpkin spice flavor or up to 2 1/2 teaspoons for a more pronounced, aromatic finish. Keep the rest of the quantities unchanged.
When planning a dessert table, balance this creamy pie with a crisp snack such as our easy keto tortilla chips; a savory, crunchy option can keep a rich meal from feeling too heavy.
Serving and Storage
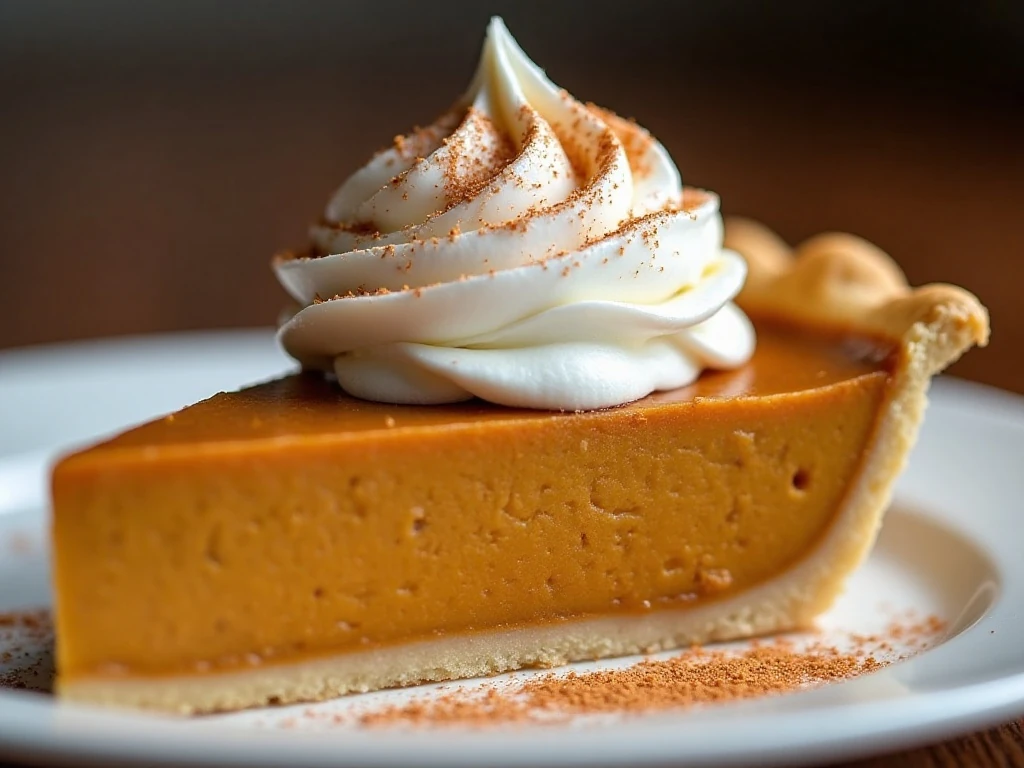
Serve slices plain for a simple presentation, or add whipped cream for a soft, cool contrast to the warmly spiced pumpkin filling. A small dusting of pumpkin pie spice on the cream makes each serving look inviting without adding another complicated garnish.
For the best texture, cool the pie completely and refrigerate it for several hours before slicing. This extra chilling time helps the custard hold its shape and makes it easier to portion cleanly.
Refrigerate leftovers after serving. Cover the pie or place individual slices in an airtight container, and enjoy them chilled or let a slice sit briefly at room temperature before eating.
This recipe is also a useful choice when you want a pie that travels well after it has cooled. Keep it refrigerated until it is ready to serve, and bring whipped cream separately if you are transporting it.
More Easy Dessert Ideas
A no-fuss pie is a welcome addition to any collection of dependable desserts. If you are building a dessert spread with several textures, pair this creamy pumpkin pie with crisp homemade pretzel bites for a sweet-and-salty contrast.
For another fruit-forward pie that requires only a handful of ingredients, try our four-ingredient pineapple pie. Its bright fruit flavor offers a refreshing change from the deep spice of pumpkin.
Whether you serve this pie at a holiday gathering or make it for an ordinary weekend, the method stays pleasantly simple. Grease, blend, bake, cool, and slice: that is all it takes to bring a warm pumpkin dessert to the table without preparing a separate crust.
Easy Self-Crust Pumpkin Pie
Ingredients
Method
- Heat the oven to 350°F (175°C) and grease a 9-inch pie plate.
- Add the pumpkin purée, evaporated milk, eggs, sugar, Original Bisquick baking mix, melted butter, vanilla extract, and pumpkin pie spice to a blender or large bowl.
- Blend or whisk the mixture for about 1 minute, just until smooth. A few small lumps are acceptable, so avoid mixing longer than necessary.
- Pour the batter into the prepared 9-inch pie plate. No separate pastry crust is needed because the baking mix settles during baking and creates a light crust-like layer.
- Bake for 50–55 minutes, until the center is set and a knife inserted near the center comes out mostly clean.
- Cool the pie on a rack for at least 30 minutes before slicing. For the cleanest slices, cool it fully and refrigerate it for several hours before serving with whipped cream if desired.
Notes
Final Thoughts
This easy self-crust pumpkin pie proves that a homemade dessert does not need a complicated pastry technique. With plain pumpkin purée, evaporated milk, eggs, sugar, Original Bisquick baking mix, butter, vanilla, and pumpkin pie spice, you get a creamy, fragrant pie with a delicate crust-like layer in every slice.
Remember the two most important details: use pumpkin purée rather than pumpkin pie filling, and let the baked pie cool for at least 30 minutes before cutting. For the cleanest presentation, refrigerate it for several hours, then serve each slice with a generous spoonful of whipped cream.